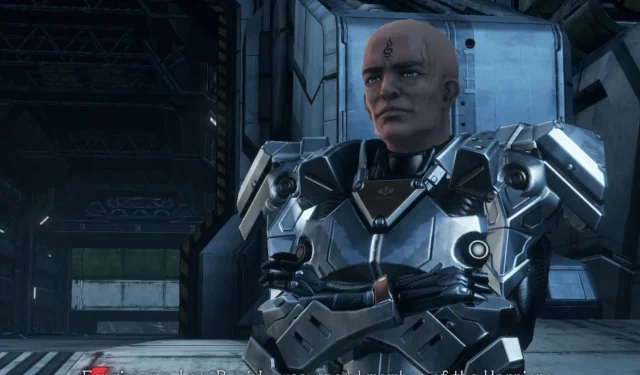

In the world of Xenoblade Chronicles X: Definitive Edition, your decisions in missions can lead to significant ramifications. While most side quests do allow multiple choices without dire consequences, beware that some options may lead to the untimely demise of NPCs. Although this is not the case with the quest titled “The Mad Monk,”your choices here will set the stage for future Affinity Missions. Make sure your character is prepared to tackle “The Mad Monk,”which involves venturing into perilous areas. It’s advisable to be at least at a level higher than the recommended for the best chance of success when you meet your client, Boze Lowes.
A Step-by-Step Guide to Completing The Mad Monk Affinity Mission
Comprehensive Guide for “The Mad Monk”

Before engaging in the Affinity Mission “The Mad Monk,”ensure that you have completed Chapter 5. Once this prerequisite is fulfilled, check the task board for the mission titled “Backup Request”(Boze). Accepting this request will allow you to proceed to the East Gate in New Los Angeles to kick off the Affinity Mission.
The mission has a required level of 20, but consider increasing your level to between 30-35 to improve your chances of survival given the treacherous areas you will navigate. Although the dangers are still present, a higher level will better equip you against enemies you encounter.
Your initial interactions with Boze Lowes won’t influence the outcome, so feel free to choose any dialogue option. Once Boze joins your party, your primary objective will be to infiltrate the Vitrioal Cesspool in Noctilum to rescue one of his students, Reggie.
Upon mission completion, you will gain Boze as a party member and receive:
- 220 XP
- 13,000 Credits
Navigating to the Vitriol Cesspool


If you’ve activated FN Sites in Noctilum, you’ll likely have access to FN Site 209, conveniently located right by the Vitriol Cesspool. Alternatively, FN Site 205 can be found to the north, though it’s a bit of a trek.
In case you haven’t activated either of these FN Sites, you can warp to FN Site 216 or the Skybound Coil Tree landmark. From there, head southwest towards the edge of your map. While pursuing “The Mad Monk,”utilizing Tatsu’s Follow Ball (R + X-button) will help guide you to the Vitriol Cesspool efficiently.
Refer to the red arrows in the image above for the recommended route from FN Site 216 to reach the Vitriol Cesspool.
As you enter the Vitriol Cesspool, you’ll encounter an injured Ma-non named Jejebba. You will be presented with two options: Follow or Demand. Selecting Follow will lead you down one path in “The Mad Monk”, while choosing Demand will take you down another. If you opt to assist Jejebba, you will need to locate and deliver five Muneria Flowers to aid in his recovery.
For specific details on Muneria Flower locations, jump to the Should You Help the Ma-non? section.
Locating Reggie

No matter your initial choice, Reggie remains trapped within the cave. Proceed deeper, navigating through an expansive room filled with hazardous water and enemies. The large white lumps near the Skell wreck, identifiable by the golden squares on your minimap, harbor level 40 enemies ready to attack.
To evade combat, stick close to the rightmost wall and move around the room until you find the back tunnel. Be prepared to jump over obstacles to steer clear of enemies, activating your sprint (ZR-button) will give you an edge during your jumps.
Once you find Reggie, engage him in conversation and be ready to tackle a wave of heinous blattas (level 14) for a duration of 2 minutes. This will be followed by another wave for an additional 2 minutes against heinous forfexes (level 18).
Since you’ll face two waves consecutively, strategize by assembling a balanced party prior to reaching Reggie. It’s advantageous to have a solid “tank“(such as L or Lin) and a capable healer/buffer (like Irina) to absorb damage and ensure your survivability.
If your character is significantly above the recommended level, your worries may be lessened. Nevertheless, assembling a competent party is still advisable to avoid potential setbacks.
After battling, watch the cutscene with Reggie before heading back to Eleanora in New Los Angeles to finalize your quest.
Evaluating Whether to Assist the Ma-non
Finding Muneria Flowers


Your decision to assist or ignore Jejebba will not affect who survives through the Affinity Mission. However, it will impact scenes and dialogue in Boze’s following Affinity Mission, titled “Boze’s Ignorance.”If you prefer to skip additional cinematic moments, feel free to choose whichever option appeals to you.
Path A: Opting to Ignore the Ma-non
Choosing to ignore Jejebba (Follow) means he will depart and not reappear throughout the remainder of the mission. Subsequently, you will face an ambush during “Boze’s Ignorance”from a Definian named ST816: Stalio, as you won’t have Jejebba’s technology to uncover her disguise. Furthermore, Boze will struggle with his xenophobia, maintaining that all xenos are untrustworthy.
Path B: Choosing to Help the Ma-non
By selecting to help Jejebba (Demand), you will need to gather five Muneria Flowers and return them to him for healing. This route leads you to “The Mad Monk (Route B).”You can locate Muneria Flowers in Rust Lake, positioned in the southern region of Noctilum, near FN Site 217.
Keep in mind that Muneria Flowers grow atop the water in Rust Lake, necessitating some swimming to gather them. Exercise caution, as the local monsters are level 35+ and will attack if you come too close. If you thoroughly explored Noctilum during Chapter 4, you may already possess some Muneria Flowers.
Should you choose to help Jejebba, he will present Boze with a Ma-non device after you rescue Reggie. This technology will unveil ST816: Stalio’s true form during “Boze’s Ignorance,”preventing her ambush. The mission will also culminate in an ending cutscene where Boze confronts his biases and overcomes his xenophobia.