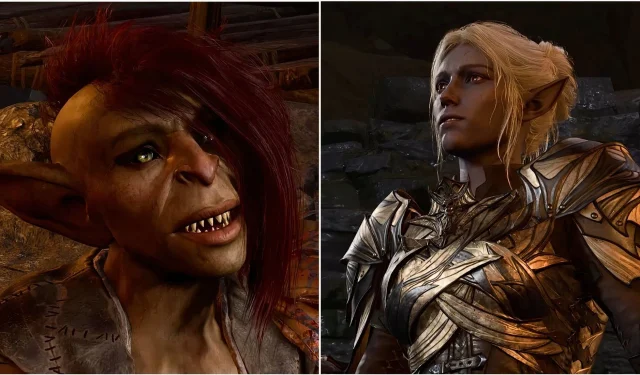
Unlocking the “She Cannot Be Caged”Achievement in Baldur’s Gate 3
In Baldur’s Gate 3, players can pursue the coveted “She Cannot Be Caged” achievement, which revolves around rescuing Sazza, a goblin imprisoned in the Druid’s Grove. Ensuring her survival throughout Acts 1 and 2 is crucial, as her fate depends on specific dialogue decisions made at pivotal moments. Missing any of these interactions can result in losing the opportunity to achieve this trophy.
This guide offers a comprehensive, step-by-step approach to rescuing Sazza, navigating key encounters, and ultimately unlocking the associated achievement. We will also discuss alternate strategies and the potential consequences of your decisions regarding Sazza.
Rescuing Sazza from the Druid’s Grove
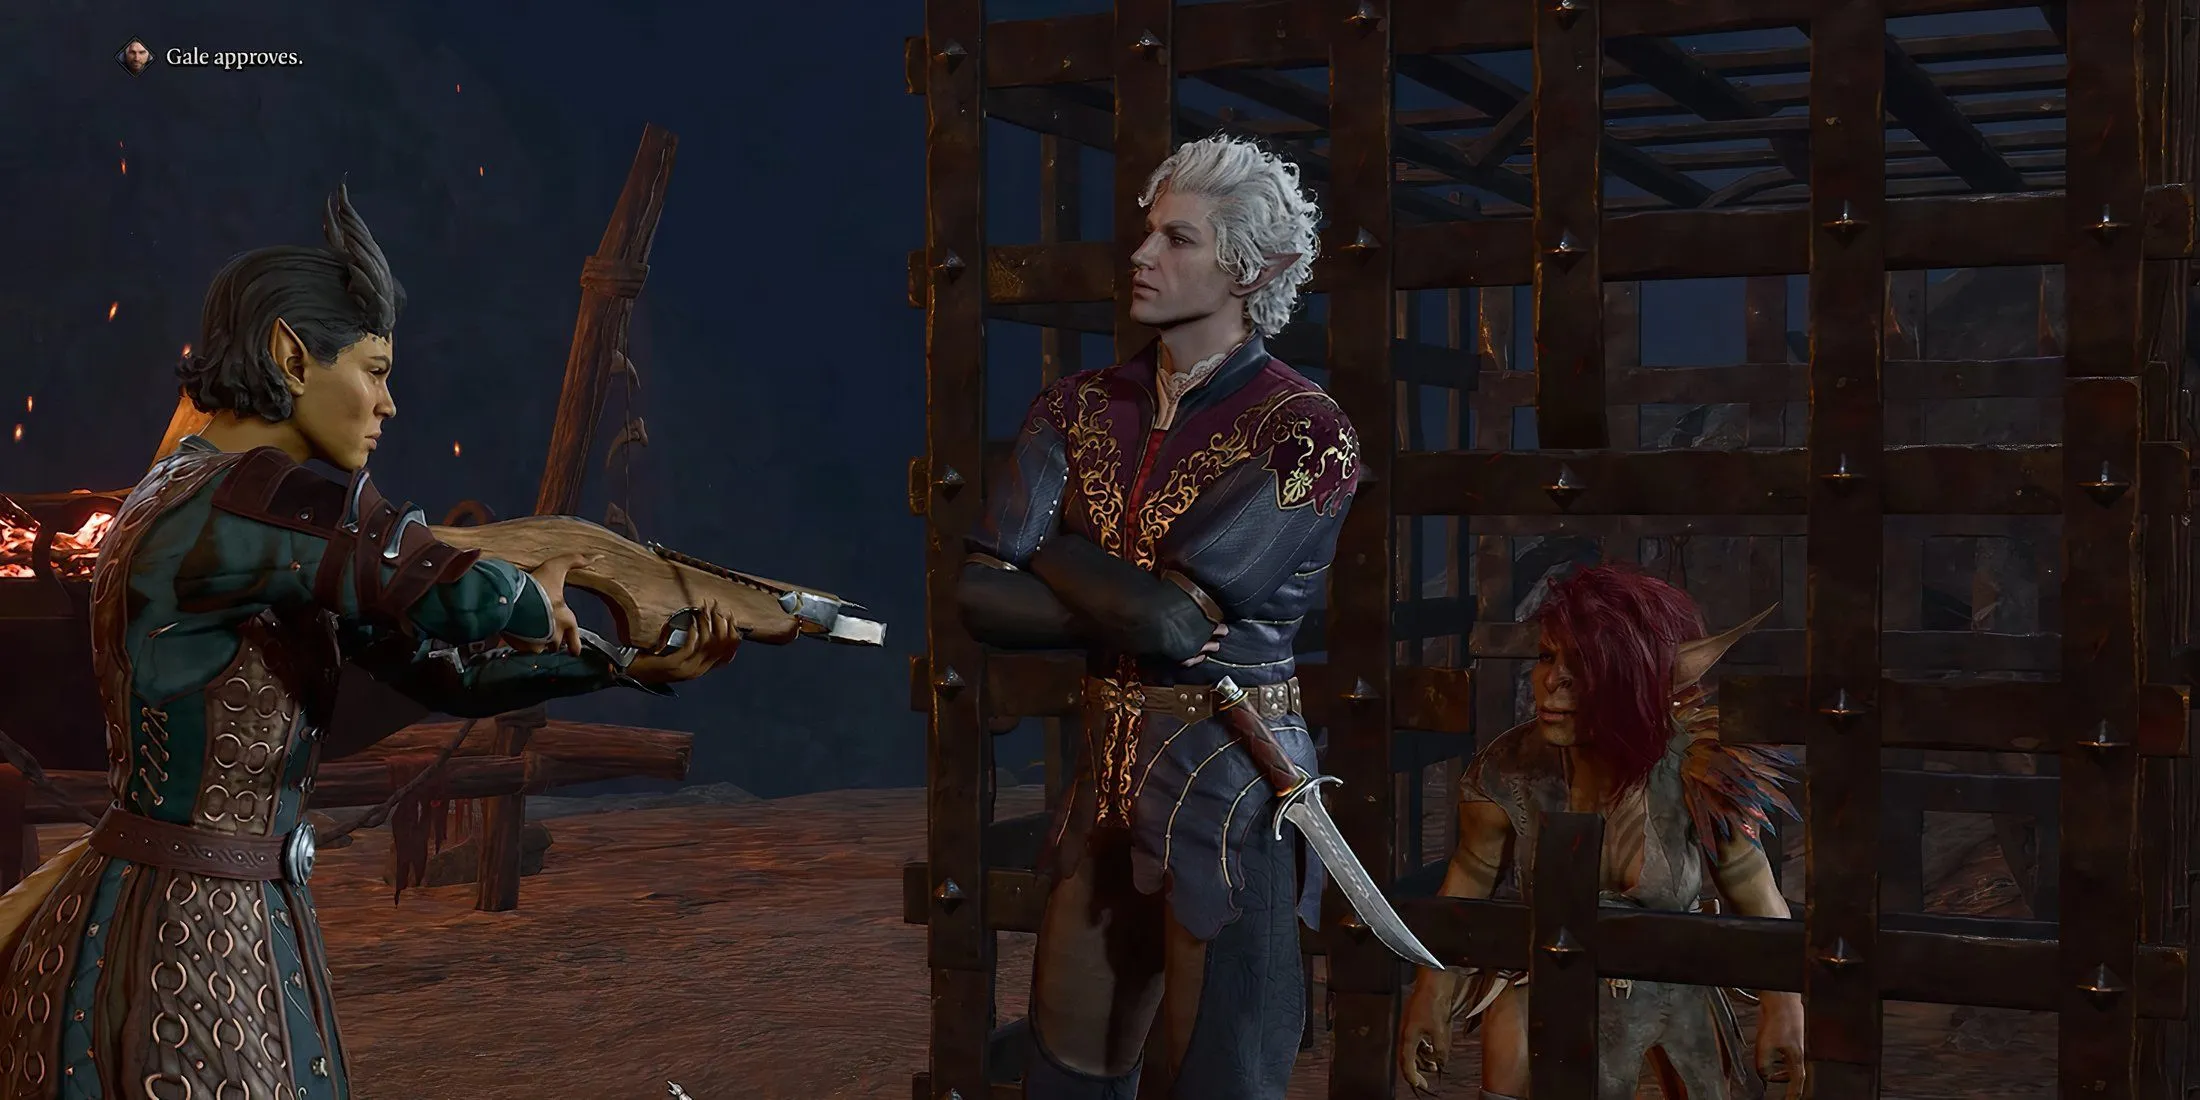
Your initial encounter with Sazza occurs in the Druid’s Grove, where she is trapped in a cage beneath the scrutiny of two tiefling guards. One guard aims a crossbow at her while arguing with her, creating a tense situation. If players do not intervene, Sazza faces execution, and the opportunity for the achievement is lost. To prevent this, select the following dialogue options:
- “Shut up. Those words could be your last.”
- Step in front of the tiefling’s crossbow.
Following this, you need to succeed in a DC5 persuasion or intimidation check to convince the guard to lower their weapon. A successful outcome leads to the guards leaving, allowing you to interact with Sazza and free her from imprisonment.
To release Sazza, you can employ one of the following methods:
- Lockpick the cage door (Sleight of Hand DC10).
- Use a strong character to smash the door open.
- Pickpocket the Iron Cell Key from the tiefling guards.
Escaping the Grove Undetected
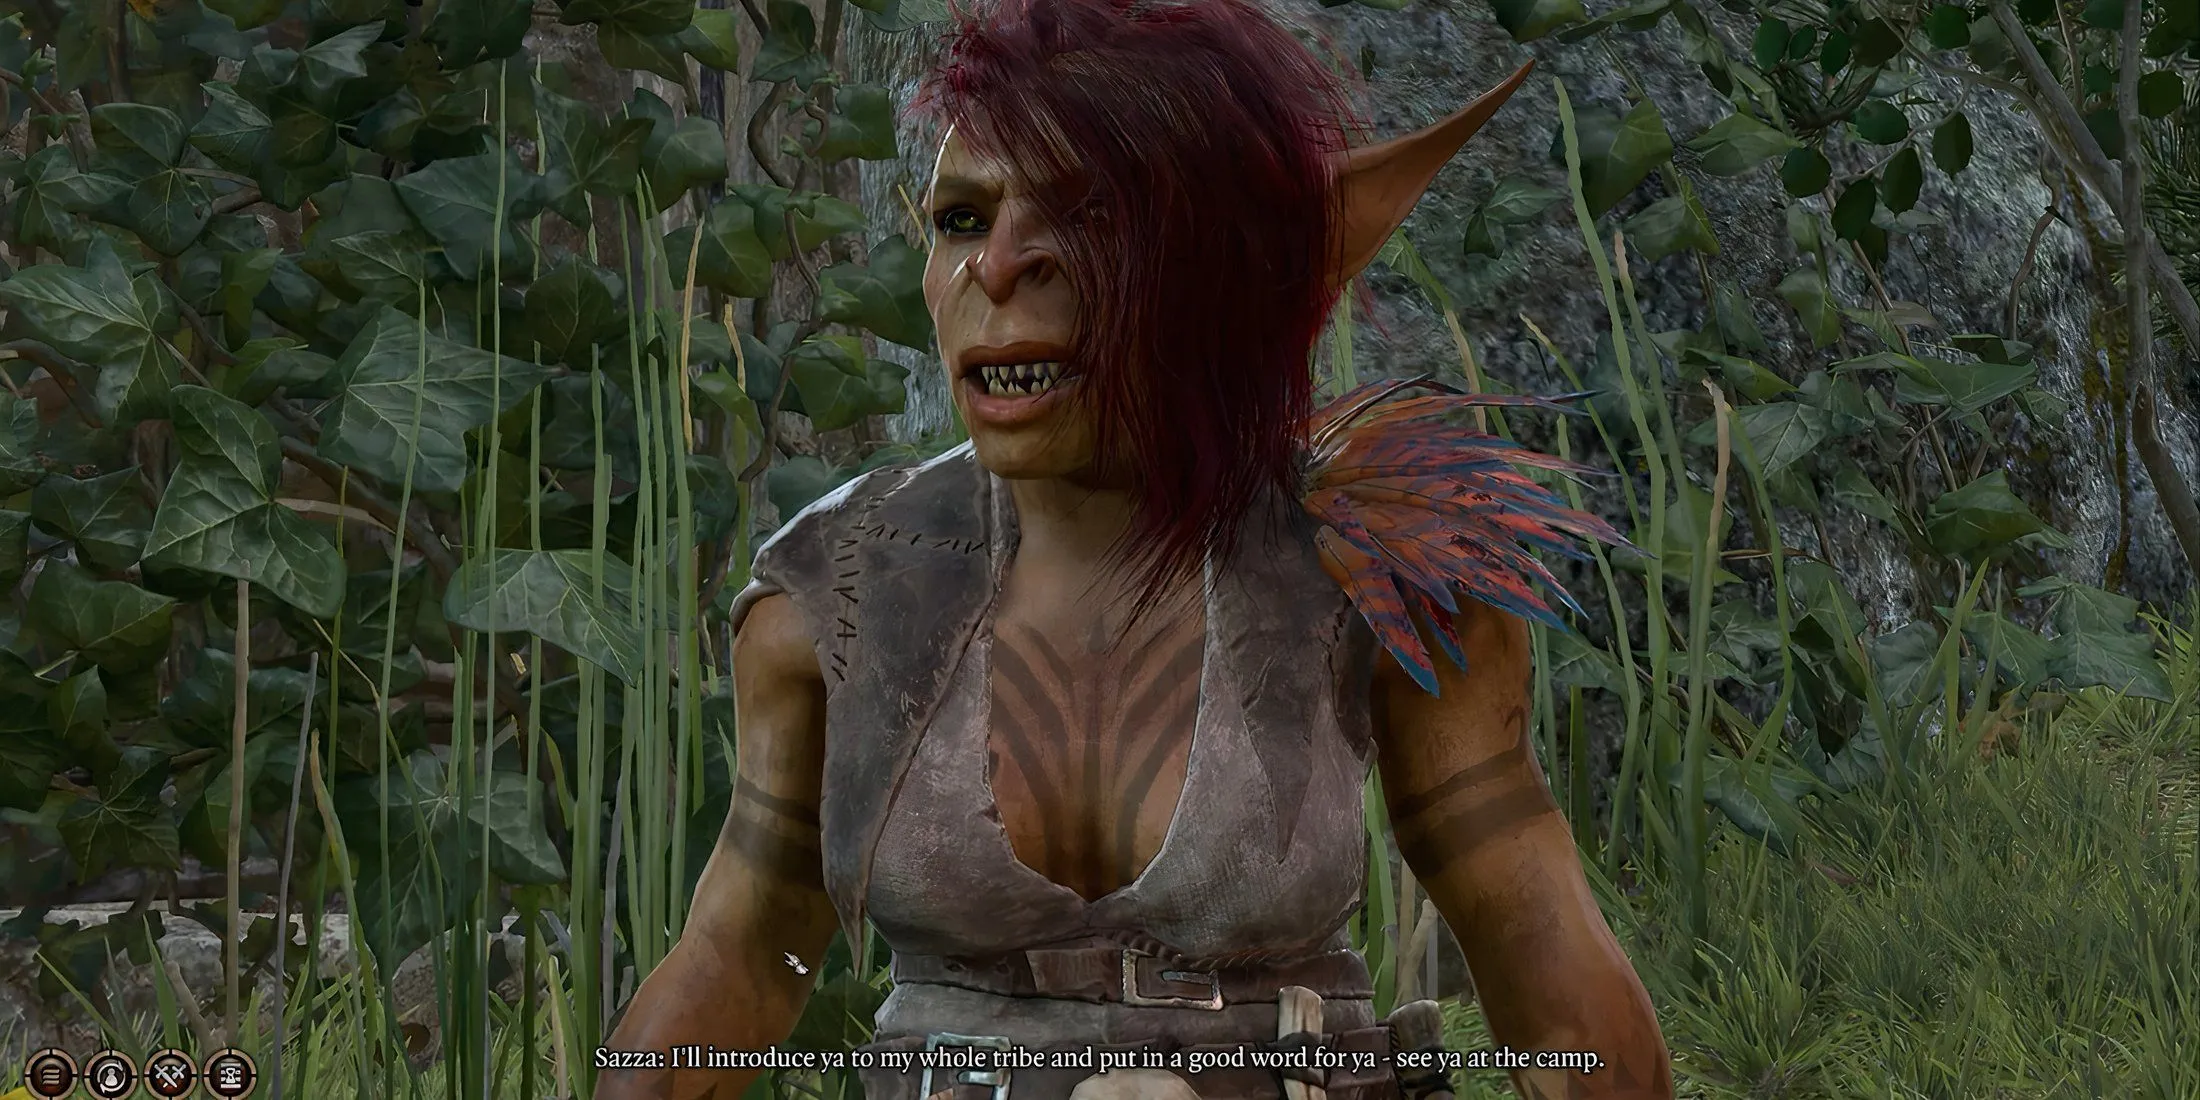
Upon rescuing Sazza, you must carefully plan her escape to ensure you remain undetected. Consider the following strategies:
- Leap across the ledges north of Sazza’s cage to discover a hidden cave, requiring a successful perception check. Inside, you’ll need to disable two trapped statues and defeat a group of hostile goblins. To boost Sazza’s chances, it is recommended to create a quick save before engaging in combat.
-
Alternatively, cast the
 spell on Sazza or have her use a
  to sneak out through the main gate.
- With Sazza as an ally, you can quickly travel to a nearby waypoint, such as the Emerald Grove Environs, to facilitate a smooth exit.
Once outside, Sazza will instruct you to find her at the goblin camp, assuring you of safe entrance.
Defending Sazza at the Goblin Camp
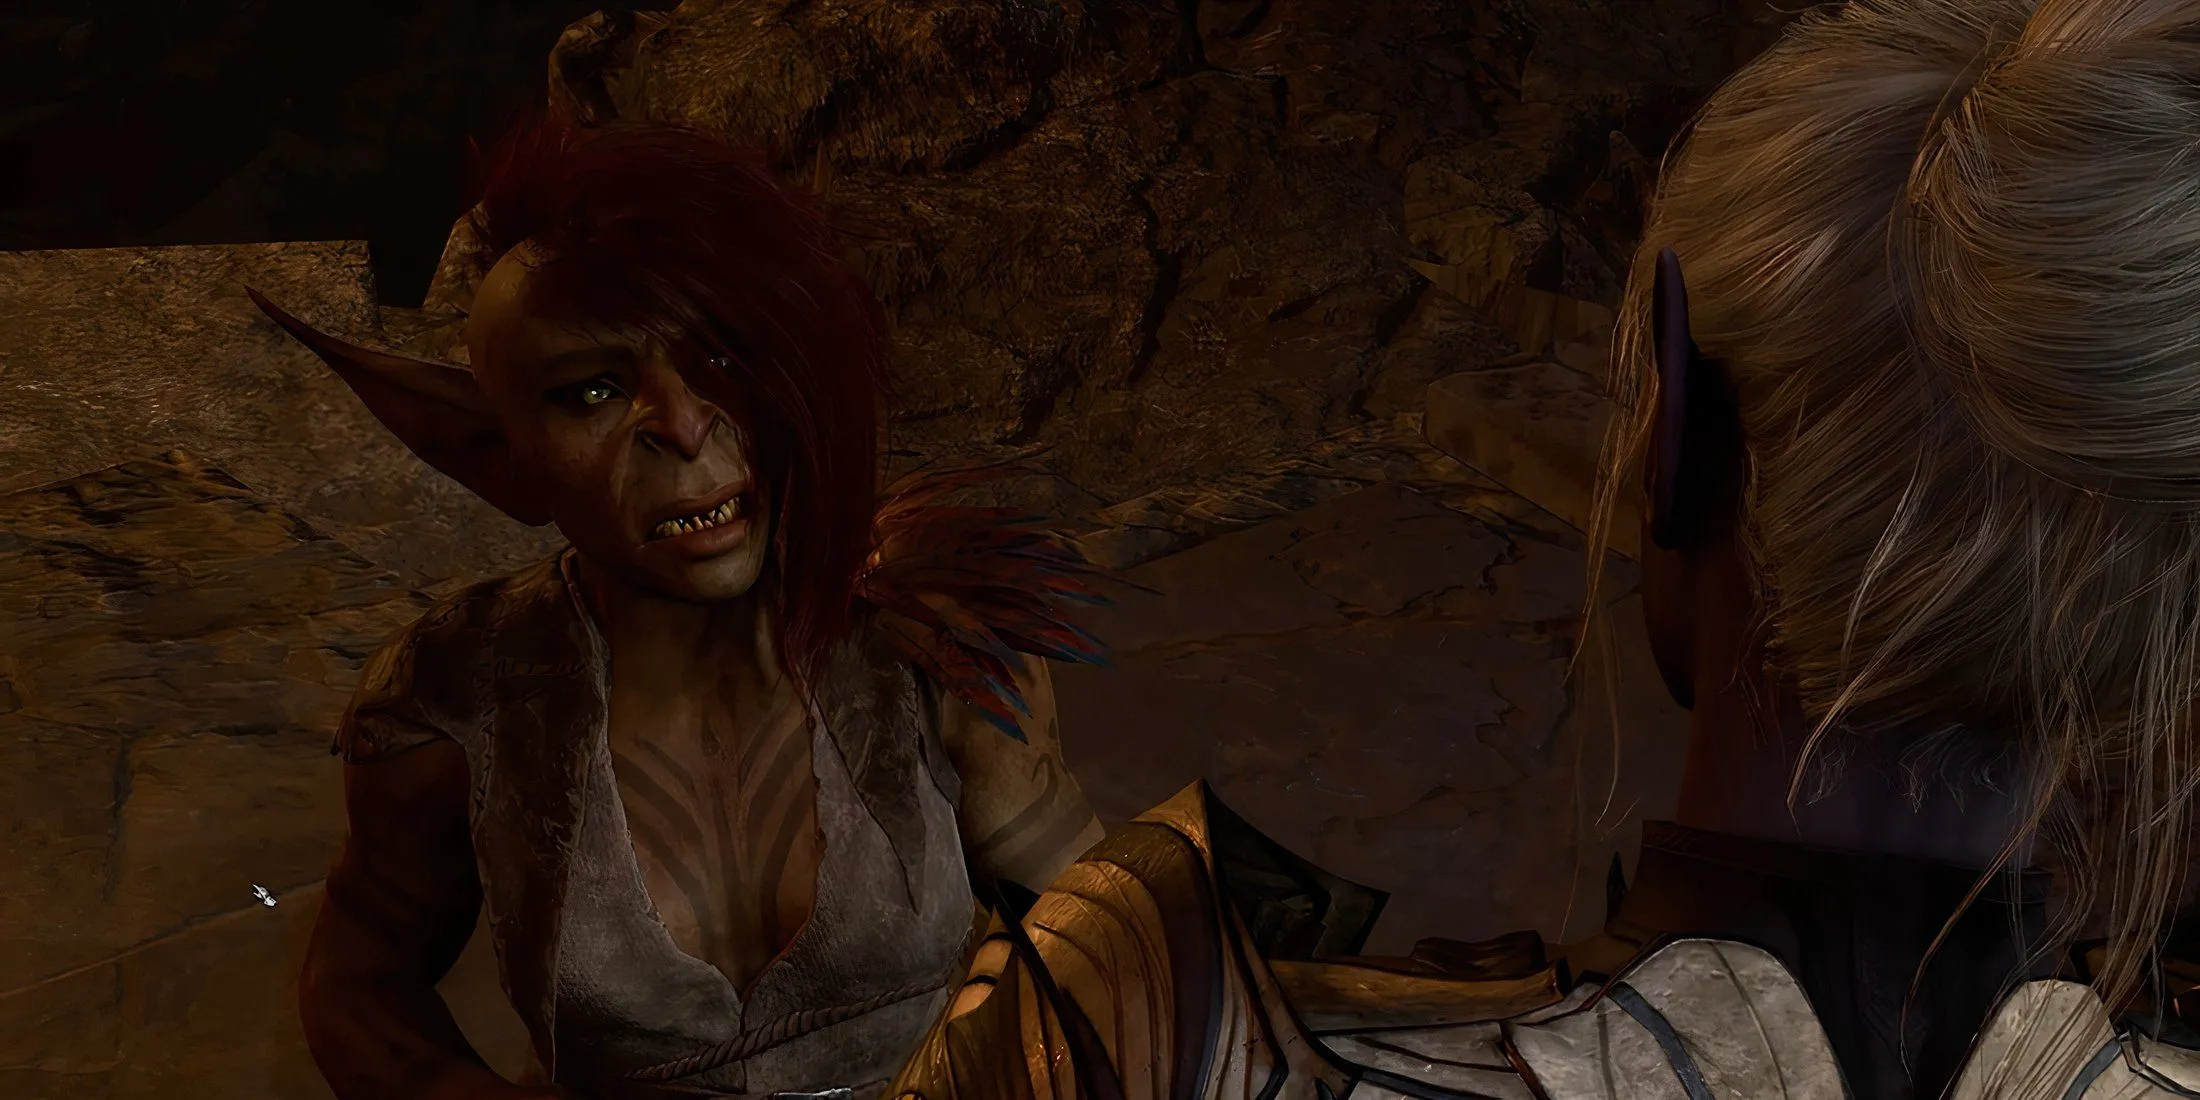
As you journey west of Blighted Village, you will arrive at the goblin camp entrance, where Sazza awaits. She will escort you into the camp, ensuring any goblin guards questioning your presence are appeased. Eventually, you will meet Minthara, the drow Paladin leading the forces of the Absolute.
Minthara accuses Sazza of her failures during the raid on the grove and condemns her to death in the spider pit. To aid Sazza, choose the following line:
- “She’s telling the truth. She didn’t know.”
This choice guarantees that Sazza can continue to the Moonrise Towers in Act 2, where she can be rescued once more, leading to the achievement.
If you provoke hostility in the goblin camp, such as by attacking Minthara or the other leaders, Sazza may turn against you. However, she can still survive into Act 2 if you use non-lethal attacks to subdue her.
Releasing Sazza at Moonrise Towers
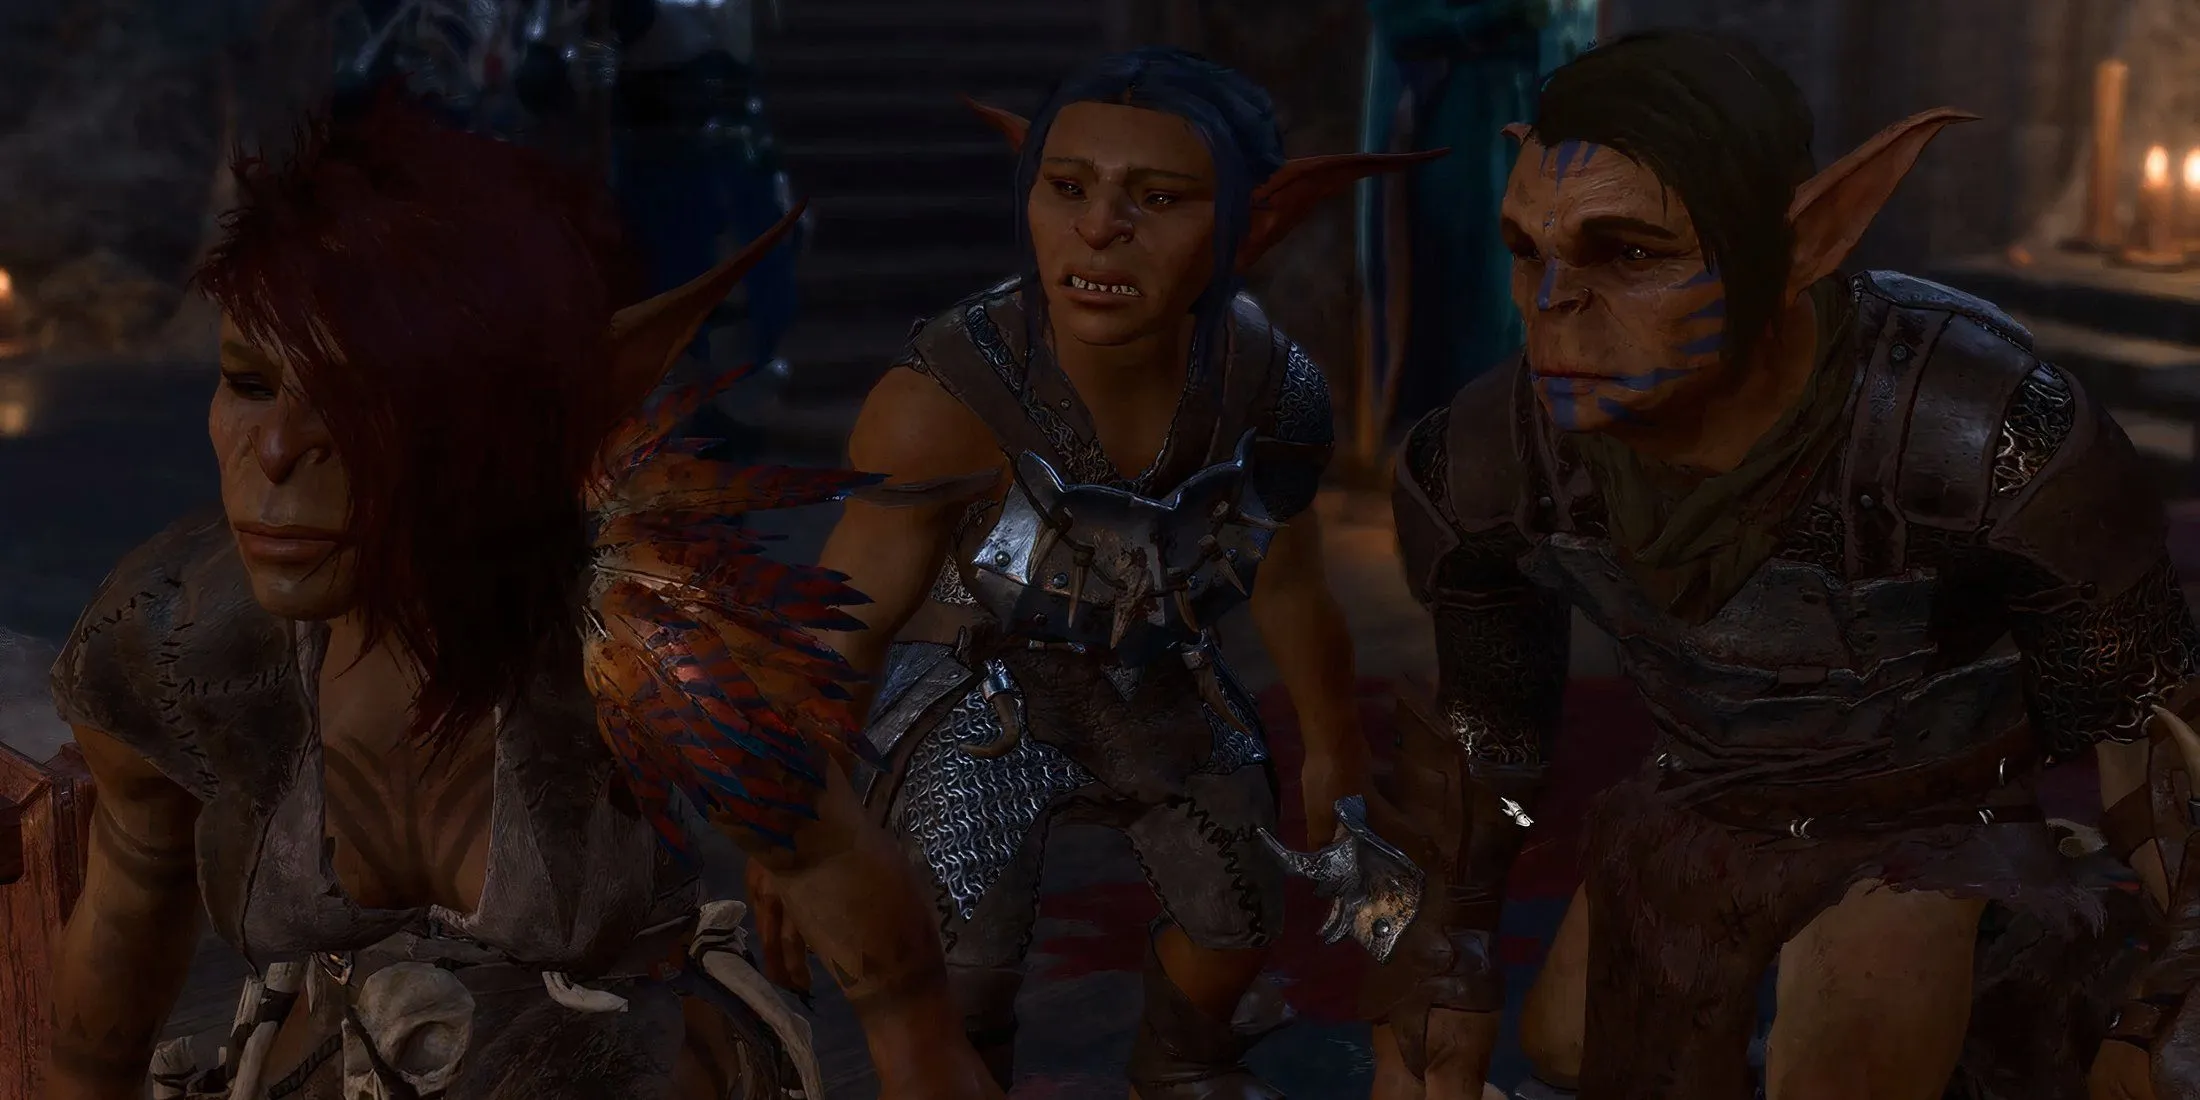
In Act 2, you will reach the Moonrise Towers while searching for information about Ketheric Thorm. There, you will find Sazza alongside other goblins and Minthara, depending on her survival in Act 1. They are facing judgment from Ketheric Thorm and Disciple Z’rell.
As Minthara endures mental torment, Ketheric grants you the authority to decide the fate of the goblins. To ensure Sazza’s survival and unlock the achievement, select:
- “Guards. Release Them.”
This decision will secure Sazza’s freedom and earn you the “She Cannot Be Caged” achievement. Importantly, releasing the goblins at Moonrise Towers does not carry significant consequences, apart from Disciple Z’rell’s skepticism about your motivations during your next interaction.
For more information and visuals, check out the full guide here.
