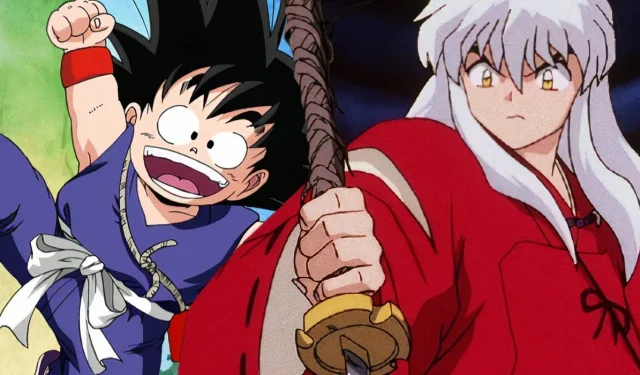

Upon commencing my journey into the world of Inuyasha for the first time, I couldn’t help but notice its parallels to the original Dragon Ball series. The central narrative arc involving the half-demon Inuyasha and his human ally Kagome on a quest for the Sacred Jewel’s shards strongly echoed the magical relic-hunting premise popularized by Dragon Ball. Although the trope of seeking mystical artifacts spans beyond anime, Dragon Ball undeniably set a high standard for similar storylines.
Initially, I assumed that Inuyasha would simply replicate the basic formula laid out by Dragon Ball, especially after witnessing its early episodes filled with encounters against demons and humans under their control. This pattern is established during the first conflict where Mistress Centipede attacks Kagome upon sensing the Sacred Jewel’s power within her. Following that, a crow demon reinforces this narrative by successfully acquiring the jewel, leading to Kagome’s capture by bandits under its influence.
When Sesshomaru, Inuyasha’s brother, made his debut, I erroneously believed he would diversify the series’ formula, as his unpredictable appearances might break up the narrative monotony. However, episode #8 revealed an entirely different dimension to the show’s storytelling.
Inuyasha Encounters Situations Reminiscent of Goku’s Adventures
Drawing Inspiration from Dragon Ball’s Formula and Influencing One Piece

The premise of episode eight intriguingly mirrors some of Dragon Ball’s most iconic storytelling elements. In this episode, Inuyasha and Kagome find themselves embroiled in the troubles of a village under siege by a seemingly human lord. This dynamic ultimately exposes him as a demon possessing one of the Sacred Jewel shards, aligning neatly with their overarching quest. This encounter serves as a wake-up call, demonstrating that their journey involves significant side missions linked to their central goal.
In a fortunate turn of events, Kagome persuades Inuyasha to intervene, and it is revealed that the lord is not just any adversary but one with vital pieces of their quest. The ongoing need for Inuyasha and Kagome to assist communities they encounter to reclaim the sacred shards is a critical narrative device that resonates with the formula established in Dragon Ball, which heavily influenced One Piece. Much like Goku’s various adventures in helping others to locate the Dragon Balls, these side quests enrich Inuyasha’s narrative far beyond mere collection.
Inuyasha Presents Its Own Version of Oolong
This “Oolong”Also Captures Women, Though for Different Reasons

Interestingly, the story arc in episode eight closely parallels a memorable plot in Dragon Ball. The demon that Inuyasha and Kagome confront terrorizes a village by abducting its women, with no return in sight. As they dig deeper, they discover that the demon’s gruesome intent is to harvest their souls for consumption.
This premise recalls Goku’s encounter with Oolong, who also kidnaps women but for the rather mundane purpose of forcing them into domestic labor. His last intended victim was actually meant to be a bride rather than a meal.
Inuyasha and Goku: Unwilling Heroes
Kagome and Bulma as Catalysts for Action

Notably, neither Inuyasha nor Goku willingly offers their aid to the villagers; instead, their companions take the initiative. Kagome motivates Inuyasha to assist with genuine intentions, whereas Bulma only proposes they lend a hand upon learning a villager possesses a Dragon Ball, framing their involvement as a barter for a prized object.
As I continue my exploration of Inuyasha, it is evident that the series embodies a compelling storytelling structure greatly influenced by Dragon Ball. With a total of 167 episodes in the original run and an additional 26 in Inuyasha: The Final Act, I anticipate more narratives that intertwine realms of personal development with an engaging quest for powerful artifacts.