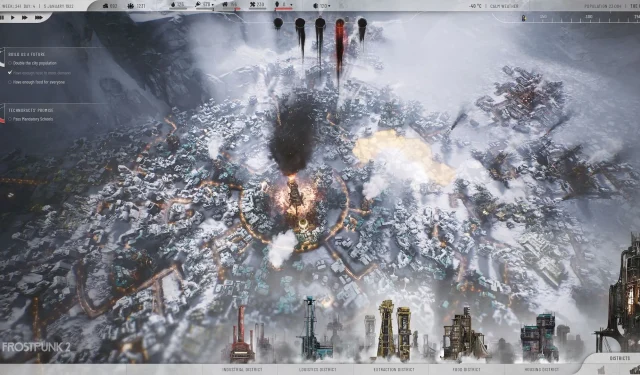
Frostbreaking in Frostpunk 2 is essential for expanding your City and unlocking new resources to support your civilization. This mechanic is an effective way to discover new areas or obtain valuable resource caches. While it can be resource-intensive, prioritizing Frostbreaking is crucial to preventing your City from falling into despair.
Understanding Frostbreaking in Frostpunk 2
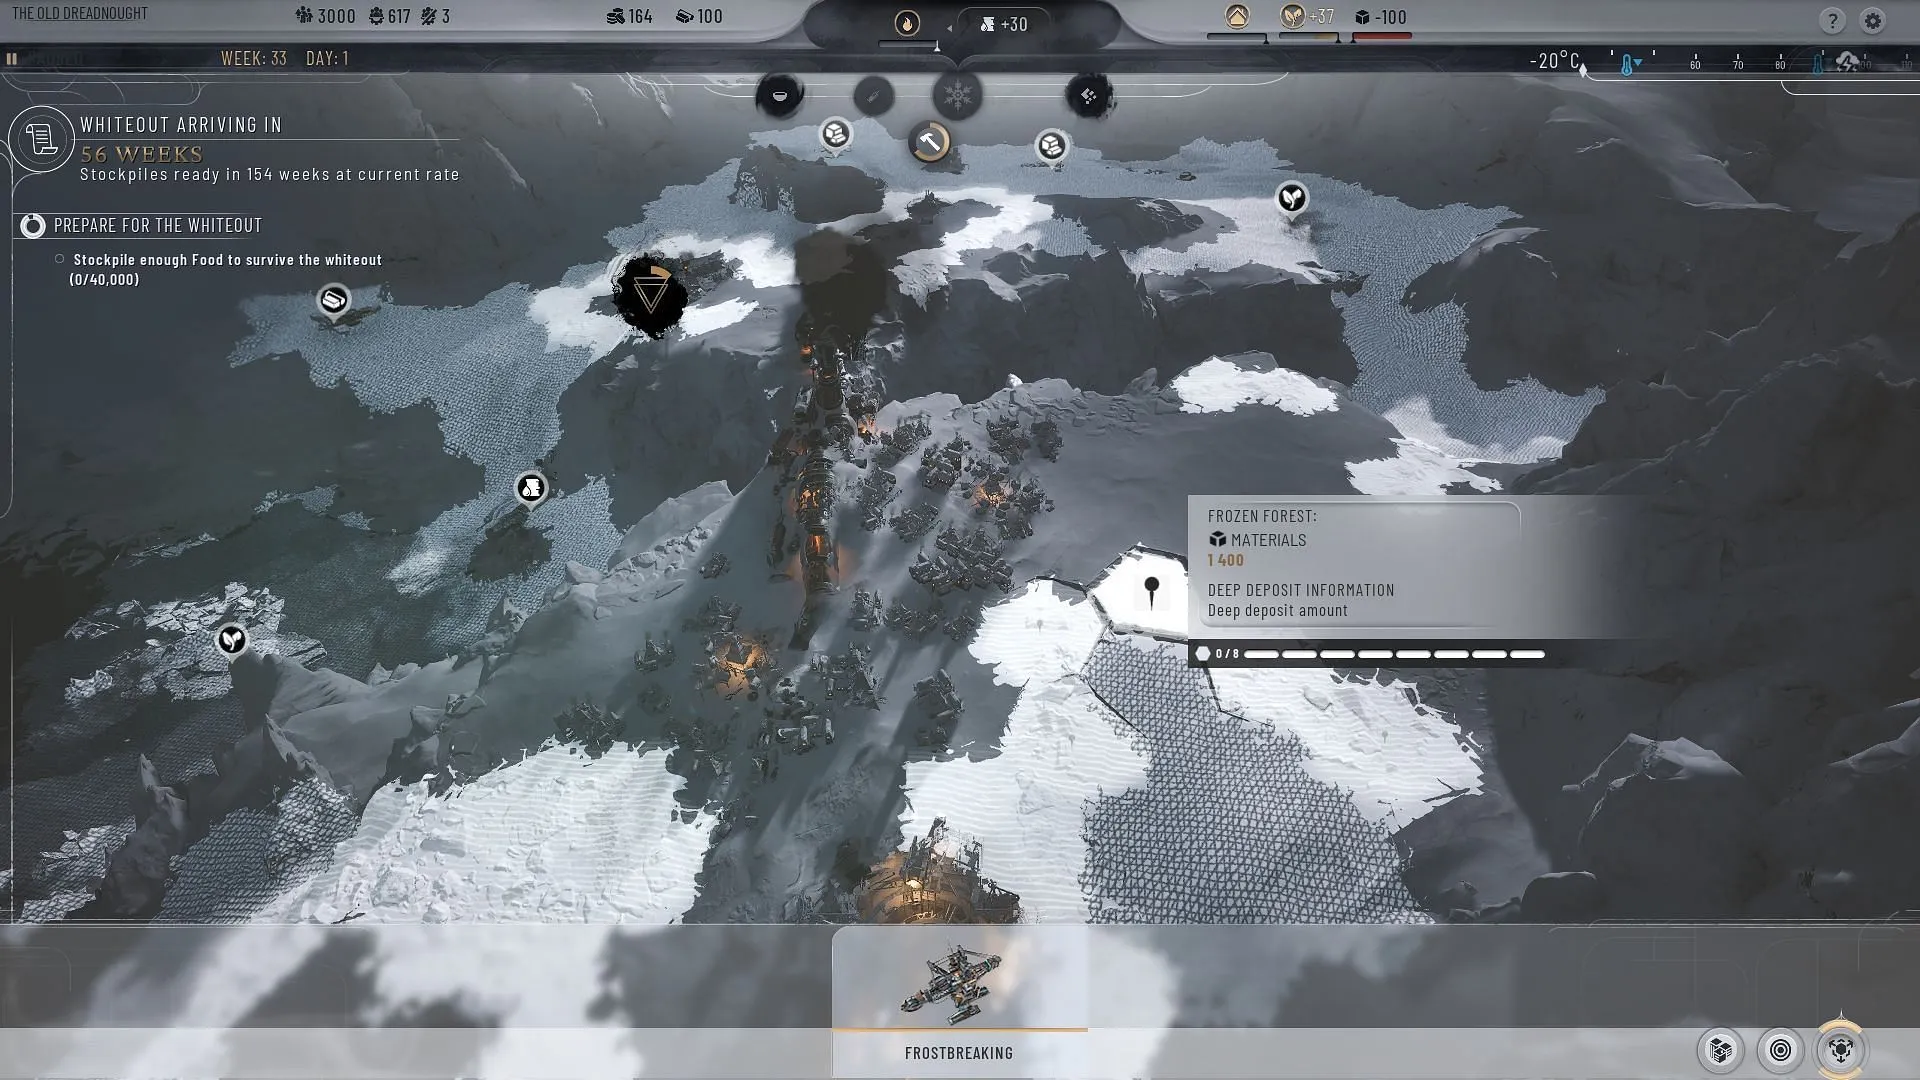
Frostbreaking is a critical game mechanic where you expend resources to break the Frost in a designated area, making it suitable for habitation. This process allows you to utilize the land effectively, enabling you to place Districts.
By applying Frostbreaking, you can extract resources, grow food, mine, and sustain your City overall. However, you must utilize this mechanic strategically, as you can only break eight tiles per operation. Carefully choose the areas you wish to expand before initiating Frostbreaking in Frostpunk 2.
Steps to Use Frostbreaking in Frostpunk 2
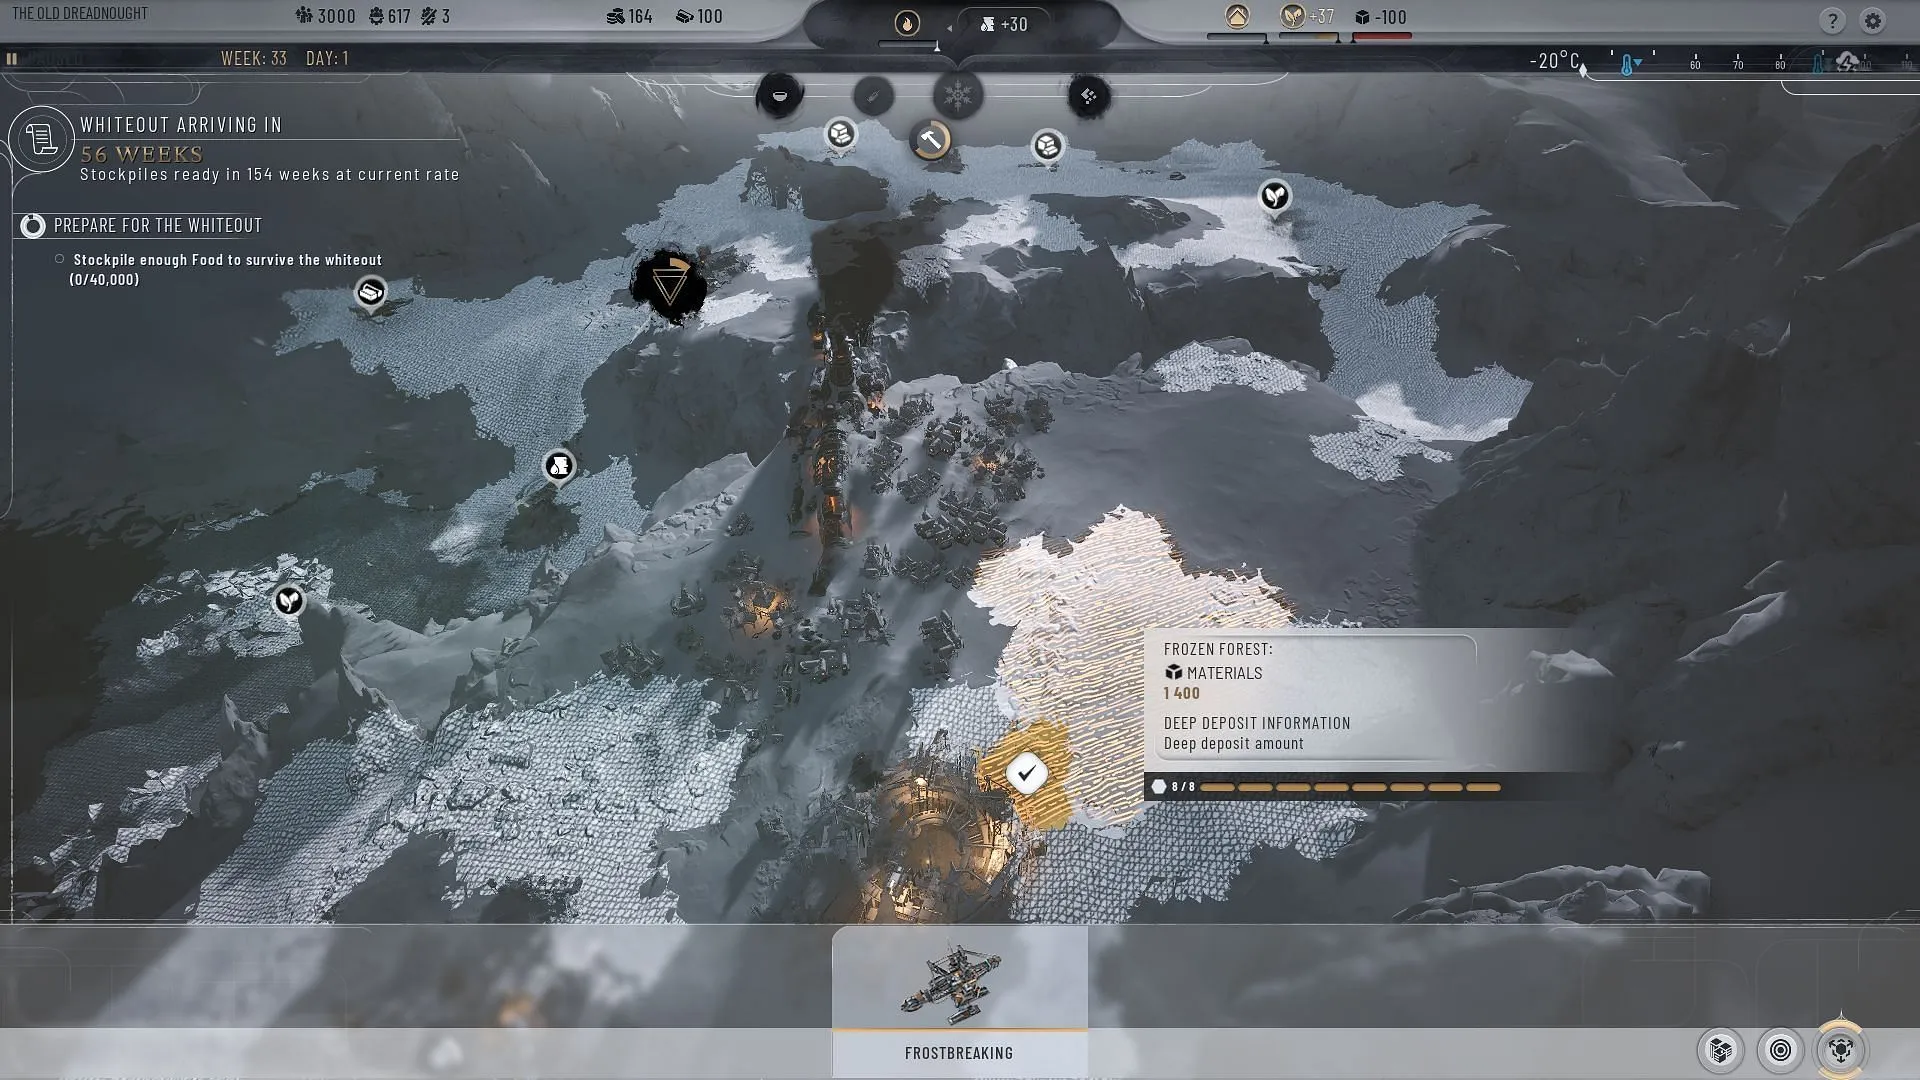
To initiate Frostbreaking in Frostpunk 2, locate the button in the bottom-right corner of your game screen. Ensure you have at least 200 Workforce and 30 Heatstamps available before proceeding.
Once you’re prepared, click the button and select eight tiles on the map that you wish to Frostbreak. Eligible tiles will be indicated with a black marker. After selecting your eighth tile, confirm your selection by clicking the check mark to commence the process.
It’s important to note that upon completing the Frostbreaking operation, only the 200 Workforce will be refunded; the 30 Heatstamps represent the cost associated with Frostbreaking in Frostpunk 2.
Frostbreaking Tips for Frostpunk 2

Implementing Frostbreaking effectively is vital. If your goal is to unlock a District or Hub and you’ve identified the necessary number of tiles, consider using the remaining tiles to expand the surrounding area. This strategic move proves beneficial when placing additional buildings later.
Additionally, confirm you have sufficient Workforce and Heatstamps before proceeding with Frostbreaking. It’s advisable to stabilize your City first before expanding or placing new Districts.
Types of Frostbreaking in Frostpunk 2
In Frostpunk 2, players have two Frostbreaking options as they progress through the game: Rapid Frostbreaking and Safe Frostbreaking.
As the name implies, Safe Frostbreaking offers a more secure approach, although it requires more time and Workforce to execute. It guarantees success without jeopardizing your available Workforce.
Conversely, Rapid Frostbreaking is swifter but carries the risk of losing some Workforce due to accidents and environmental factors. While it demands fewer resources, the long-term cost could be higher, as you will need to make up for lost Workforce.
Choosing Between Rapid and Safe Frostbreaking in Frostpunk 2
Utilize Rapid Frostbreaking if you lack sufficient Workforce but urgently need to clear an area. However, if your population is robust and your Workforce is healthy, consider opting for Safe Frostbreaking.
Always remember that alleviating the five significant problems of your City while avoiding material shortages should be your ultimate aim. Therefore, if you believe that Frostbreaking and establishing a District or Building is imperative for your survival, don’t hesitate to trade a portion of your Workforce for the greater good.
