“A Barman is Hard to Find”represents Chapter Seven of the immersive title, South of Midnight. This action-adventure game follows the protagonist, Hazel, as she embarks on a quest to locate and confront various mystical beings while harnessing her newly acquired abilities. In this chapter, Hazel specifically seeks out a Juke Joint in pursuit of a man named Laurent, continuing her broader mission to find Huggin’ Molly.
This guide elaborates on how to successfully navigate through the “A Barman is Hard to Find”chapter, excluding the climactic boss battle at the conclusion.
Walkthrough for Chapter “A Barman is Hard to Find”
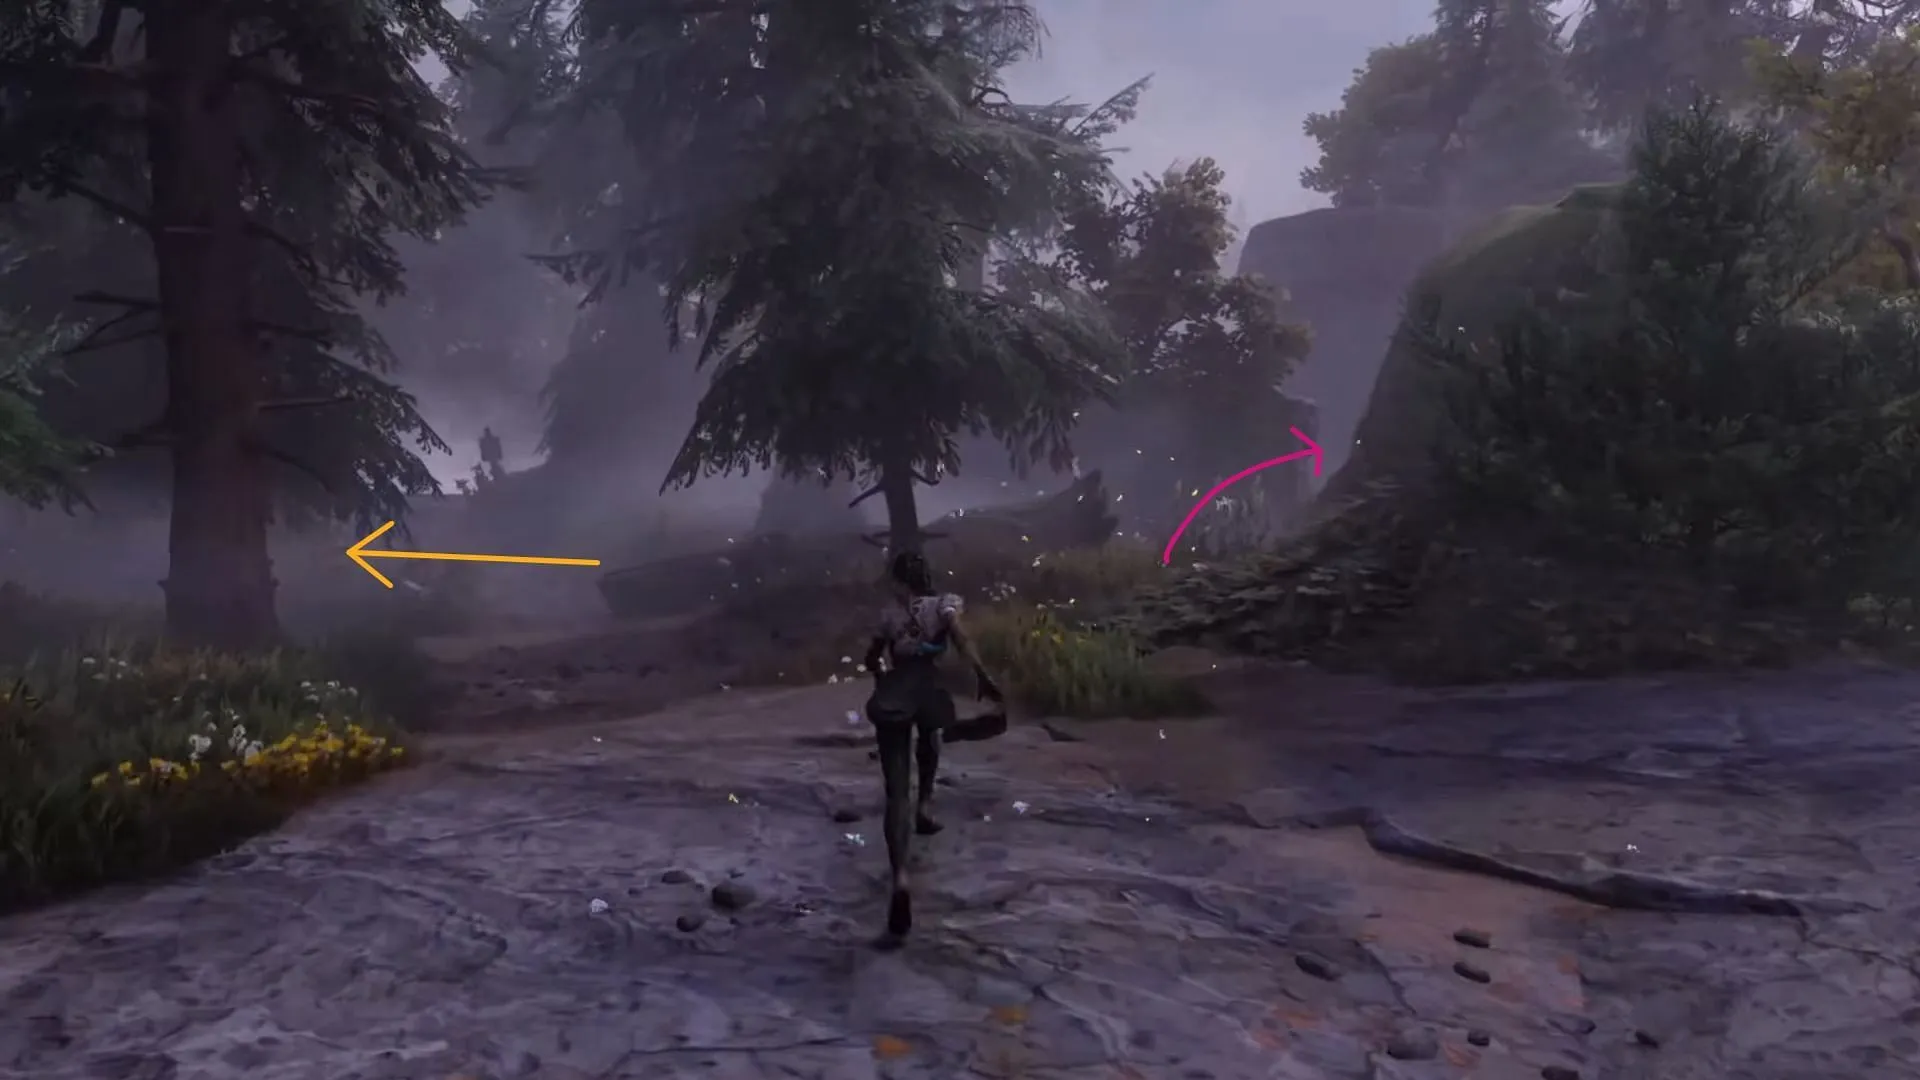
The “A Barman is Hard to Find”story chapter is a direct continuation of the previous one, expanding on Hazel’s journey. Follow the glowing guiding strand until you hear Hazel mention the old Sawmill. At this juncture, leap onto the next platform, but instead of proceeding straight ahead, turn around. Behind the first rock on the right, you will discover a metal sheet that can be flipped. On the opposite side of the road, locate a wall that can be climbed. Navigate past the spikes here to retrieve a Floof knot, and above that, you’ll find a collectible readable titled “The Lost Boy.”
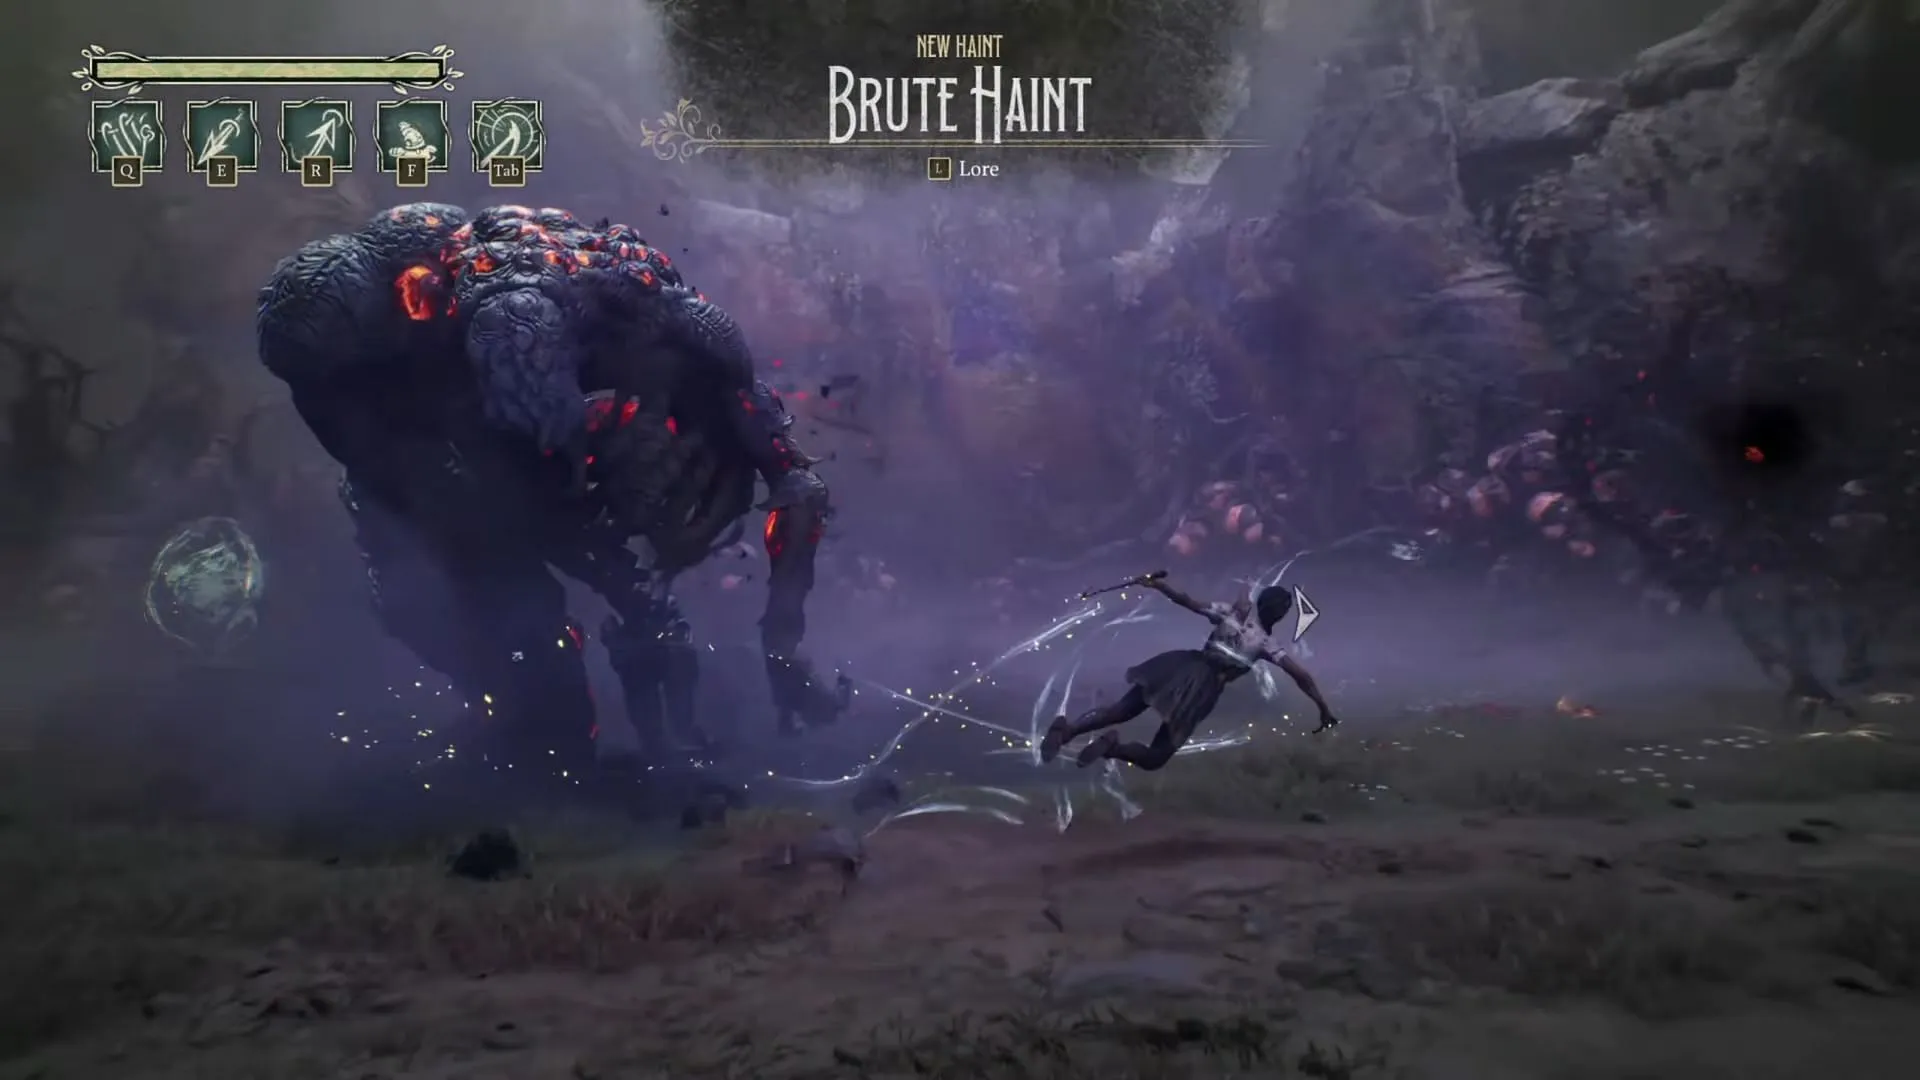
Utilize the wall-run feature against the wall next to the platform and freeze the echo platform in the water to advance. Collect another Floof knot during your progress. Subsequently, grapple through the bramble to initiate a combat scenario where you will encounter a new enemy type known as the Brute Haint, accompanied by a Hurler.
The Brute Haint is known for its close-range capability, proving to be stronger than previous adversaries. It lunges at Hazel, and has a resilience against her weave ability. To combat this enemy effectively, employ a quick Strand Pull to engage and create distance following a few hits. After vanquishing the first Hurler, a second will emerge alongside a nest.
During this encounter, consider using Larva Haints to deal damage to the Brute from a distance. Once the battle is over, search the cave located in the arena that contains two collectibles: a Health Filament, found behind a breakable branch, and a readable titled “Lost Liquor,”which you can spot atop a box.
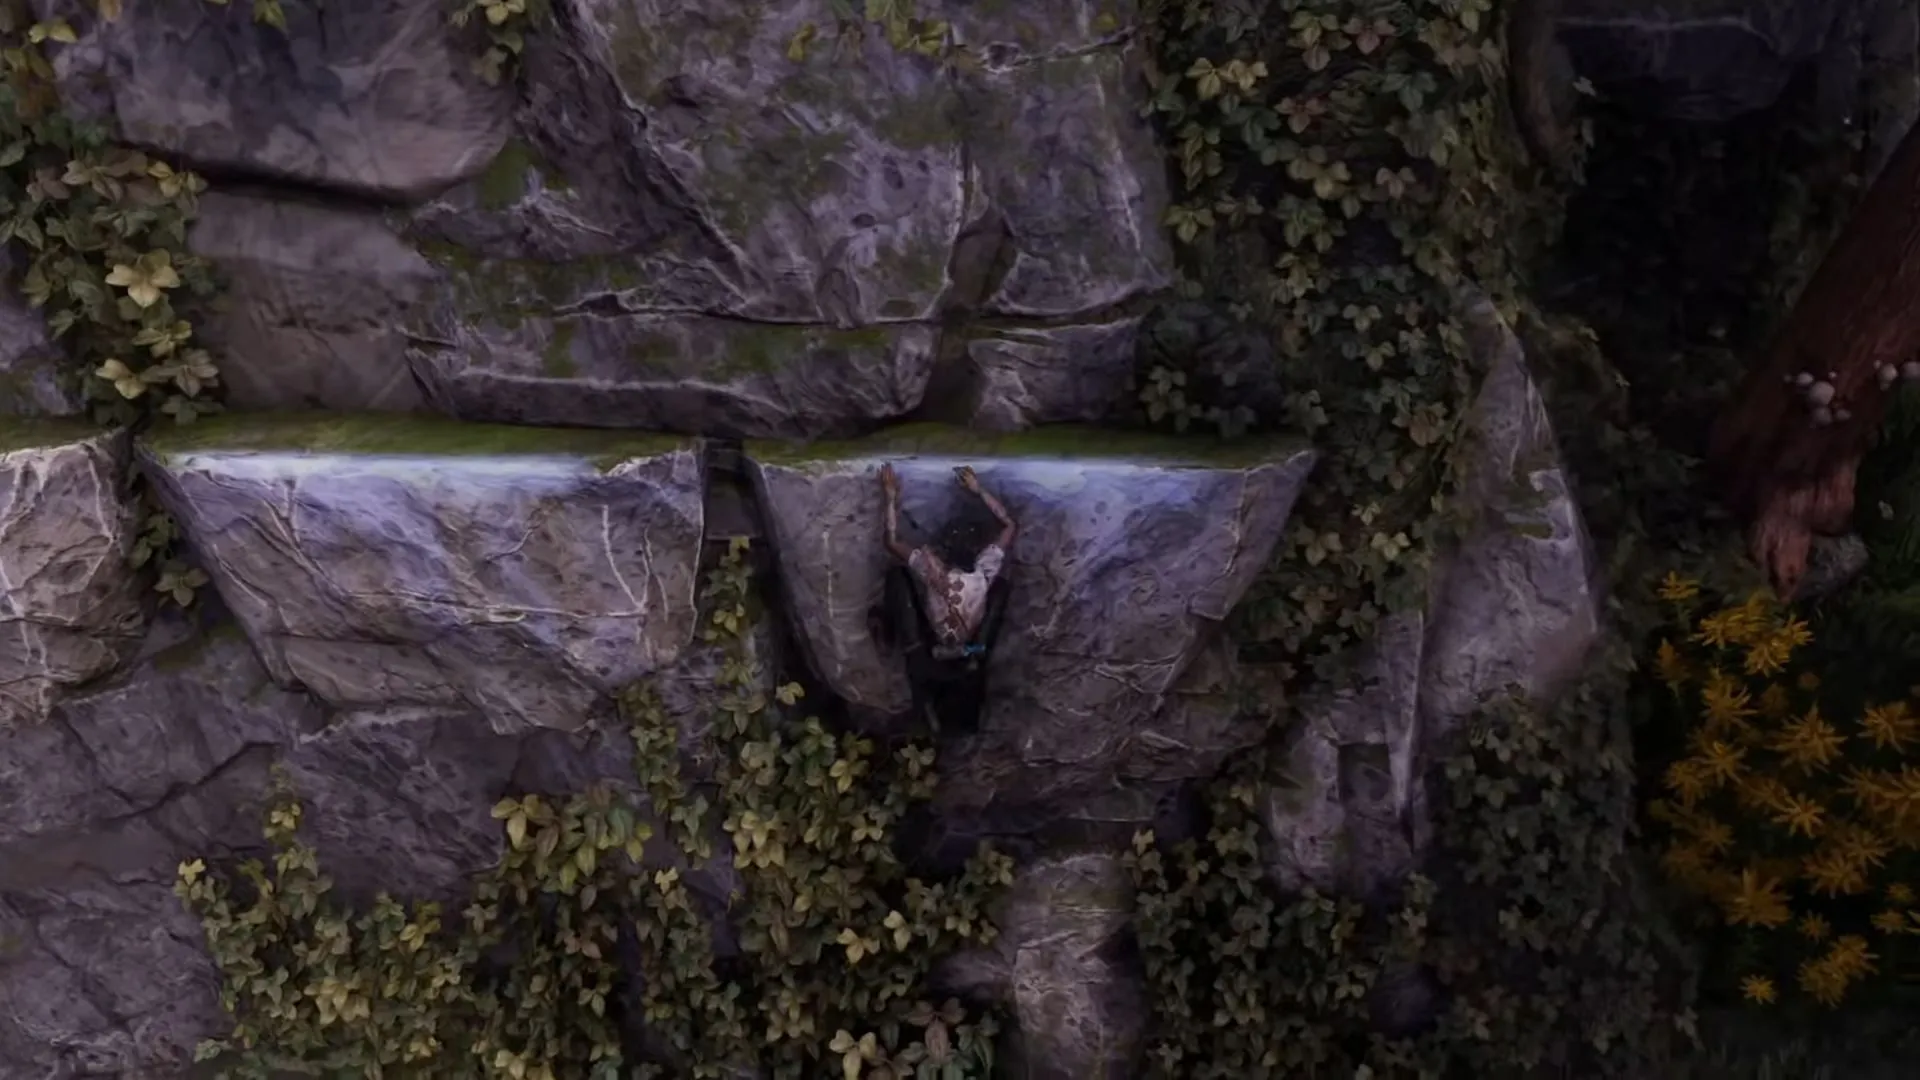
Continue to follow the guiding strand, climbing up the ledges to reach an elevated area. As you ascend, look back to discover a breakable branch hiding another Floof knot. Proceed down the main path; however, halt when you notice a Memory Object associated with the quest. Instead of interacting, veer right to uncover a readable titled “Lieutenant Laurent”resting atop blue and yellow boxes. Move further to pull a large box for access to another Floof knot on an elevated platform.
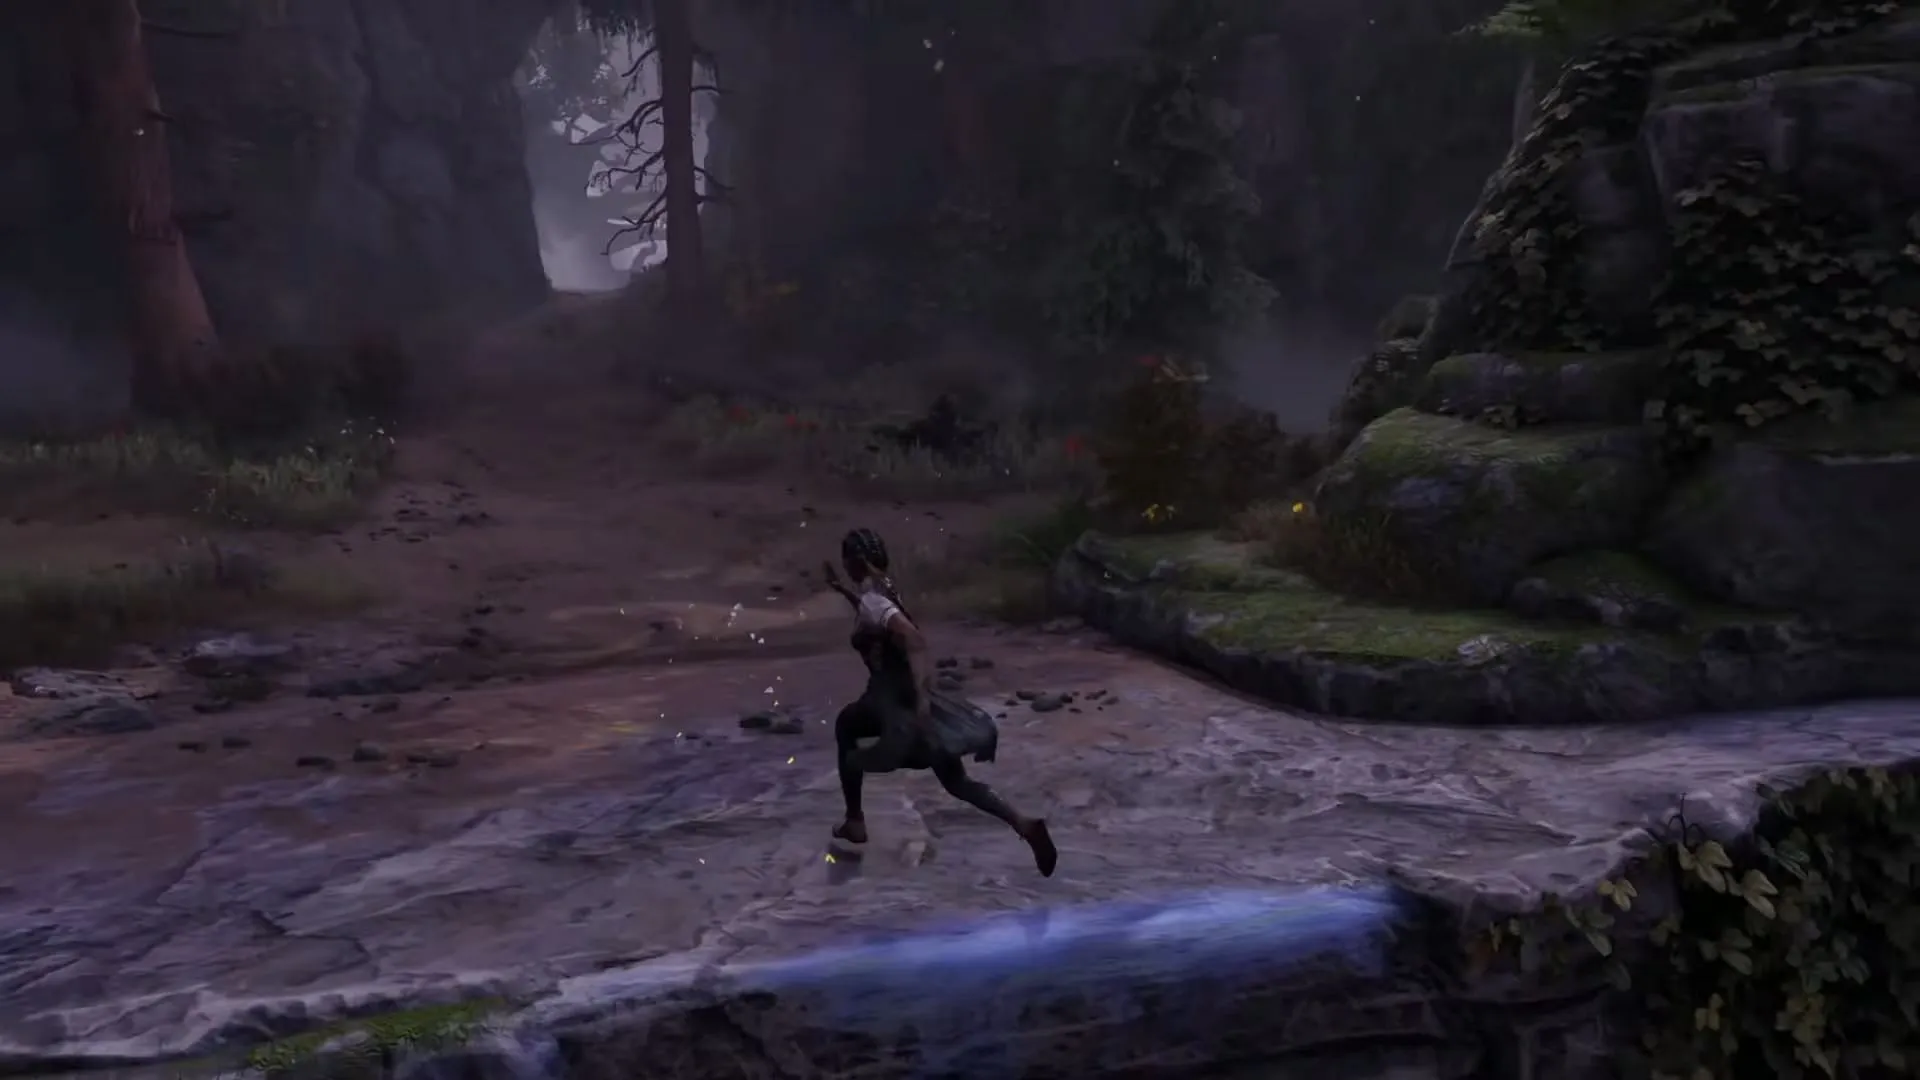
Now return to the main road and activate the Memory Object associated with “A Barman is Hard to Find.”Upon regaining control of Hazel, navigate across the river utilizing jumps, dashes, and moving wooden planks. Before proceeding further, take the left path to uncover a hidden metal sheet and the right path to discover another alongside a readable named “The Babblin’ Boy.”
This moment might be advantageous for utilizing your newly acquired Floofs. You can choose to unlock Immortalizing Push for an added automatic weave or Crouton Surge for a boost in damage.
Resume the main route, making your way through a hollowed-out tree trunk. Once on the other side, take the left path, leap over brambles, and find yet another Floof knot before returning to the main route.
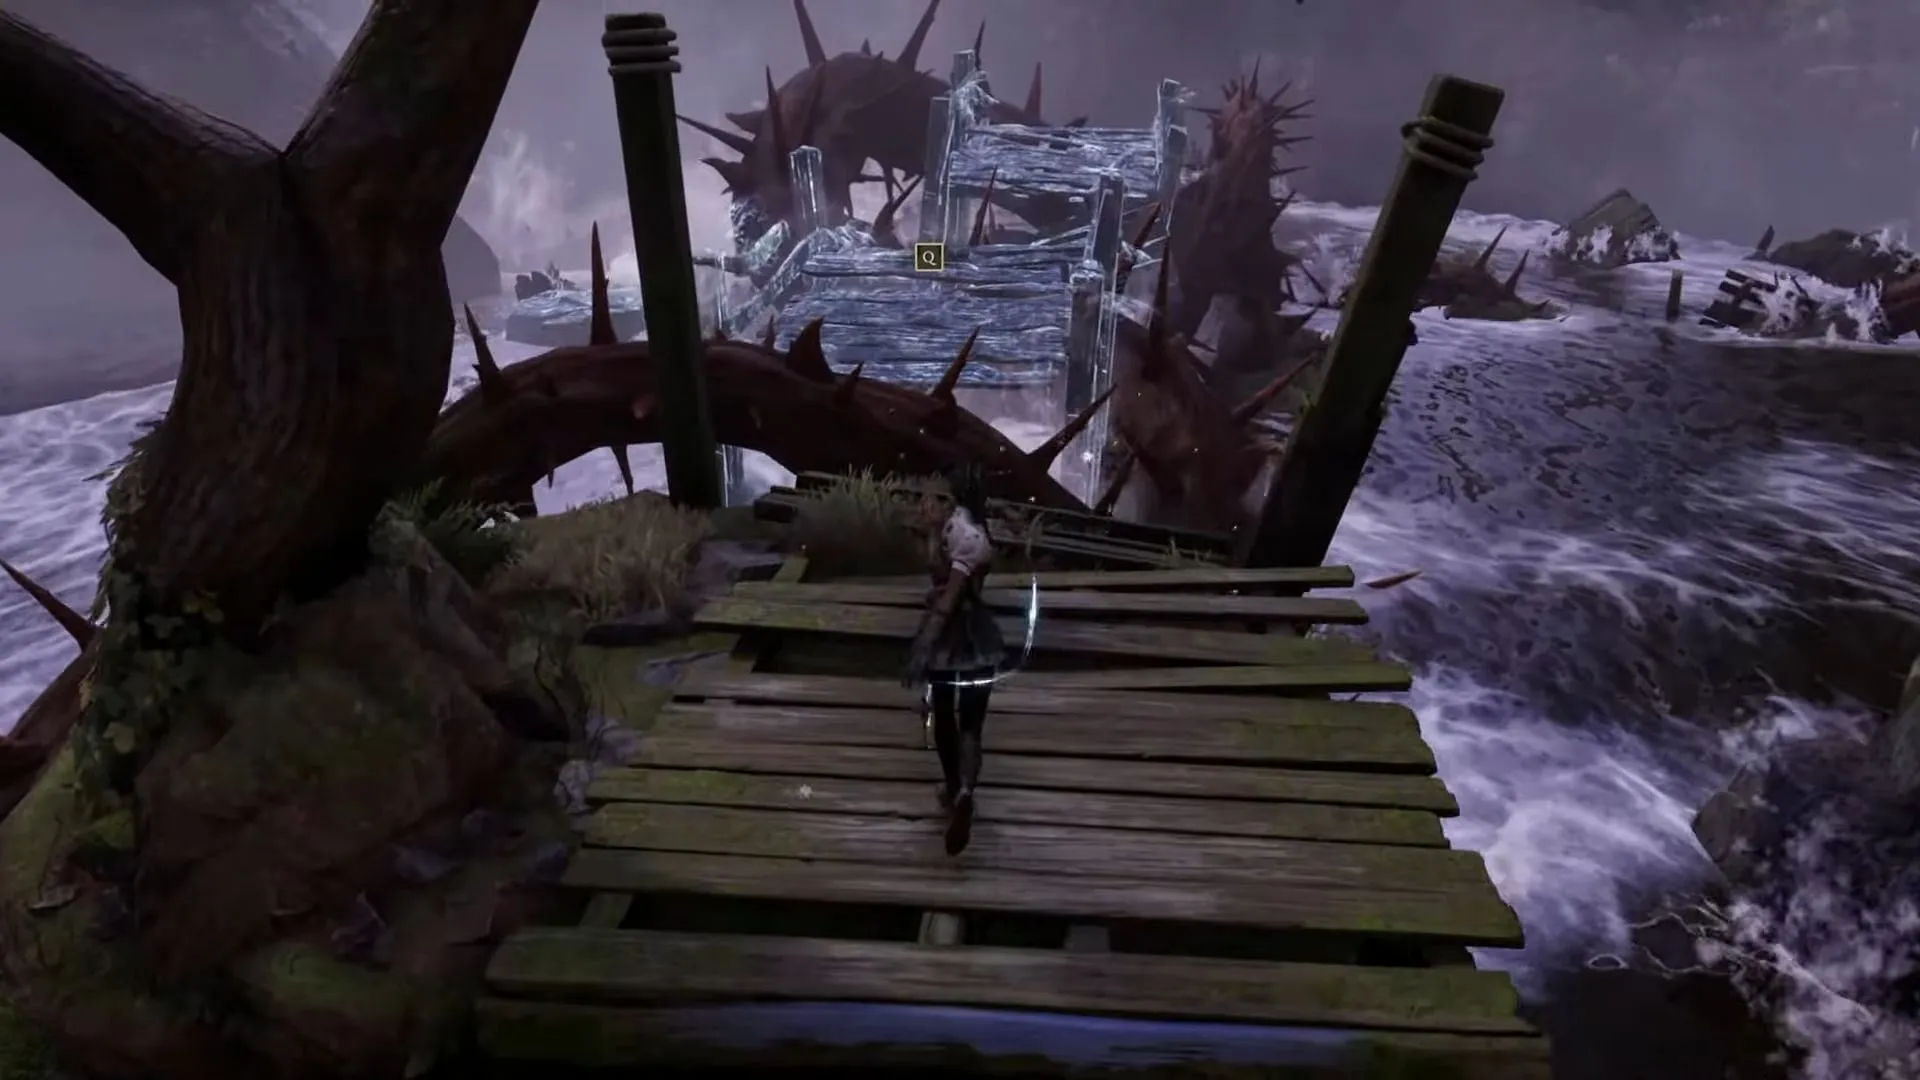
As you advance, you’ll encounter three straight echo platforms needed to cross the river. Upon reaching the final platform, look to the left for an additional platform leading to a Floof knot. Once you backtrack and cross the river, steer left instead of right to locate another metal sheet and a readable titled “Baby Faced Laurent.”
Continue following the guiding strand to arrive at a fork in the trail marked by a dead tree. You’ll find a readable nestled within its birdhole, titled “Burrower’s — Lil Drunkards.”Afterward, turn right to gather a few Floofs before continuing left to progress further through “A Barman is Hard to Find.”
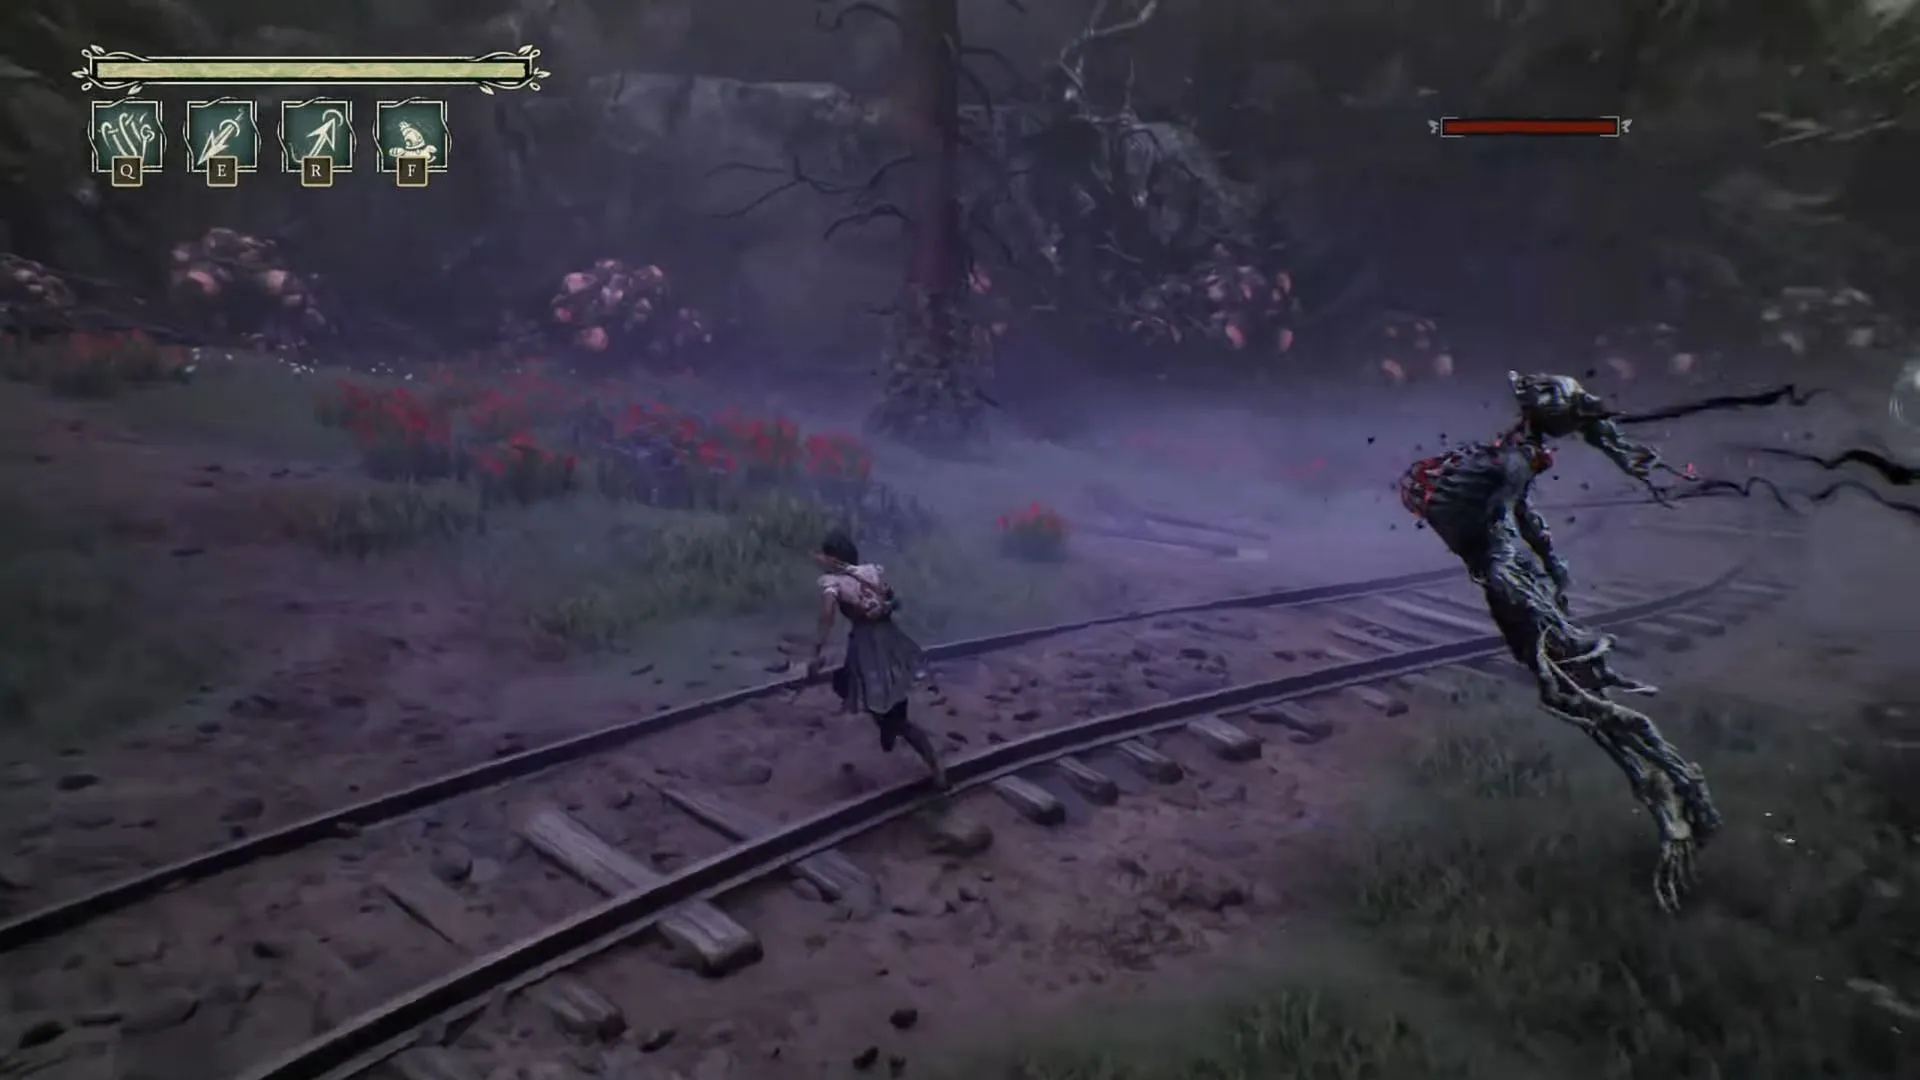
You will soon find yourself in a combat arena populated by two Hurlers, three Ravagers, and a nest. The stigma isn’t visible on the ground but rests inside a burrow at one corner, which requires Crouton to access. At the exit of this arena, near a massive tree, you’ll find the readable “End of Prohibition.”
As Hazel seeks a way onto the elevated platform, turn right to explore a dilapidated barn where you can find the next collectible, “Boy out of Time.”A metal sheet is also present to the left of the barn. Adhering to the glowing strand will guide you to a neighboring house; however, do not forget to look behind for another concealed metal sheet.
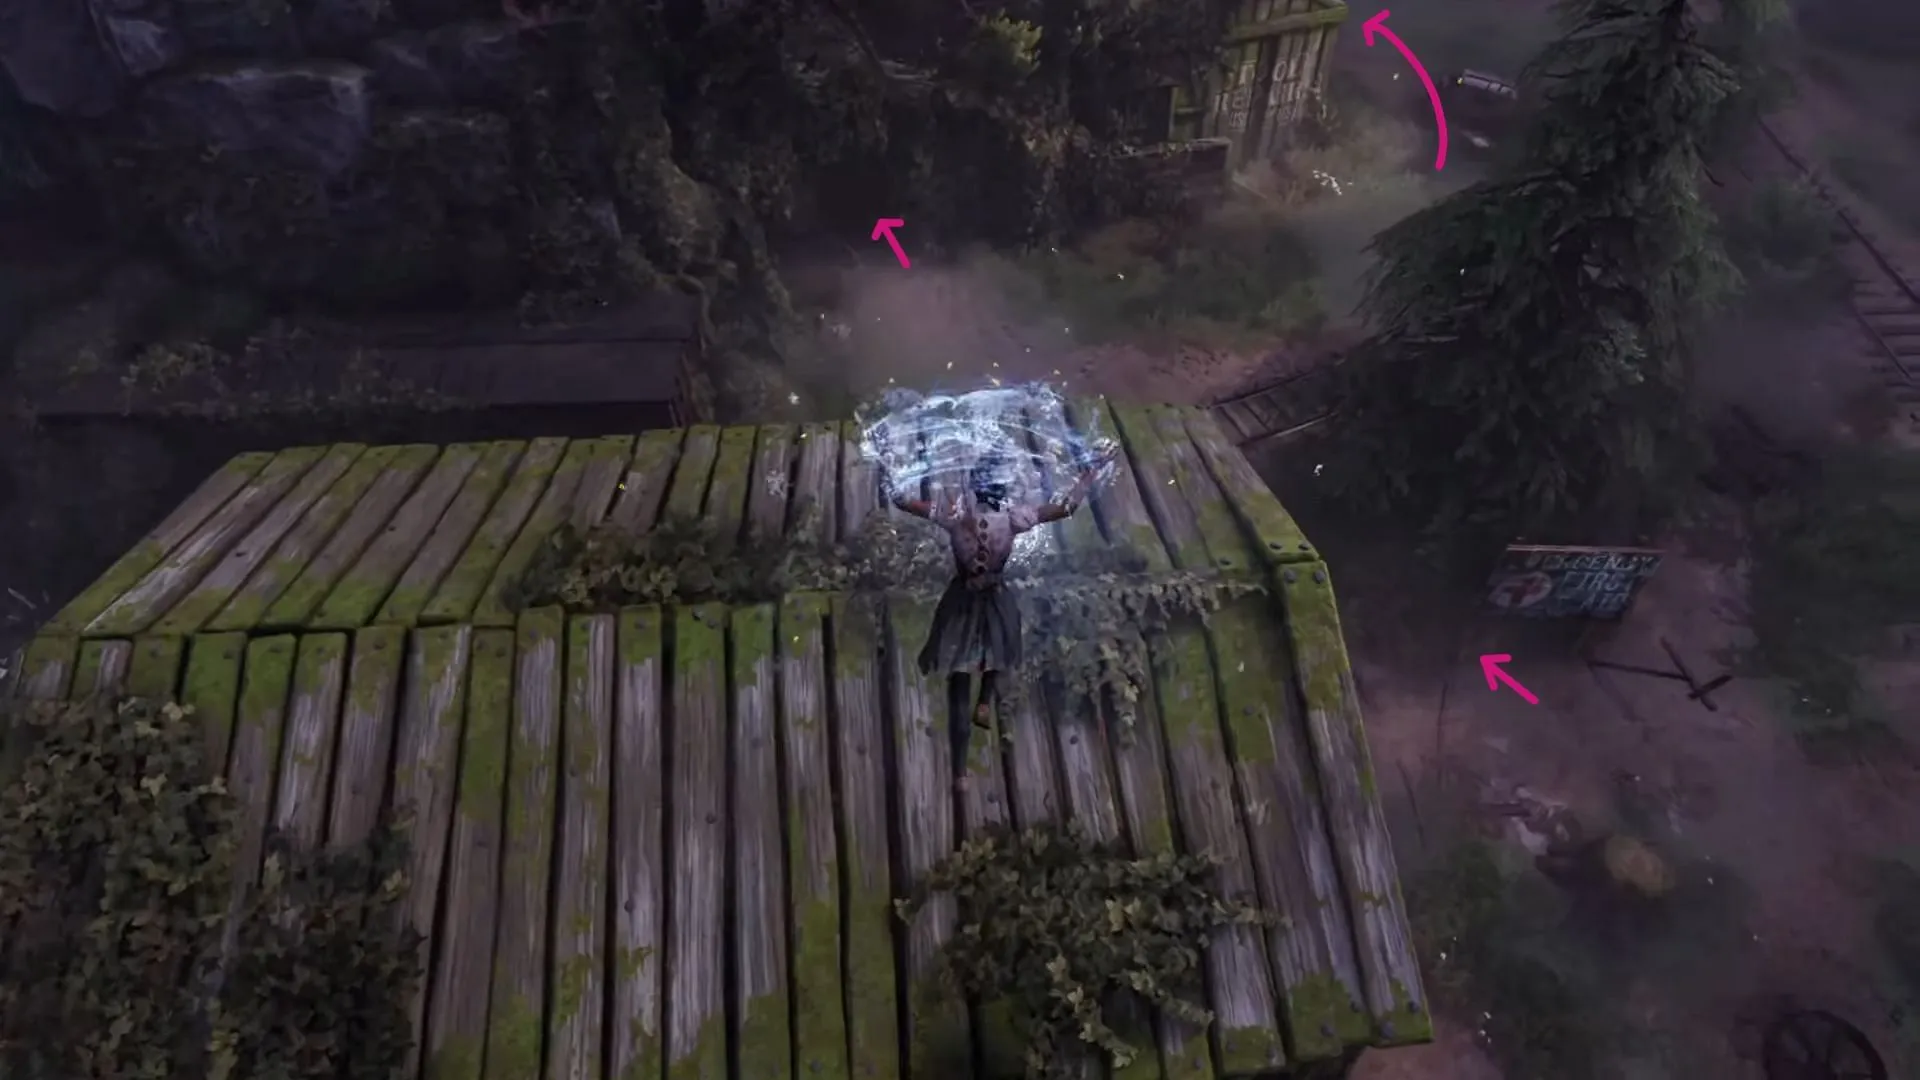
After climbing atop the hut, use the grappling point to traverse over the stone wall, and collect Floofs situated atop the nearest house. Upon dropping down from the roof, proceed to dismantle branches to collect additional Floofs. From this location, navigate to the rear of the house, labeled “Pool Repair Used Parts”for another hidden metal sheet.
Next, look for a breakable wooden structure on the adjacent house to the left of the train car you’ve recently landed on from the grappling point. Destroying this wood will open a path for Crouton to activate the generator.
Once the generator is activated, pull the lever next to the train bogey to open the gates. Utilize your powers to maneuver through the gates. Once you transport the bogey near the barn, jump atop it followed by ascending to the echo platform.
Climbing to Laurent’s Juke Joint
Cross the subsequent river with the aid of floating wooden platforms, similar to before. Ascend to reach Laurent’s Juke Joint. Prior to entering, however, check the area behind the building for additional Floofs. After climbing upstairs and entering the Juke Joint, a cutscene will commence.
Once the cutscene concludes, return to the first floor to retrieve a readable titled “Heart of Lace.”
Exploring Milltown

Continue to follow the guiding strand until Milltown is reached. This locale is abundant with items, including multiple Floofs located within nearly all accessible buildings. To locate a flippable metal sheet, head to the rear of the “L. O. GARO” grocery store. Utilize the echo box to access its roof.
Adjacent to the grocery store, discover two readables at a house—”Treatment”and “A Mother’s Last Words”located to the left when facing the store’s front. Don’t forget to return to Milltown’s entrance, where you previously used two grapple points, and take the left path to find another metal sheet. More importantly, pick up the twelfth readable, “Everything Helps,”just before a combat engagement.
This battle scenario consists of six Ravagers and a Hurler. Upon defeating them and clearing the Stigma, search for a shed crowned with a tree branch protruding from its roof. Inside, on a table, you will discover the final Milltown readable titled “A Father’s Job.”Look through other buildings in the vicinity for any remaining Floofs before proceeding by adhering to the guiding strand.
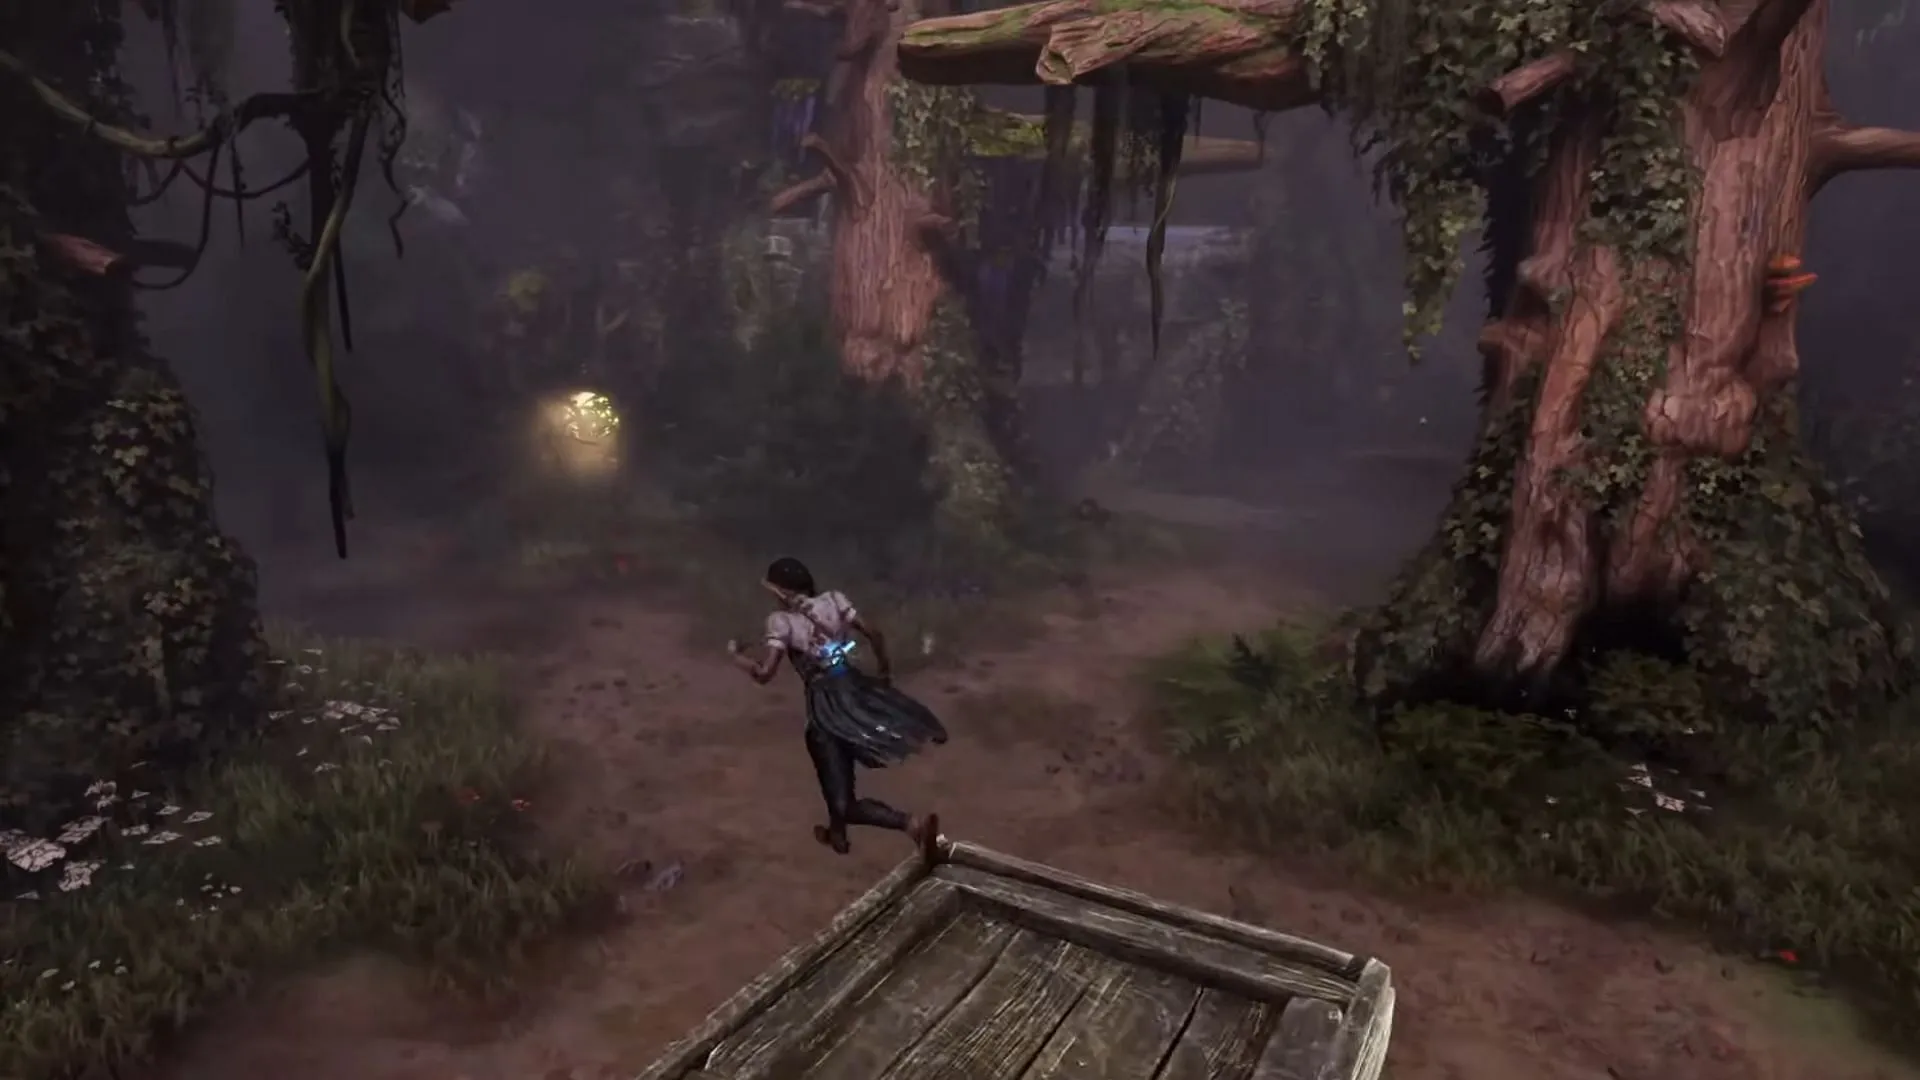
Upon descending to a section characterized by three trees forming a square, look to the right to find a burrow suitable for Crouton to investigate. Inside, piles of rocks await. Utilize the box at the center of this formation to scale the wall adjacent to the burrow. Ascend to the top and cross using wide tree branches to navigate the stigma, subsequently unraveling it in “A Barman is Hard to Find.”
Now you will face two final combat encounters. The penultimate encounter occurs just before the burrow’s grappling point to the left, where you will face three Ravagers, two Hurlers, a nest, and a Brute. After clearing them, be sure to gather Floofs. The climactic encounter occurs in an arena marked by a wooden cross, featuring seven Hurlers, a nest, and a Slug. Note that this fight may prove challenging, so keep health coils on hand as needed.
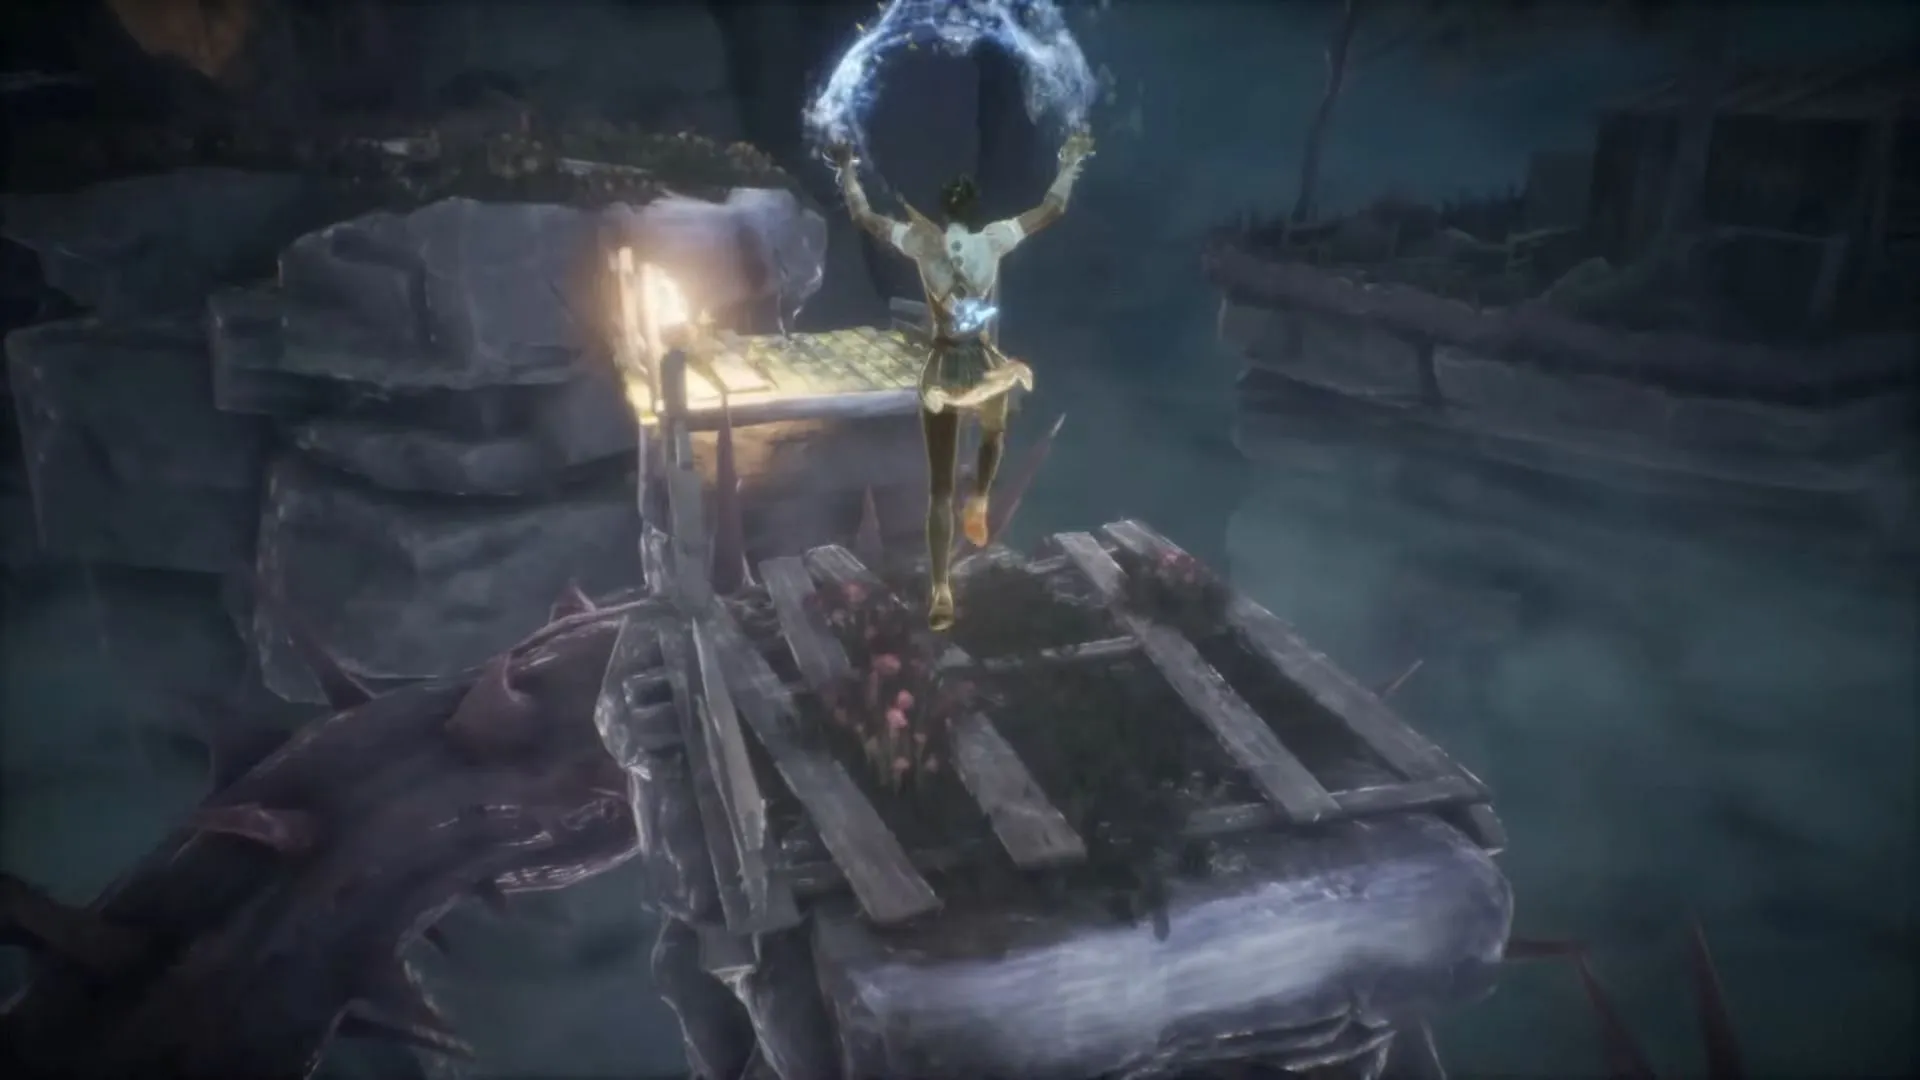
Upon defeating both encounters and unraveling their respective echo scenes, you will trigger an exhilarating chase sequence, where timing becomes crucial as you navigate across several rivers using floating wooden platforms.
Completing the Sawmill Challenge
Successfully finishing the chase scene will deposit you at a new location after a cutscene. Before further exploration, check the right path for additional Floofs. Moving onward, ascend the sawmill and utilize the circular saw to dispose of the rubble. Ensure you first power it up by locating the water wheel located to the left of the cutter beneath a yellow union poster and activating it before you push the cutter.
Step inside the newly accessible room, smashing the wooden planks on the right to discover more Floofs. Next, freeze the echo structure near the saw for an ascent opportunity. Exit the area and use the grappling hooks to reach the opposite side of the sawmill.
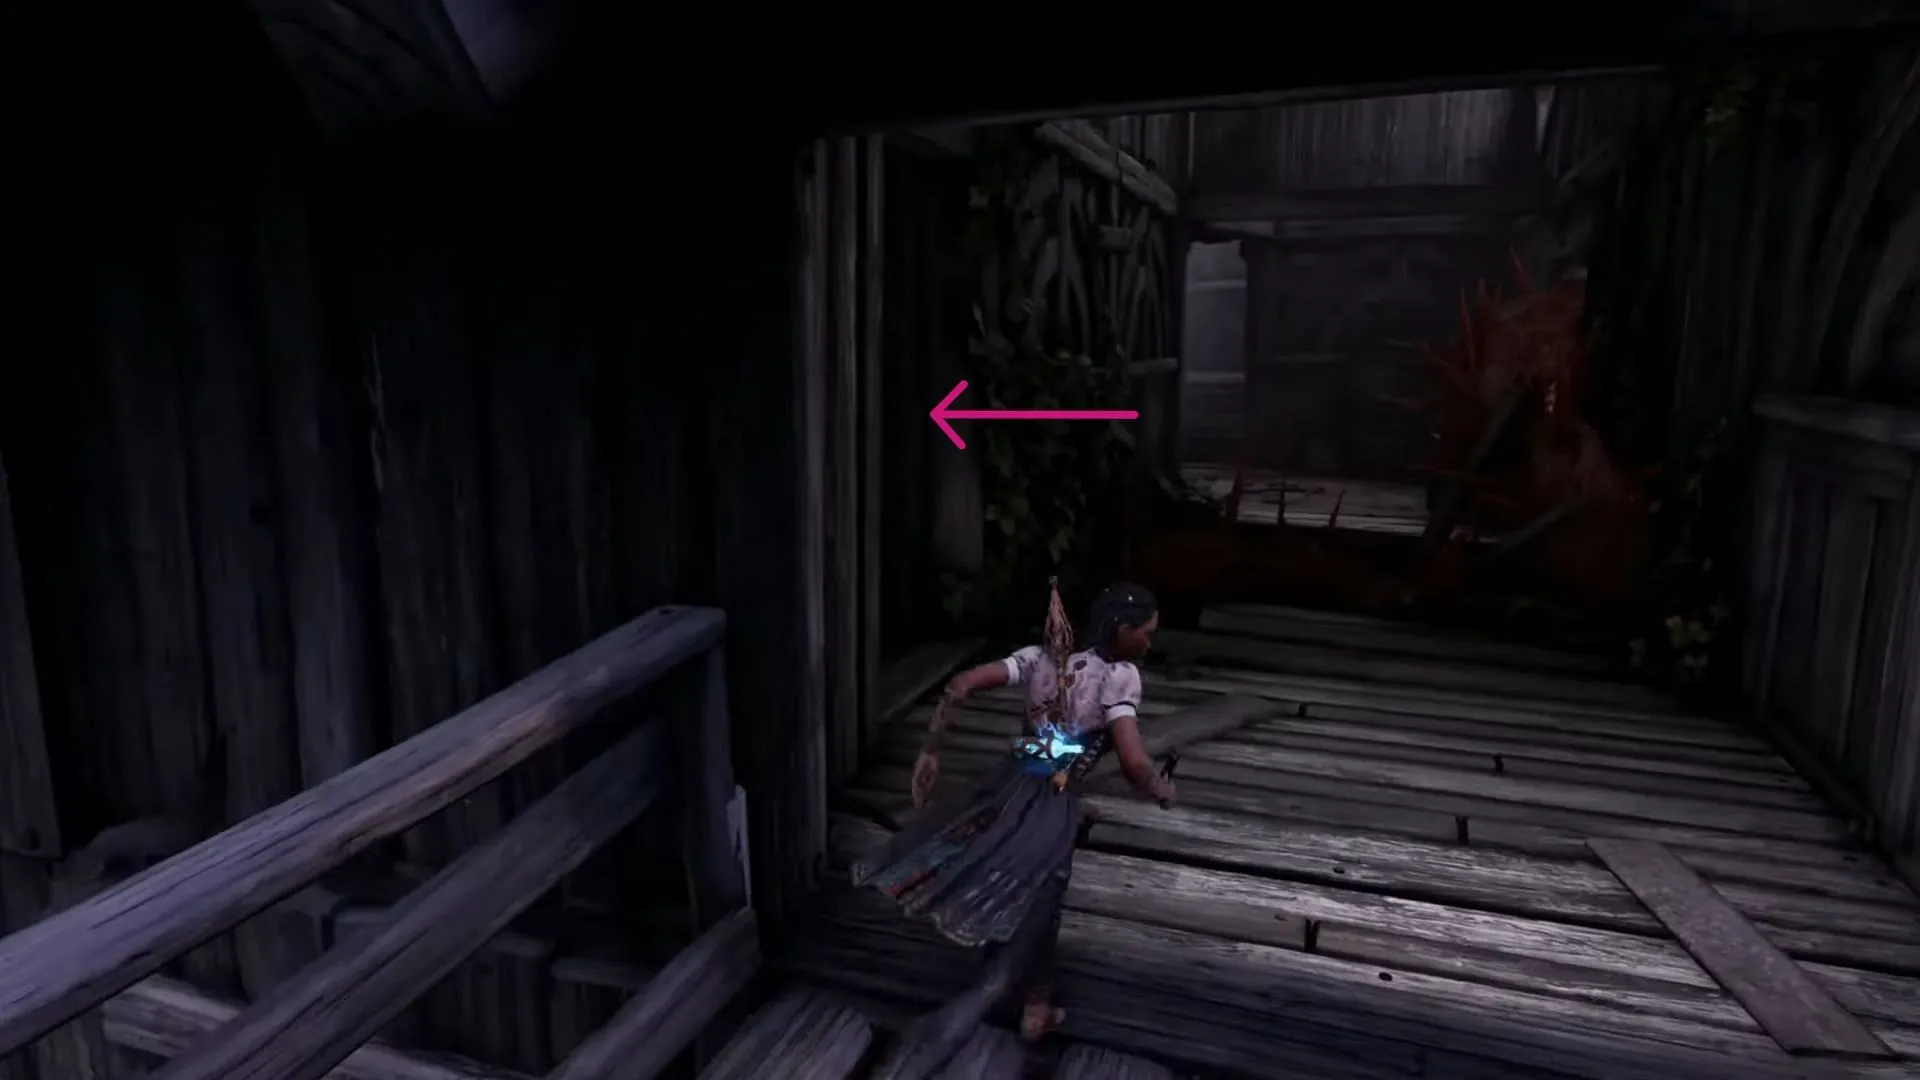
As you enter the next room, refrain from moving forward immediately. Instead, check the left for breakable wood, followed by another further ahead. Destroy both to access a room containing the readable “A Penny Saved.”Adjacent to this room, you will find another area with Floofs and the last collectible titled “Maintaining Productivity”situated on the table, concluding the chapter “A Barman is Hard to Find.”
Once you’ve gathered all items, return by retracing your steps to where the detour began (after the two grappling points) and proceed straight ahead. Follow the guiding strand upwards to successfully unravel the tangle.
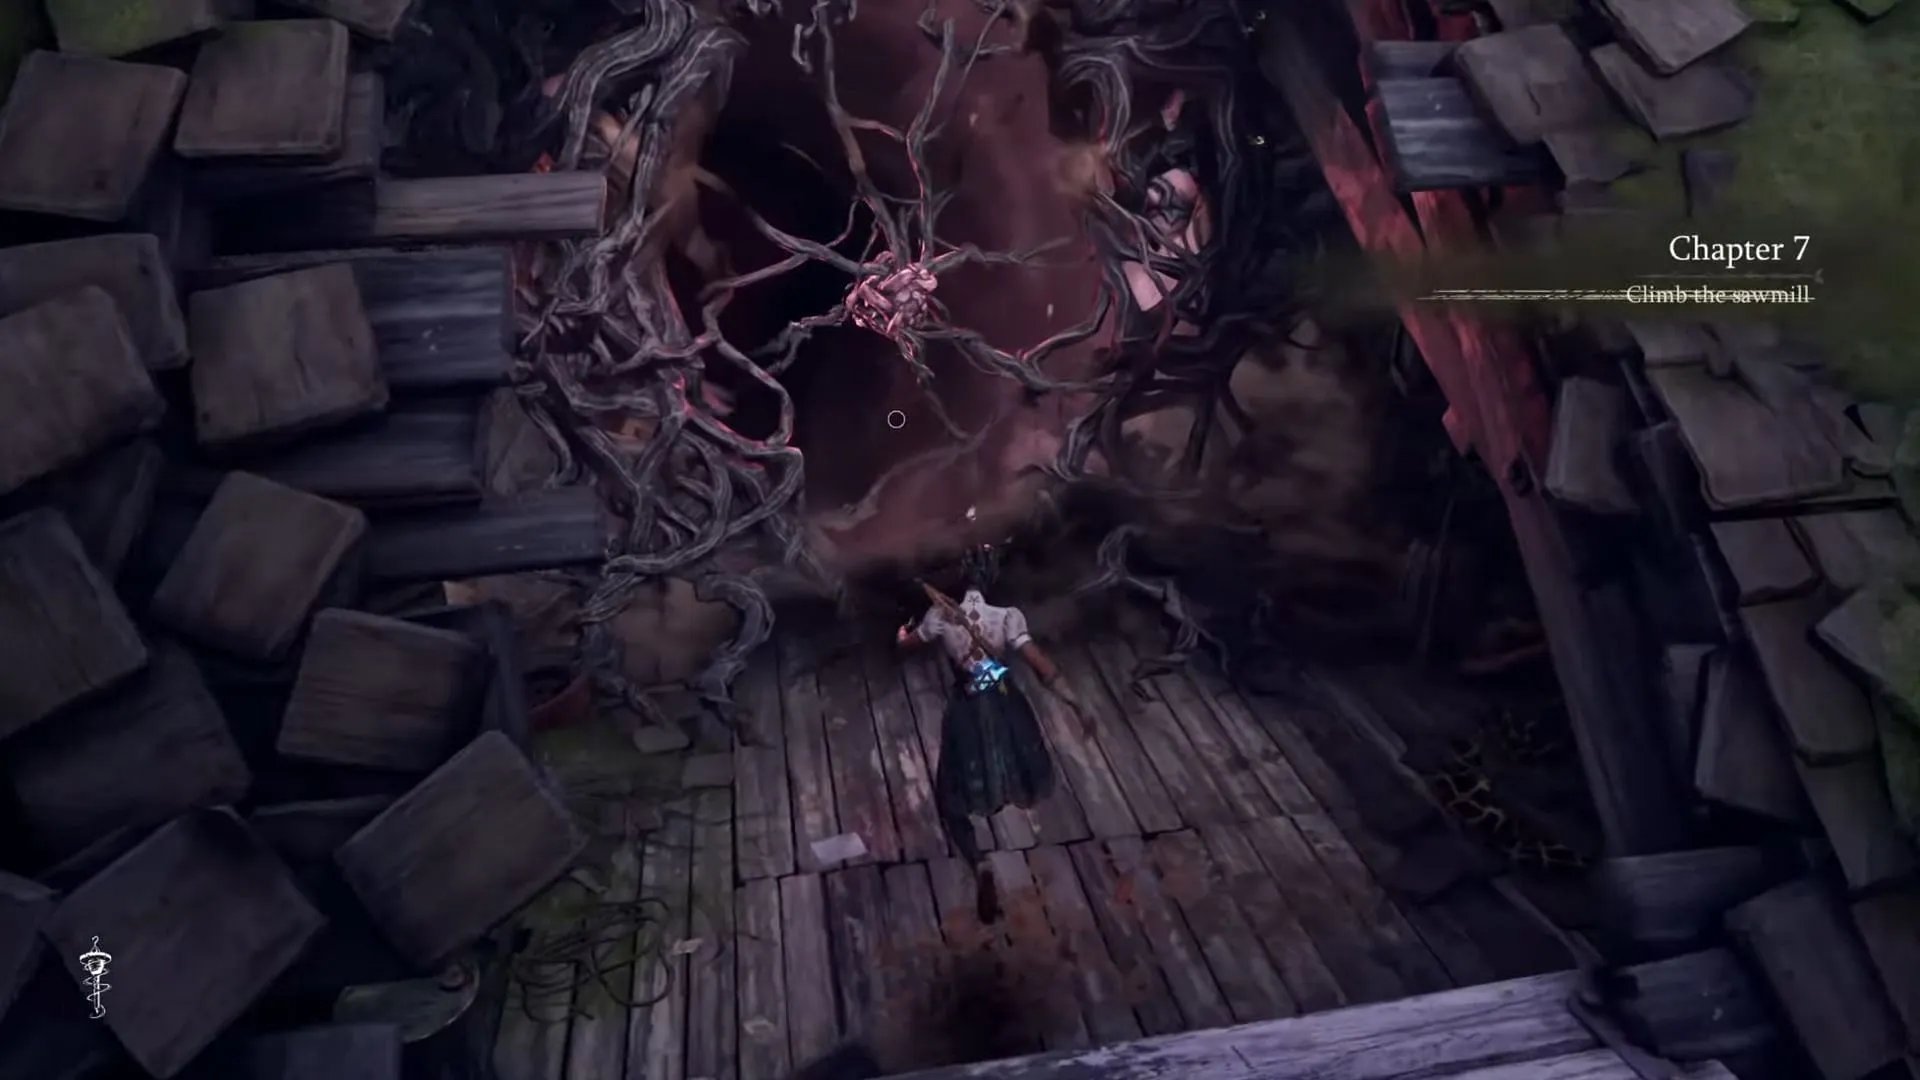
Continue utilizing the guiding strand to navigate forward. Climb up the stairs, where a Floof unit can be found hidden behind one step. Exit outside and commence your climb up the mill’s exterior via the white-painted ledges, culminating at a red door. Opening this door will lead you into the boss encounter with the Rougarou. Successfully defeating this creature concludes the chapter “A Barman is Hard to Find”in South of Midnight.
