As your drug empire expands in Schedule 1, the need for additional personnel become increasingly apparent. One key role to consider filling is that of the Handler, who efficiently manages the logistics of transporting goods across various locations. Their contribution can significantly streamline your operations.
When your business reaches substantial scale, hiring a Handler becomes crucial for maintaining organization. You may not fully appreciate the level of pressure they relieve until you have one on your team. Their versatility is particularly evident when your automated farm and other staff begin to function at full capacity.
How to Hire a Handler in Schedule 1
Be Prepared to Pay Up

Upon earning a minimum of $10,000 and reaching the Hoodlum IV level, you’ll gain access to the warehouse, conveniently located behind the Pawn Shop and across from the Motel office. Access is available starting at 9 PM. Once inside, head upstairs to meet Manny.
Manny will inquire about your staffing needs. During your conversation, feel free to ask about the various roles available, including Botanists, Chemists, Cleaners, and Handlers, who are sometimes called Packagers. A whiteboard in the warehouse outlines the fees associated with each type of worker. After selecting your desired worker, you will be required to pay a signing fee along with the daily wage.
Before you hire a Handler, ensure there’s an available bed for them. To assign a bed, interact with the Handler using the clipboard. Select ‘none’ next to the bed option, then walk over to the chosen bed and left-click to assign it. A suitcase will appear at the foot of the bed for you to deposit their daily wages. It’s wise to deposit several days’ worth of wages to simplify your management duties.
Prompt payment is vital, as a Handler will not perform their duties without compensation. However, they won’t disappear if funds are low—you can pause their services until you can afford to pay them again. Additionally, it’s important to prepare your workspace for the Handler:
- Set up a packaging station equipped with at least two storage racks.
- Stock one of the storage racks with packaging supplies, such as products and baggies.
- Keep one storage rack empty to store finished goods.
How to Use Handler Routes in Schedule 1
Use the Clipboard to Start the Process


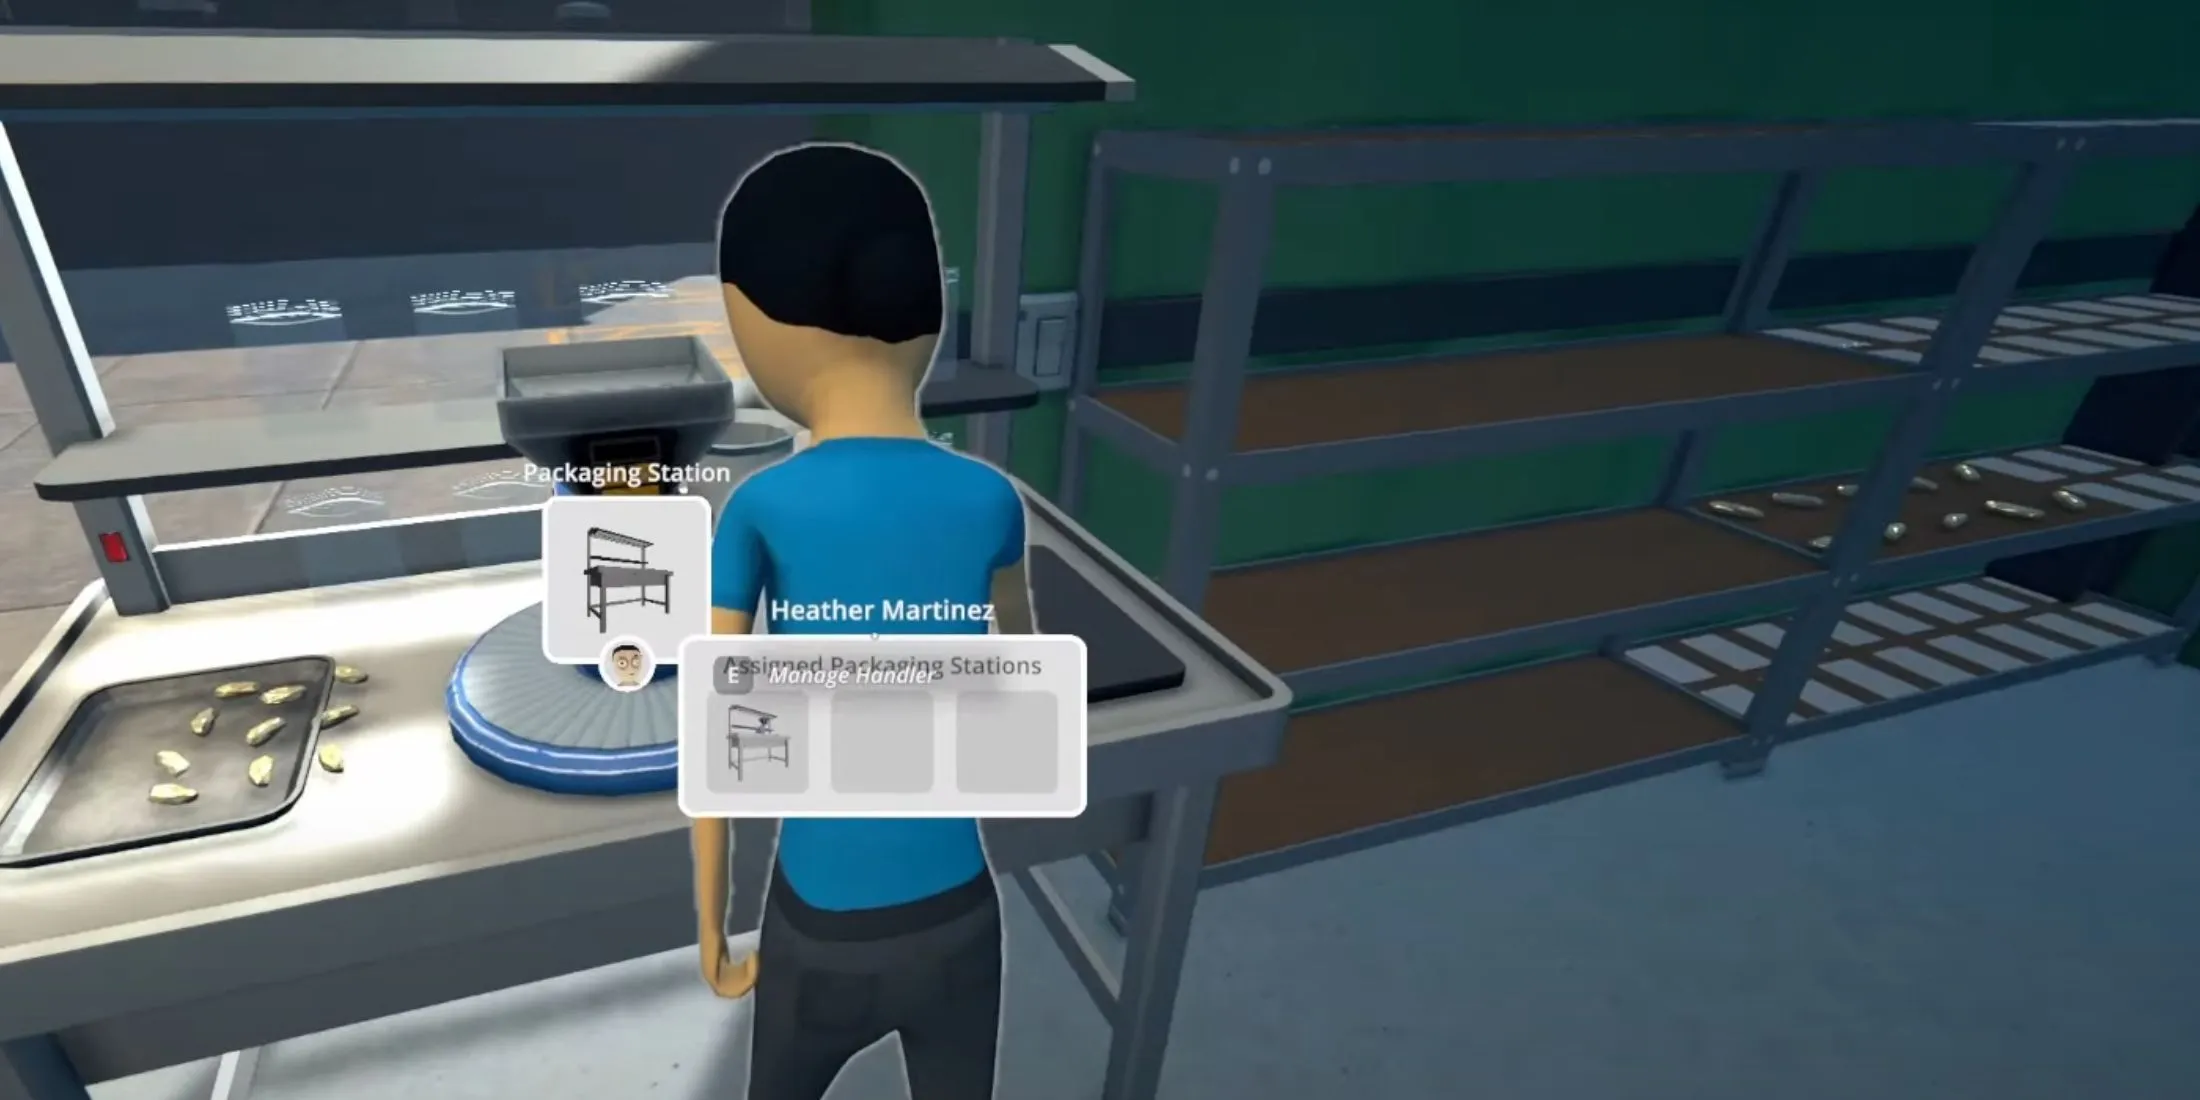
After assigning their bed and ensuring they are paid, utilize the clipboard to interact with your Handler. Click on the assigned stations option, then approach your desired station and left-click to assign it. A Handler can manage tasks at up to three stations.
To establish a new route, manage the Handler again and select ‘add new route’. The ‘from’ route should point to the storage rack where all necessary materials for packaging are stored. A left-click on this rack will designate it under the ‘from’ column on the clipboard.
Next, interact with the ‘to’ column, where you can designate the packaging station by left-clicking on it. You will see the Handler make their way to the station to commence their work.
For further efficiency, set up another route by selecting the packaging station as the ‘from’ option and the designated empty storage container as the ‘to’ location. This configuration informs the Handler where to place packaged products. Up to five routes can be assigned to a single Handler to optimize their workflow.
If your Handler appears inactive, you can investigate the cause. Common issues may stem from unpaid wages or a lack of materials. Maintaining stocked shelves with products and packaging materials is essential for uninterrupted operations. If all else fails, administering a light-hearted reprimand may reset their activity. Should problems persist, rebooting Schedule 1 may resolve lingering issues.


