Optimizing Your Controller Settings in Marvel Rivals
In the dynamic world of Marvel Rivals, fine-tuning your controller settings on Xbox and PlayStation can significantly enhance your gameplay experience. Players have the ability to adjust aspects such as sensitivity, aim assist, response curves, and dead zones, creating a setup that feels comfortable and responsive. Whether you’re aiming horizontally or vertically, customizing these settings can greatly improve your aiming and overall movement.
This level of personalization not only caters to individual gameplay styles but also enhances communication with teammates through customizable on-screen elements. Remember, even the strongest hero combinations may falter if your controller’s responsiveness is lacking.
Top Controller Settings in Marvel Rivals
Personalizing Your Controller for Optimal Performance
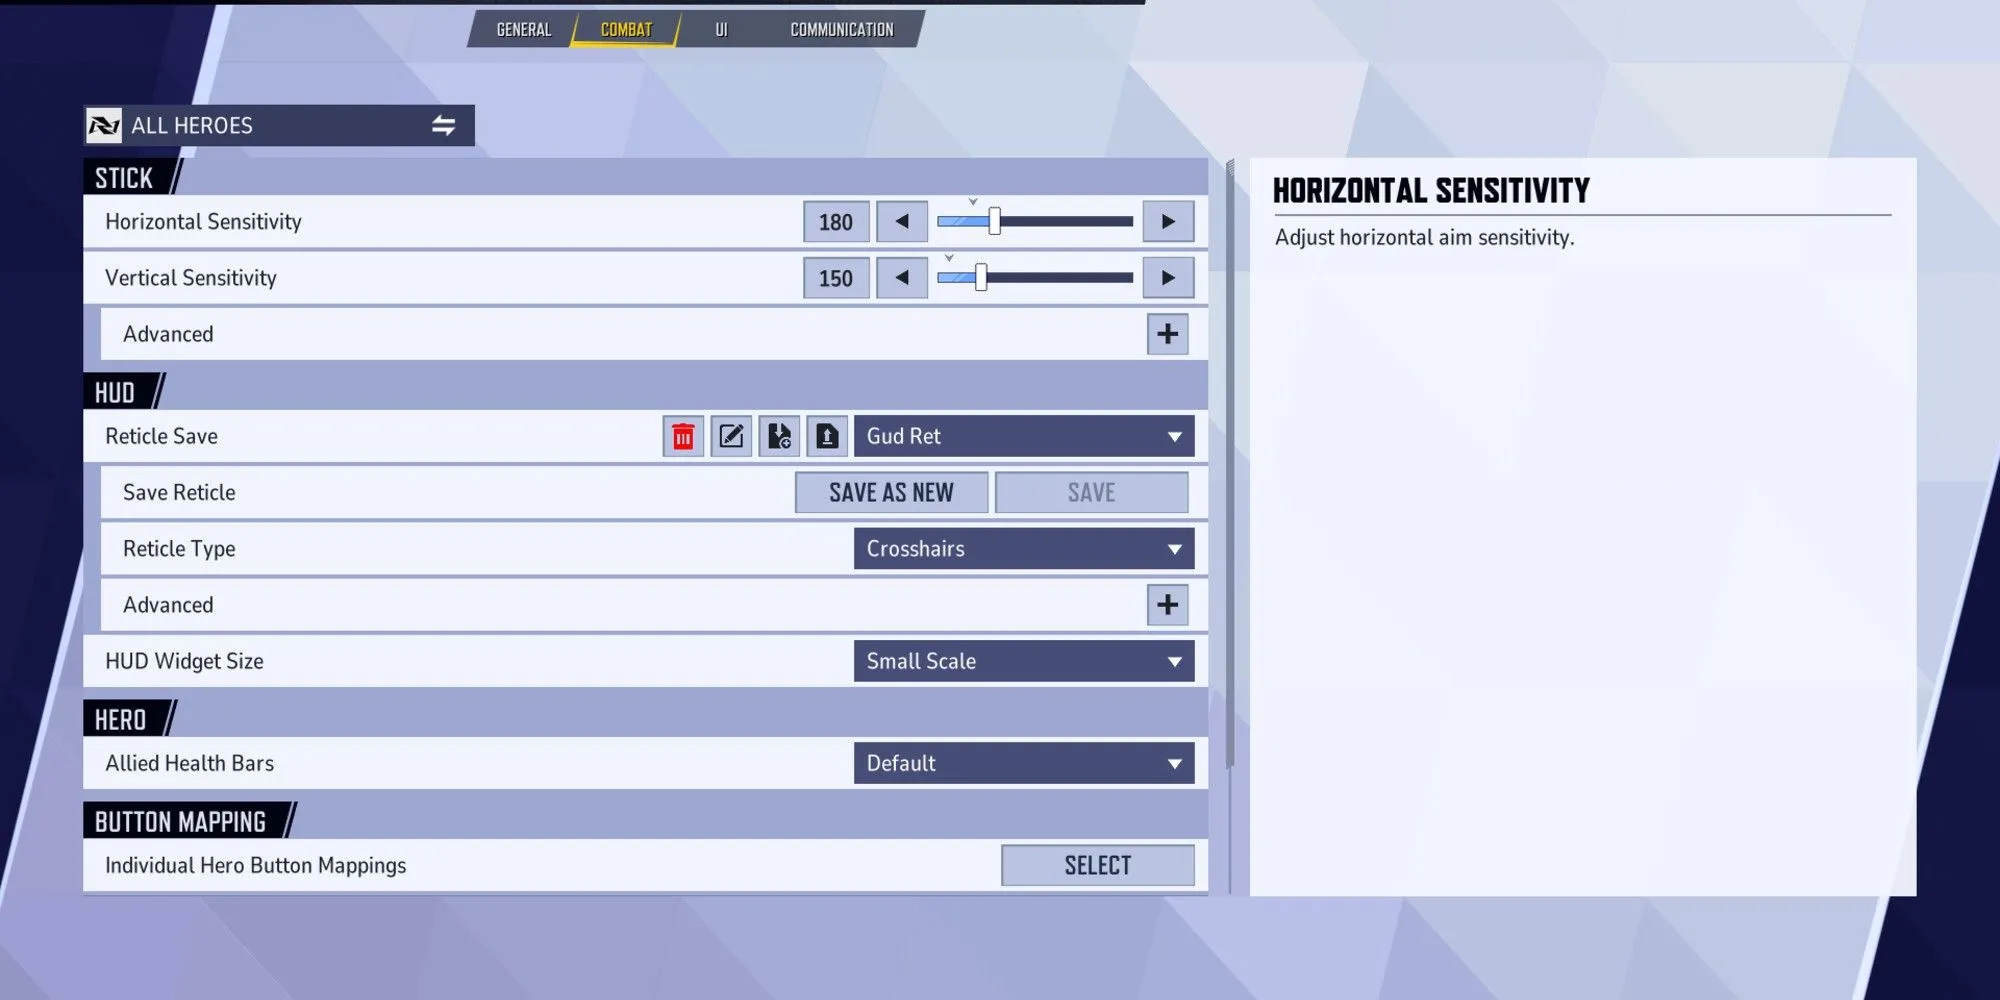

Configuring your controller settings is crucial in Marvel Rivals due to its fast-paced nature. Sensitivity levels largely depend on personal preference; while higher sensitivity can enhance your ability to turn quickly, it may not suit everyone. The key is to establish a balance between rapid motion and precise targeting.
|
Setting Name |
Recommended Setting |
|---|---|
|
Vibration |
Off |
|
Trigger Effects |
Off |
|
Horizontal Sensitivity |
180 base |
|
Vertical Sensitivity |
150 base |
|
Aim Response Curve Type |
Dual-Zone S-Curve (advanced) |
|
Minimum Input Deadzone |
1 |
|
Maximum Input Deadzone |
1 (5 if your controller has stick drift) |
|
Max Deadzone Sensitivity Boost |
100 |
|
Horizontal Max Deadzone Resp Time |
0 |
|
Aim Assist Window Size |
40 base |
|
Aim Assist Strength |
90–100 |
|
Projectile Aim Assist Ease In |
100 |
|
Hitscan Aim Assist Ease In |
100 |
|
Melee Aim Assist Ease In |
0 |
|
Type |
Crosshairs |
|
Color |
White |
|
Ping Button |
D-pad Down/L3 |
Consider what type of aim response curve best fits your playing style; a linear response might offer direct control, while a dual-zone setup can provide heightened responsiveness. Adjusting the deadzones can help mitigate stick drift and improve your control over character movements. Additionally, carefully calibrating your aim assist—including its size and strength—can make a noticeable difference in your ability to track opponents effectively.
When configuring settings, focus on the characters you play most frequently. Fine-tuning these options can greatly enhance your performance, making even underpowered heroes like Groot or Venom more formidable. Lastly, ensure your heads-up display (HUD) is uncluttered, displaying only critical information; a clear HUD can prevent distractions during intense gameplay. Experiment with these configurations until you find what feels just right for you.
Saving Individual Settings for Each Character
Customized Keybinds for Enhanced Play

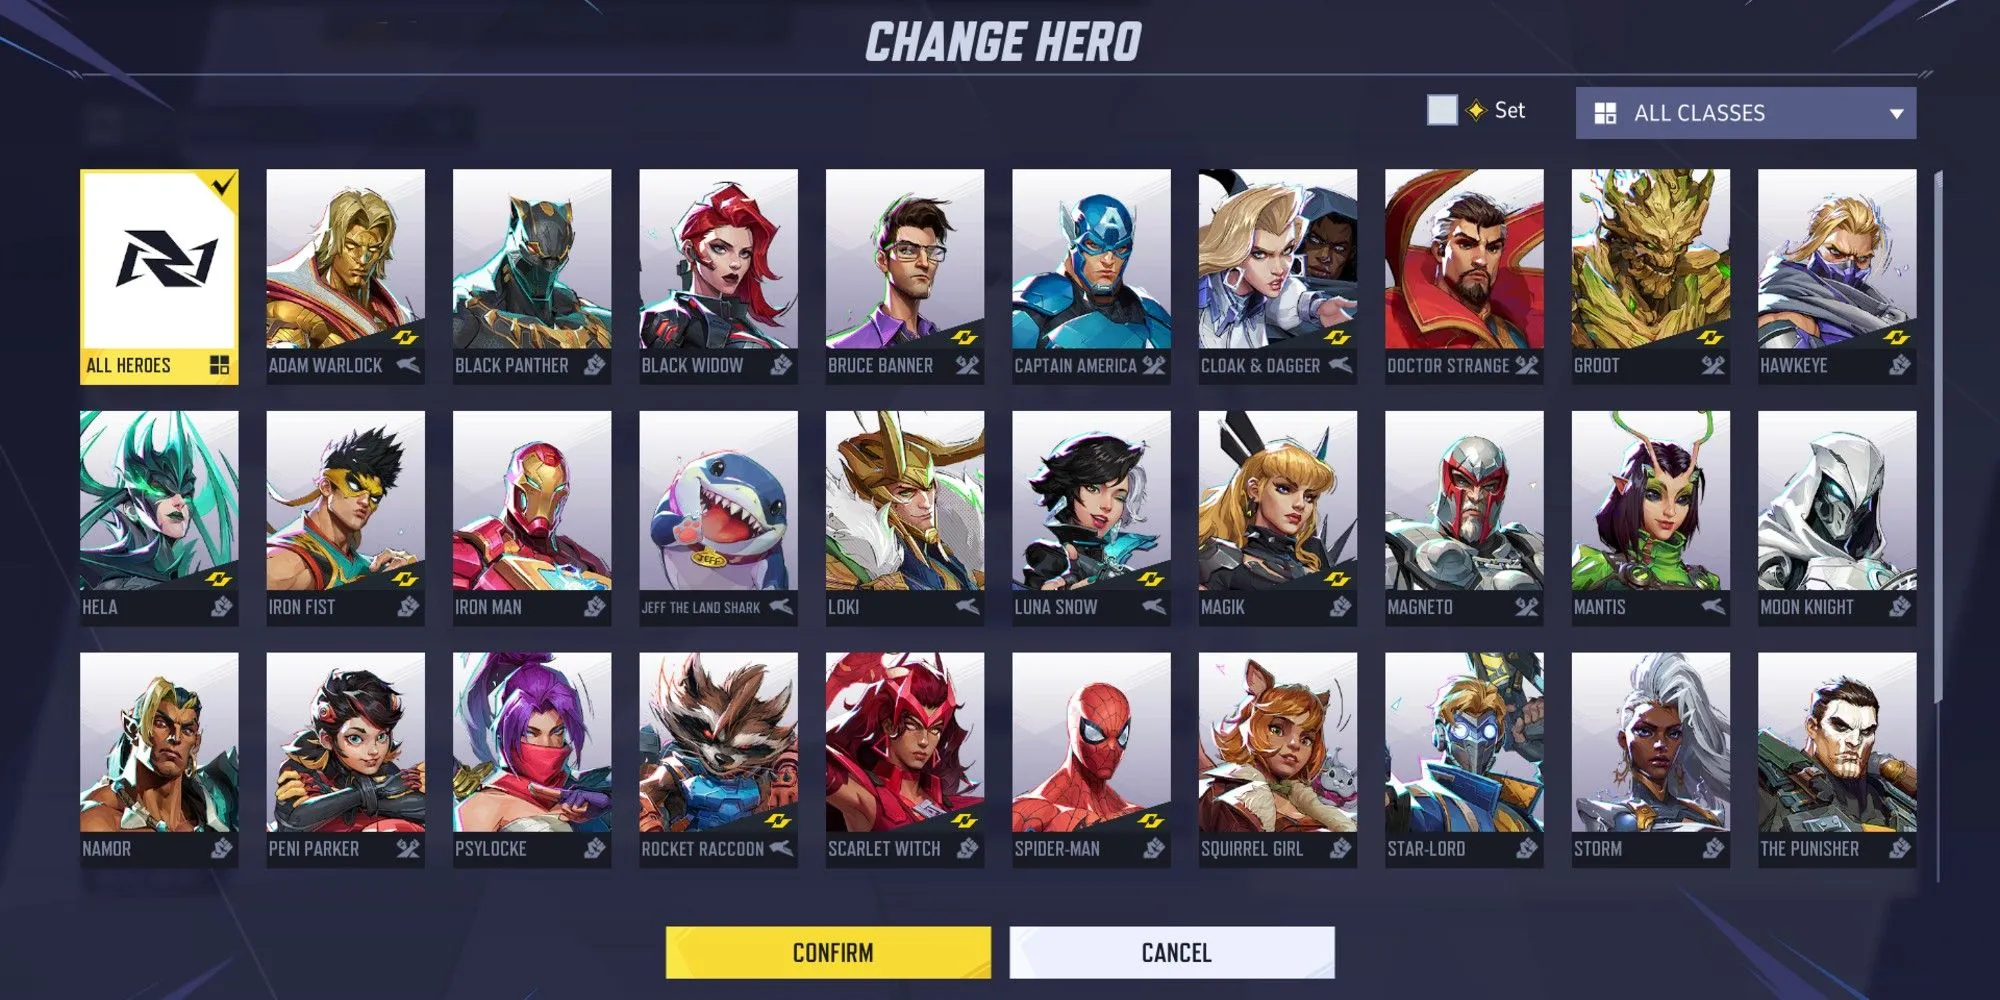

To assign personalized keybinds for different characters in Marvel Rivals, navigate to the settings menu by clicking the gear icon located in the top right corner of the main menu or during gameplay. Within the settings, look for the keyboard and mouse section to adjust your keybinds. Always ensure you’re in the correct section and not the keyboard and mouse menu, as the two can be easily confused.
The default view will show “All Heroes.”Clicking this option allows you to customize keybinds for each individual hero. Each character’s interface will provide similar options for modification. After making your desired changes, it’s crucial to save them. Be prepared to adjust settings for each hero you want to personalize—this process can be a bit time-consuming, but it’s worth it for your main characters.
Remember to verify that all modified settings are saved successfully. Double-checking is a step you won’t want to overlook, particularly if you are used to press multiple keys in rapid succession.
Testing Your Controller Settings Effectively
Utilizing the Practice Range for Assessment
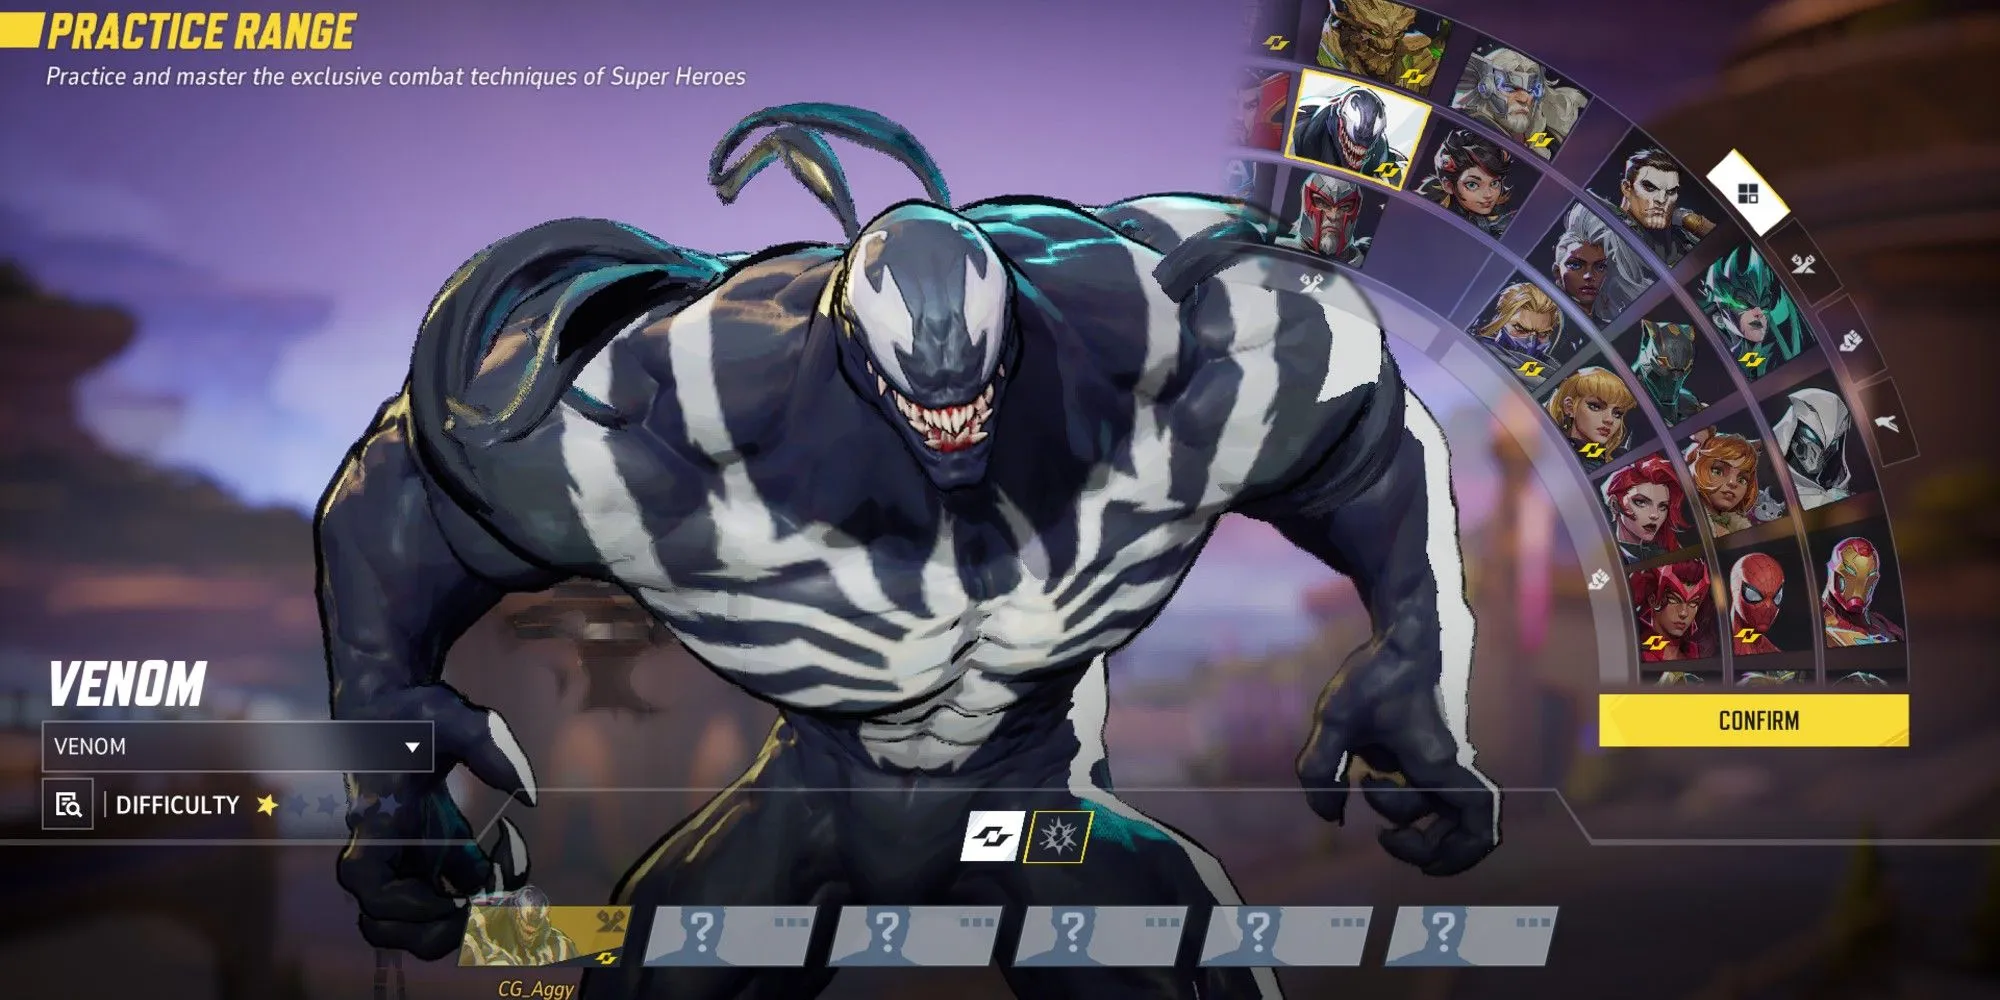
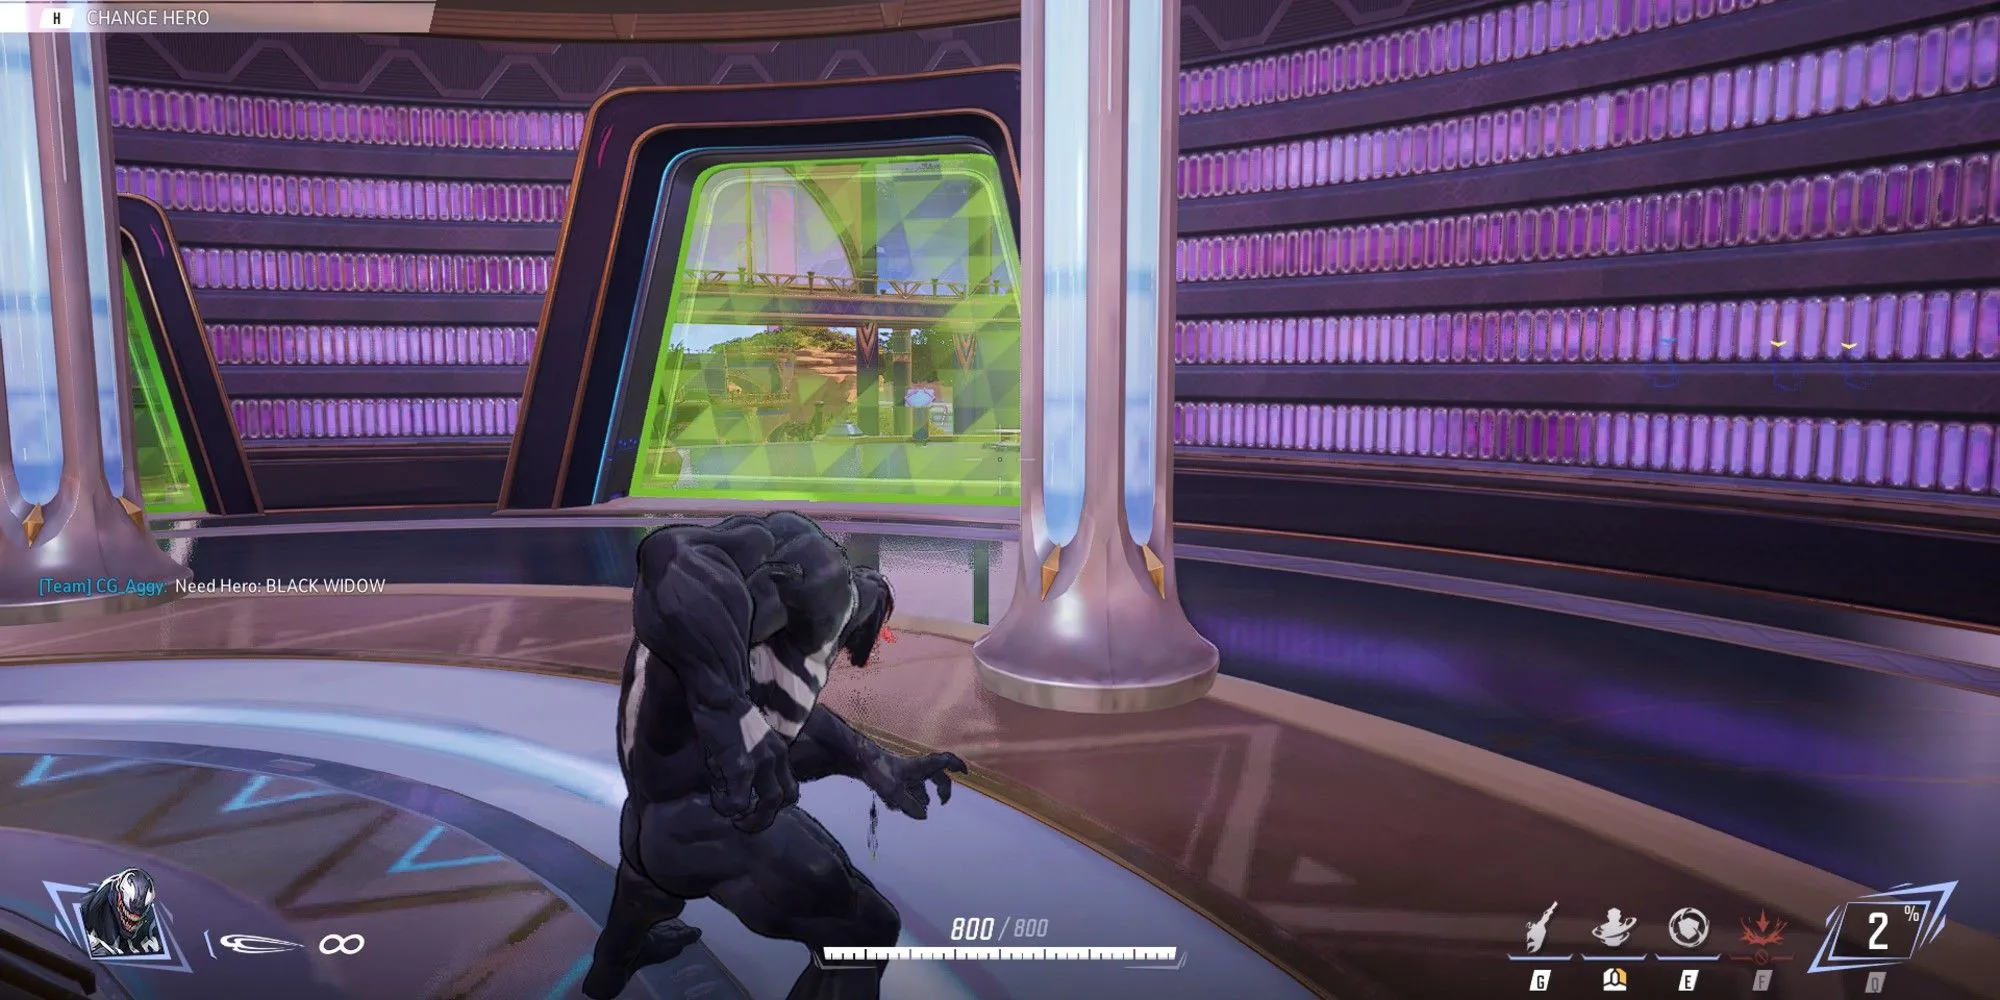
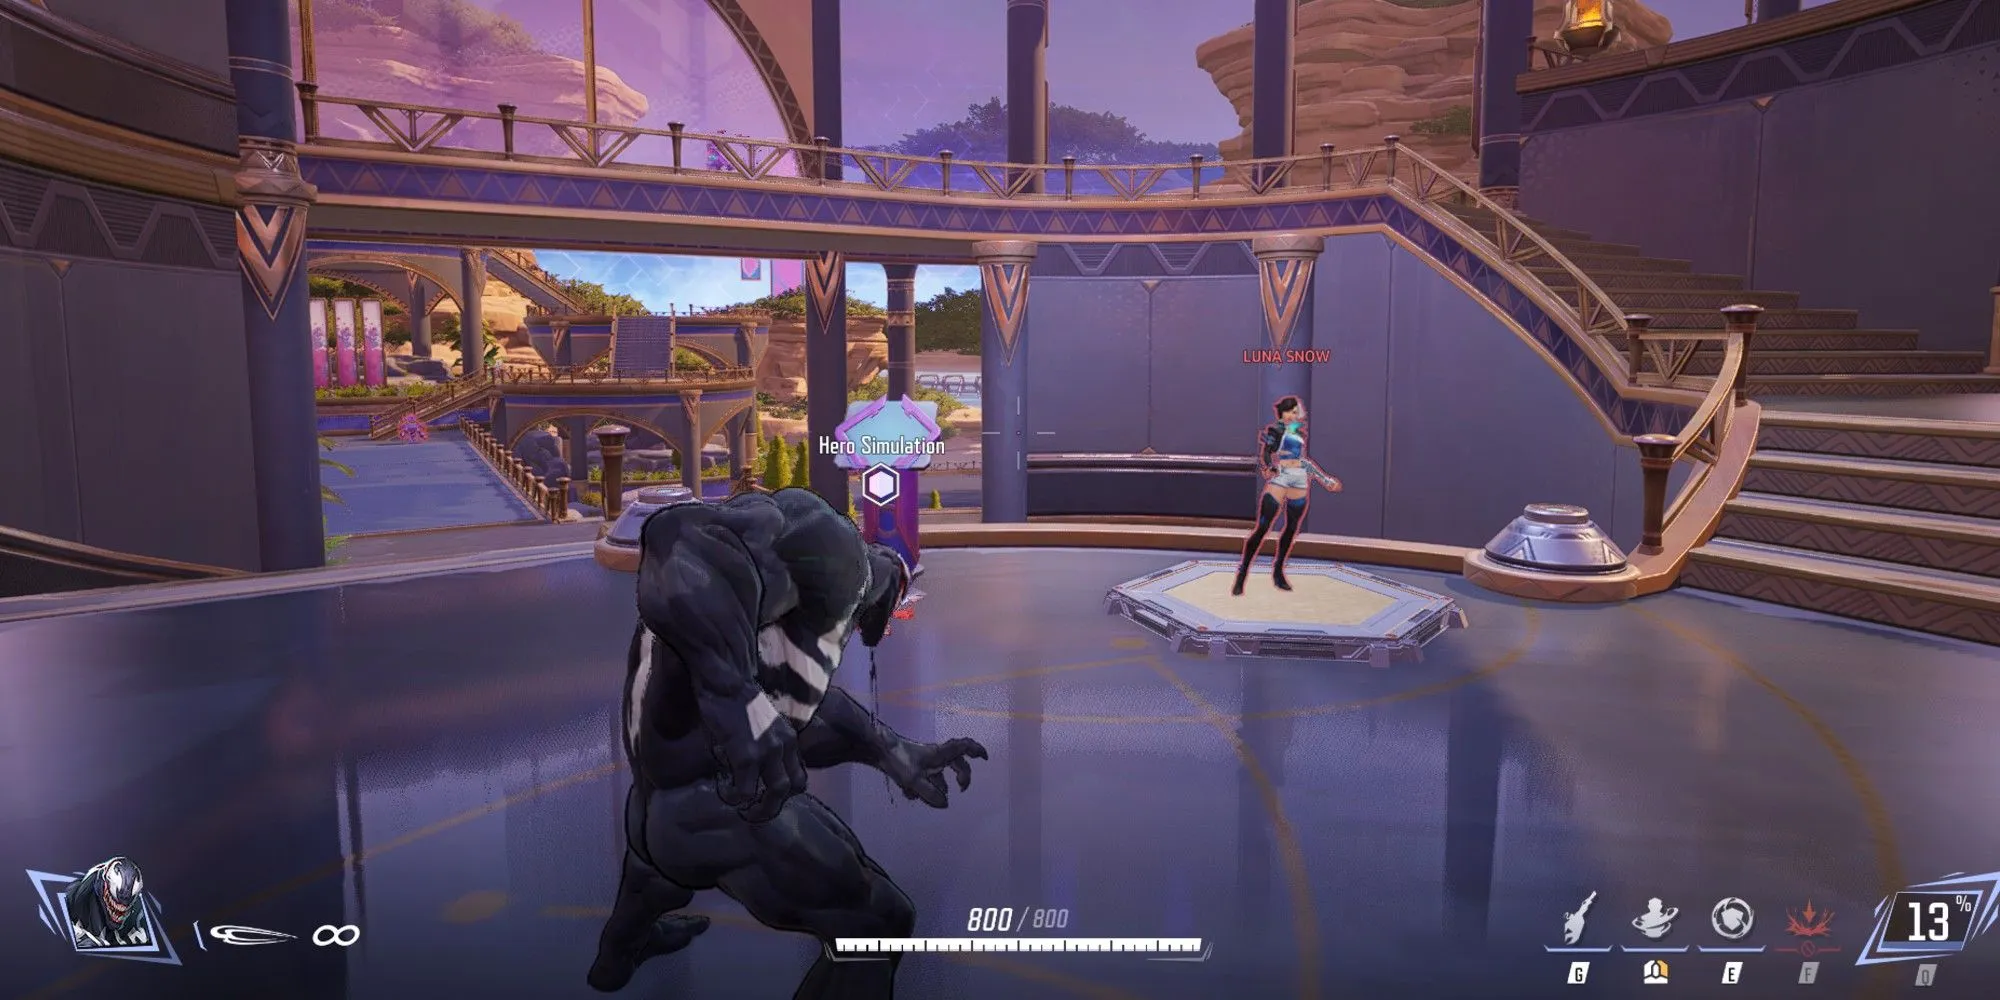
To evaluate your controller settings, the practice range in Marvel Rivals is an ideal space for assessment. Start by accessing the main menu, clicking on the Play button, and then selecting Practice Range. After confirming your choice, you will enter a new setup menu.
Once inside the practice range, you’ll be prompted to select a character for your testing phase. Here, you can adjust various parameters to evaluate your customized settings effectively. Options include choosing target dummies, configuring their distance from you, and altering their movement patterns to simulate real in-game scenarios. A timer is also available to help measure your response time and aiming precision.
After you’ve tweaked the environment to your liking, use each hero with their respective settings for practical trials. This space is also perfect for experimenting with character dynamics and team strategies in Marvel Rivals. To exit the practice range when finished, simply press Start, Options, or Esc and select Leave Game. Be sure to test all heroes with your customized settings to fully understand their effectiveness.


