As players approach the conclusion of the fifth mission in The First Berserker: Khazan, they will encounter the formidable boss, Volbaino. While he presents a challenge, he is substantially less difficult than many other bosses encountered throughout the game. After successfully defeating him, players will return to The Crevice and gain access to the next critical location, Skoffa Cave. This new area is notorious for its hazardous poison swamps and an overwhelming presence of spiders.
In Mission 6, titled Strange Stench, players may find themselves frustrated and disoriented, unsure of their next steps. To assist with navigating this challenging mission, below is a comprehensive guide that includes a detailed walkthrough and the locations of all Soulstones.
Strange Stench Walkthrough (Soulstone Locations)
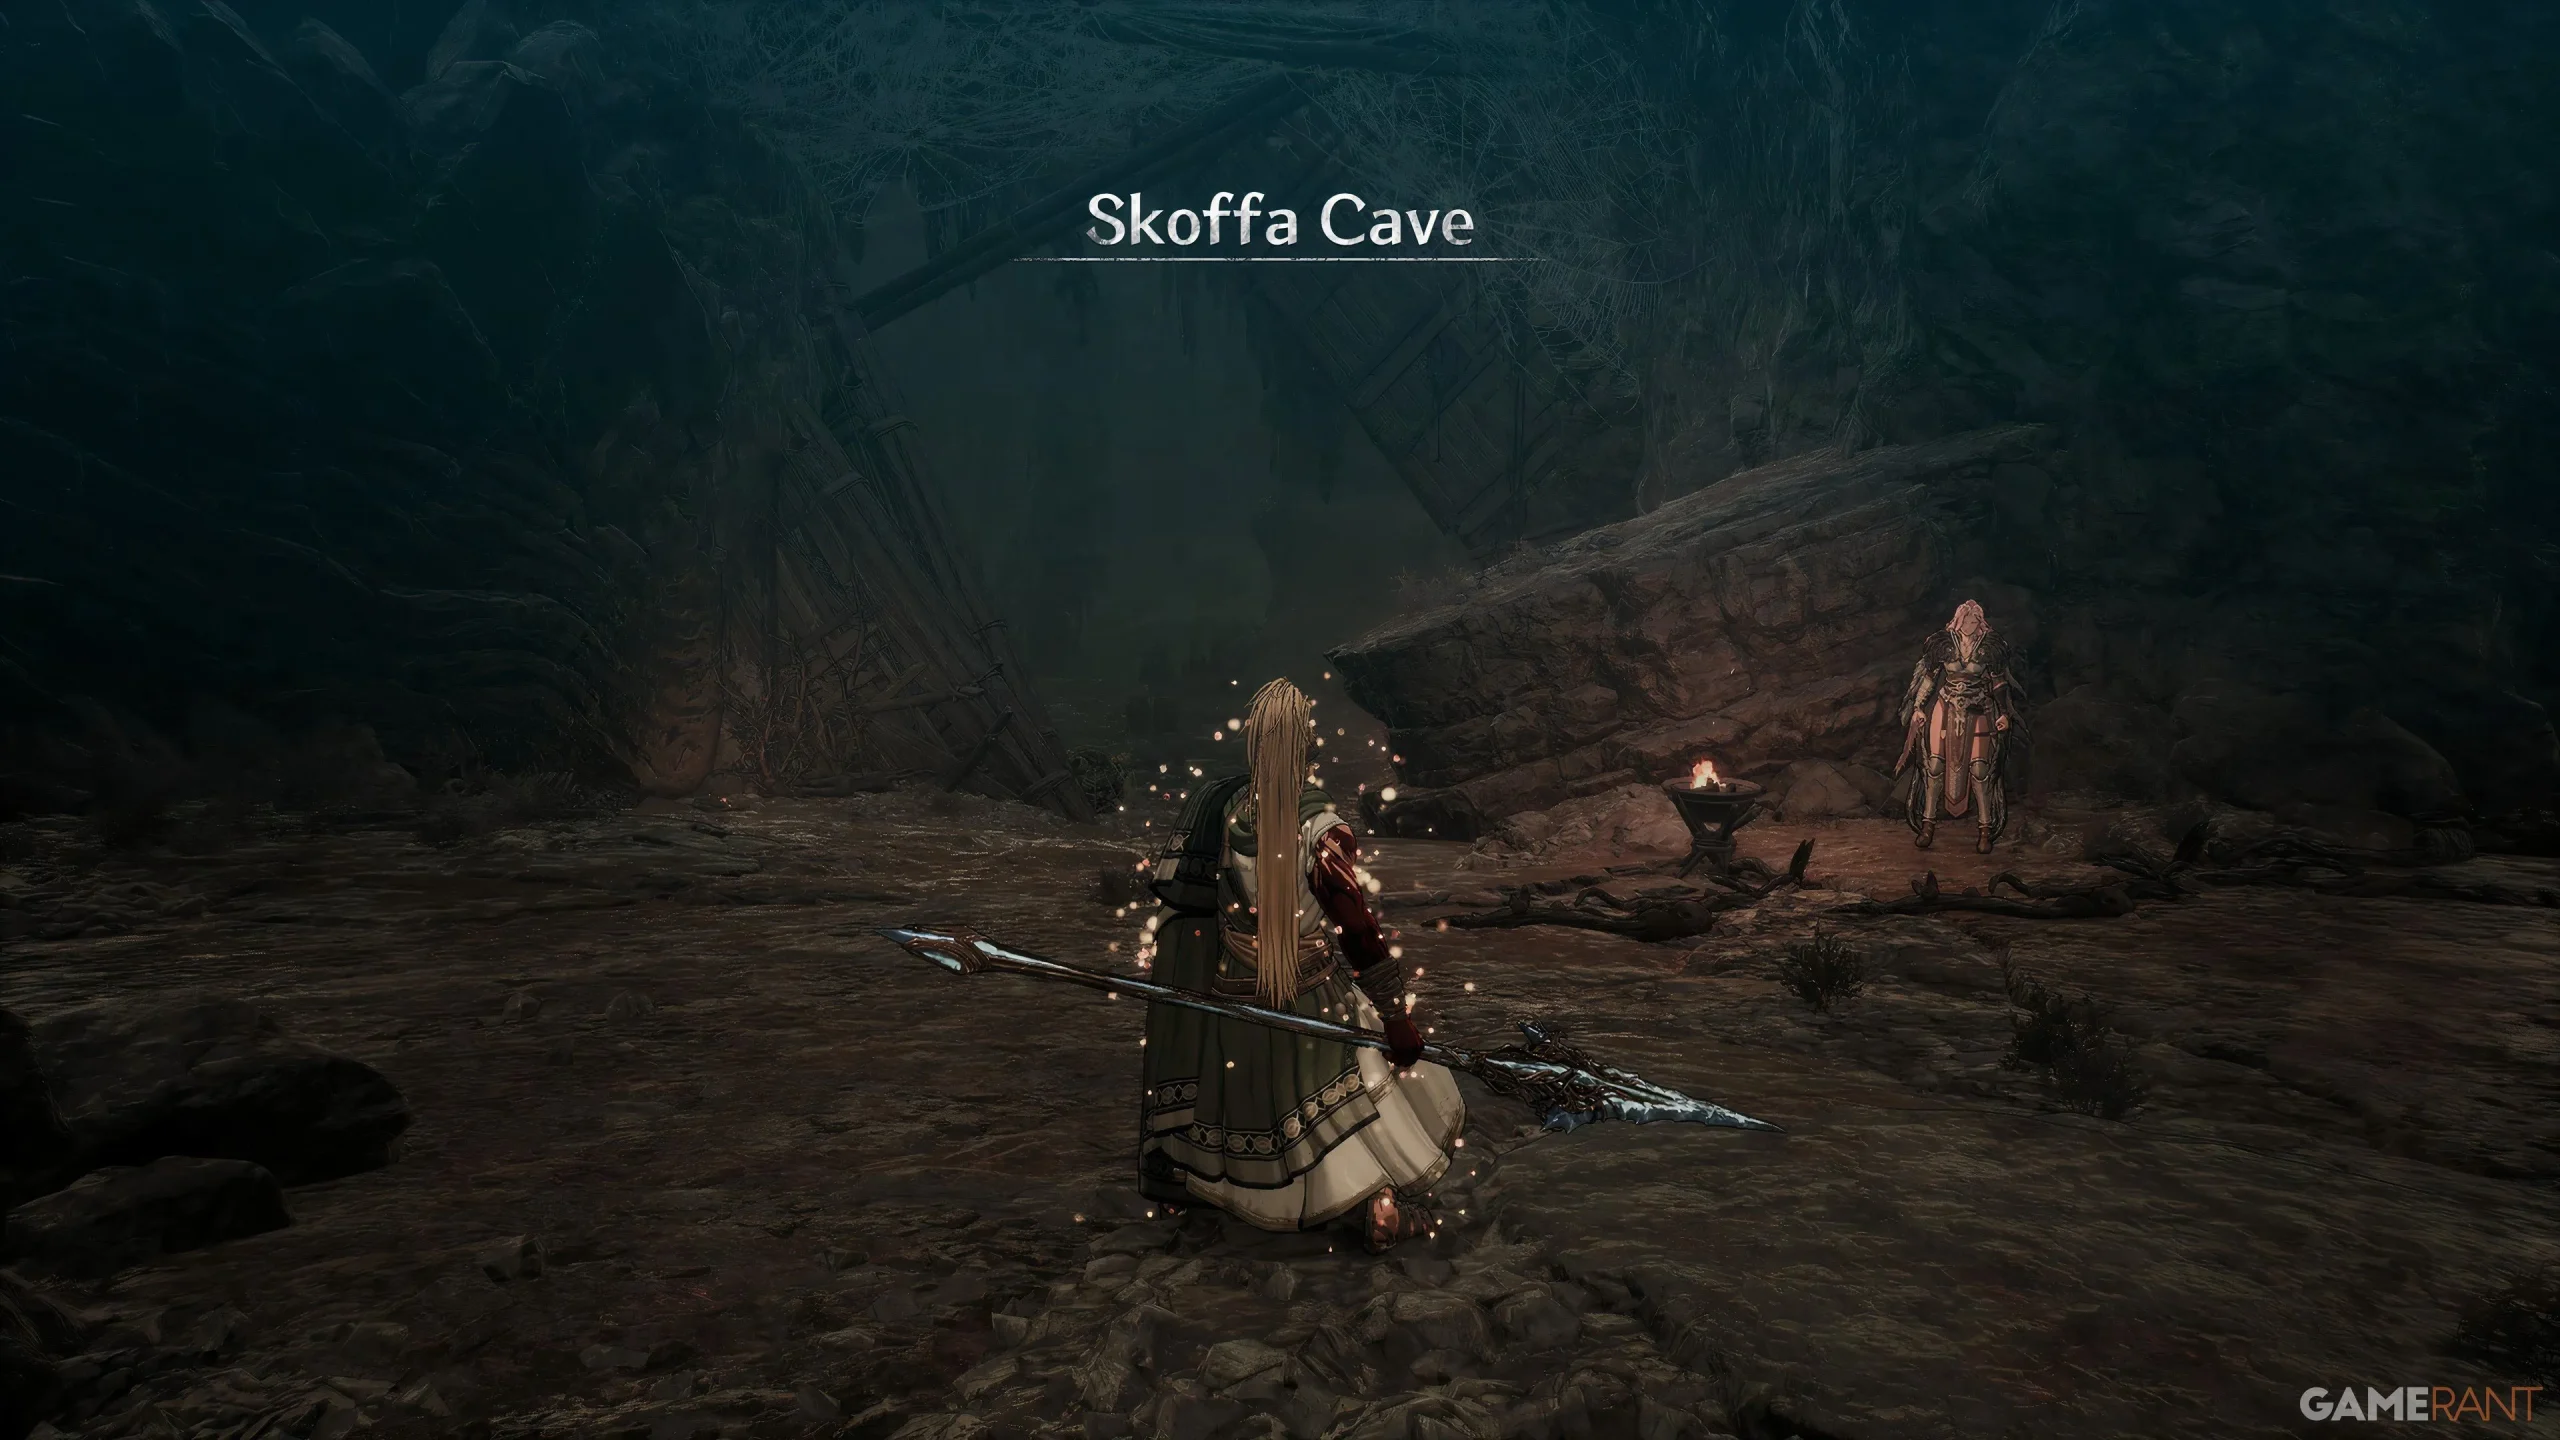
Upon fast traveling to Skoffa Cave, Elamein will greet you. Following her guidance, proceed into the cave and interact with the Collapsed Mine at the Blade Nexus. To your right, there is a narrow tunnel leading to explosives. Interacting with these explosives is crucial as they significantly simplify the upcoming boss battle. Afterward, head back to the Blade Nexus and ascend the ladder ahead.


Be cautious of the bats as you navigate around the beam and drop onto the spiders below. Continue to the opposite side along the beam, avoiding a second group of bats attempting to knock you off. Defeat another set of spiders and proceed along the beam where you will find the Netherworld Energy upgrade to enhance your healing consumables. From there, continue to the right path leading to the lift back down to the Blade Nexus.
Soulstone #1 in Strange Stench
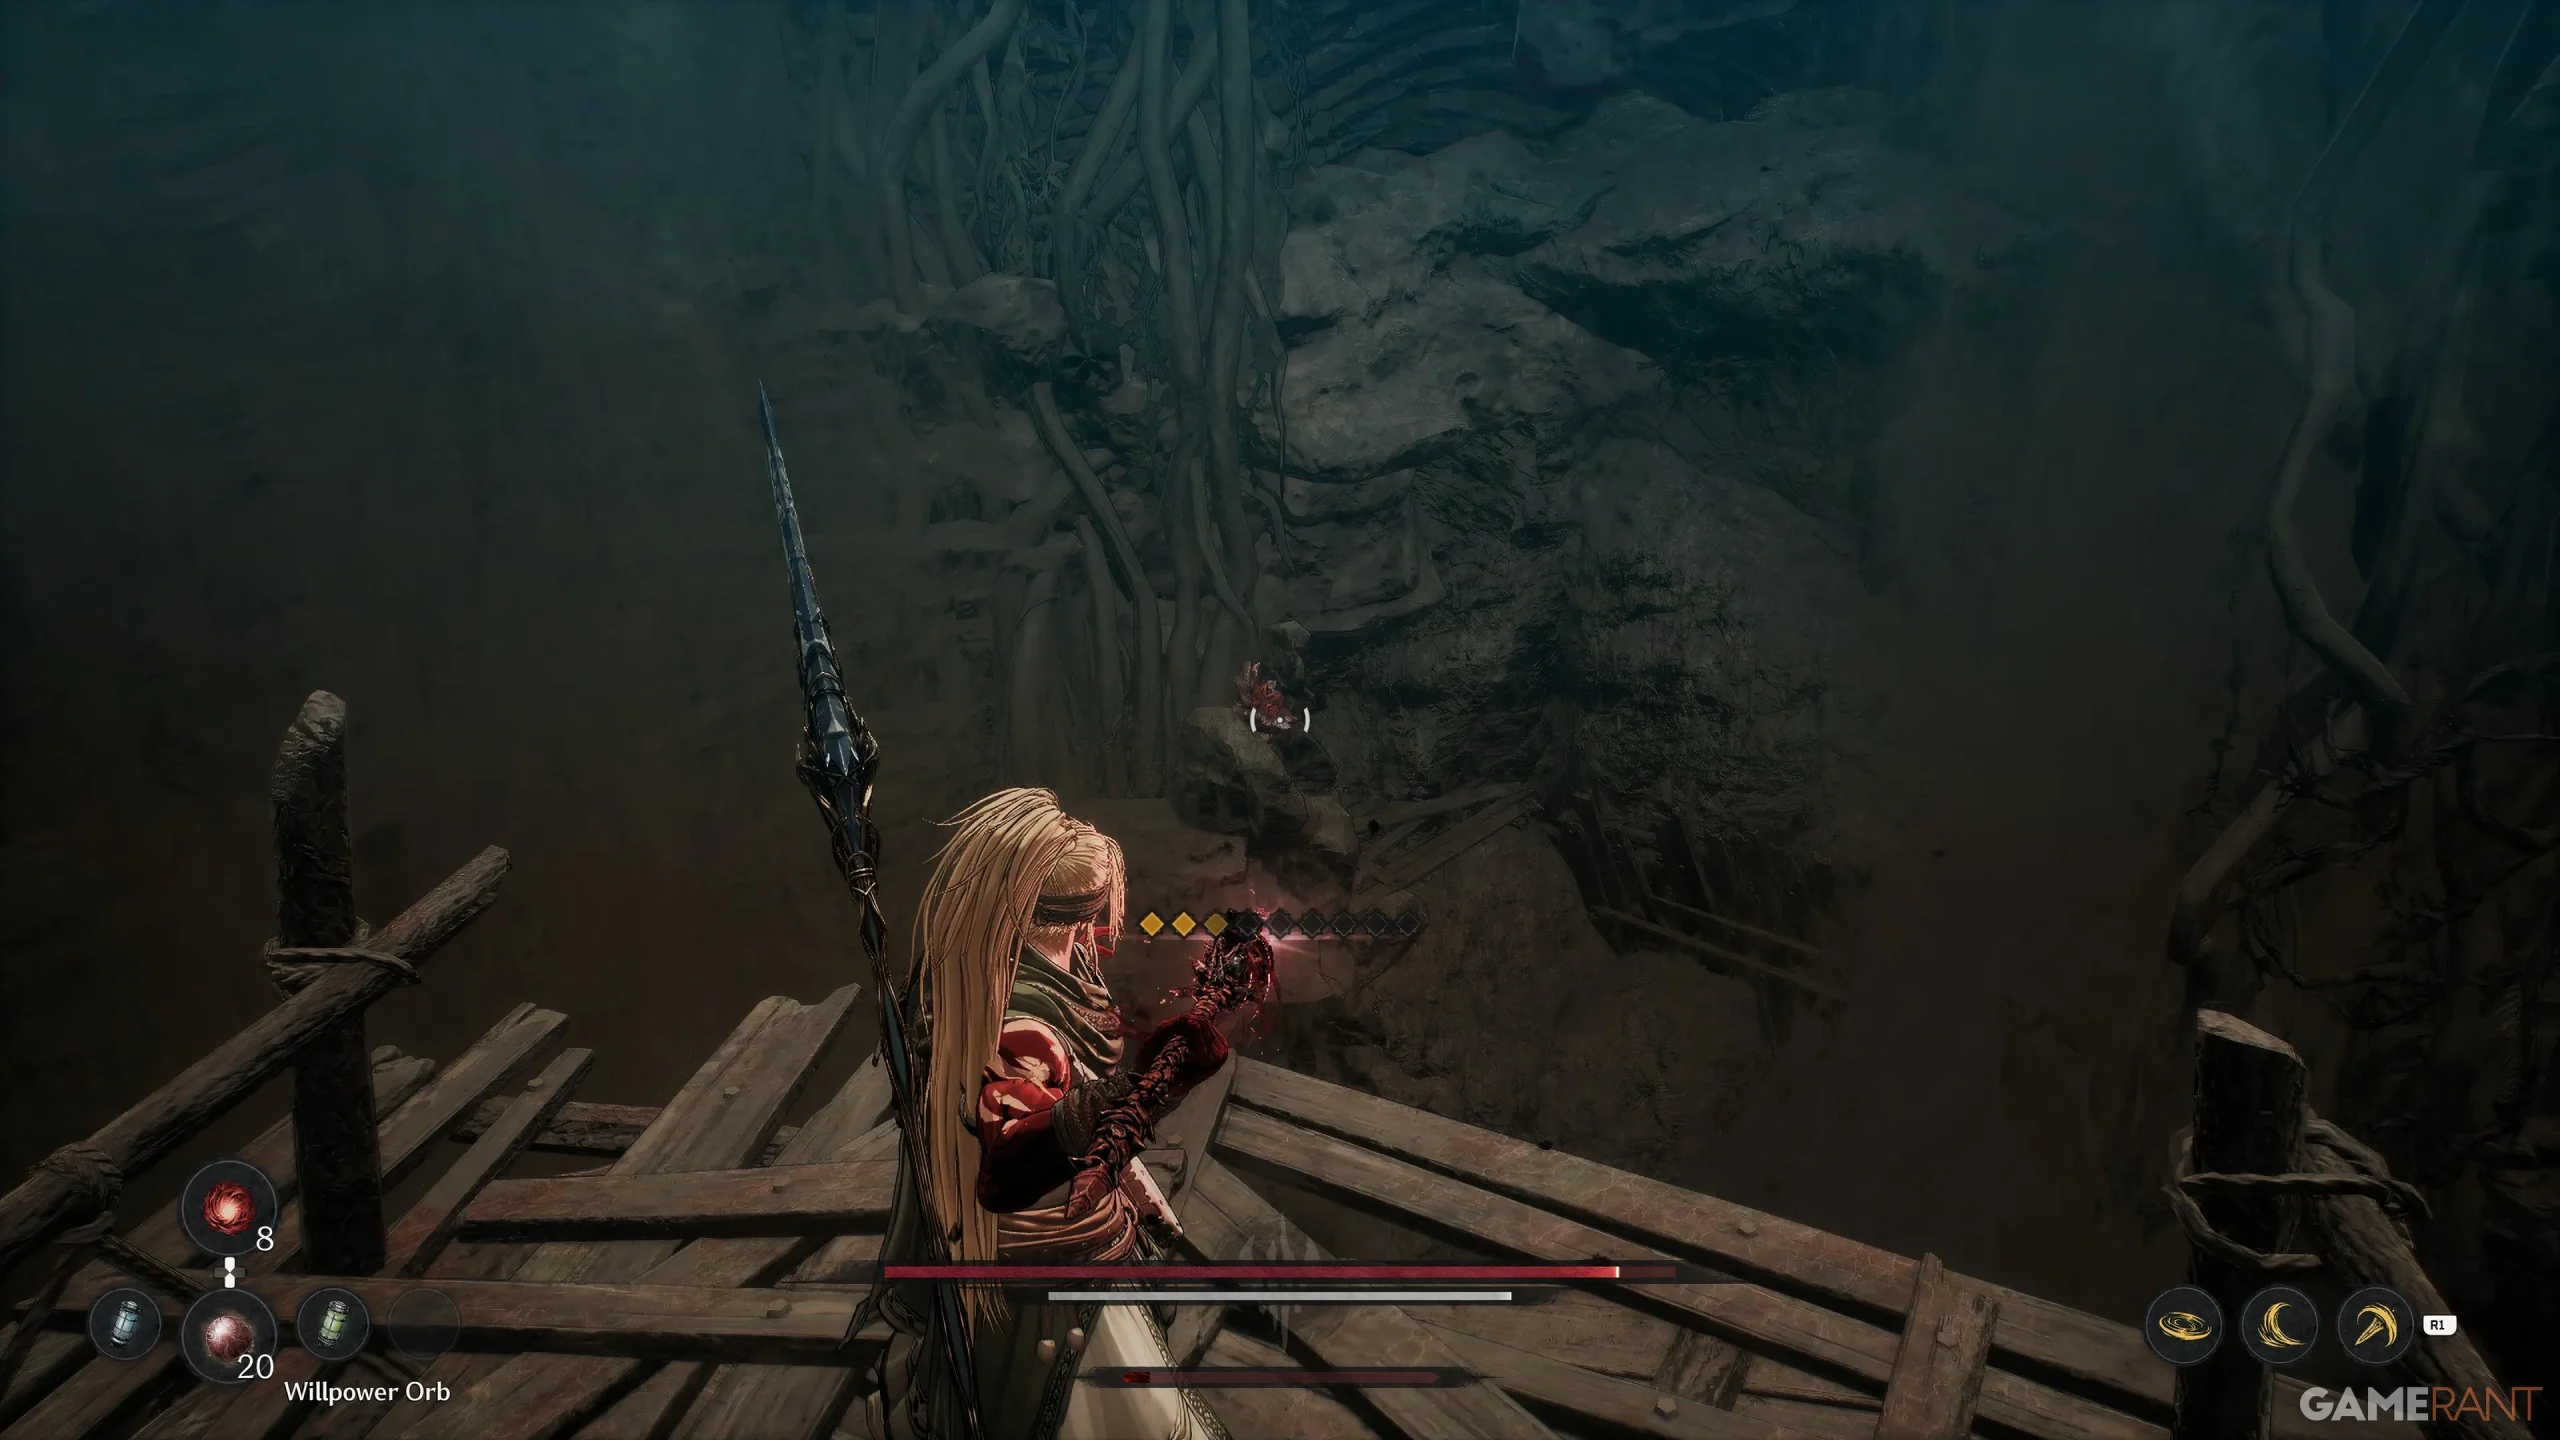
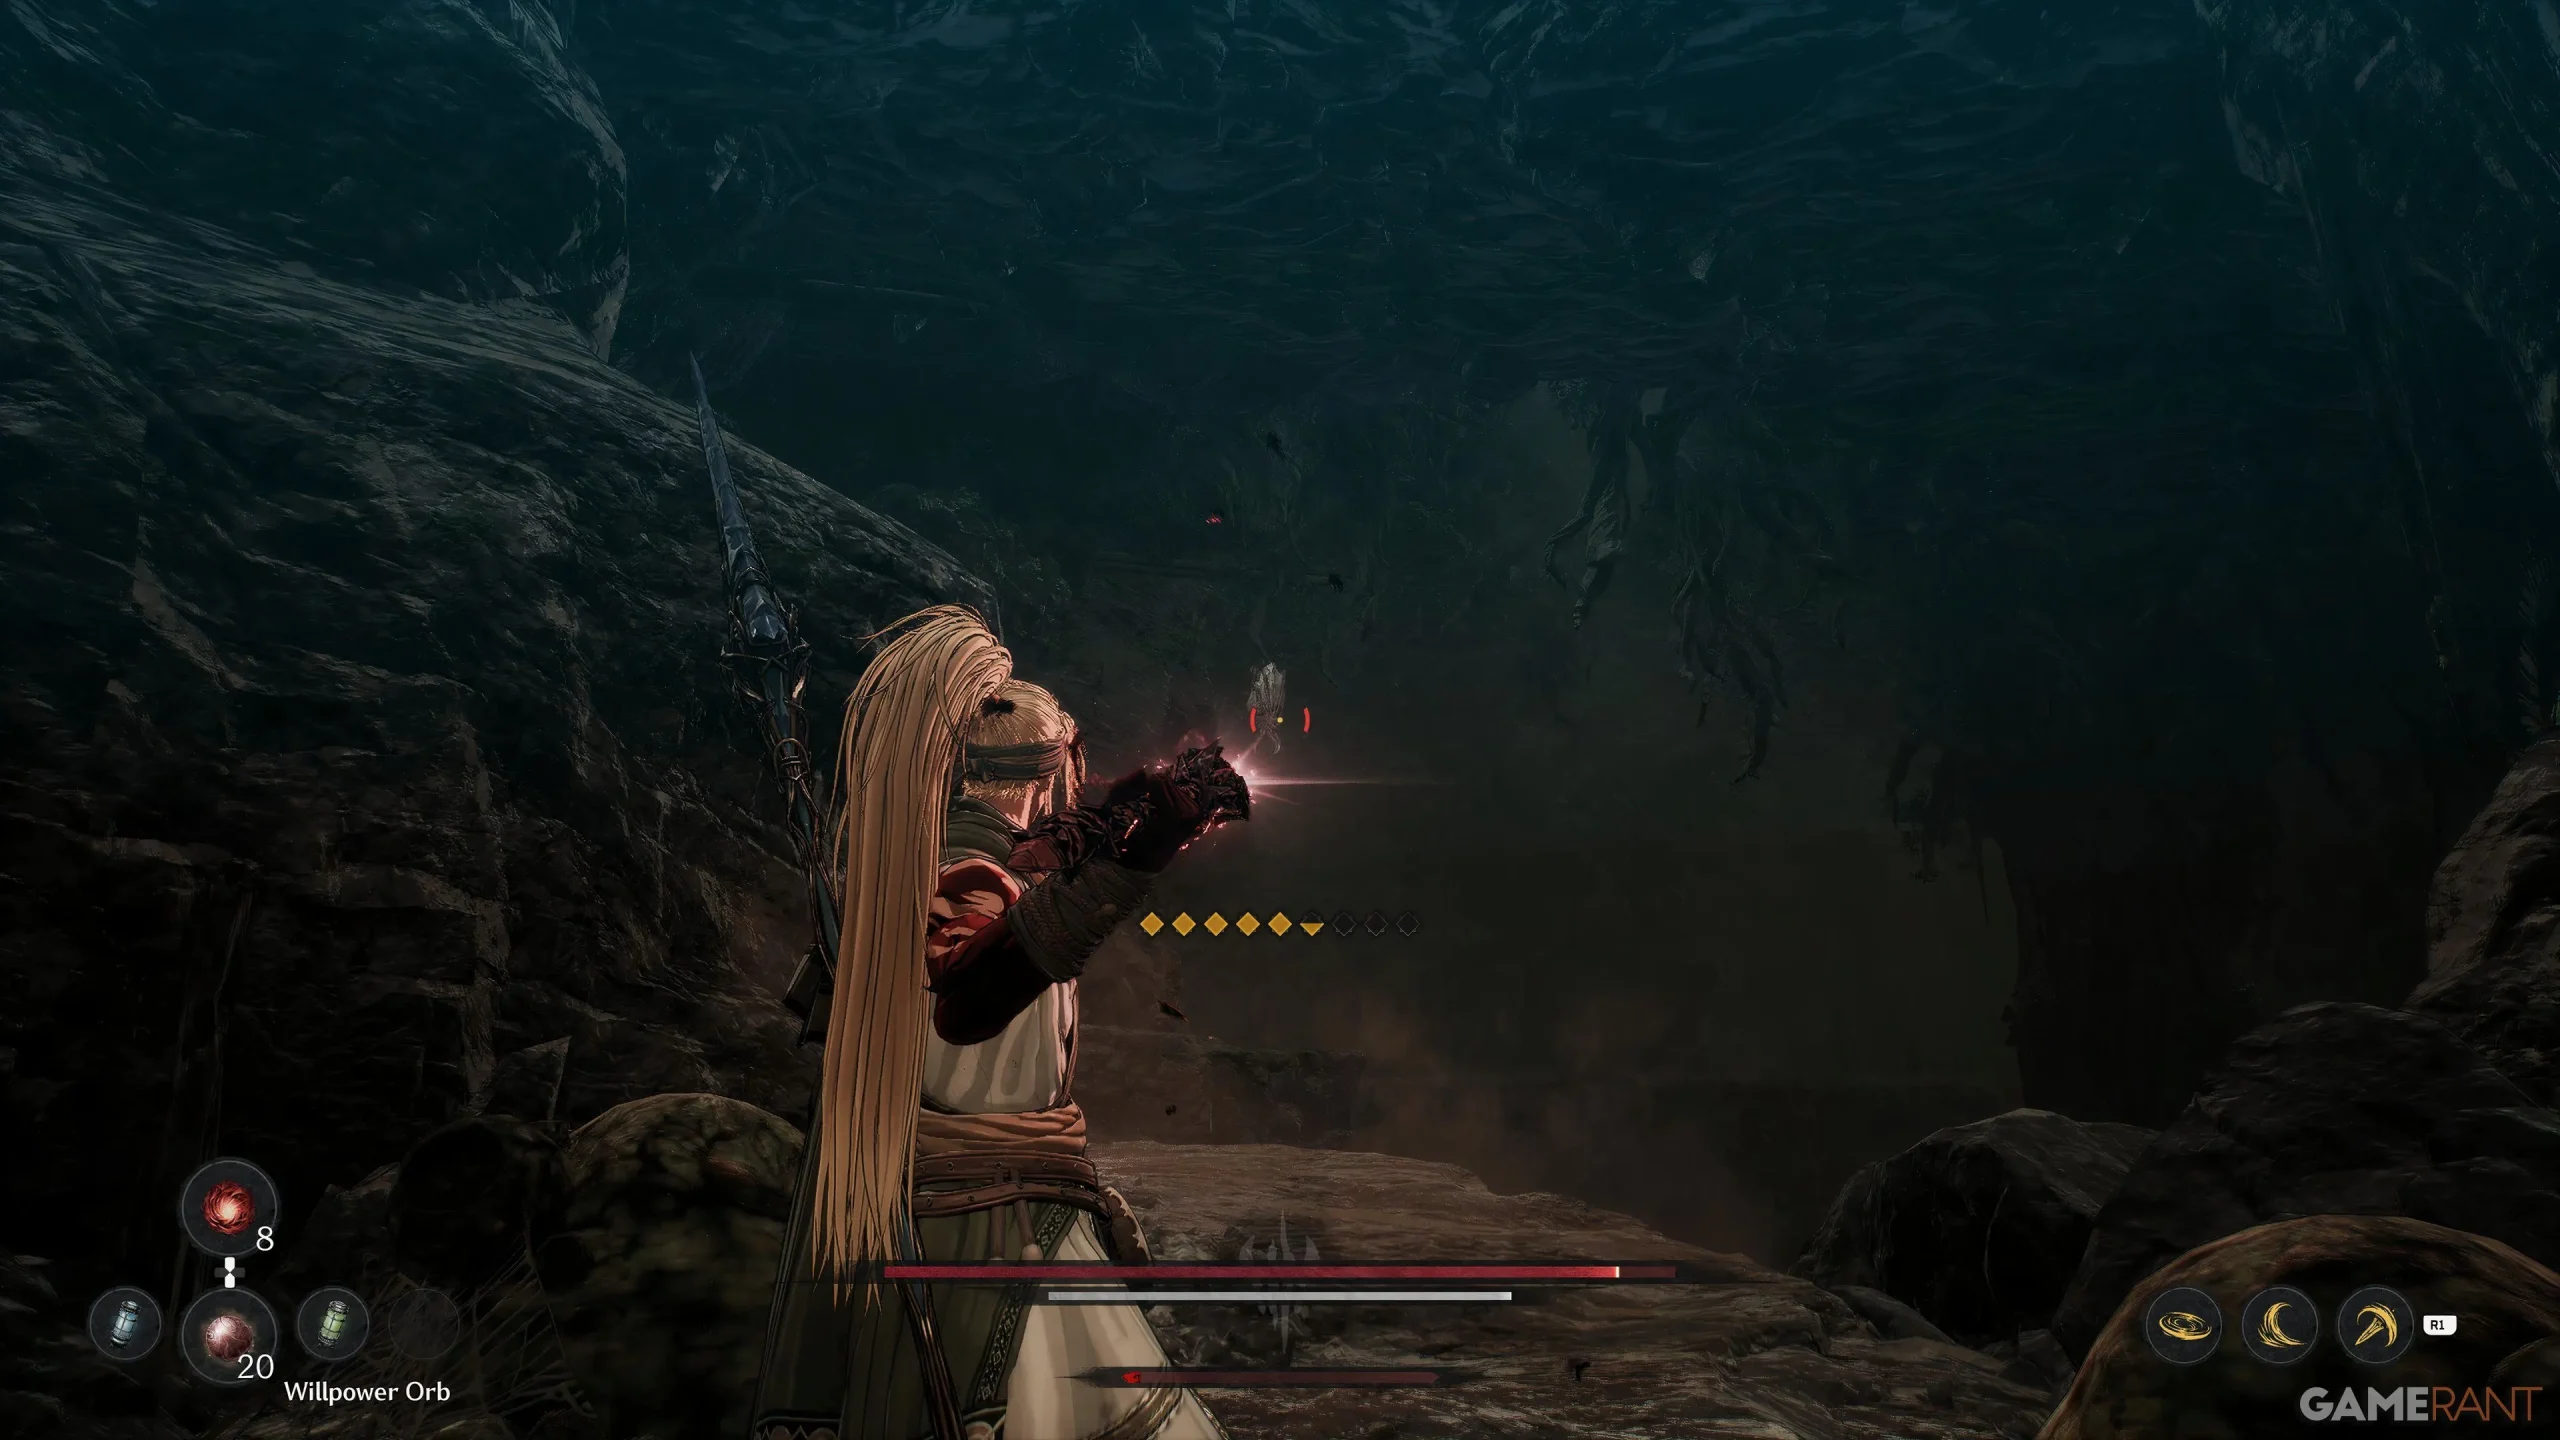
After activating the lift and returning to face the spiders in their sacs, prepare for your first battle with a Red-Eye Boulder Bat. If you spot it hanging, throw a Javelin to inflict significant damage before it can react. Continue onward to find a Crypt Devourer disguised as a pickup item; you can defeat it with another Javelin throw before it fully wakes. Before progressing, a waterfall on your left hides the first Soulstone of this mission.
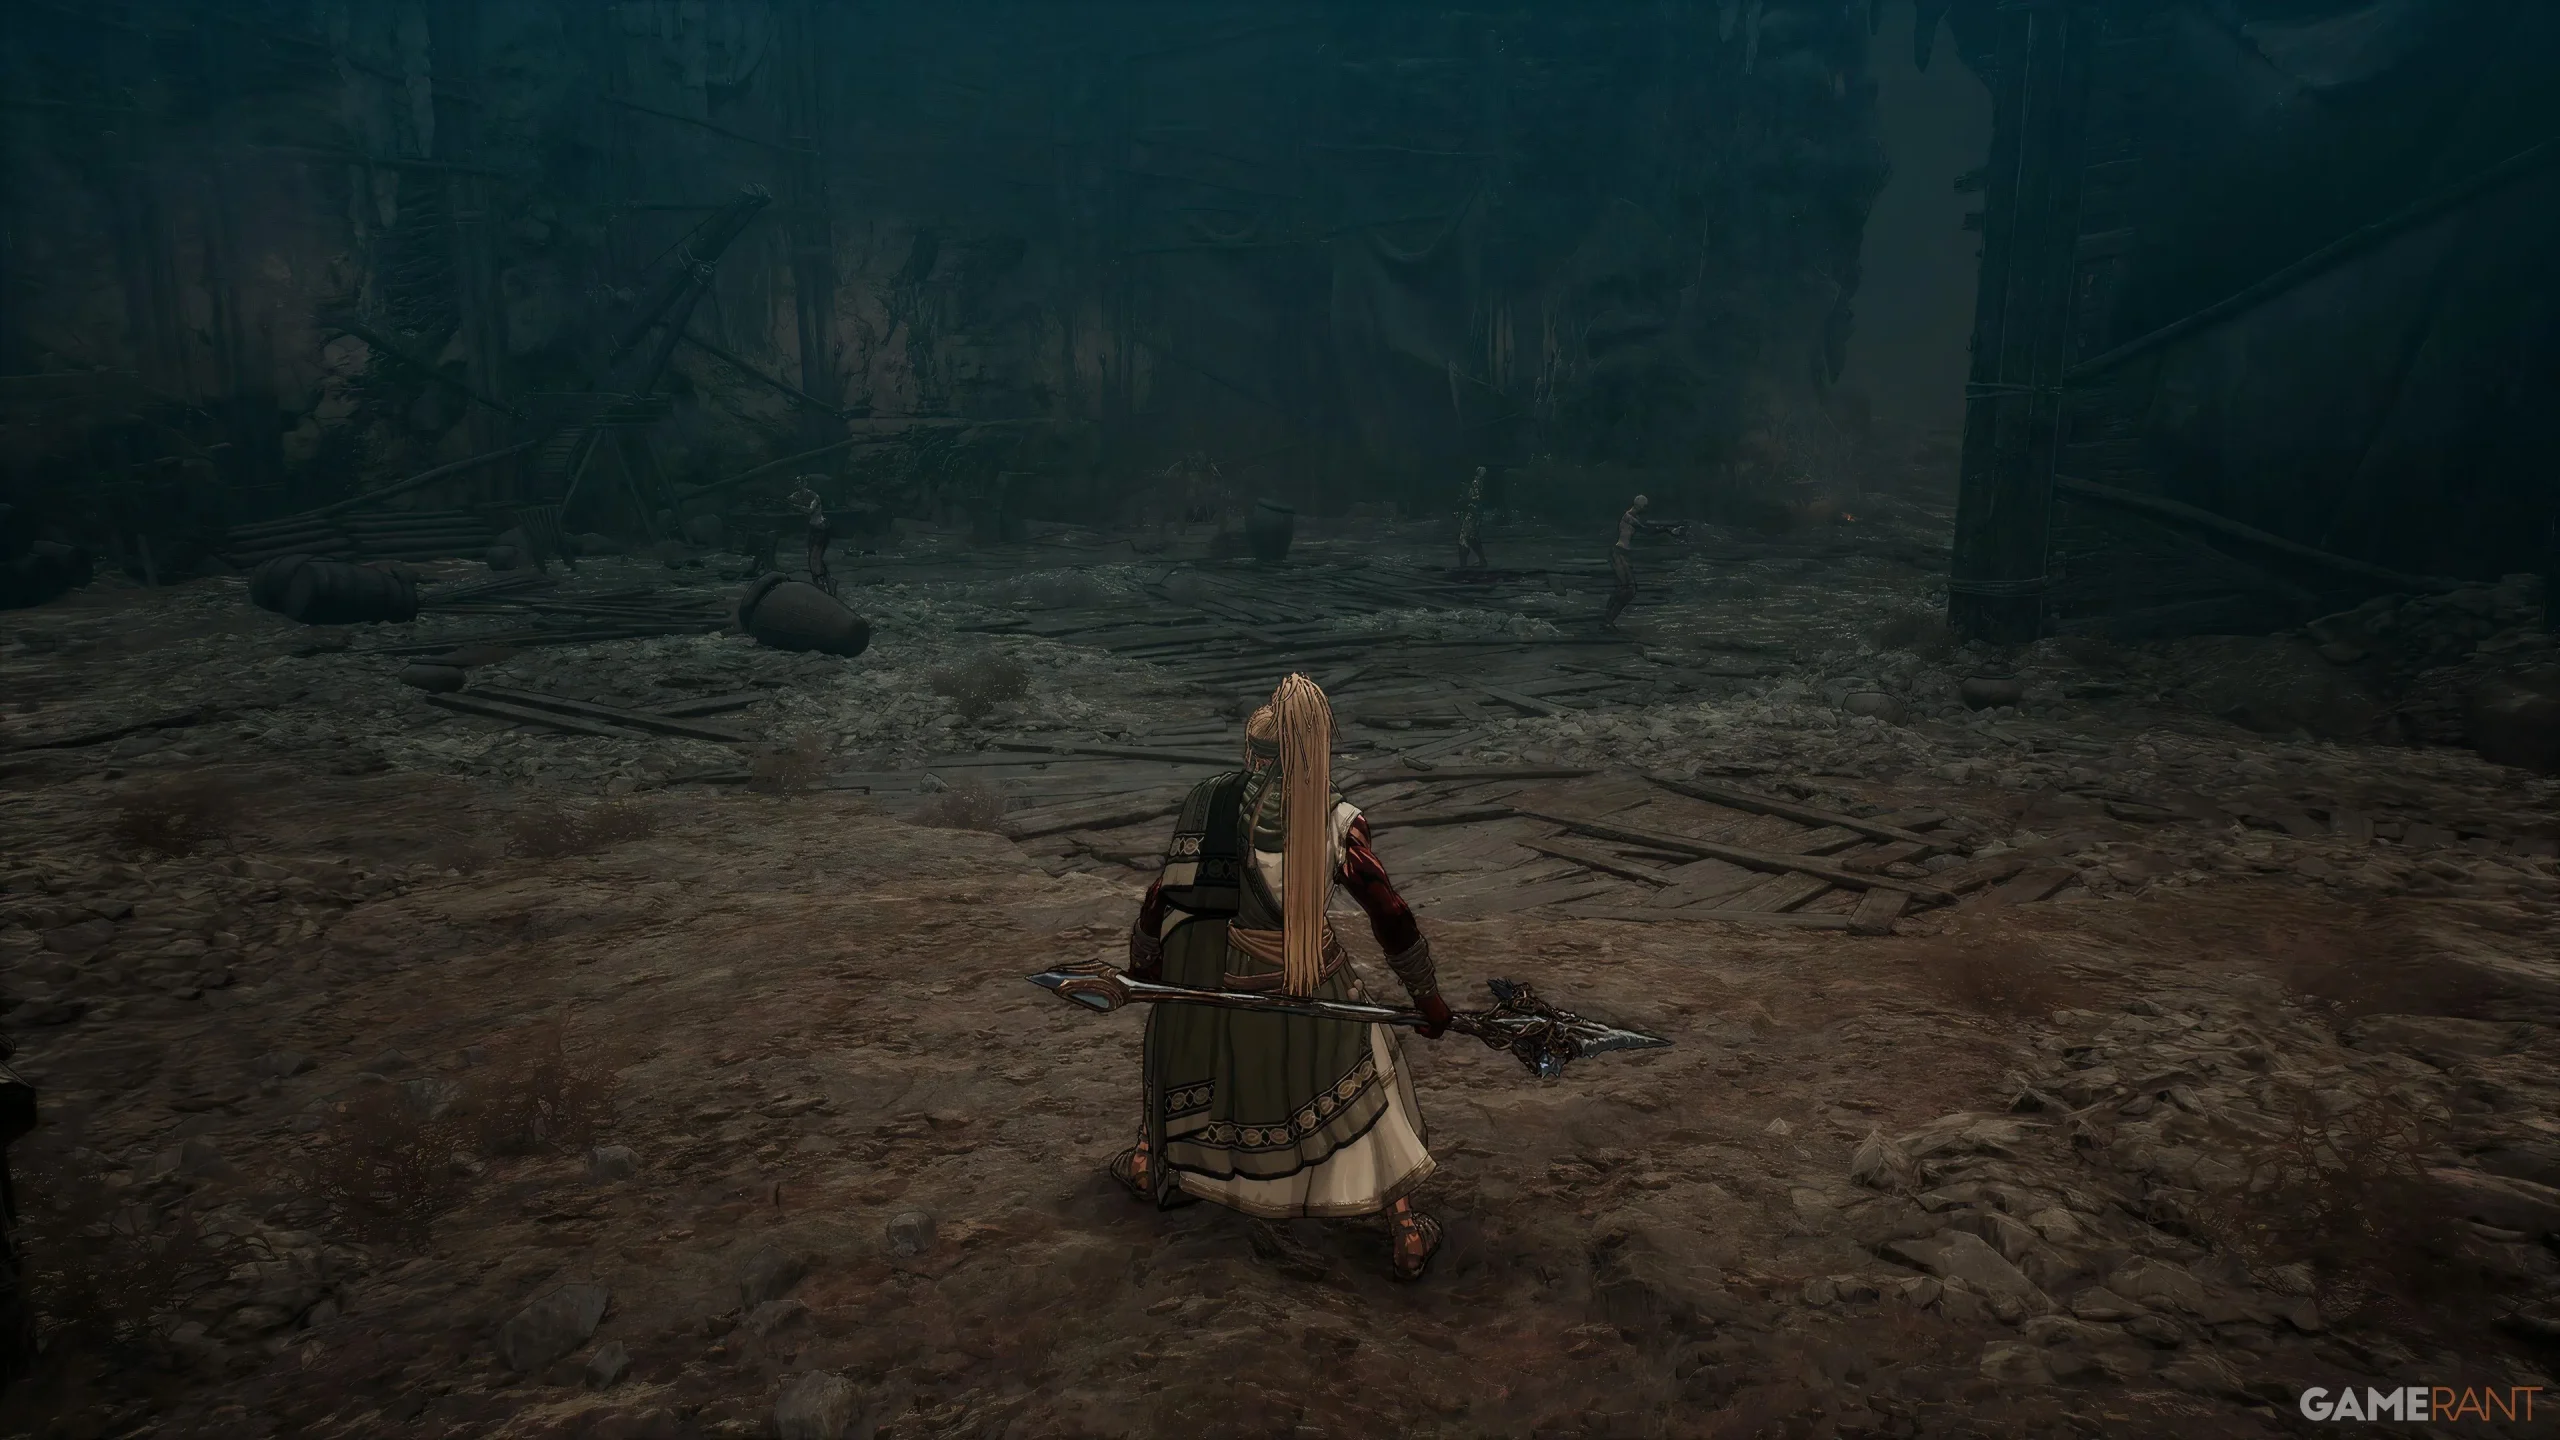
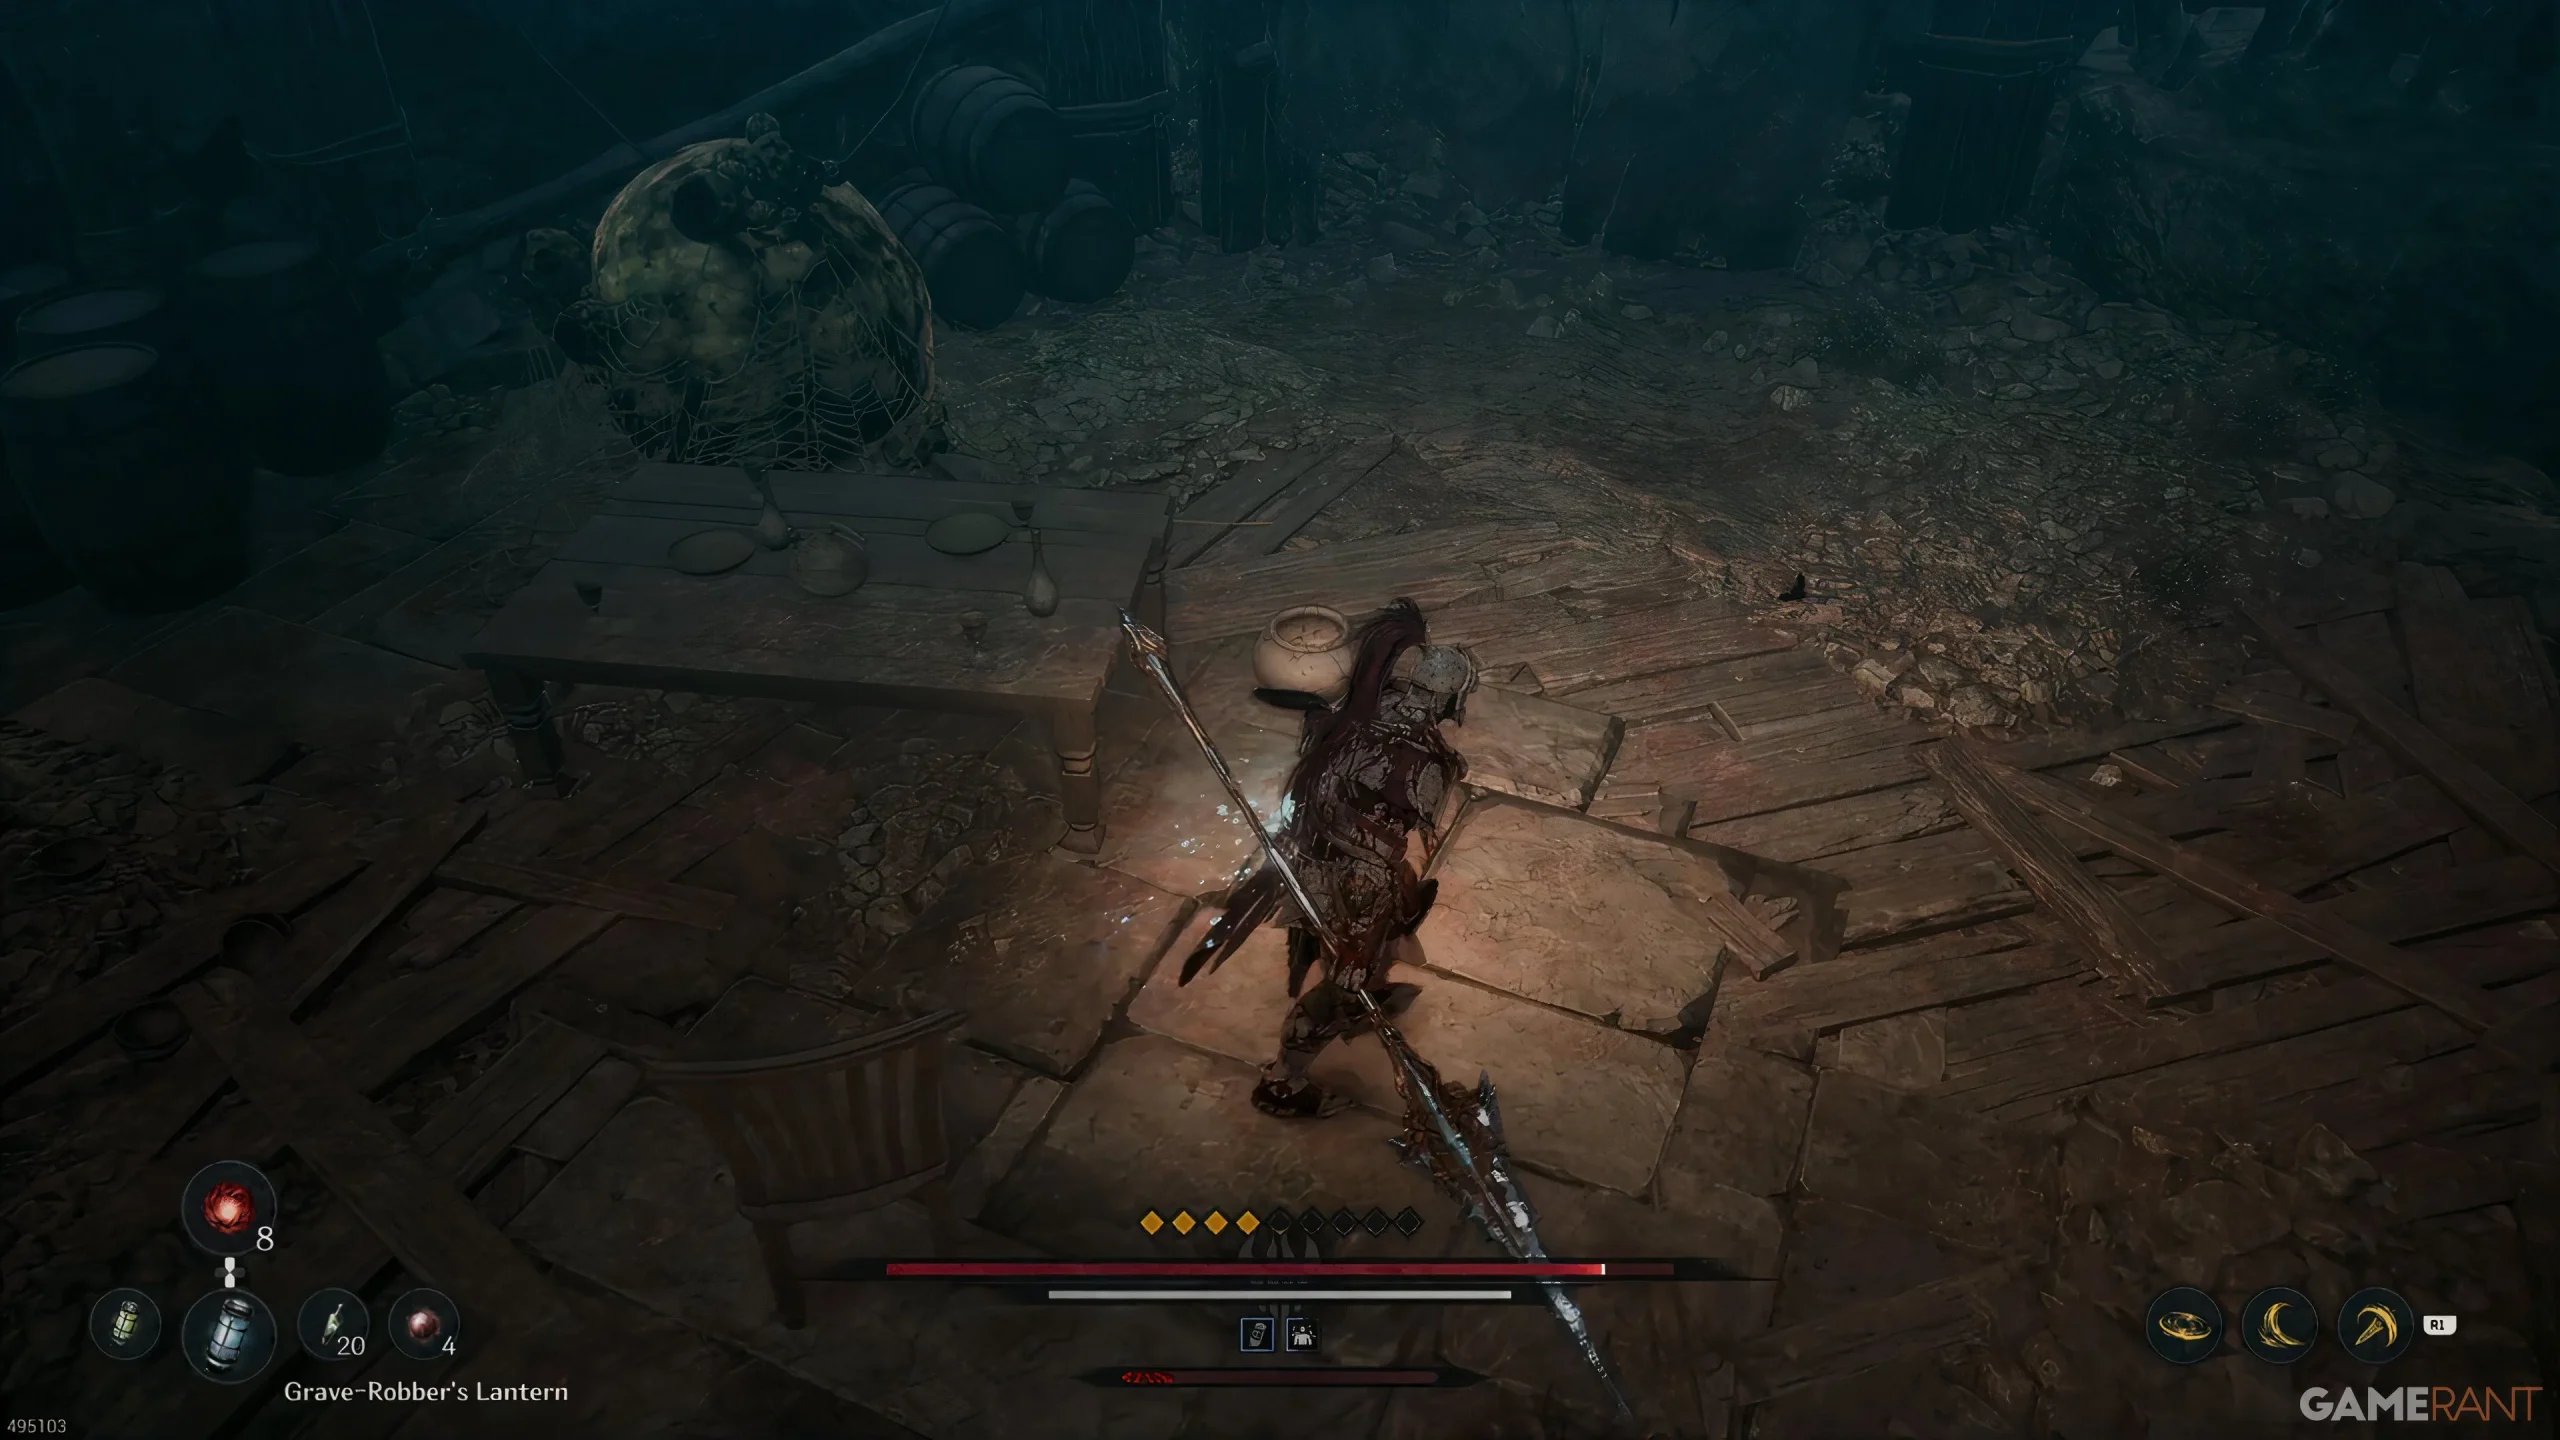
Return to the main path and prepare for a surge of Plague-infested enemies. While you can evade them, it is advisable to eliminate these foes as there is a collectible located nearby. If you have completed the Bonus Mission: Jar Enthusiasts, you will hear a humming noise near a table and chair, indicating a Jarling is present to send to Danjin.
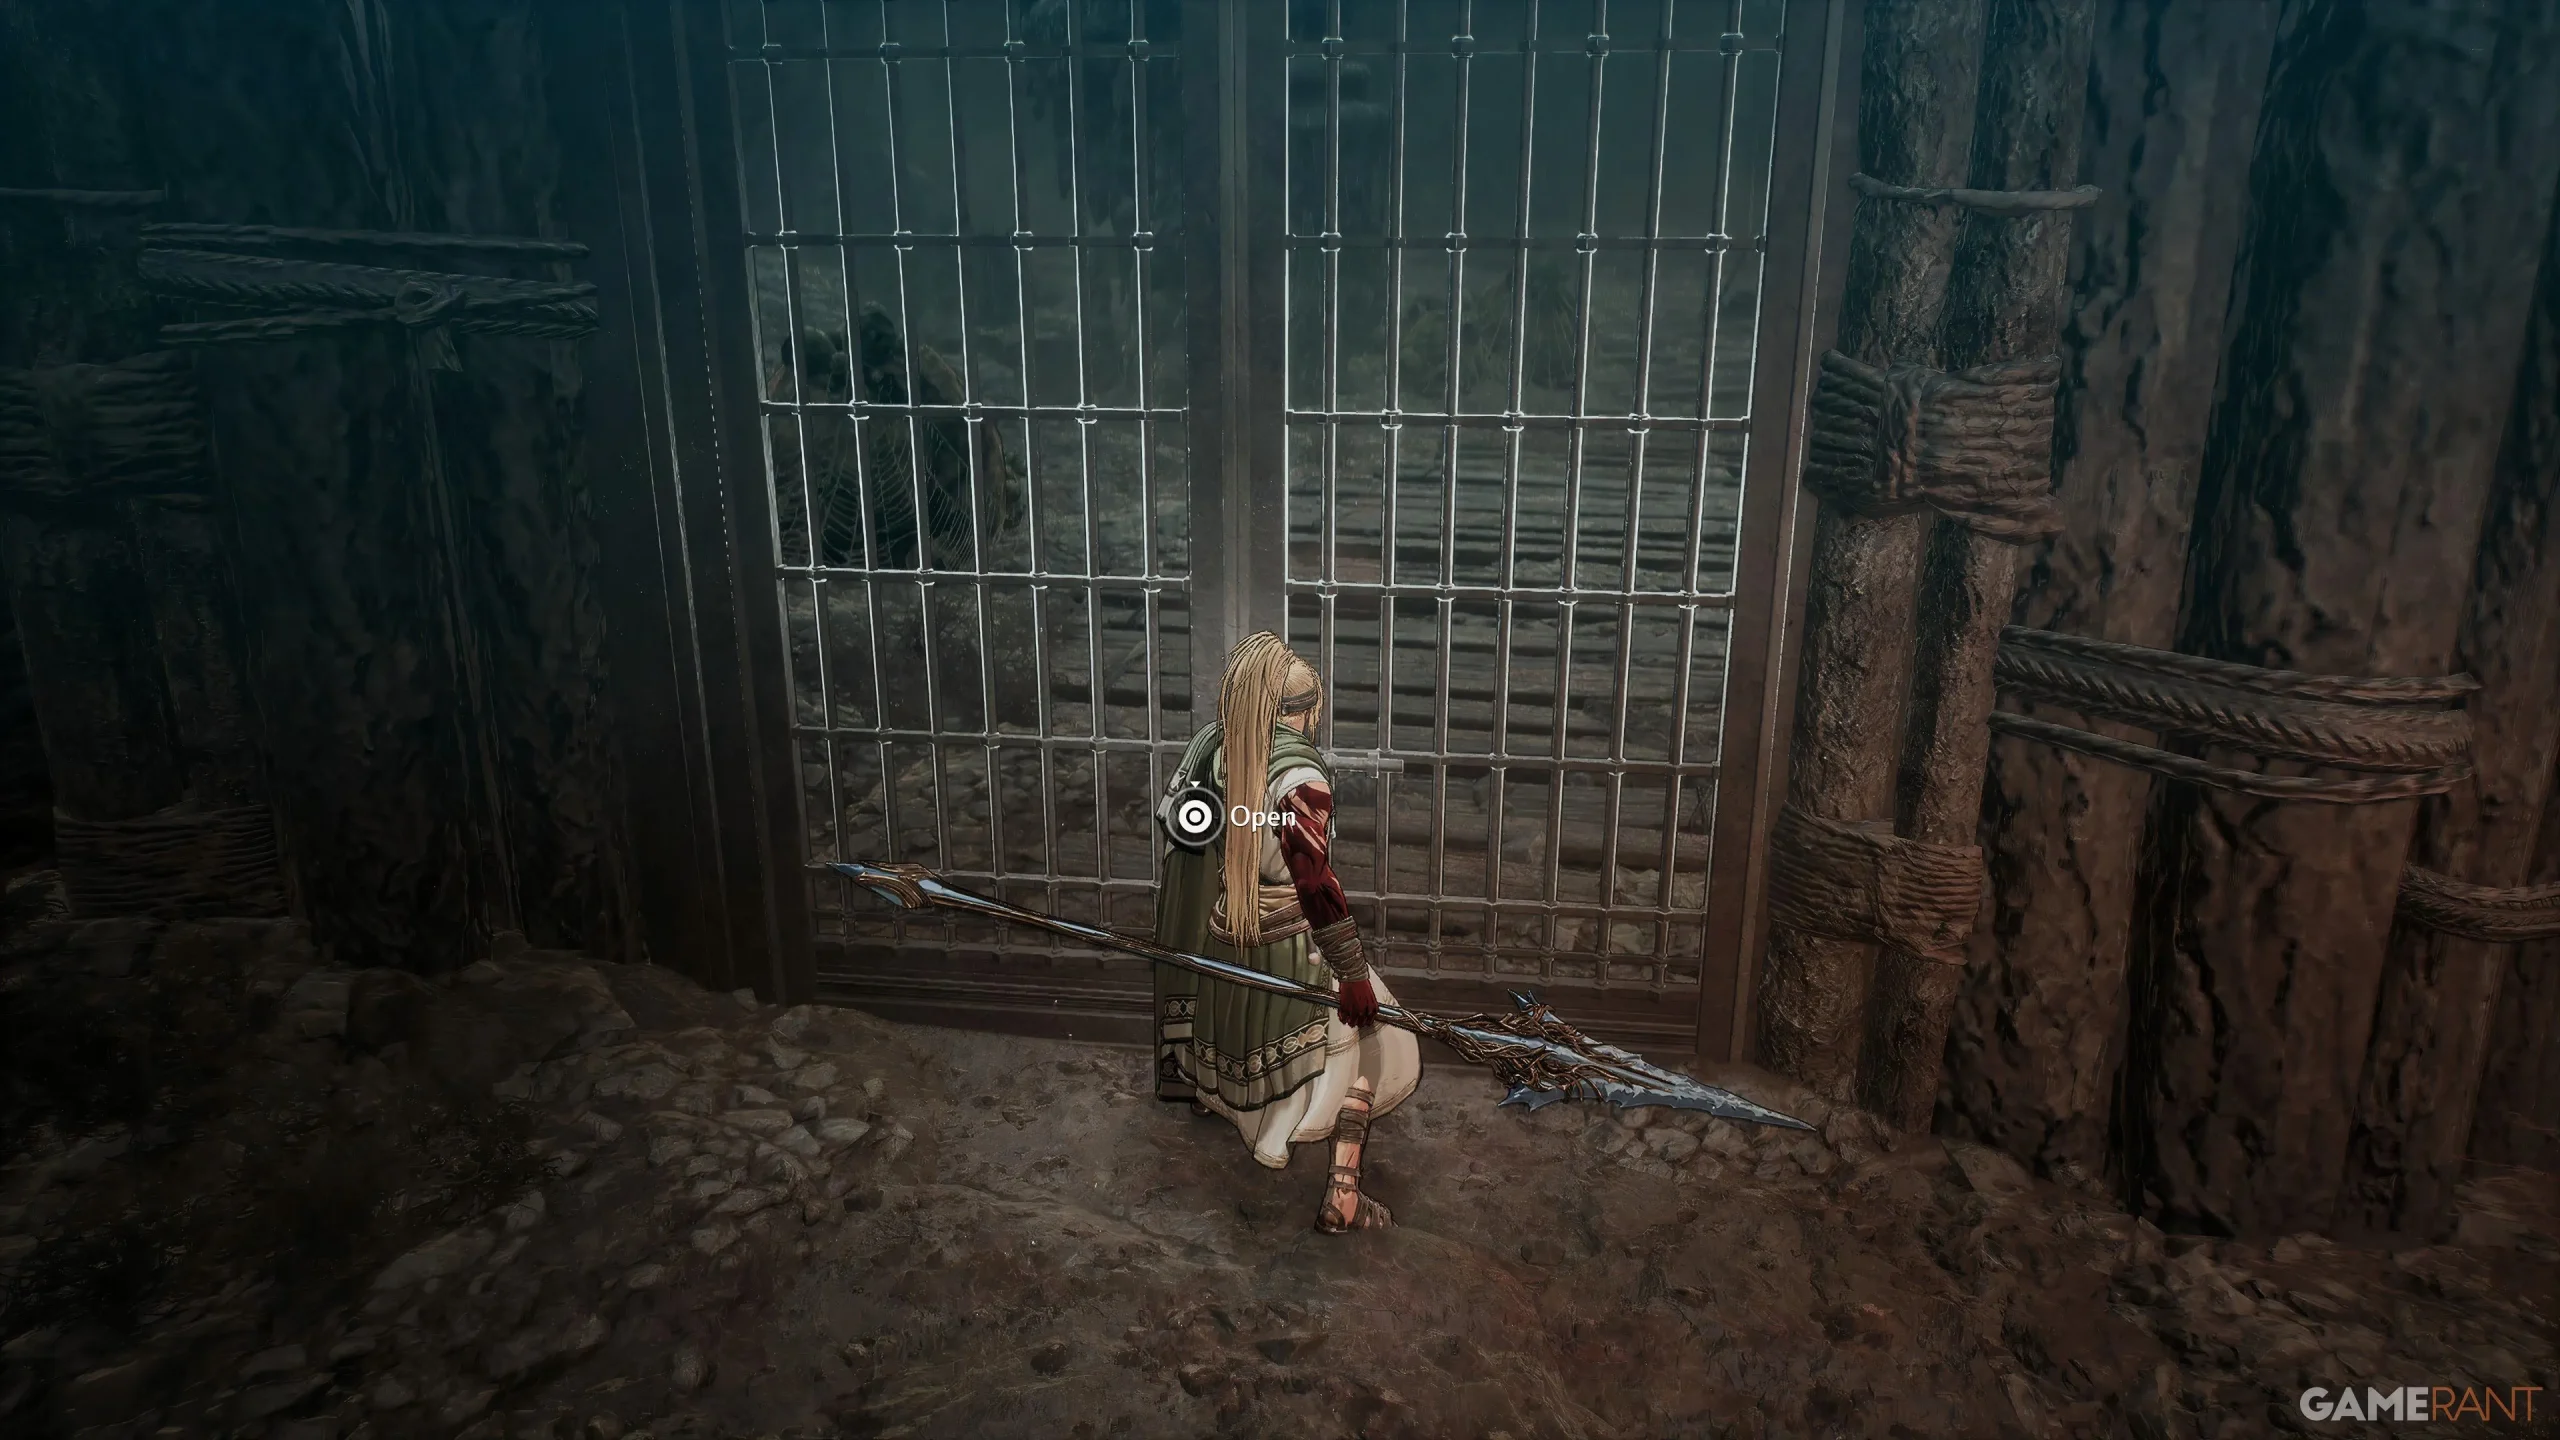

Continue on the main path to reach a room populated by Frenzied and Plague Husks. Stick to the right side, taking down any enemies until you discover the ladder. Although it doesn’t lead to the primary route, it’s advisable to climb it to obstruct a secondary tunnel, thereby easing the boss fight. Descend the ladder and break through wooden barricades while preparing for a toxic spider encounter. Venture deeper and lean right until you find yourself at the back of a previously locked door, which now opens a shortcut to the Blade Nexus. Feel free to rest here before confronting the rolling spider on your right.
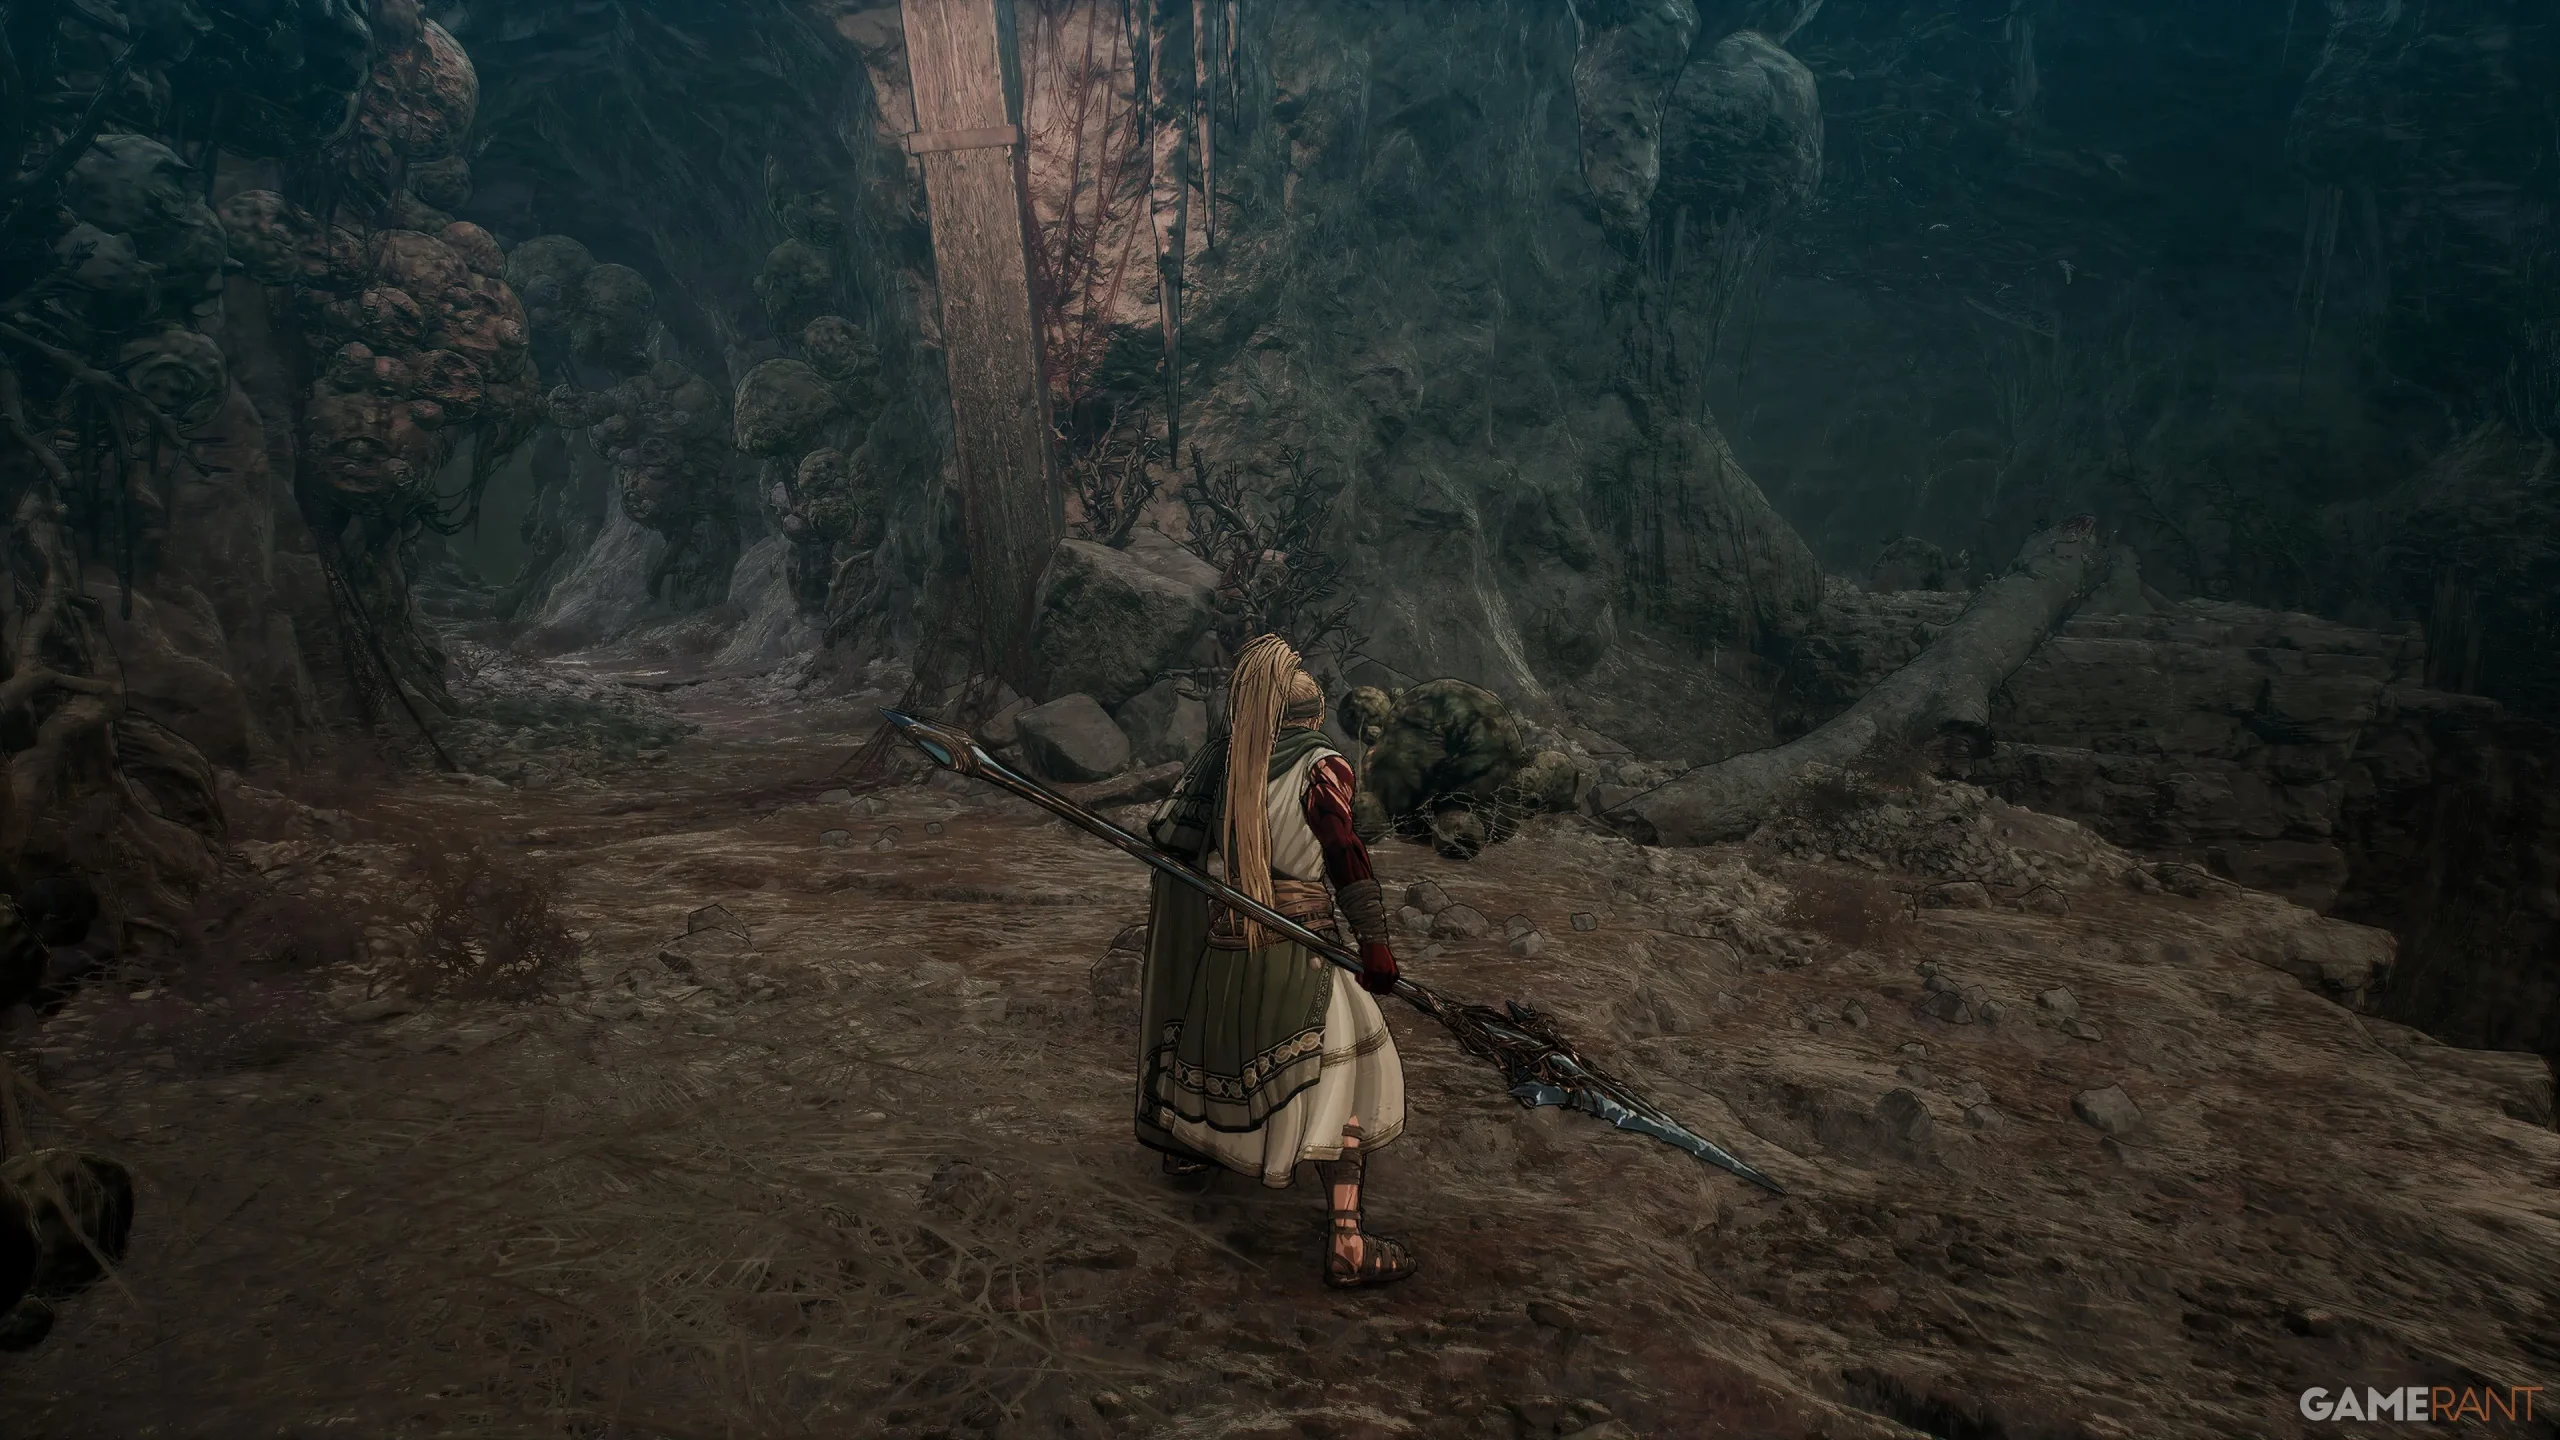
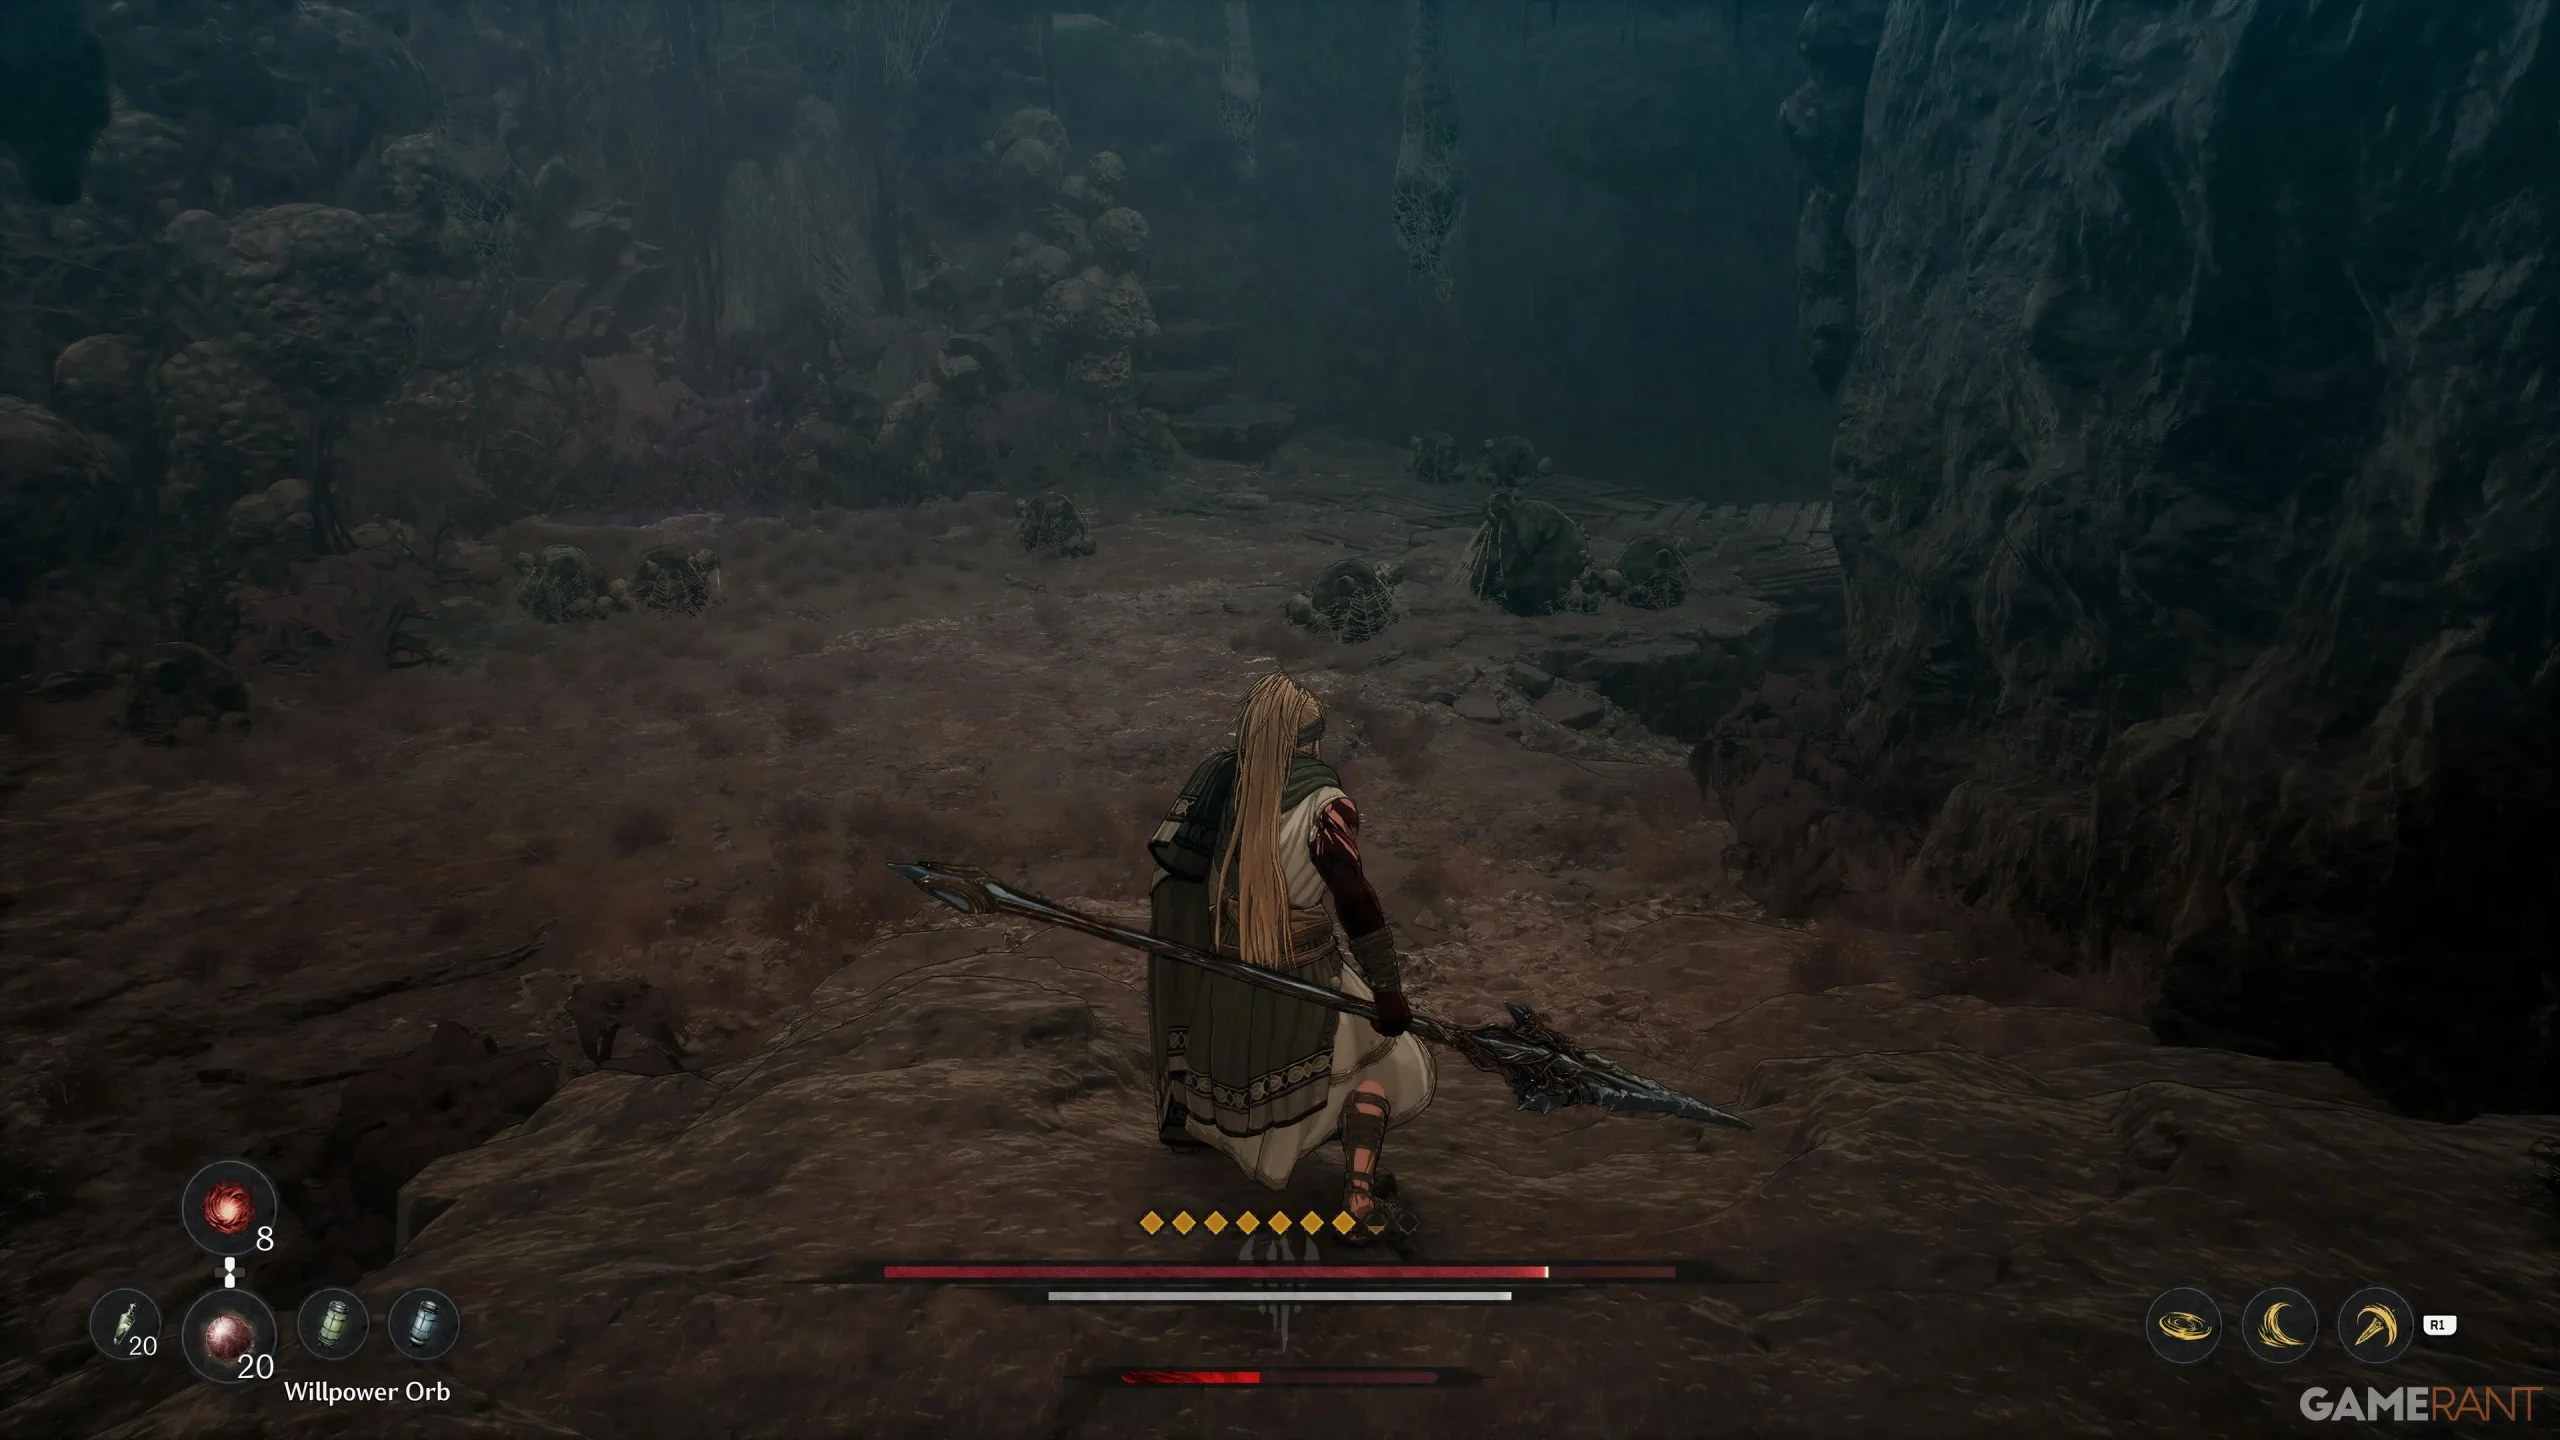
You will soon notice two paths: the left leads to the main route and the right contains an Elite Enemy and a valuable chest. Stick to the main path where you will encounter adversaries from the Chaos faction. Engage them, then branch off to the right, reaching the Poisoned Depths at the Blade Nexus.
Soulstone #2 in Strange Stench
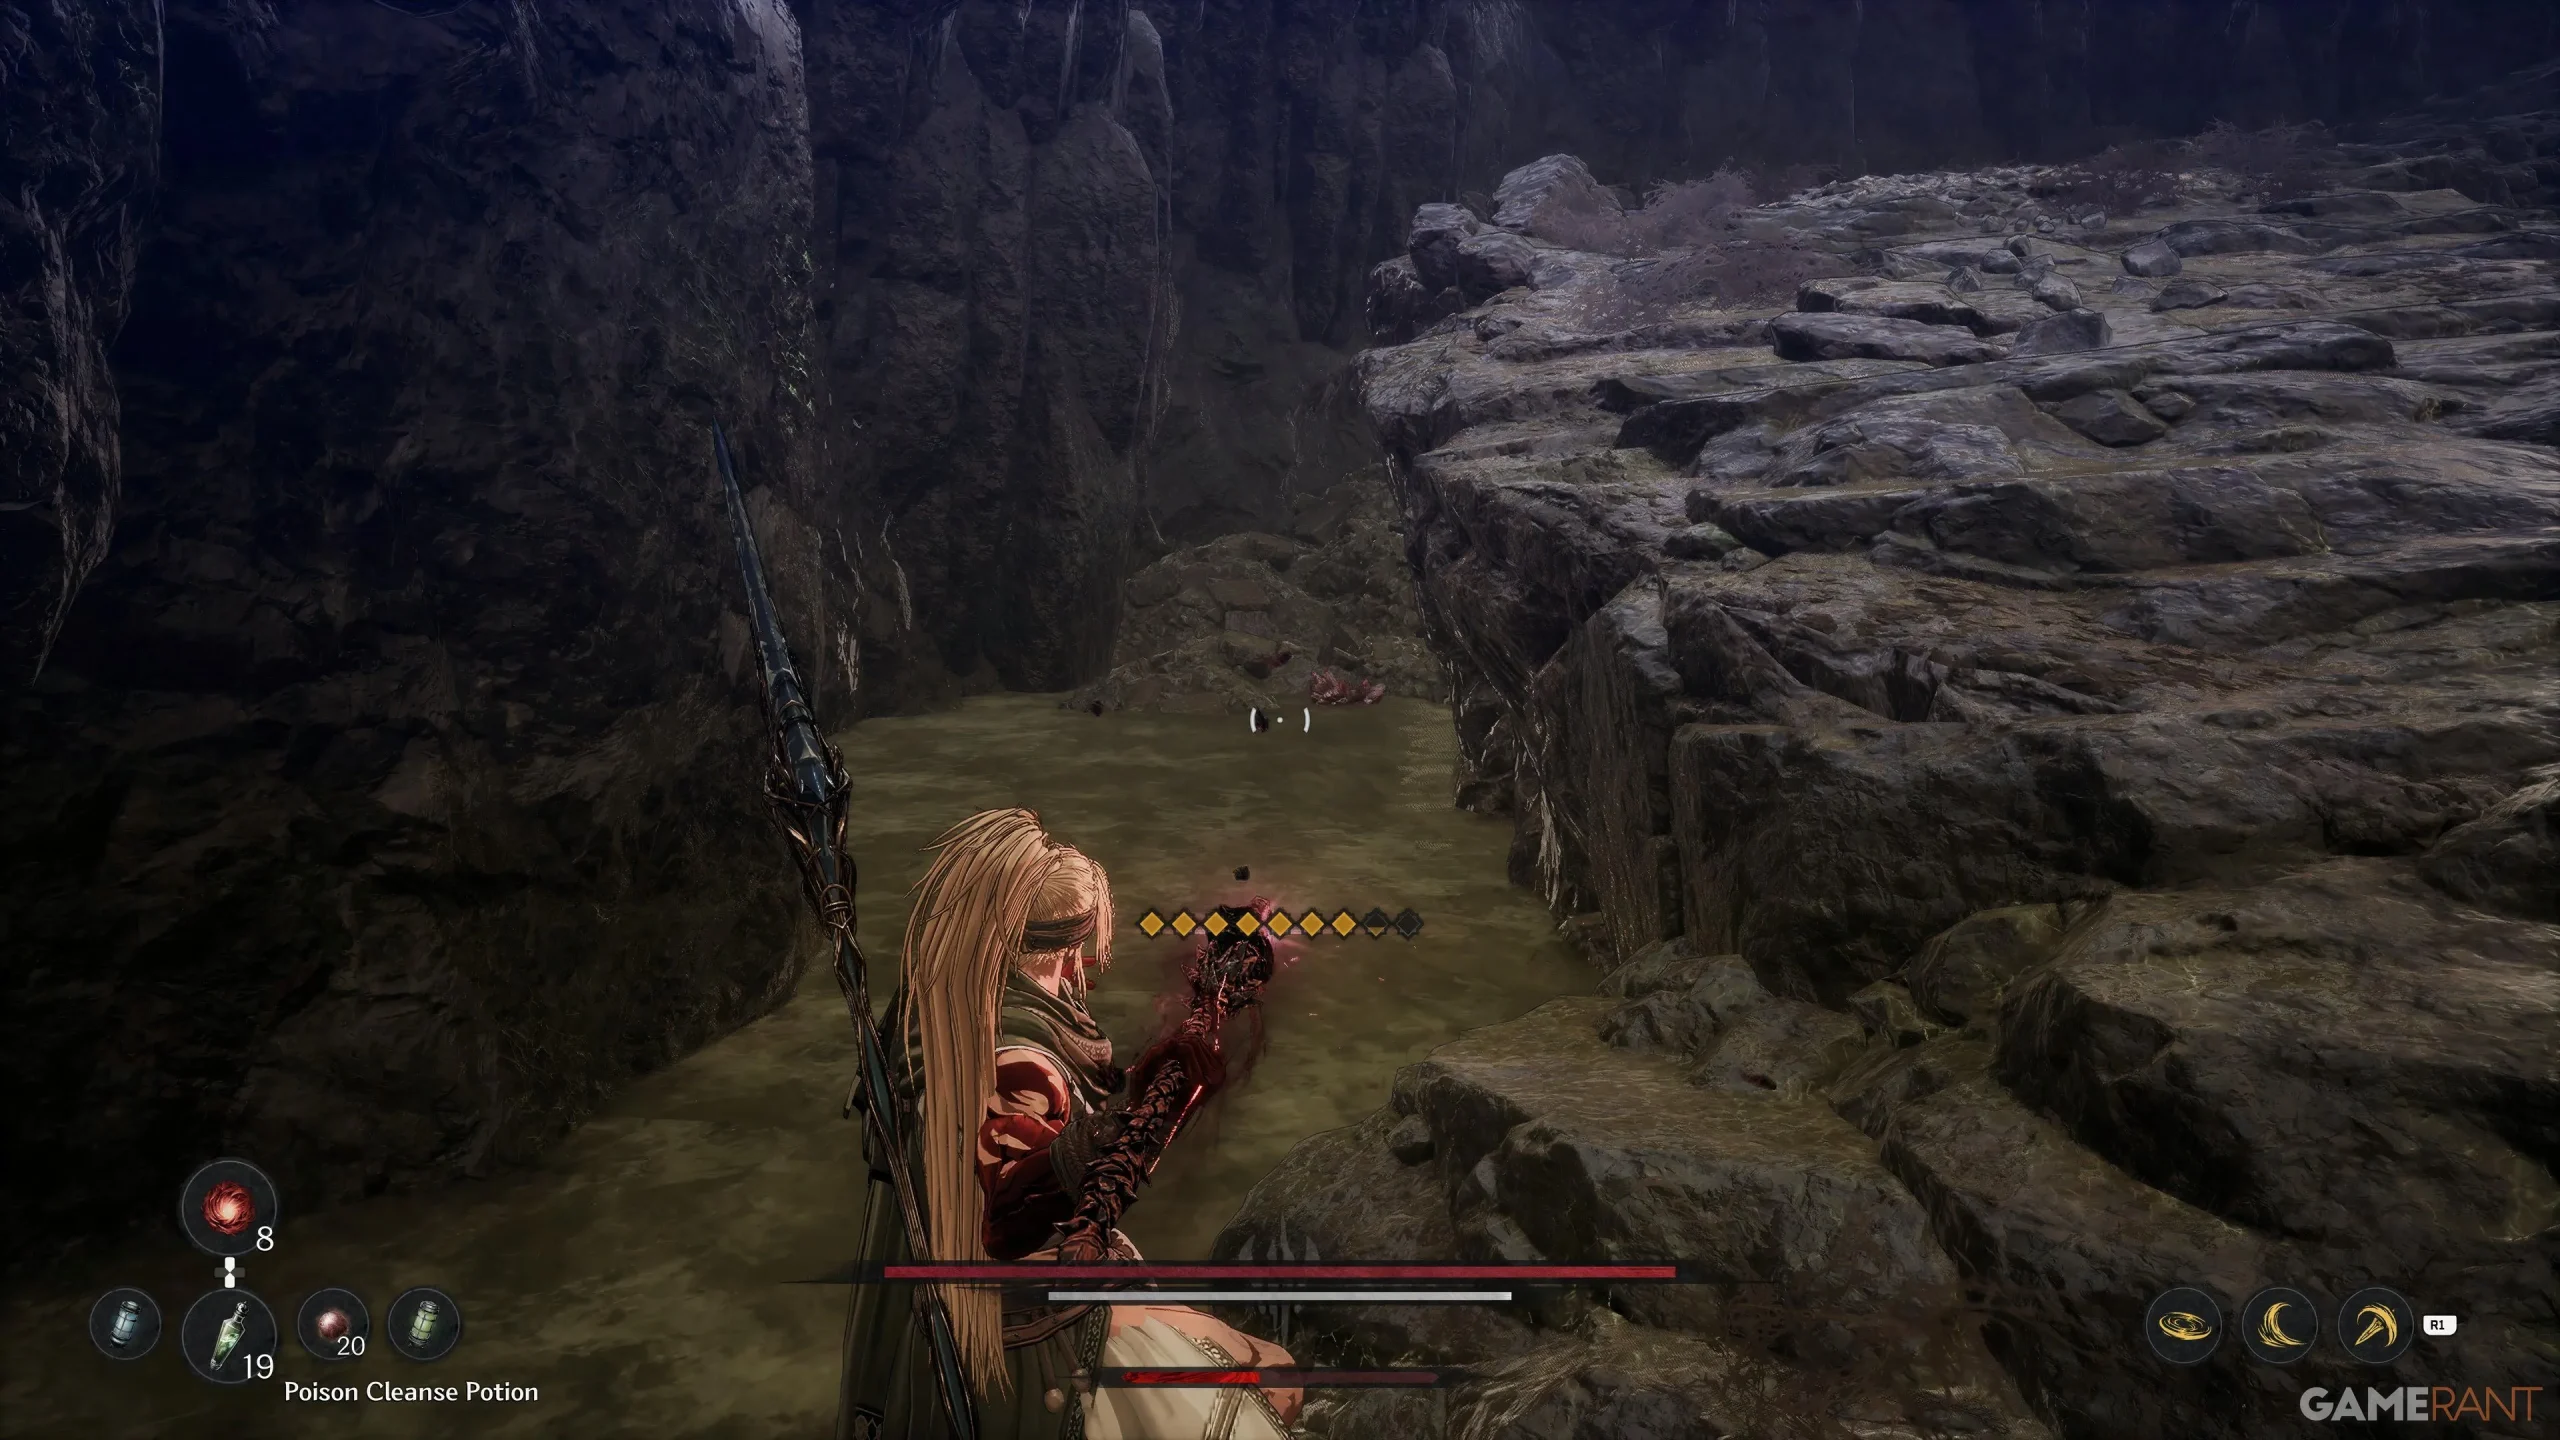
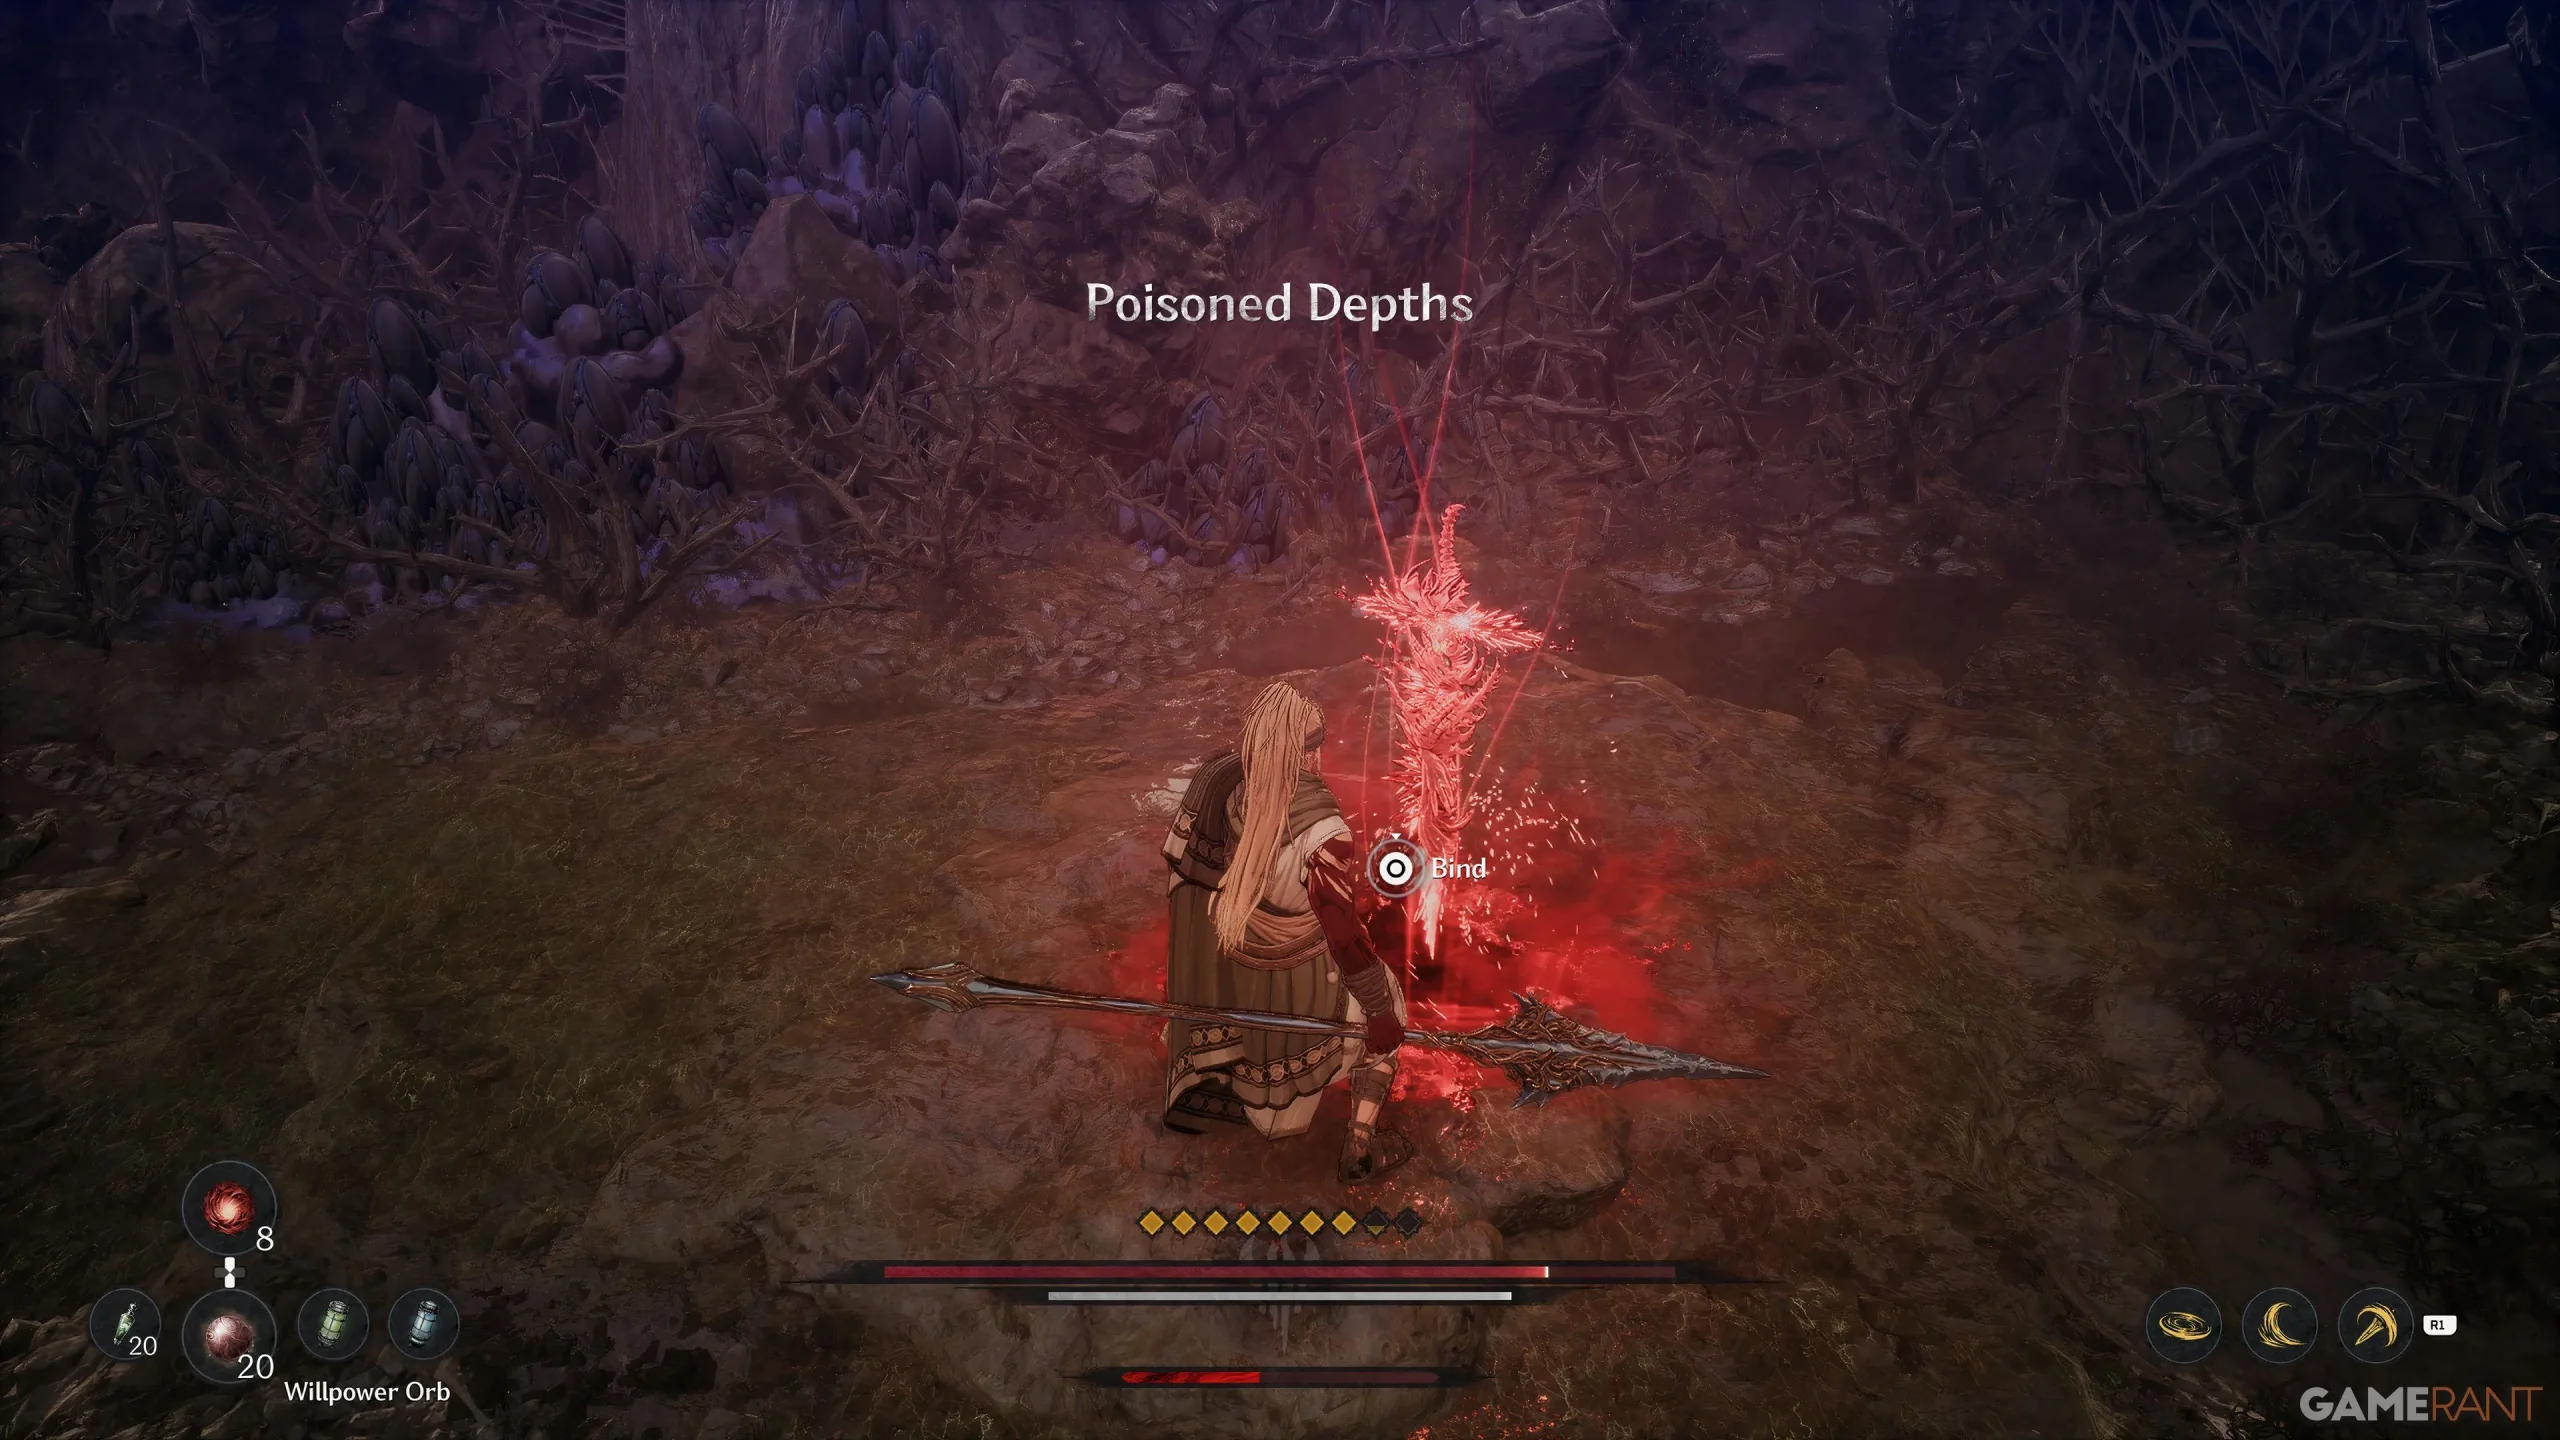
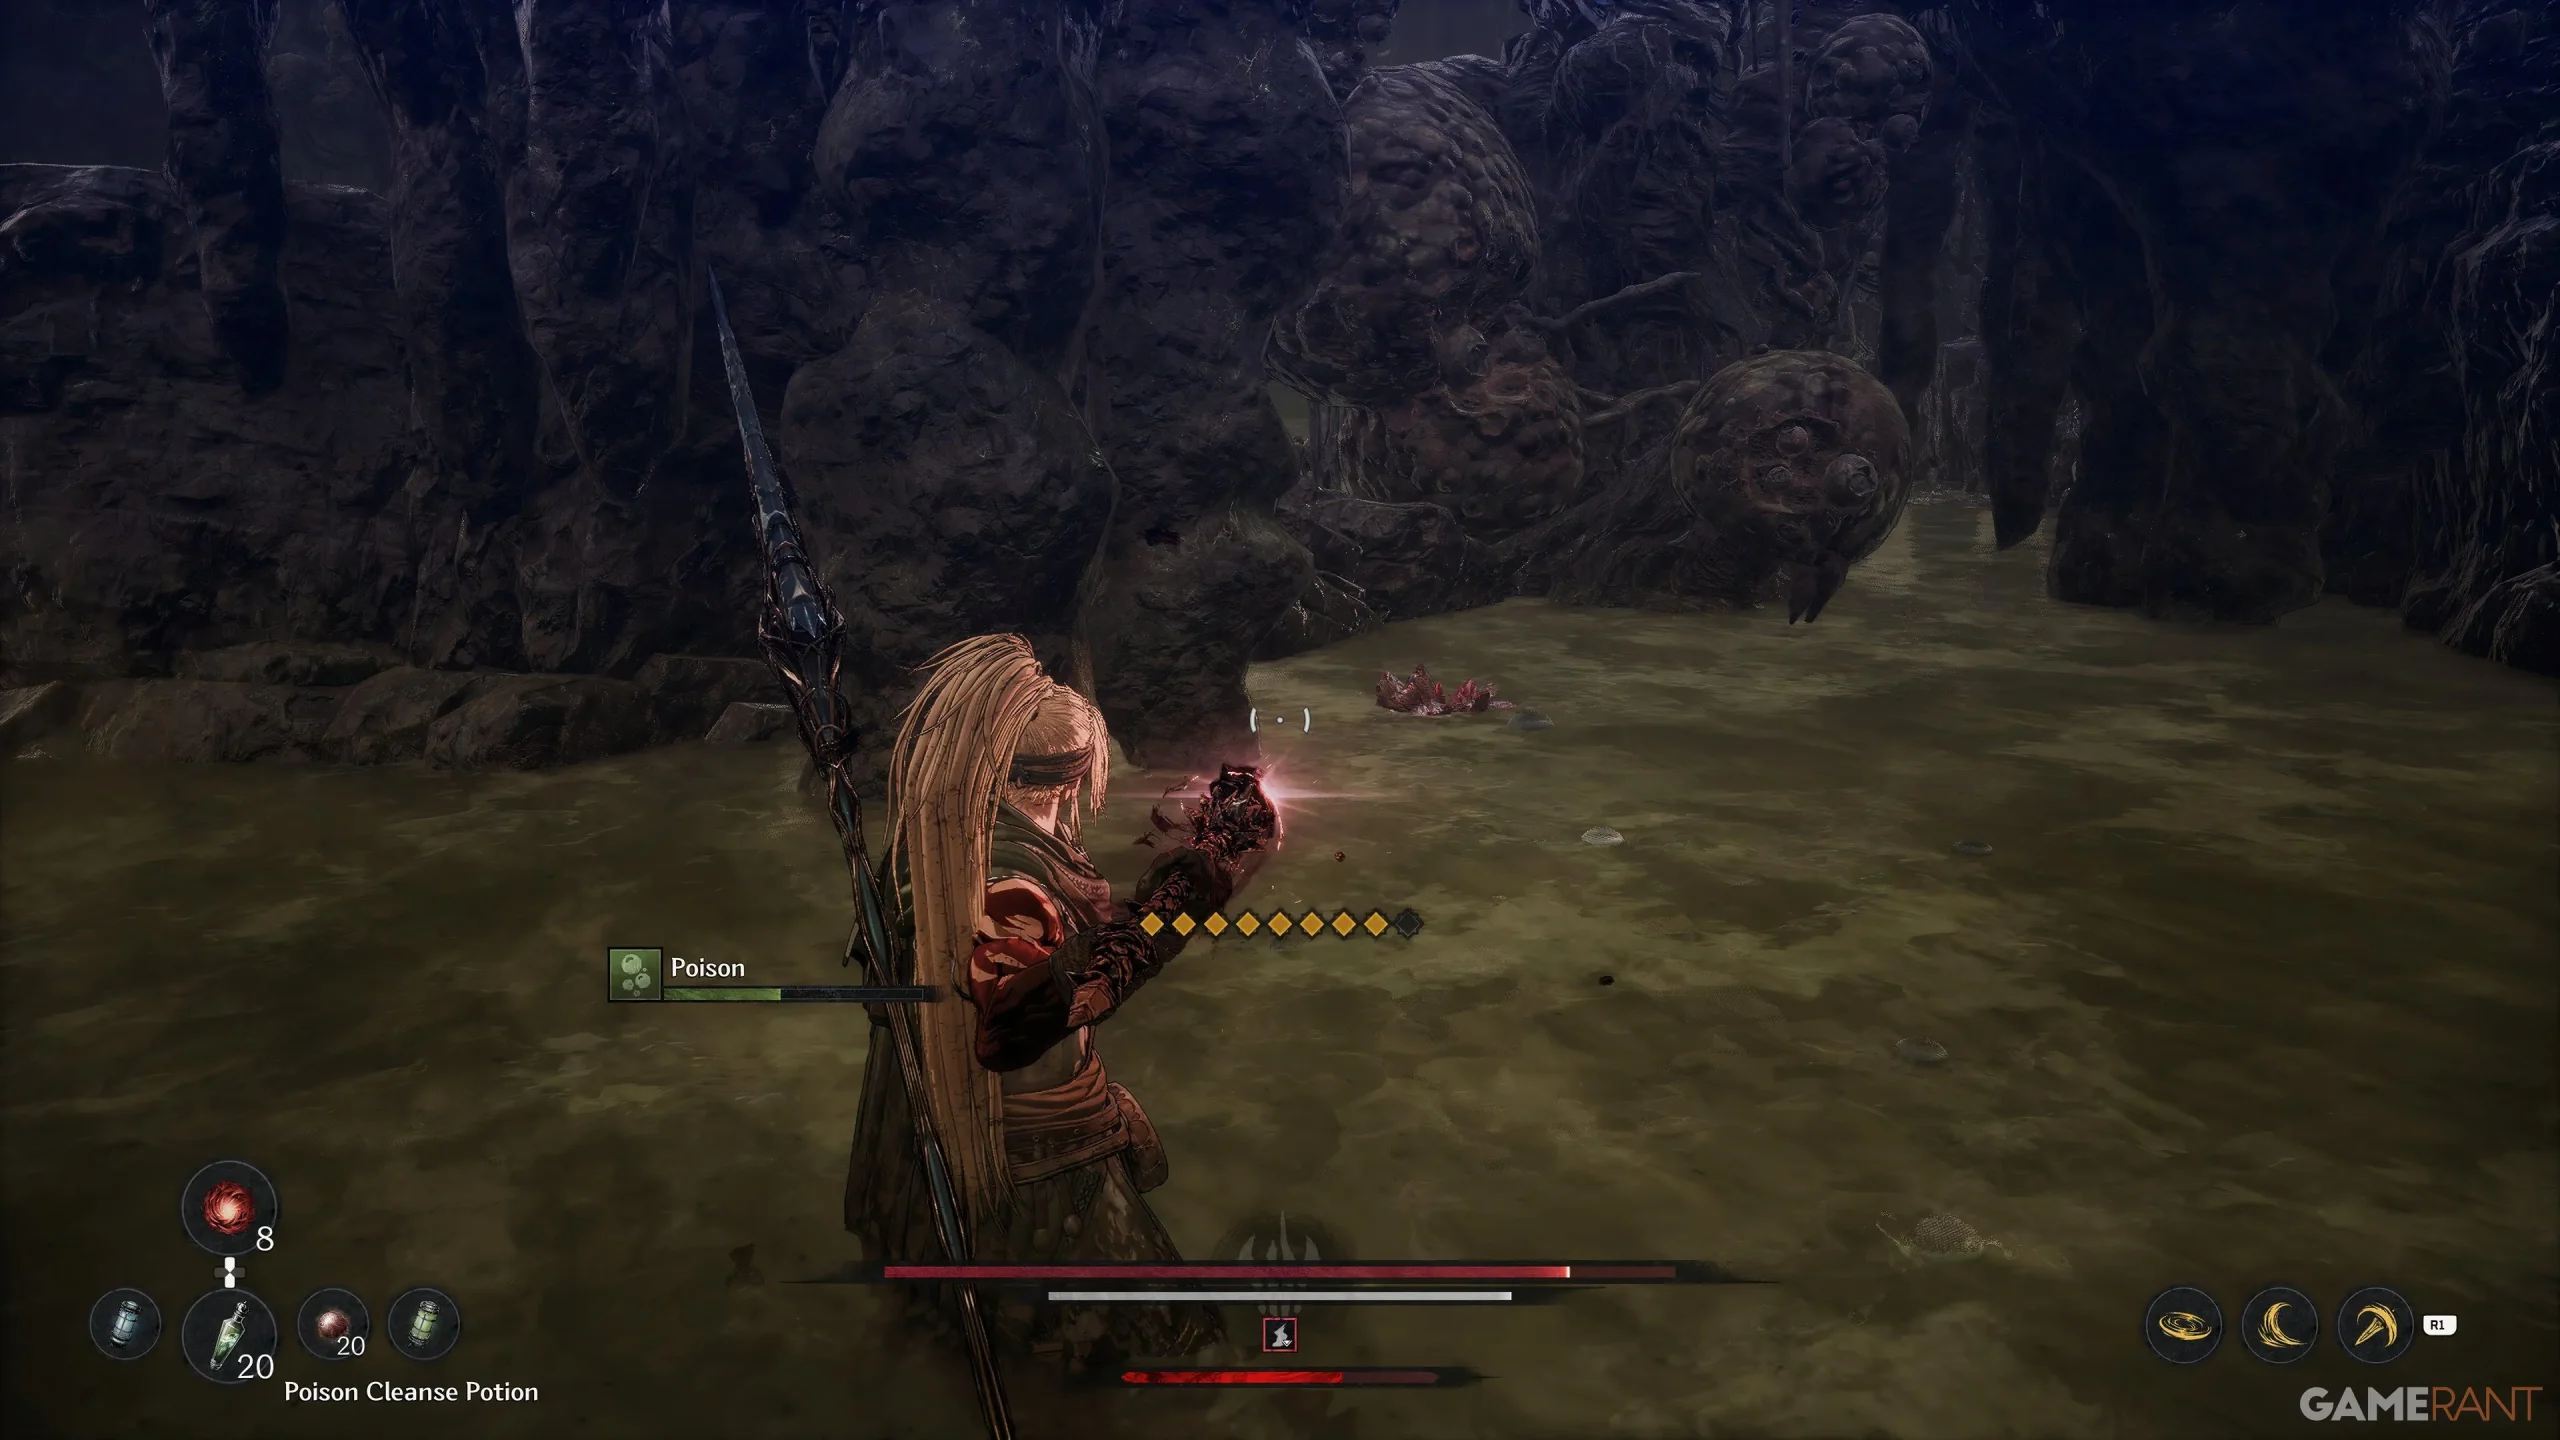
From the Blade Nexus, venture down the ramp. Upon reaching the bottom, turn around and proceed right to uncover the second Soulstone. After collecting it, continue straight through the poison swamp where you will encounter a multitude of spiders from all directions.
It is advisable to equip the Poison Cleanse Potion, which is essential for navigating this segment of the mission.
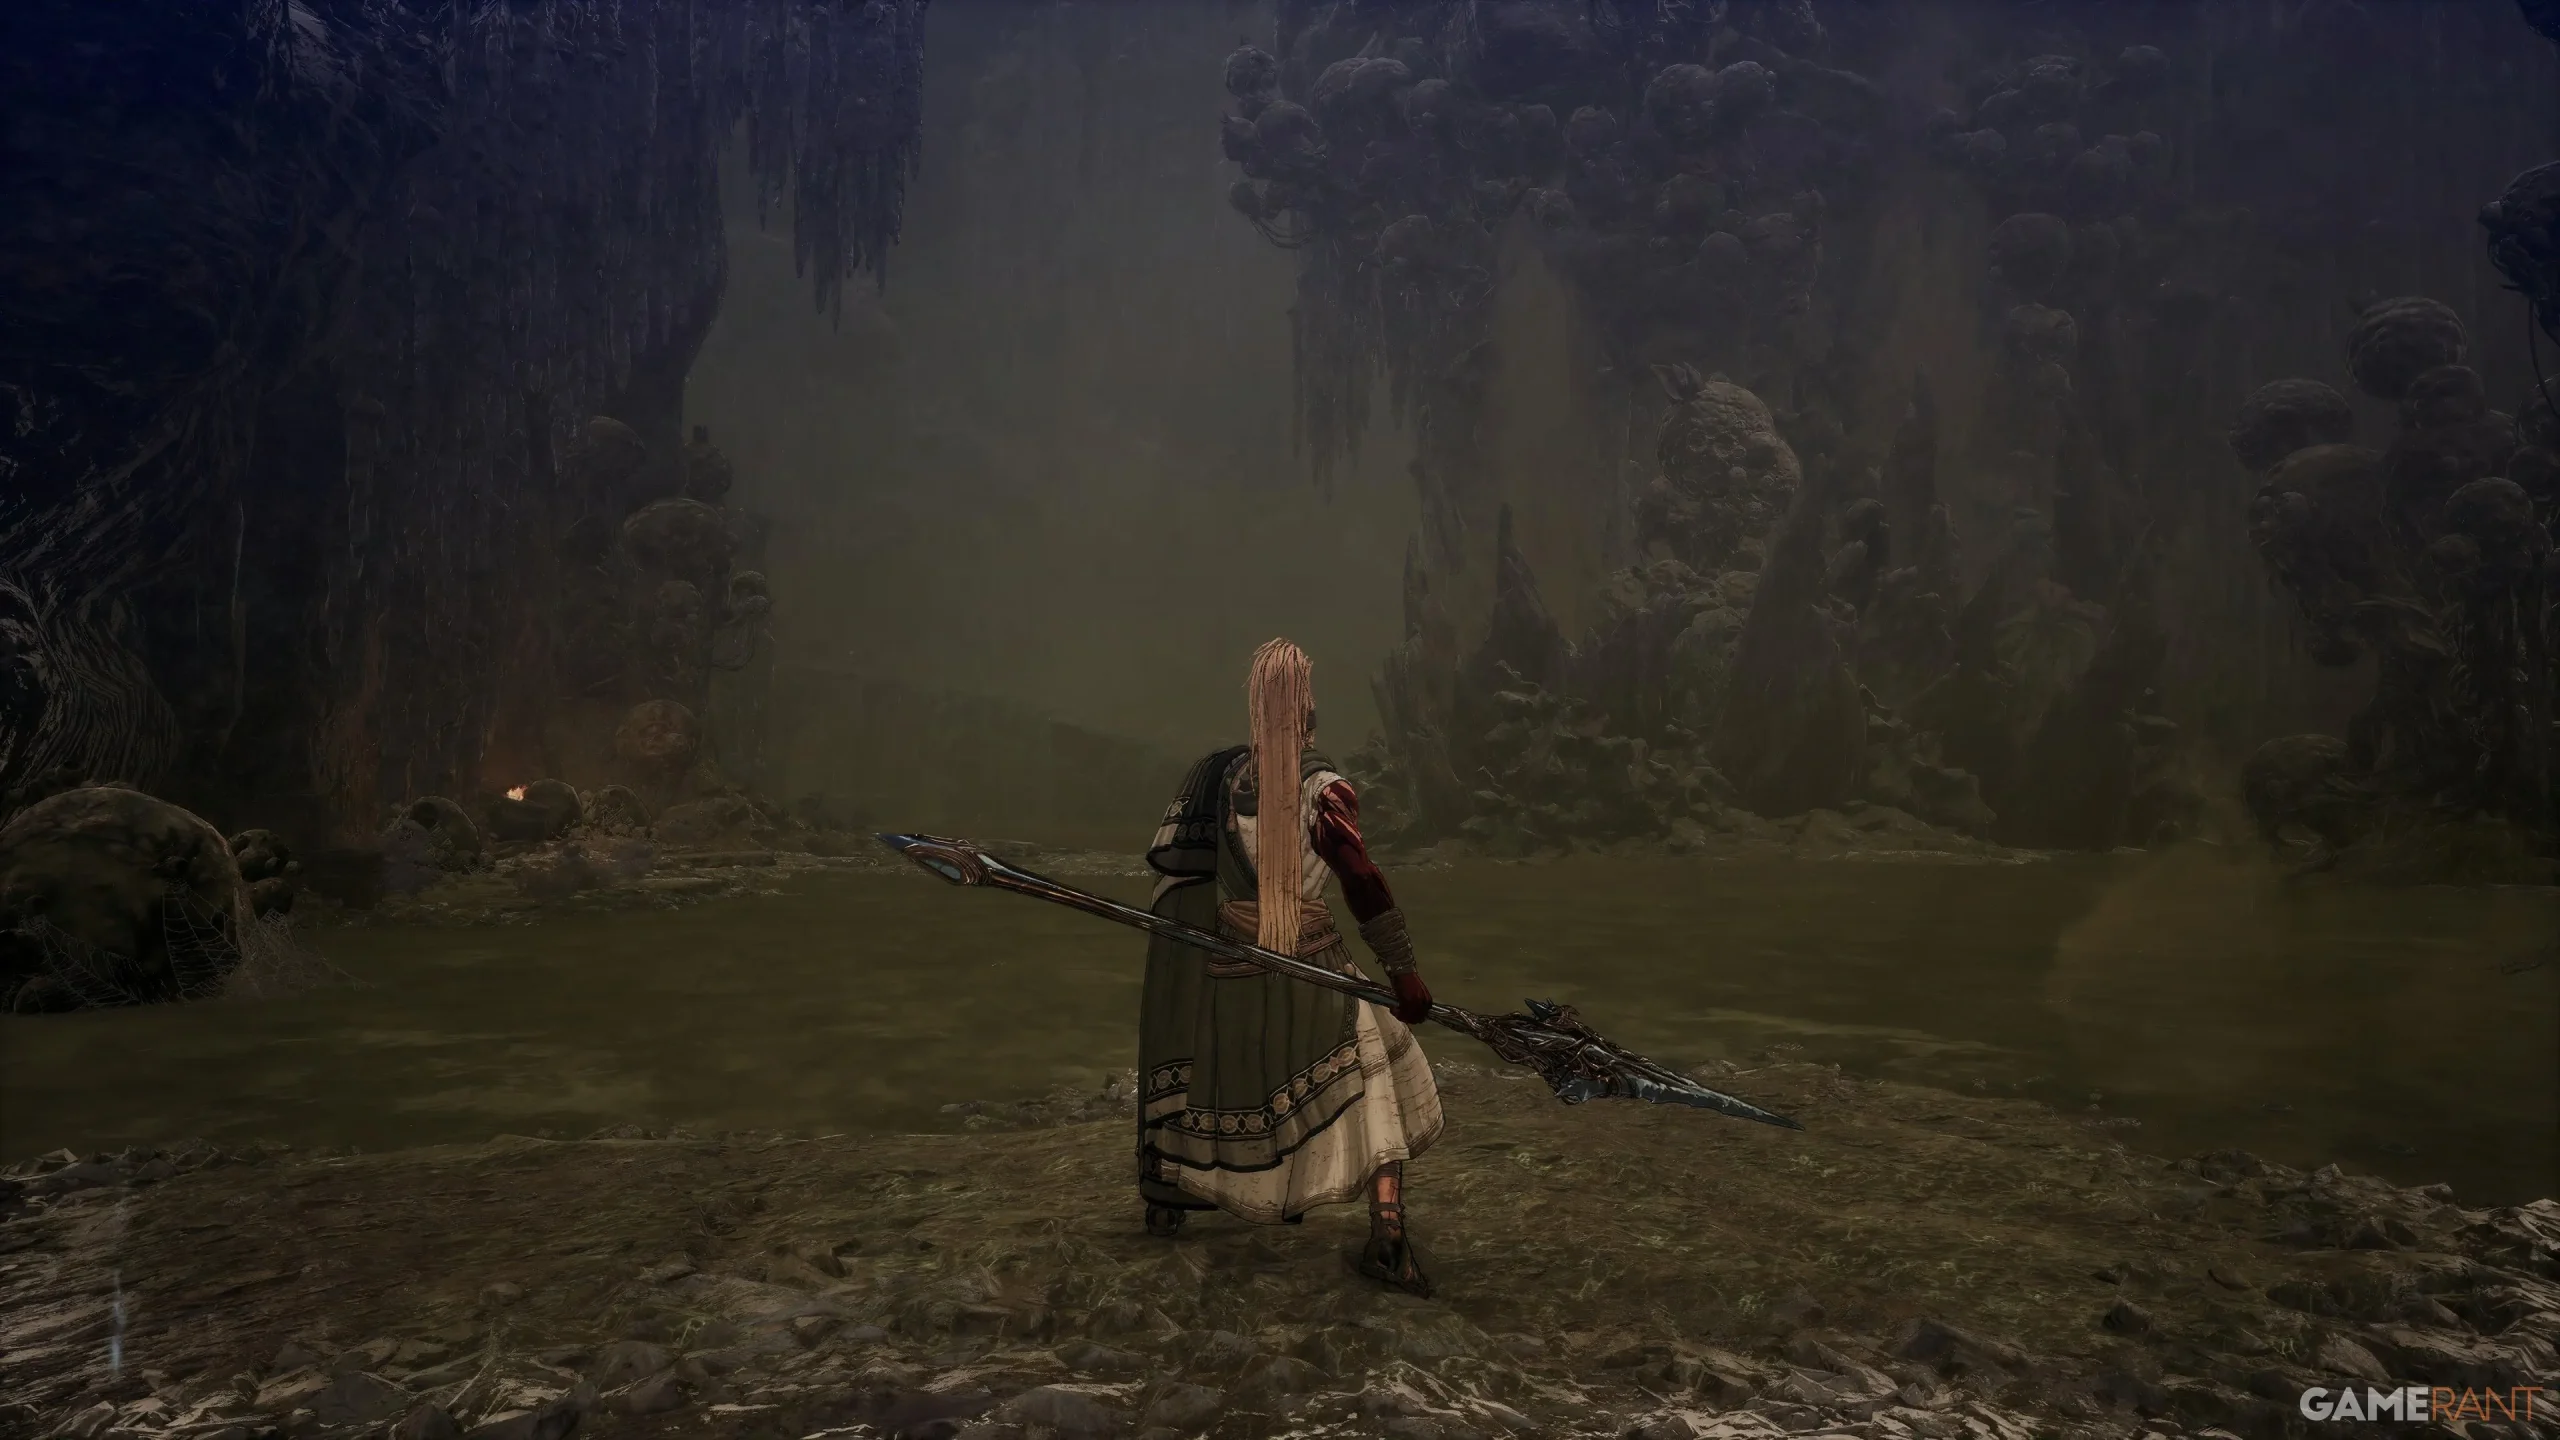
When you arrive at a small patch of land where a giant spider emerges, glance to your left for a ramp with an Elite Enemy. It’s recommended to eliminate the surrounding spiders before engaging this Elite to avoid being overwhelmed.
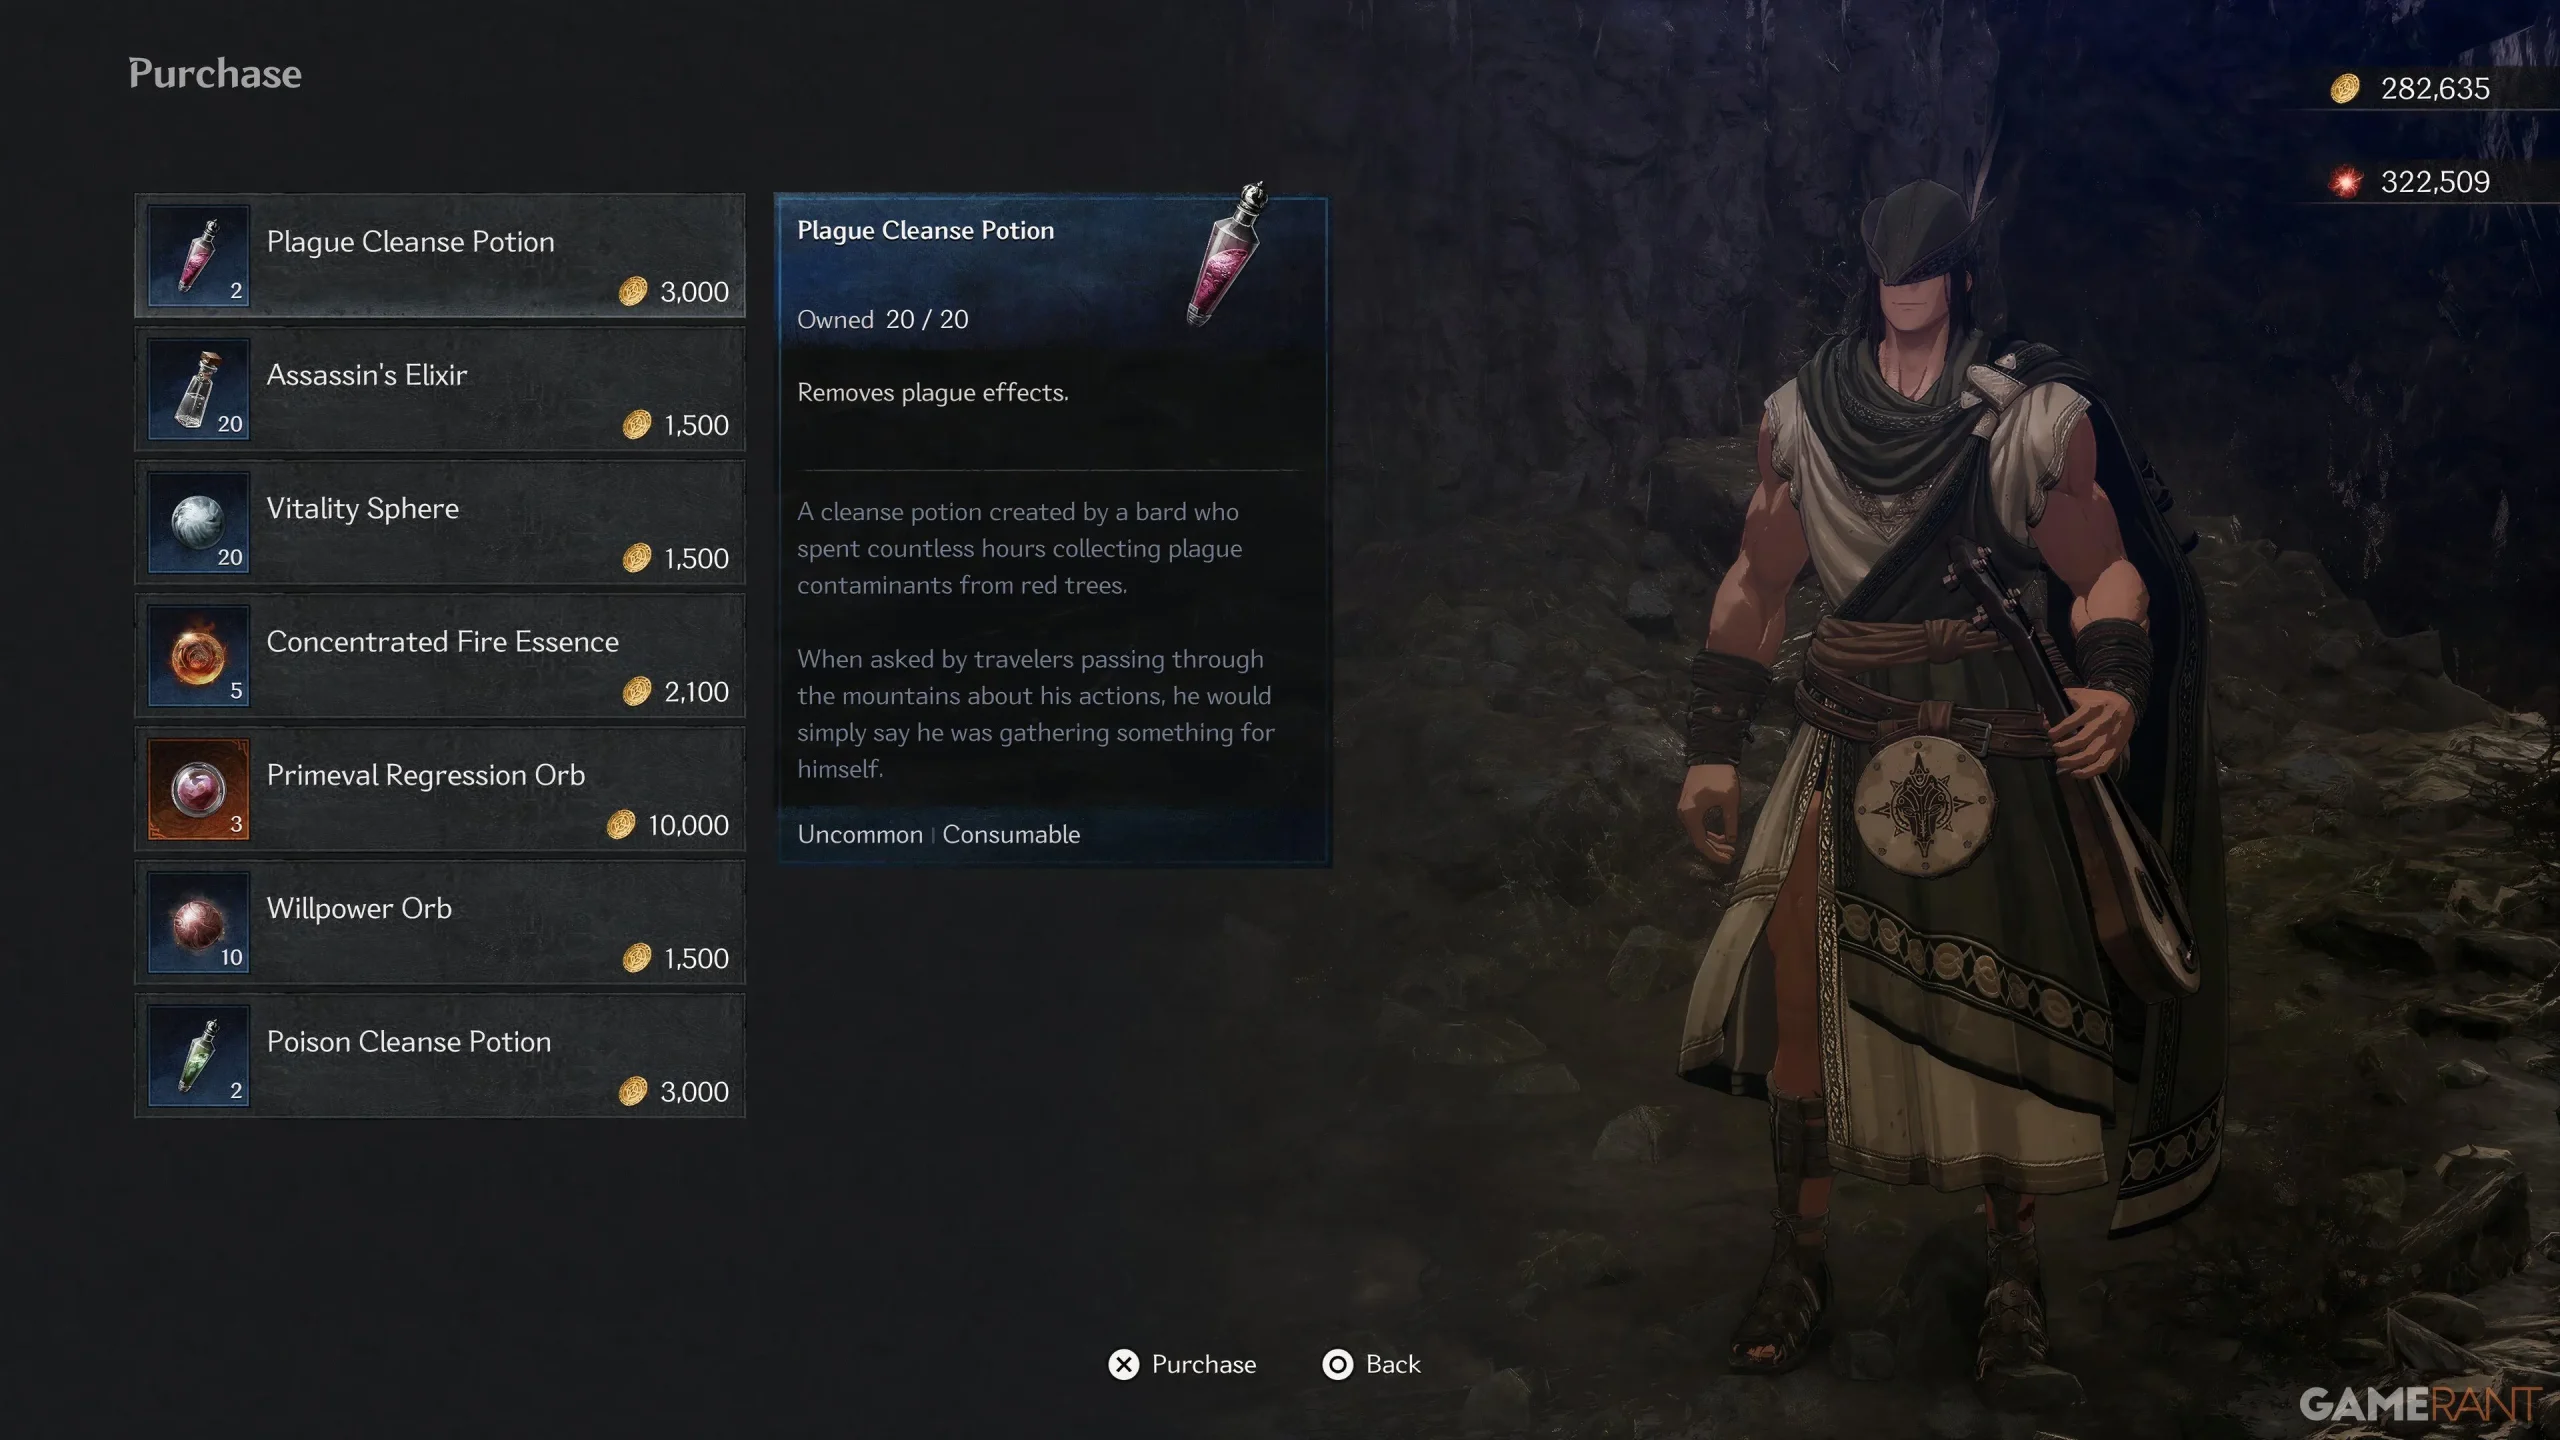
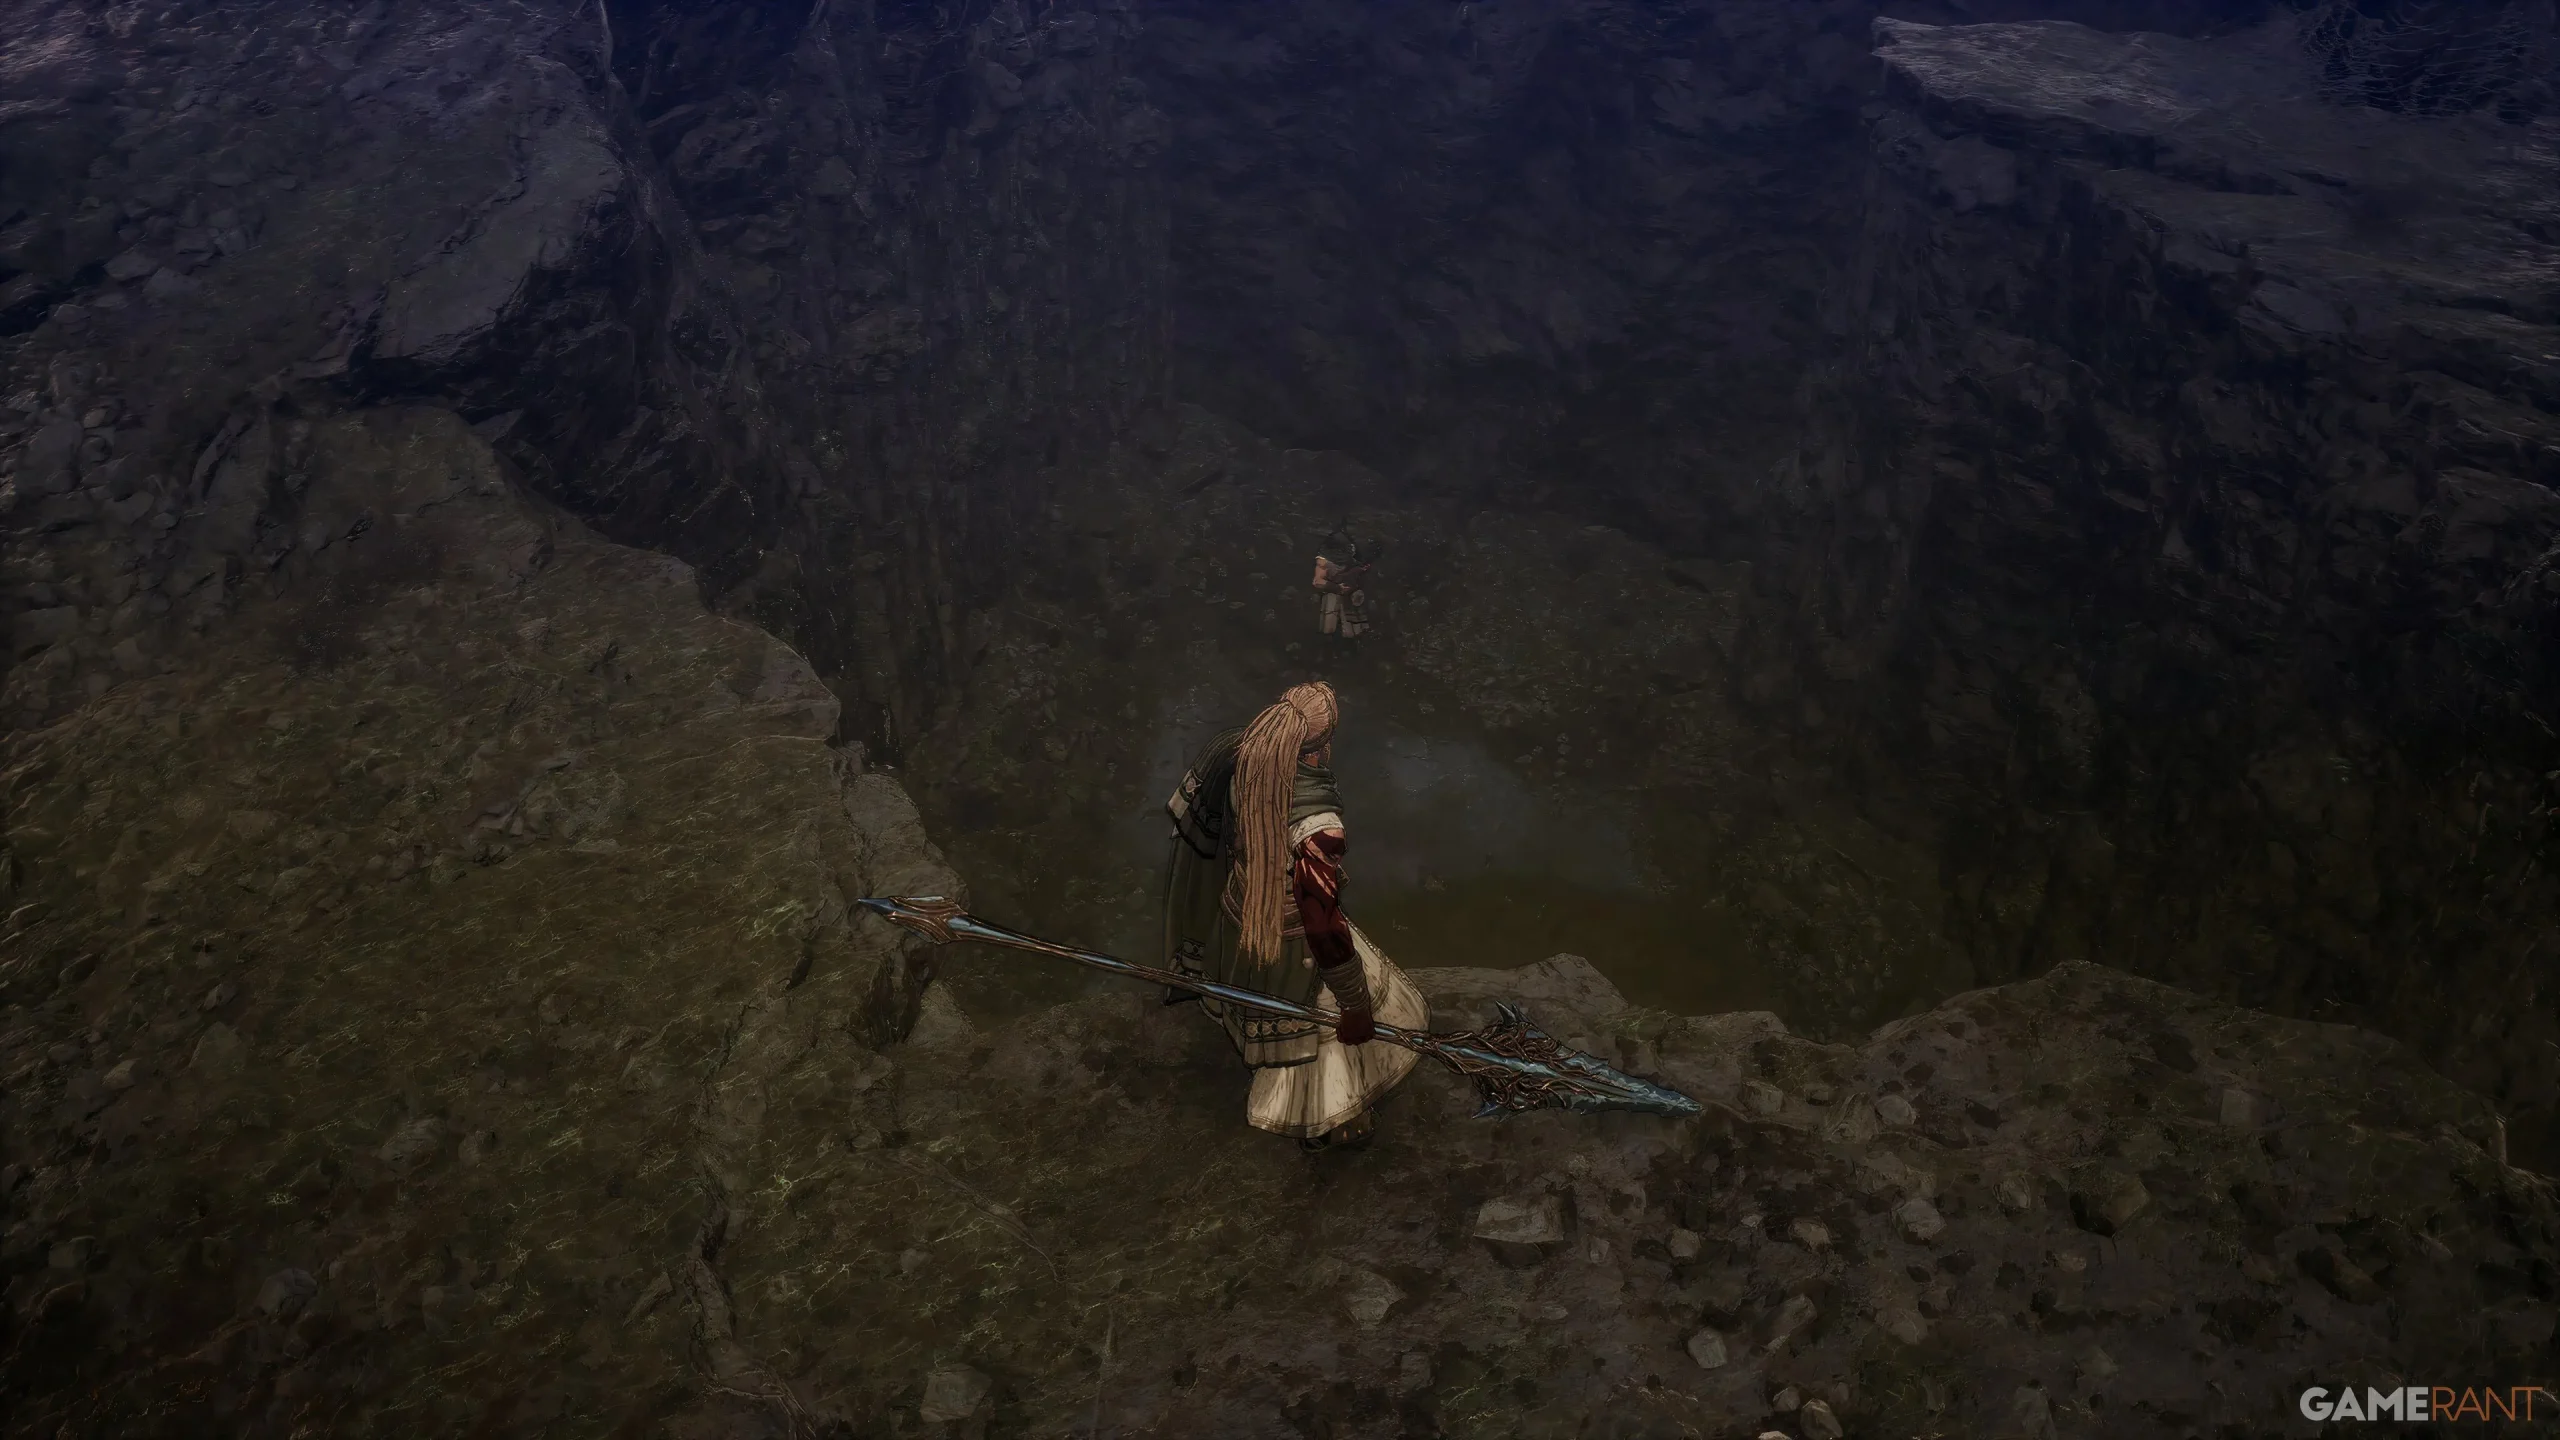
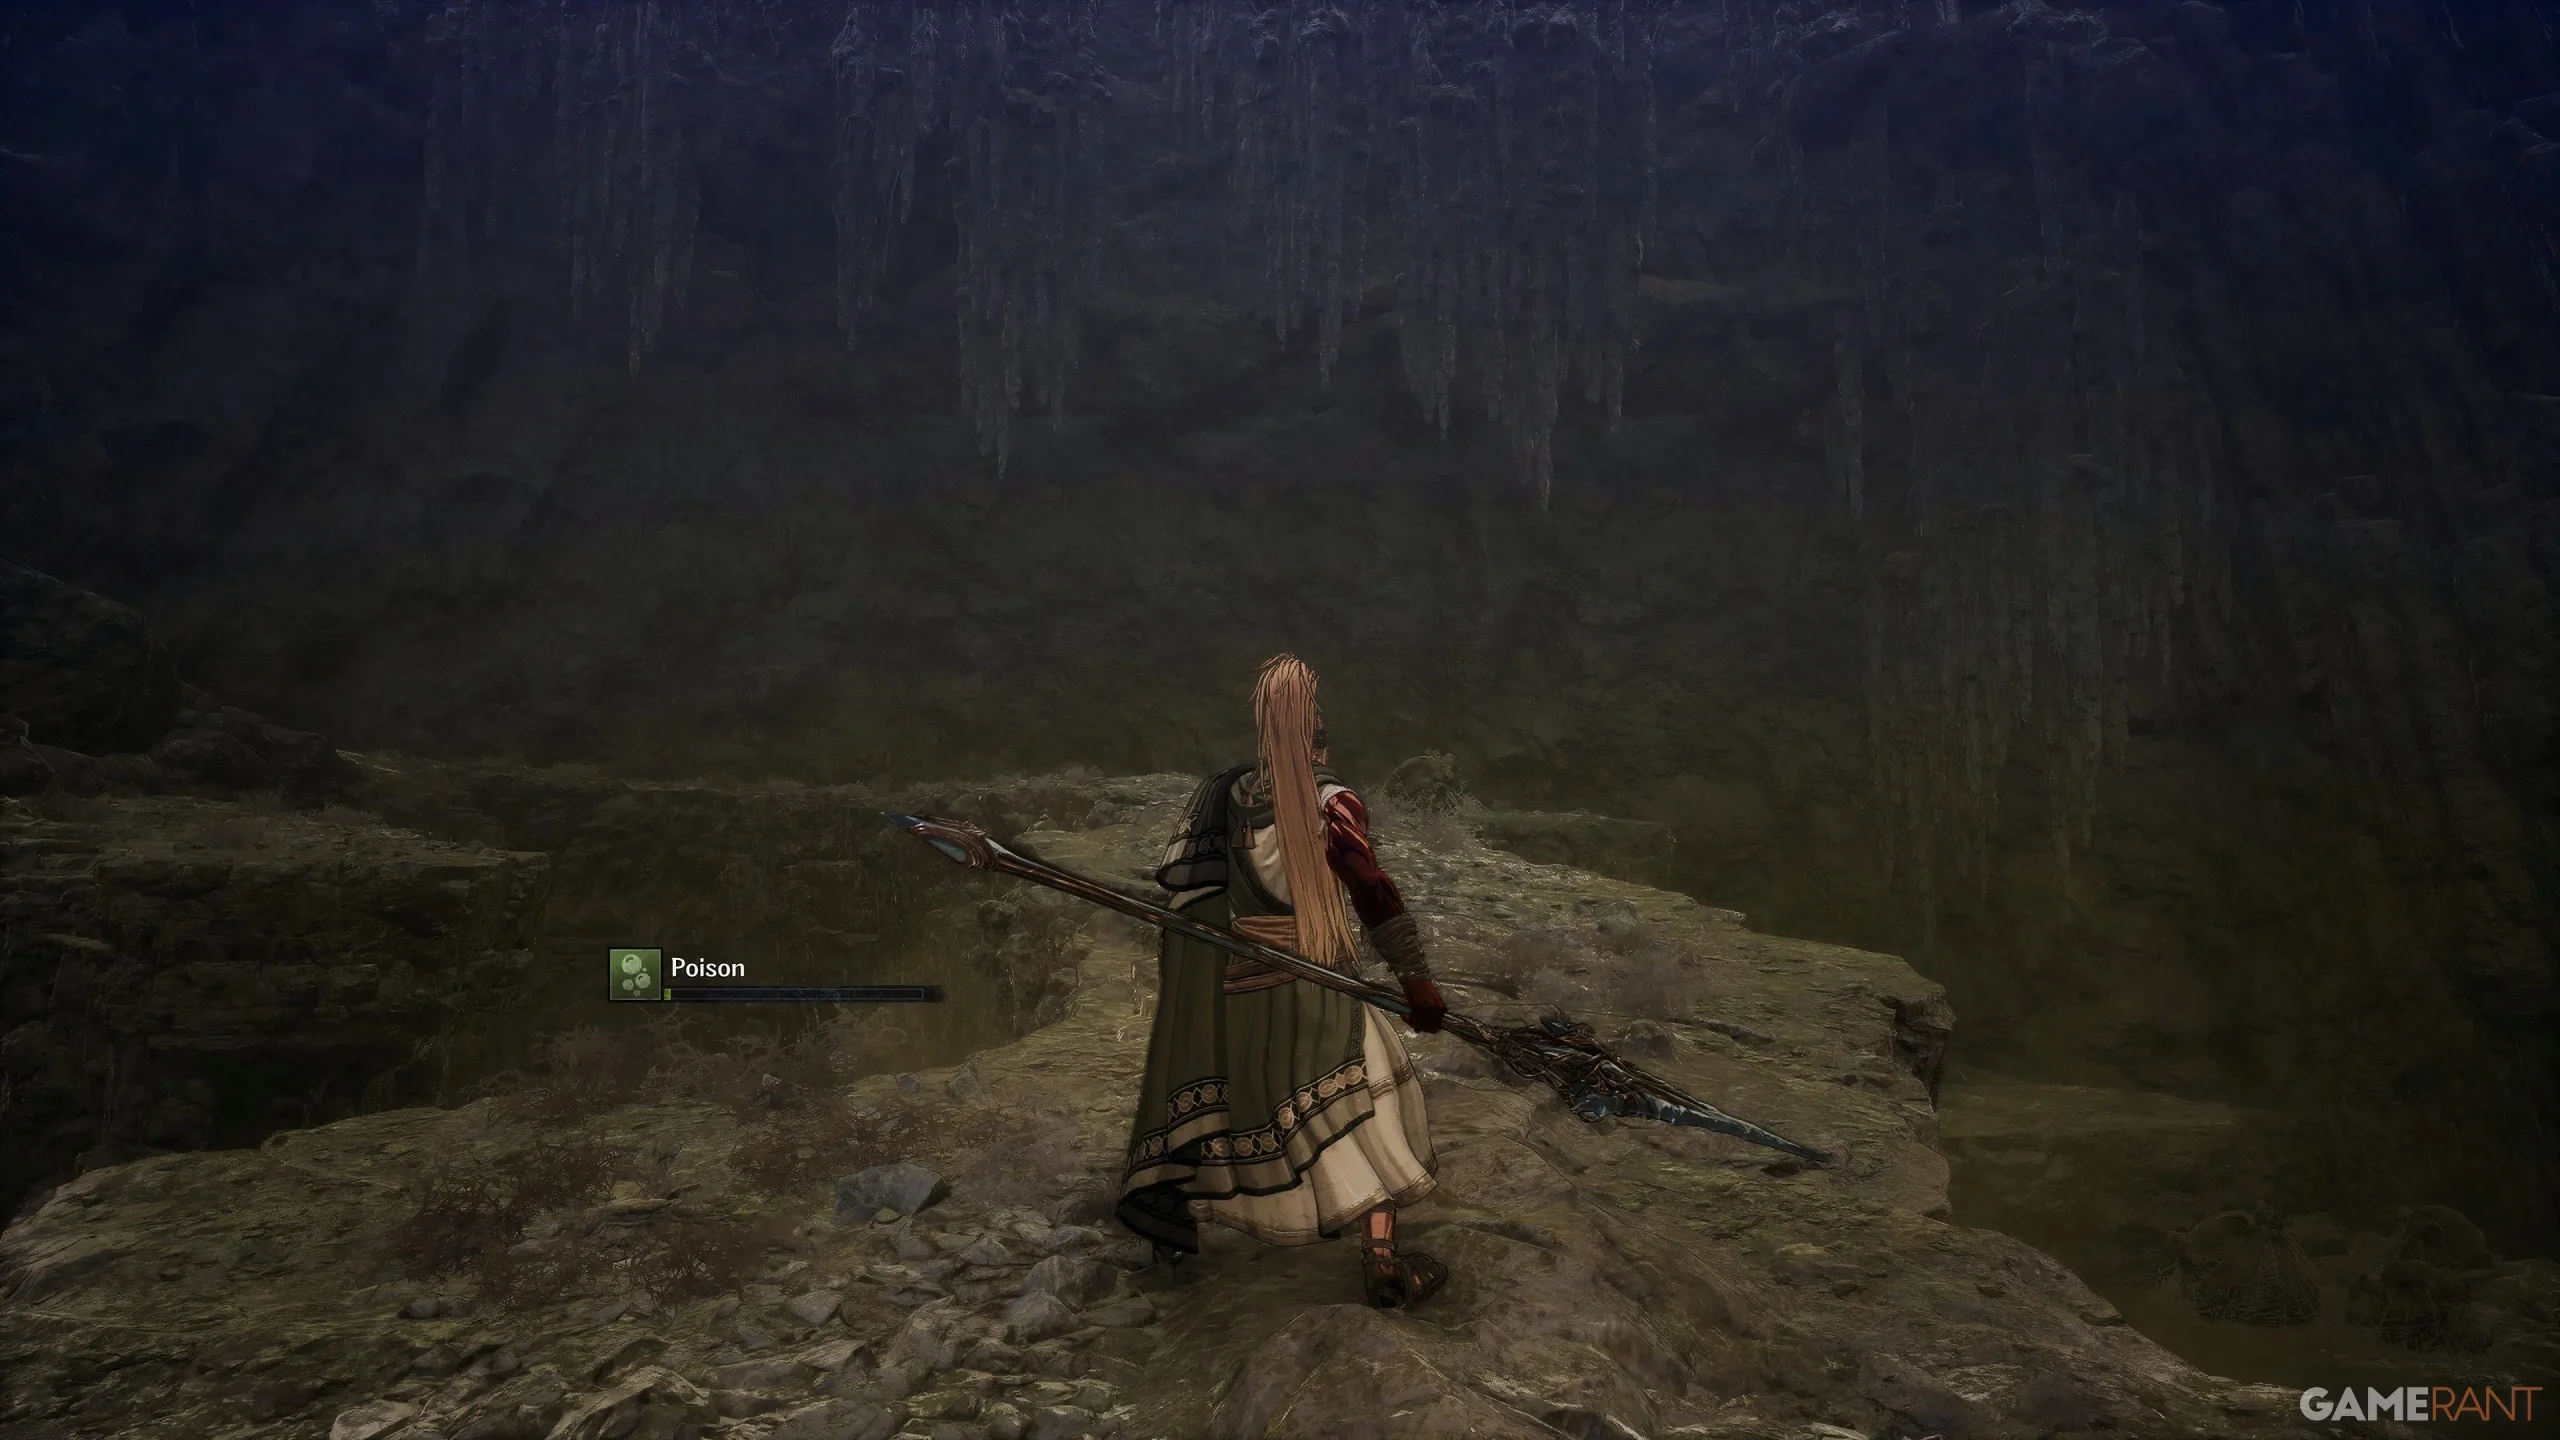
To the left of the ramp, you will discover a chest, while proceeding right will lead you down the main path. As you navigate, look out for the Bard’s melody, signaling his proximity. You can lower yourself to his location to purchase invaluable Plague and Poison Cleanse Potions, as well as the Primeval Regression Orb for respecifying your stats. After completing this, return up the ramp and follow the main path plunging into another poison swamp. To the left, the Bottom of the Cave awaits at the Blade Nexus.
Soulstone #3 in Strange Stench

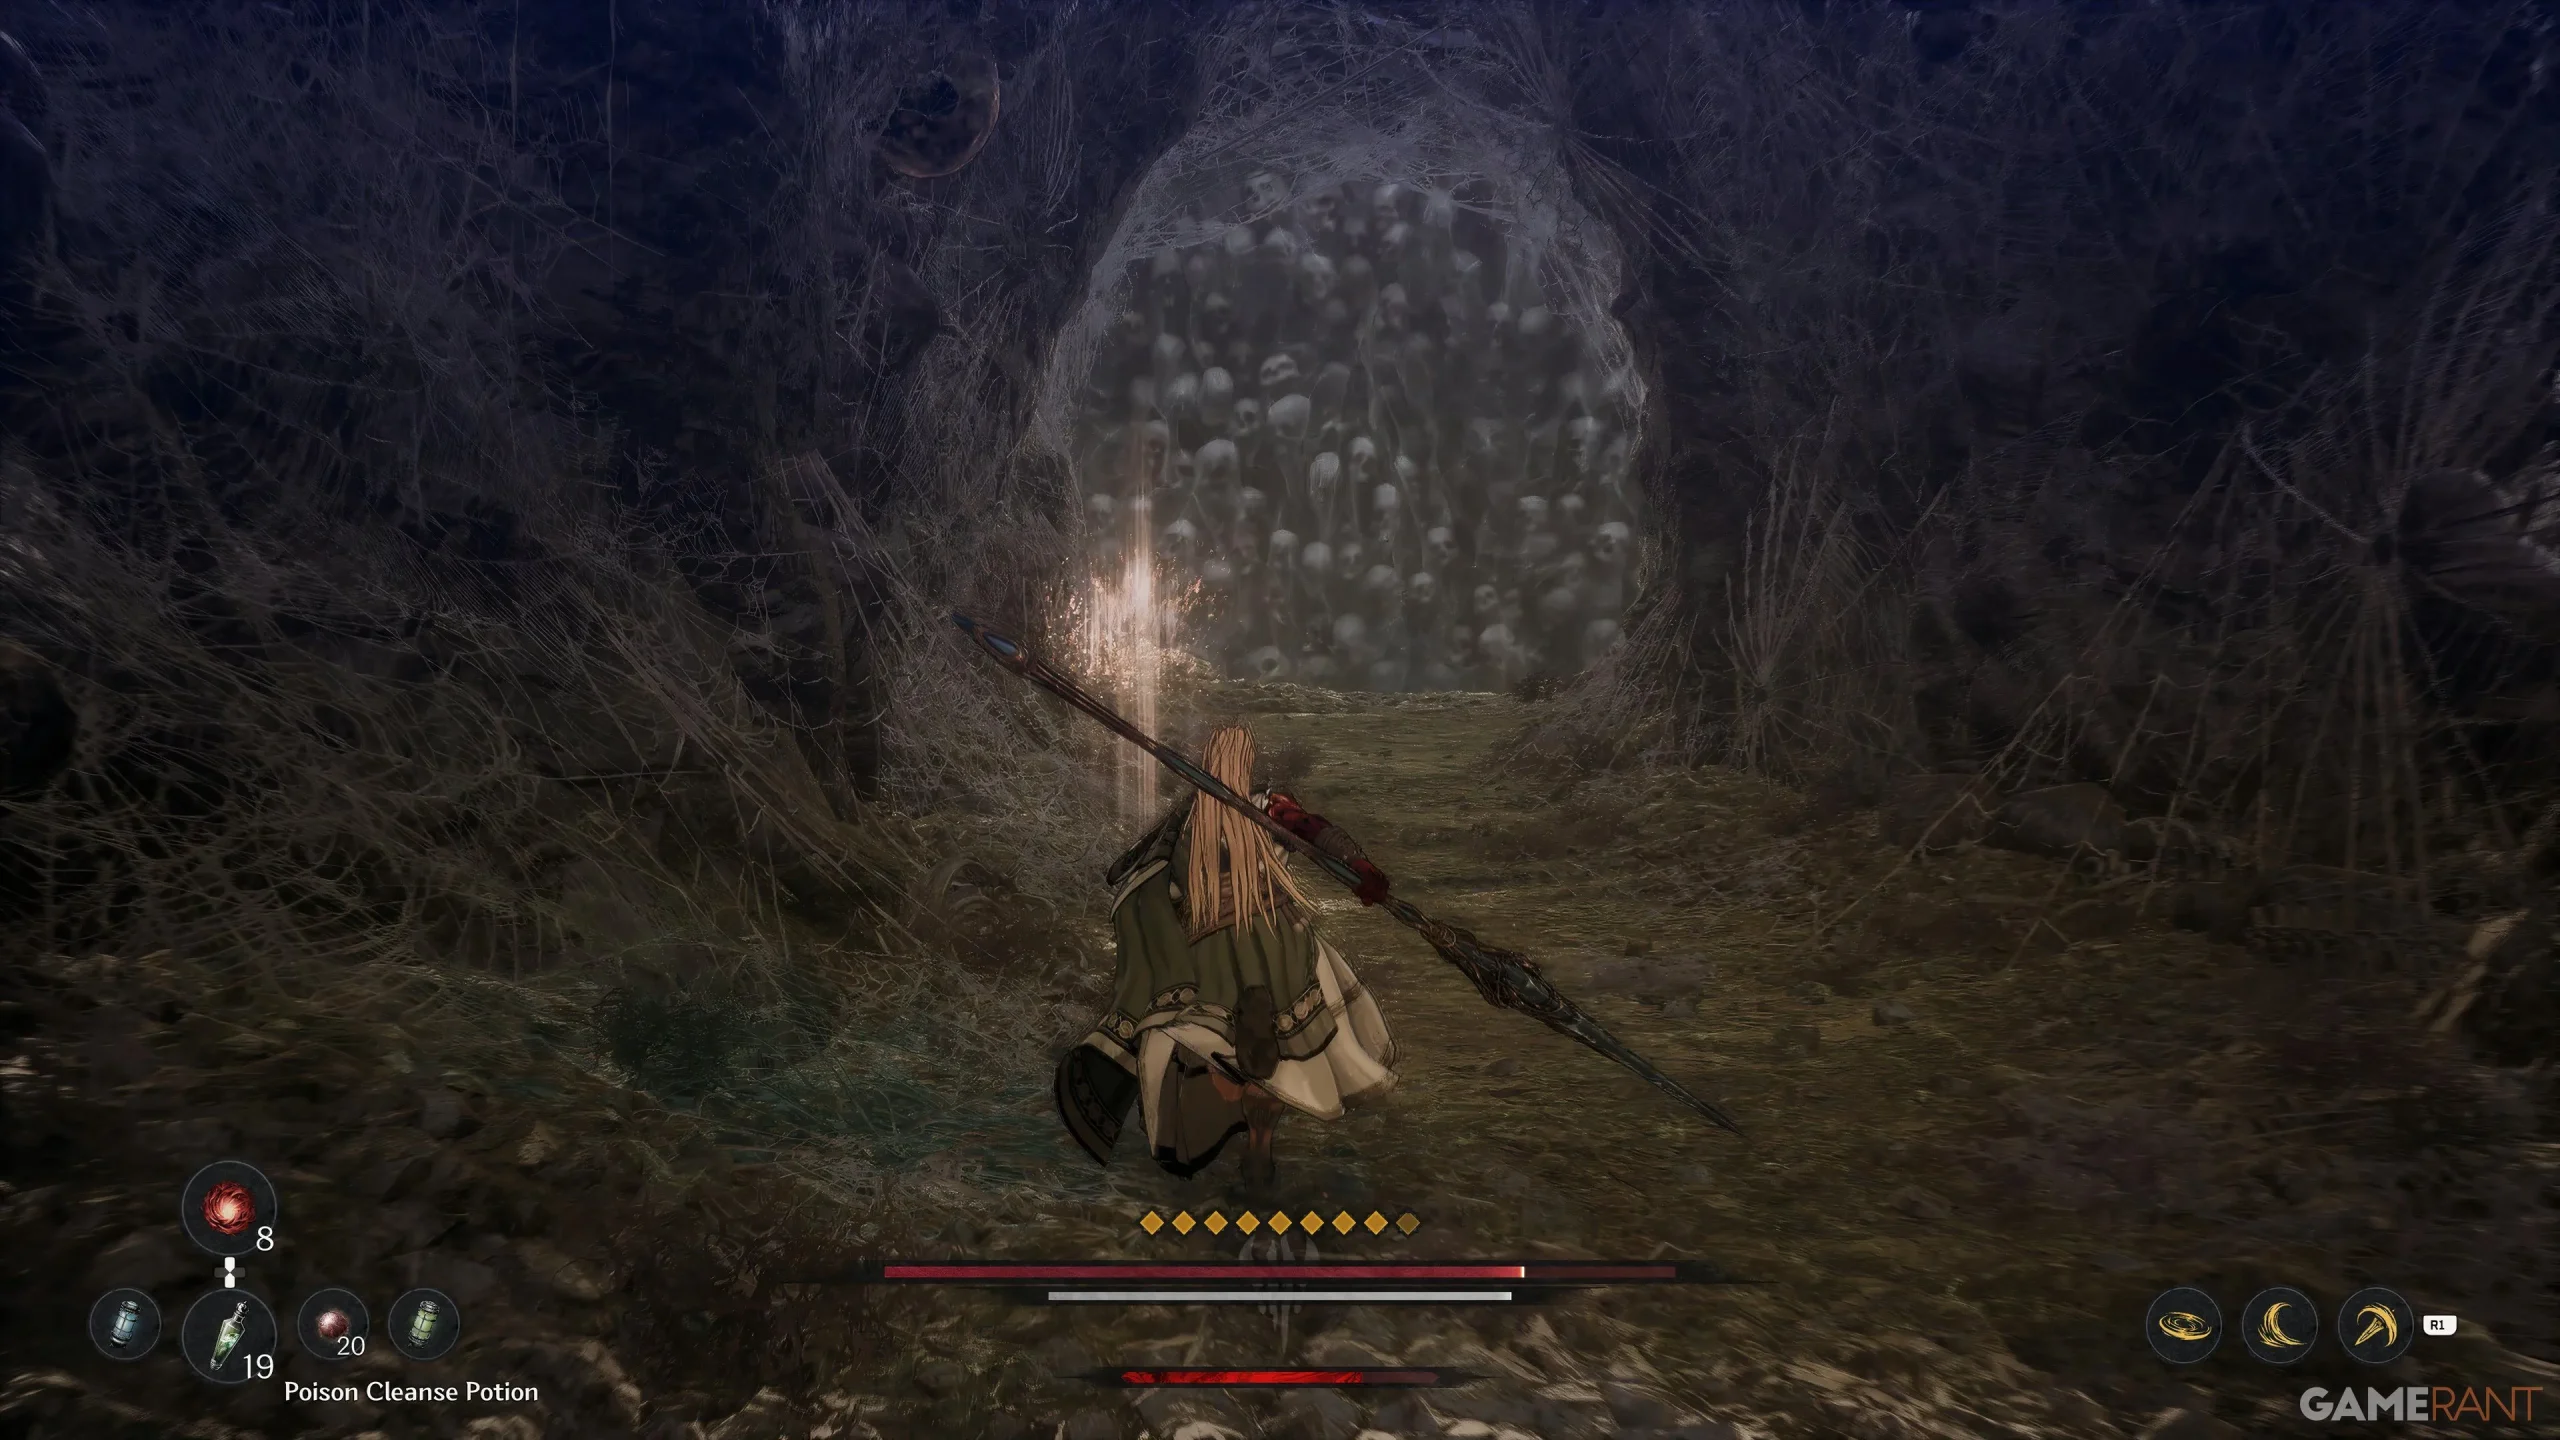
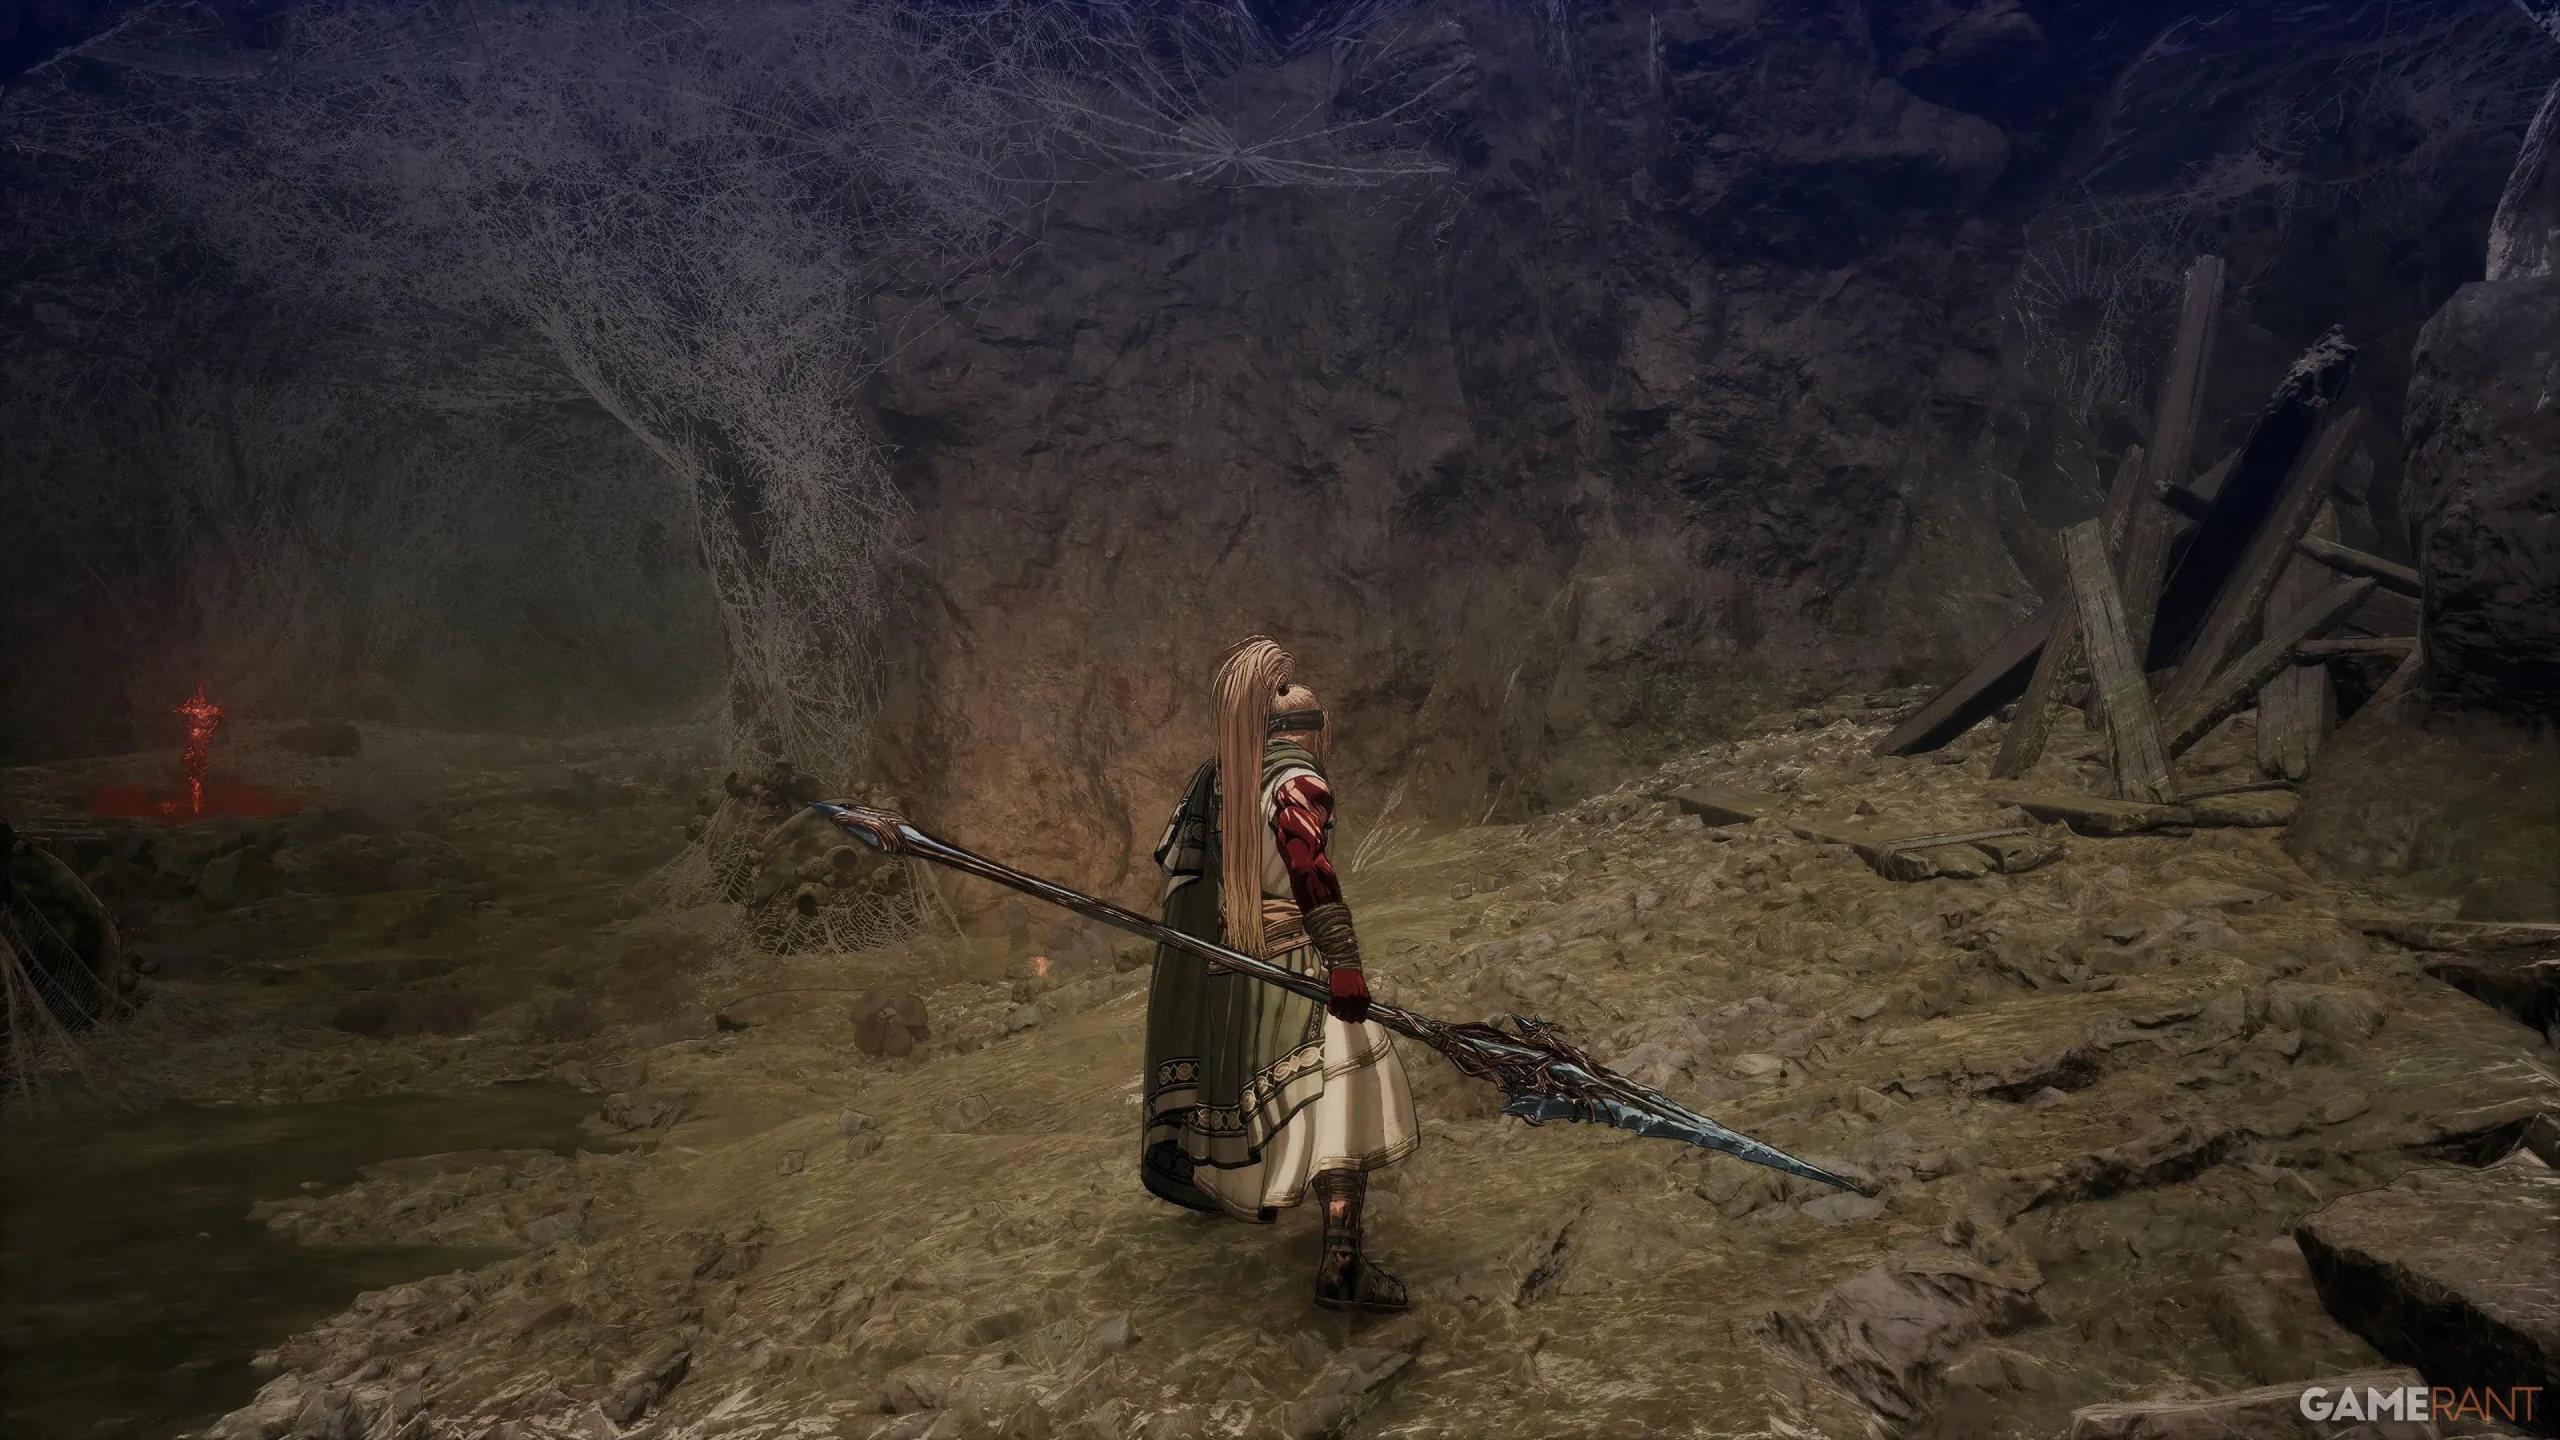
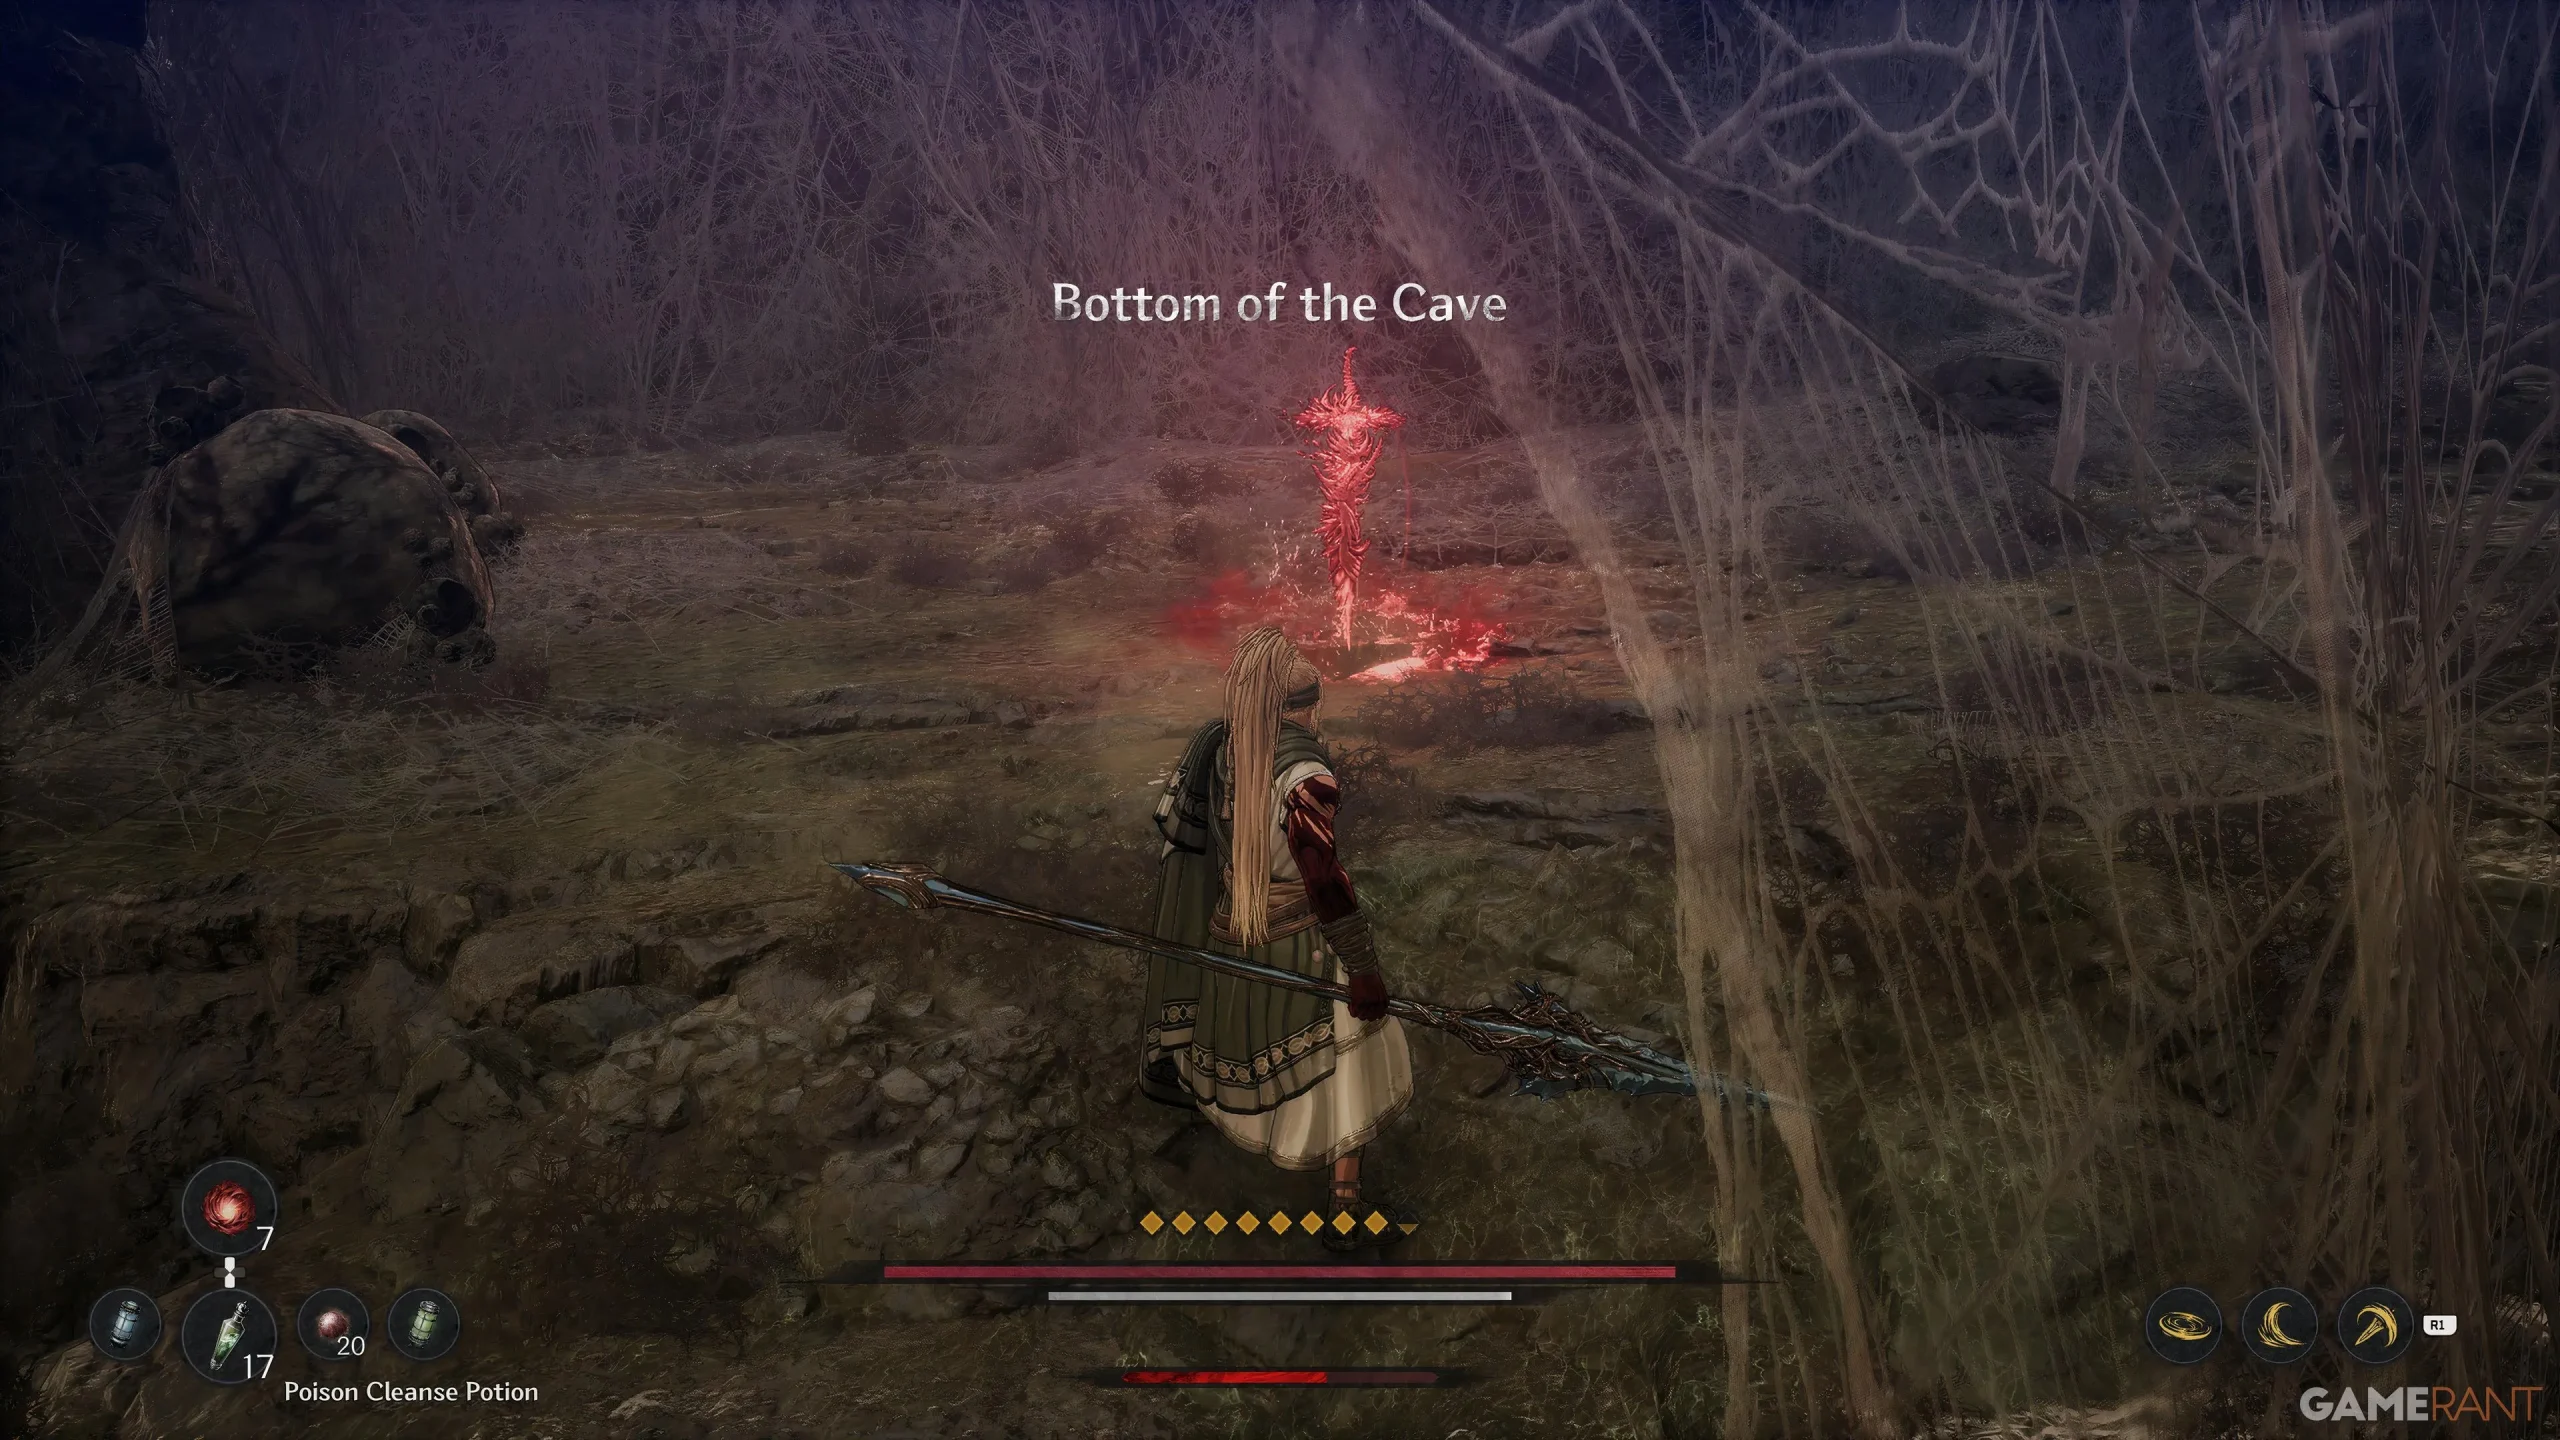
After interacting with the Blade Nexus, avoid moving straight ahead; instead, return to the poison swamp and confront any spiders you encounter. To the right of the swamp lies the third and final Soulstone of this mission. Afterwards, head back to the Blade Nexus, but take a right turn just before reaching it to discover another destructible tunnel. Proceed straight to the boss gate to initiate the battle with Aratra.
Tips For Beating Aratra In The First Berserker: Khazan
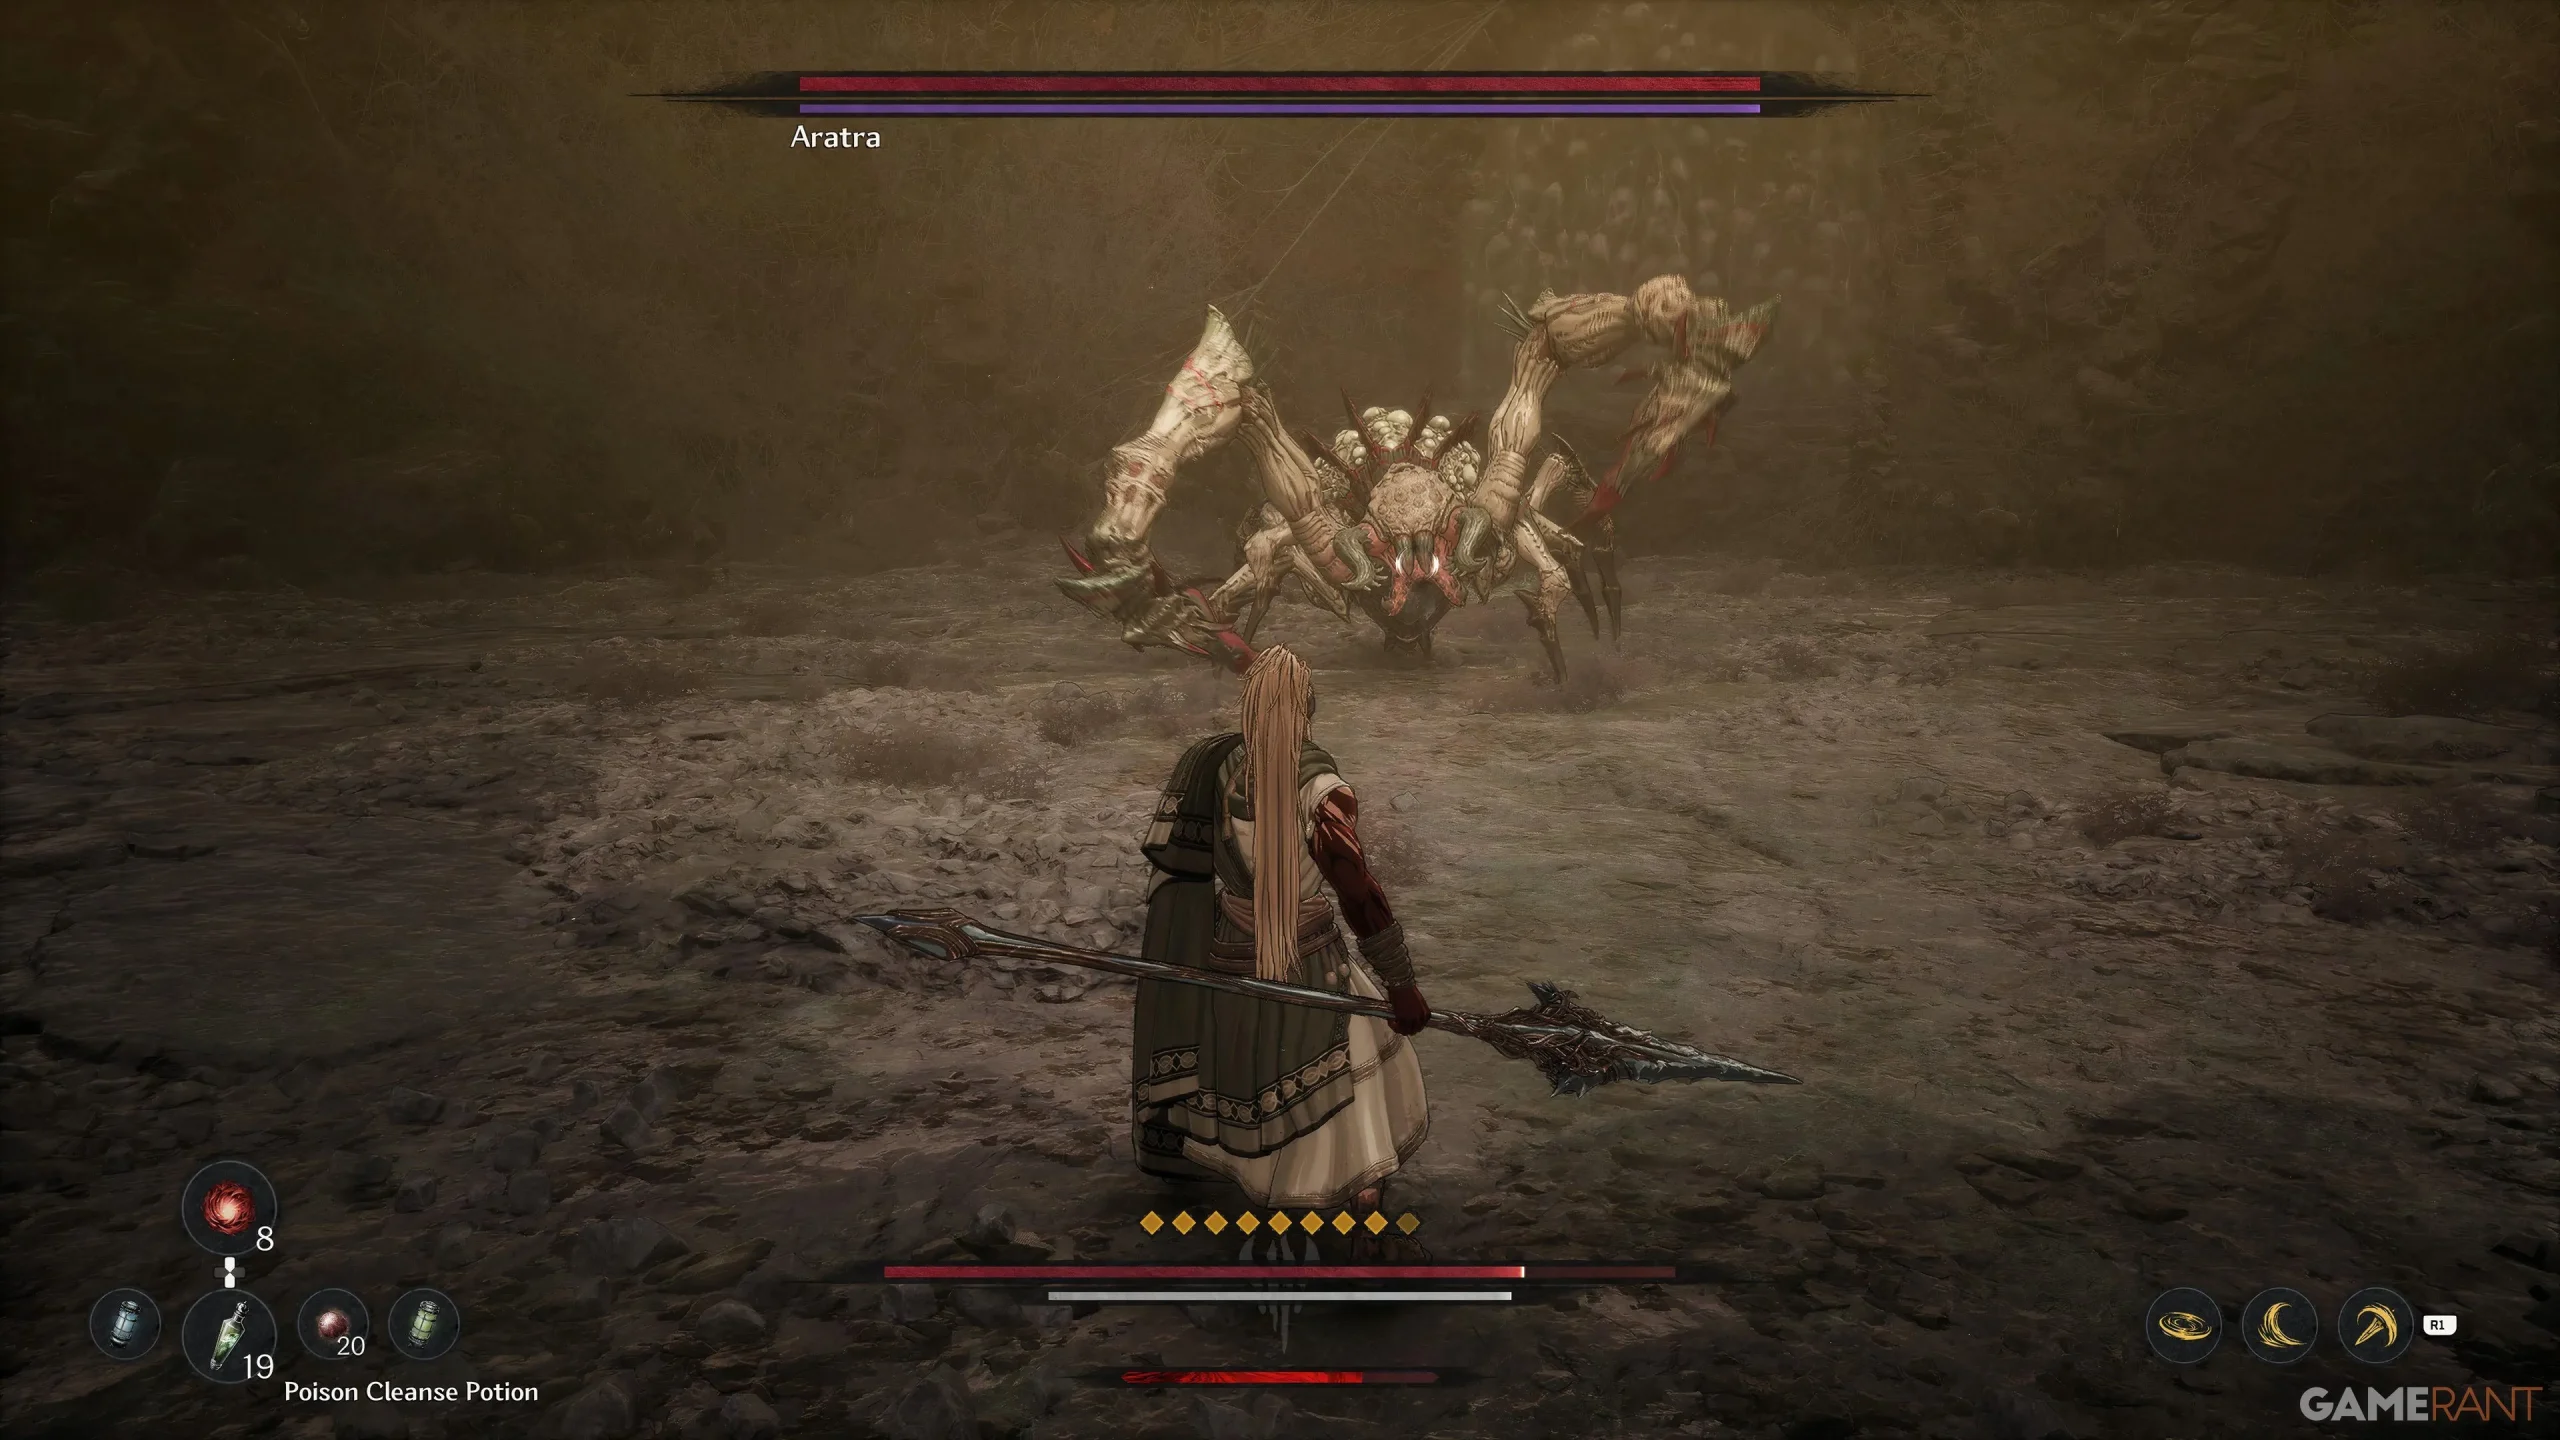
Aratra is a challenging boss known for its potent Fang Attacks, which can also inflict the Venom status effect. Thus, carrying an ample supply of Poison Cleanse Potions is crucial. If you’ve demolished the numerous tunnels, you’ll minimize the risk of small spiders ambushing you during this confrontation, leading to a more focused one-on-one battle.
Your primary strategy during the boss fight should involve targeting Aratra’s front legs, which can be broken. Successfully breaking these legs will stagger the boss, allowing you to inflict substantial damage while it is prostrated for a few moments. Furthermore, crippling its legs prevents it from executing further Fang Attacks. You can also damage its abdomen to hinder its poisonous air assaults.
Once Aratra loses a significant portion of health, it will retreat to a cave and climb the wall. Here lies an excellent chance for you to aim your Javelin at its body, dealing considerable damage. Keep in mind that upon entering the cave, the boss will regenerate any lost limbs and attempt to launch a leaping assault against you.
