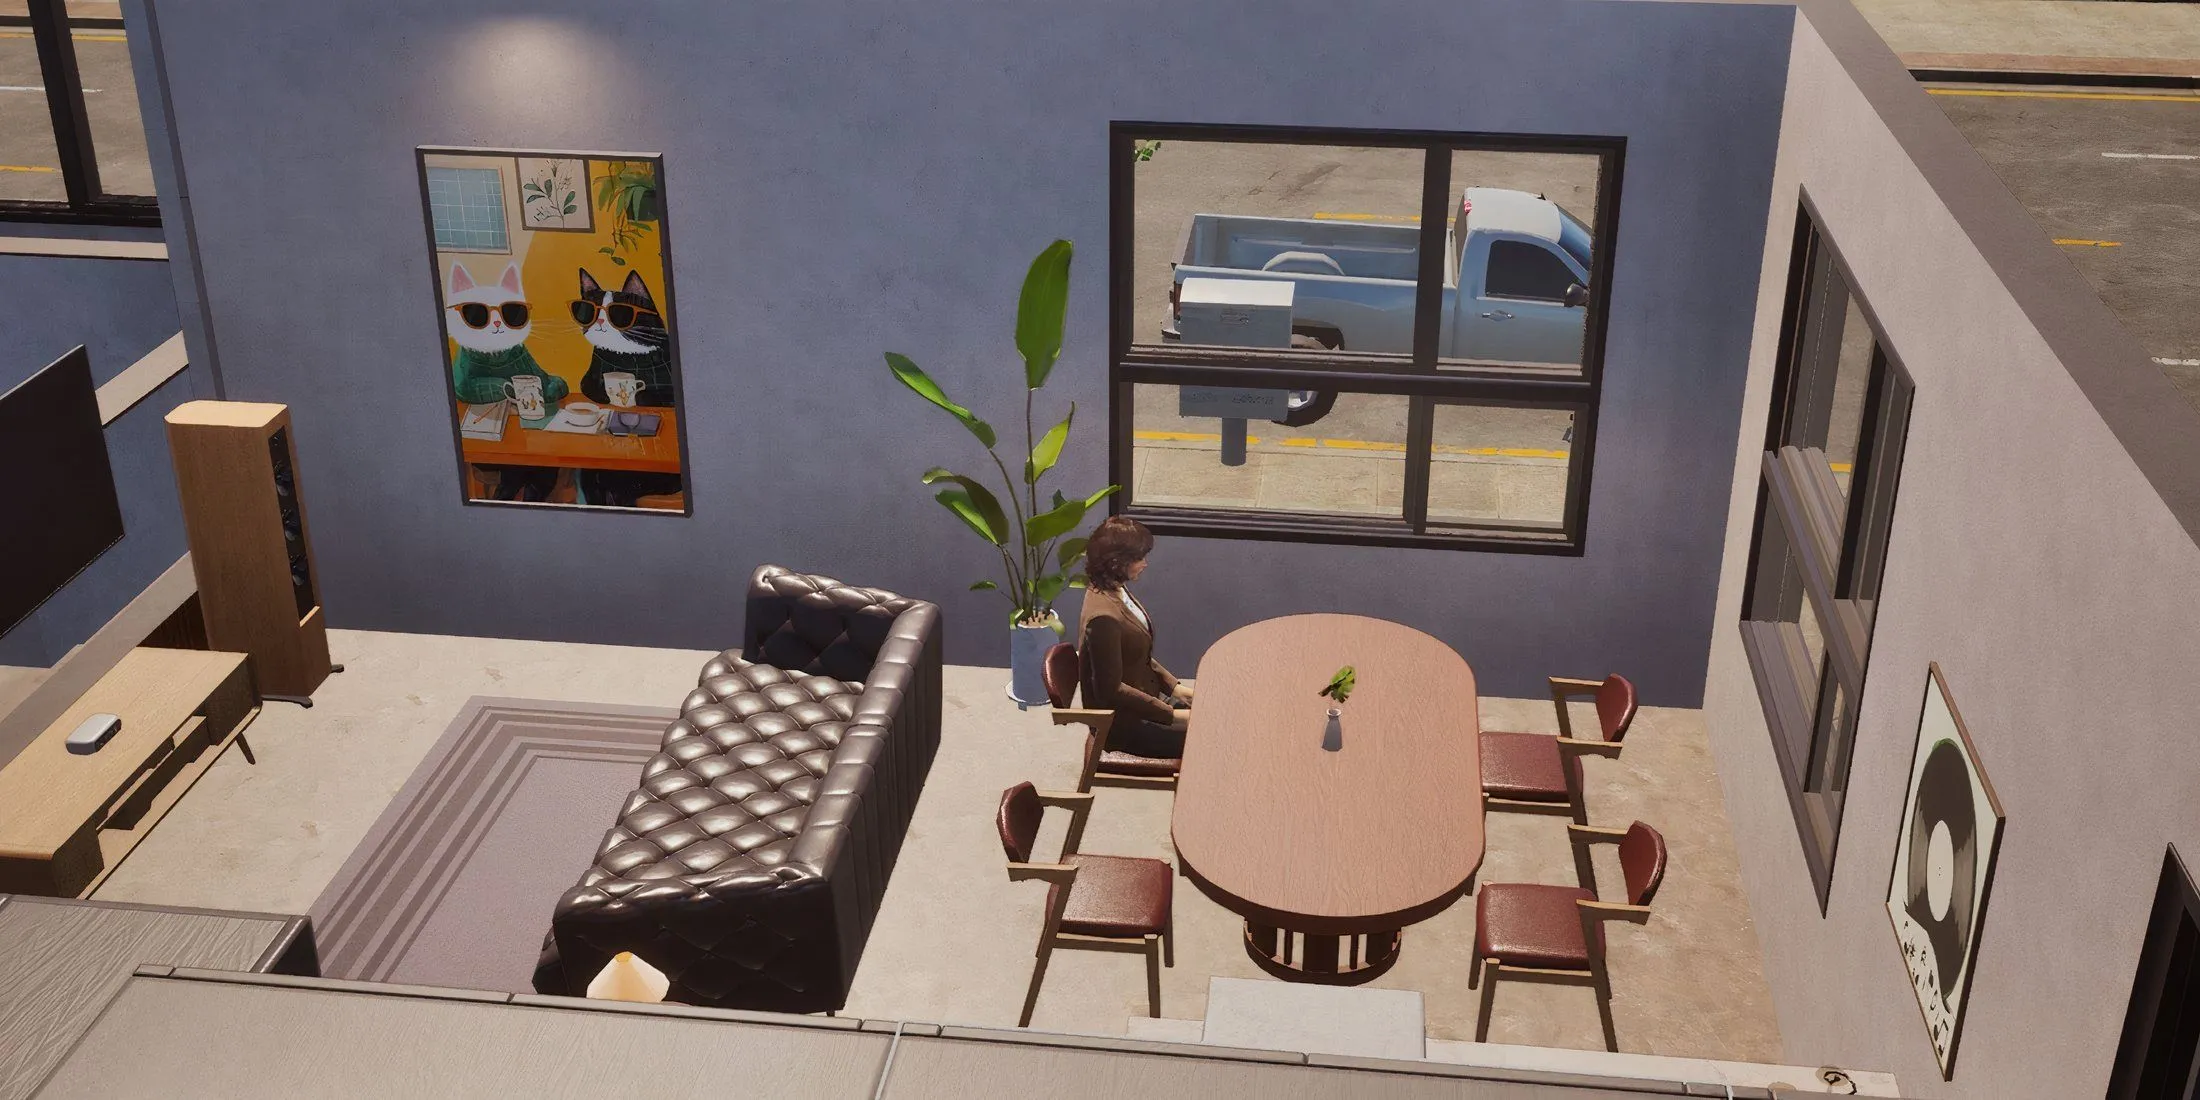
Creating a home in InZOI is a delightful experience for players who enjoy unleashing their creativity. Similar to popular simulation games like The Sims, InZOI allows you to construct inspiring dwellings for your Zois, replicating the dream homes you’ve always envisioned. With an abundance of options available for windows, doors, wall art, and more, your design possibilities are virtually limitless.
However, flooring can pose a challenge, particularly for newcomers. The flooring tiles in Build Mode do not resize, which can make fitting them into the grid somewhat perplexing. If you’re looking for guidance on navigating this aspect, here’s a detailed guide on how to effectively add flooring to your homes and structures in InZOI.
Adding Flooring in InZOI: A Step-by-Step Guide

During the early access phase of InZOI, there are two primary methods for adding flooring to your property:
1. Normal Flooring Method
The simplest approach to incorporate flooring into your Zoi’s home involves aligning the walls correctly during construction. If done accurately, the game will automatically generate a floor surface, eliminating the need for additional steps. This method is effective only when building from scratch, as pre-designed homes come with pre-installed flooring that can simply be updated in color and texture.
To initiate this process, enter Build Mode and begin positioning walls around the empty lot. Ensure that the Floor Grid is activated by selecting the third icon on the top bar, then place your first pillar at the very start of the grid. If set too low, the structure won’t generate the flooring as expected.
If you encounter difficulties, try moving the wall to align with the first blue tile on the grid. The same procedure applies if you wish to add flooring to the second level of your Zoi’s home. Keep in mind that ceilings may appear similar to floors from a bird’s-eye view, yet they do not serve the same purpose—so ensure actual flooring is placed where needed.
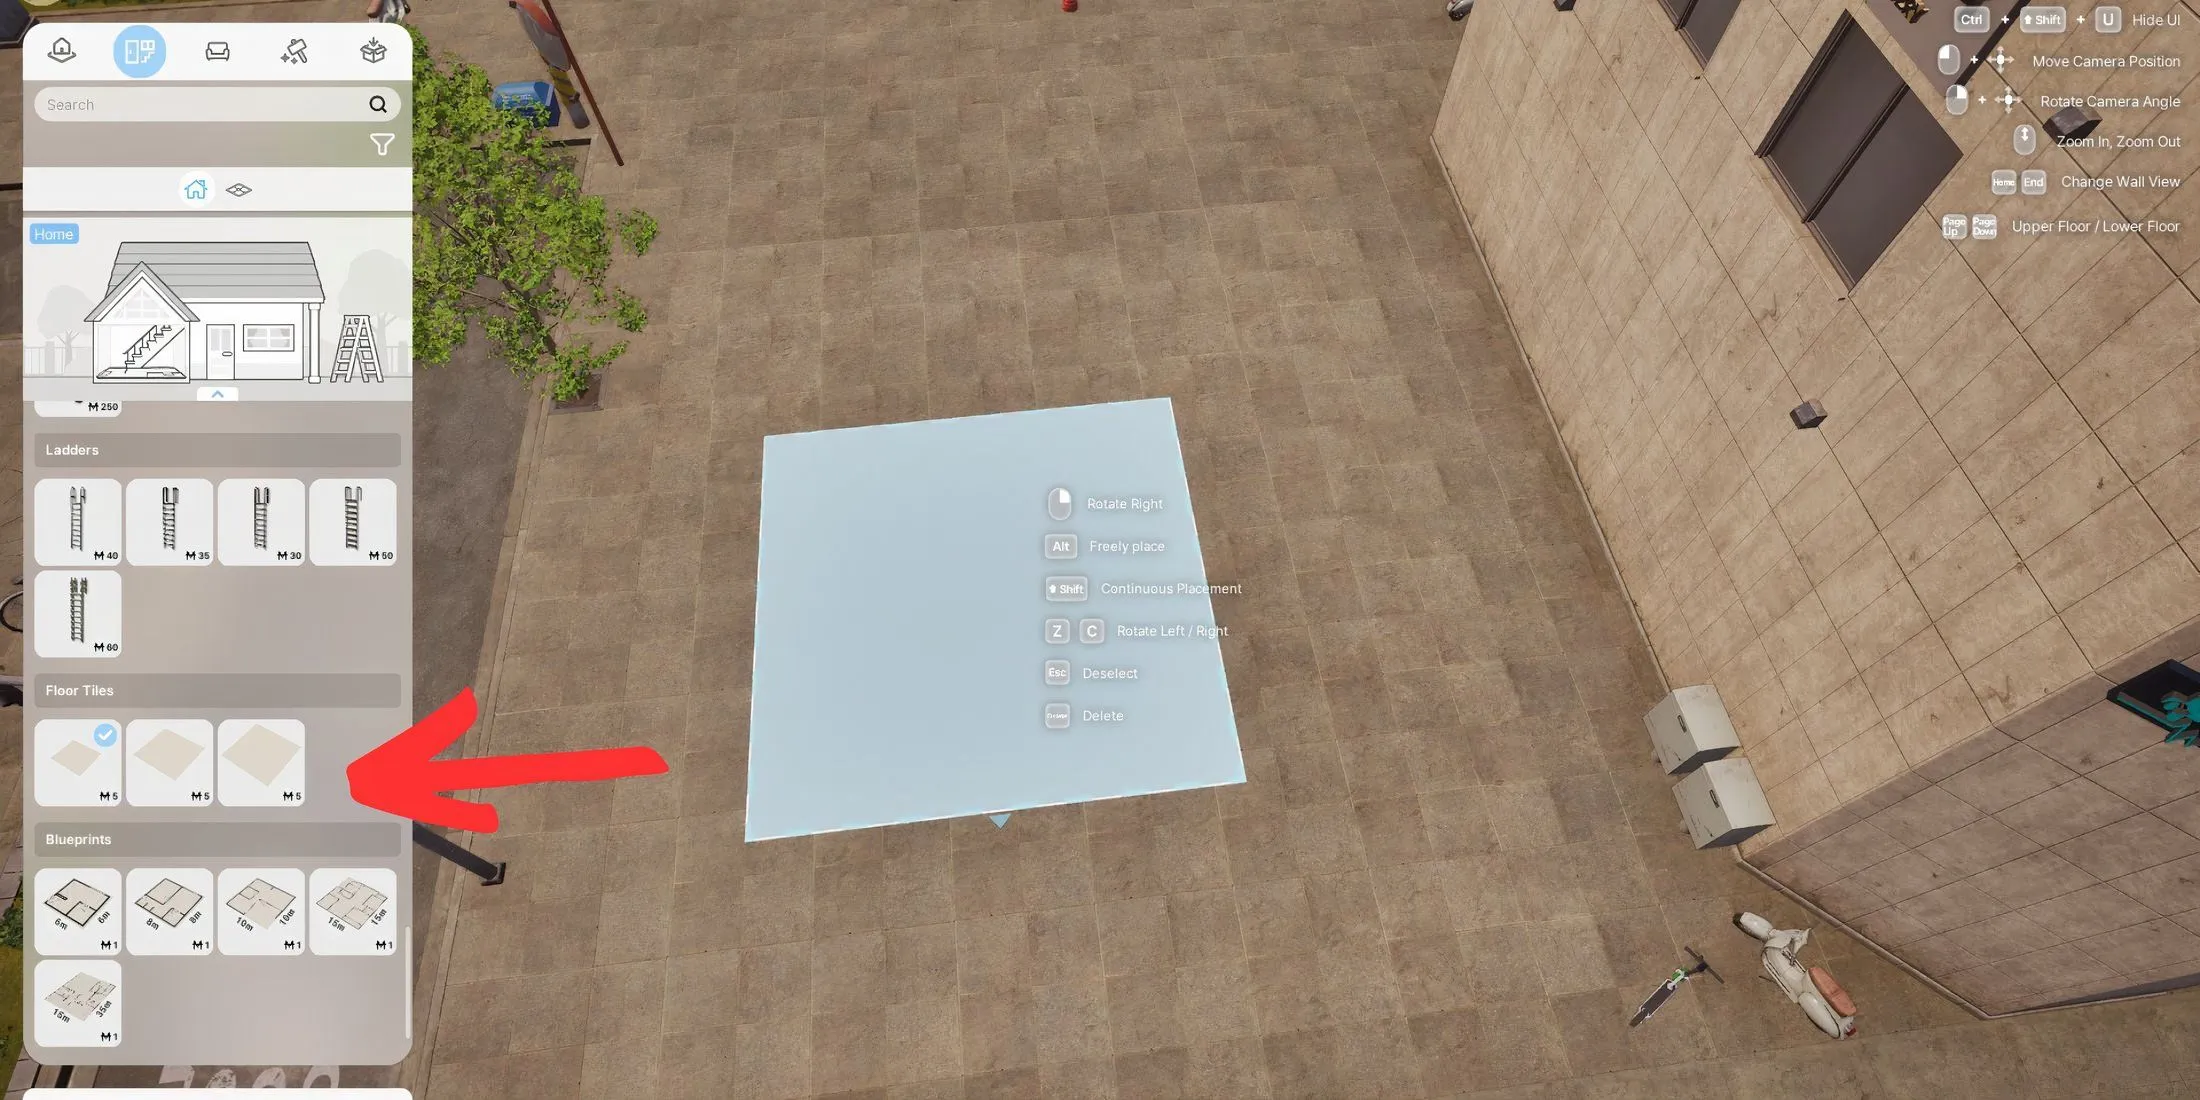
2. Adding Floor Tiles

The alternative method involves manually laying down Floor Tiles within your property. Simply search for “Floor Tiles” in the Build Mode menu to access three sizes:
- 7.5 m x 7.5 m
- 15 m x 15 m
- 30 m x 30 m
While this method provides increased control over your design, it may not be the best option for smaller spaces, as tiles lack the resizing capability in the early access version. This technique is better suited for larger areas, allowing you to optimize the sizes for homes, outdoor spaces, patios, and more. If you are using a preset house, there’s no need to add tiles, as the flooring is already included; you can use platforms to enhance your design instead.
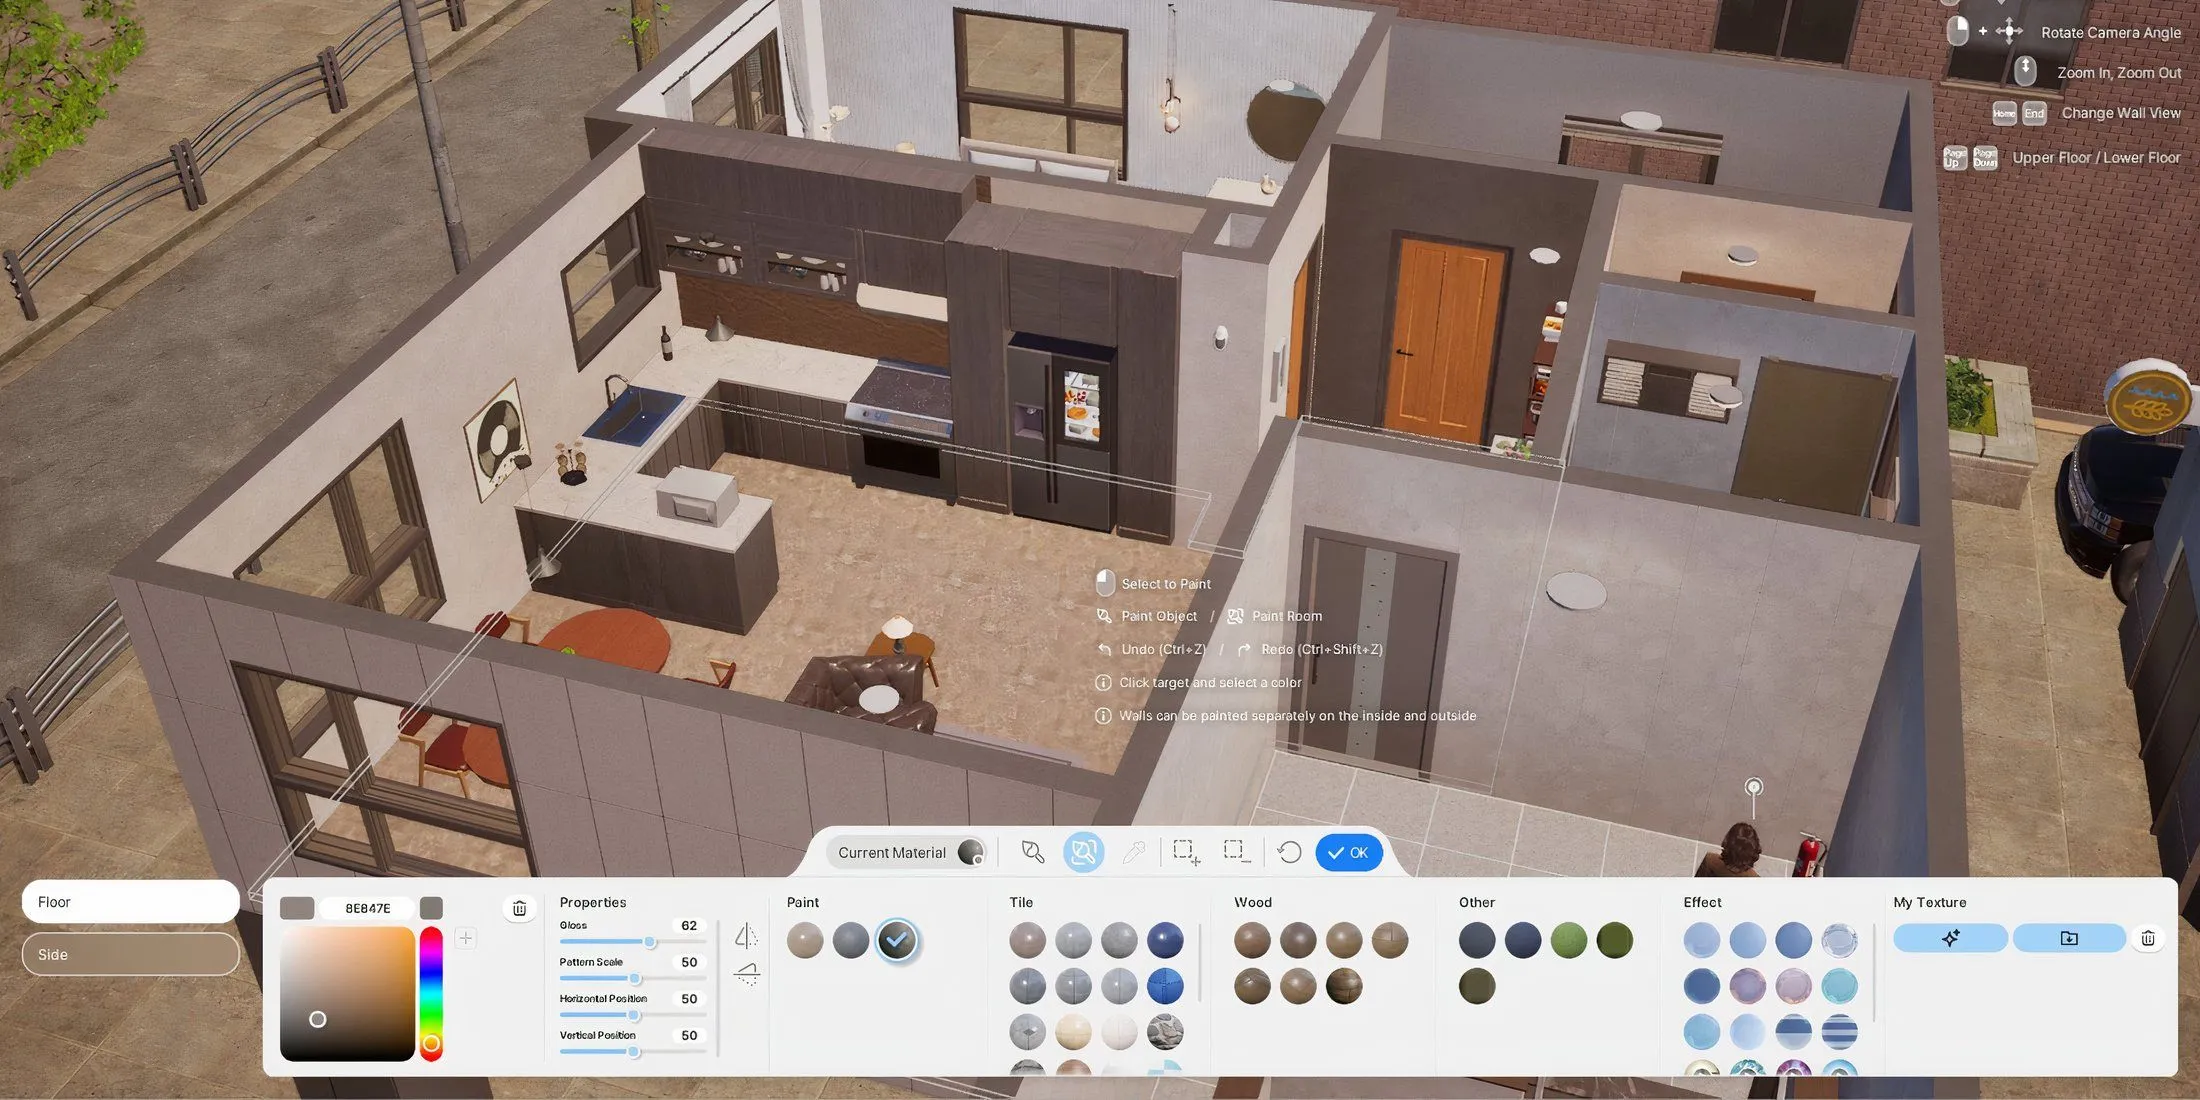
Customizing Flooring Color, Texture, and Material in InZOI

After placing your flooring, it’s time to personalize it. You can modify it in various ways: change the paint, opt for different tiles, choose a wooden or grassy texture, add special effects, or even apply AI-generated textures. To customize your flooring, click on the surface and select the paint icon. A variety of options will appear in the bottom bar—simply choose your desired flooring style and save to bring your vision to life.


