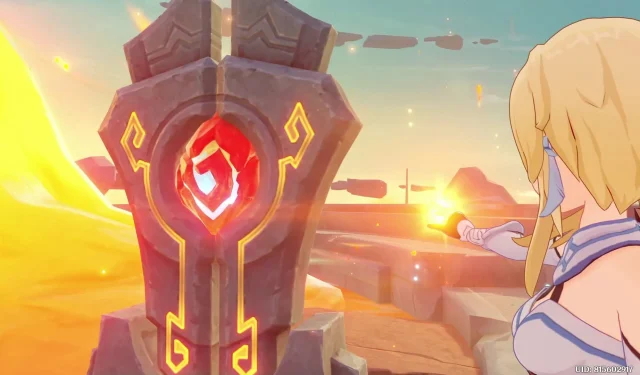
Where Once Force Was Reversed: A Genshin Impact Sub-Quest Guide
Where Once Force Was Reversed is an integral sub-quest within the overarching Chronicler of the Crumbling City quest line in Genshin Impact. This quest series brings adventurers to the majestic ruins of ancient dragons, specifically to the renowned Ancient Sacred Mountain. While delving into this mystical area, players will have to fulfill prior tasks, namely The Frozen and The Rekindling Land, to uncover the deeper layers of this enchanting locale.
Upon entering the subterranean expanse of the Ancient Sacred Mountain, players will initiate the In Search of a Hidden Heart quest. This endeavor subsequently unlocks other critical sub-quests such as Once, the Sacred Seat of Judgment and Where Once There Was a Calculation Array. Completing these quests adequately prepares you to embark on the challenge of Where Once Force Was Reversed.
Quest Walkthrough: Where Once Force Was Reversed
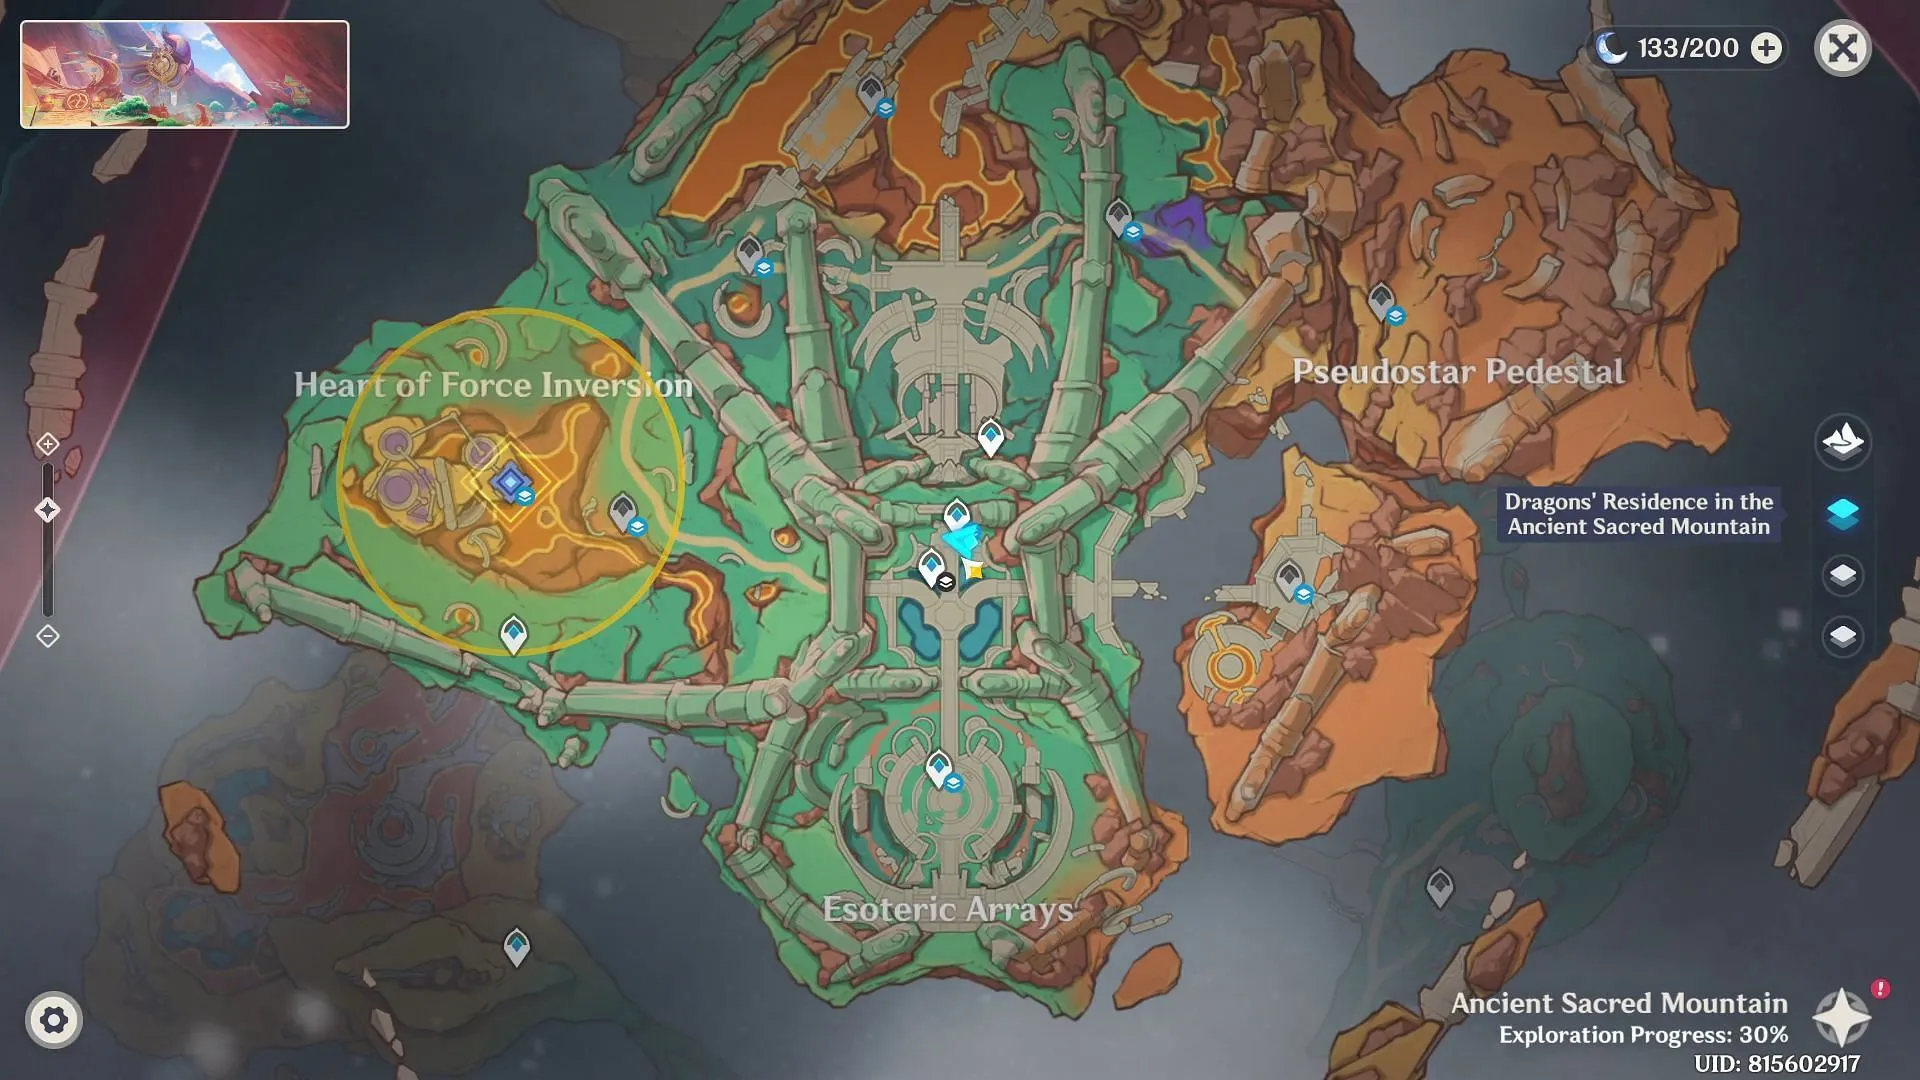
After successfully completing both Once, the Sacred Seat of Judgment and Where Once There Was a Calculation Array, approach the large Secret Source Servant to glean information about the next area afflicted by Abyssal Corrosion. Initiating this dialogue will set the stage for the Where Once Force Was Reversed sub-quest.
From the Secret Source Servant, navigate westward towards a location named Heart of Force Inversion. Continue heading west until you reach a teleport point to facilitate faster travel.
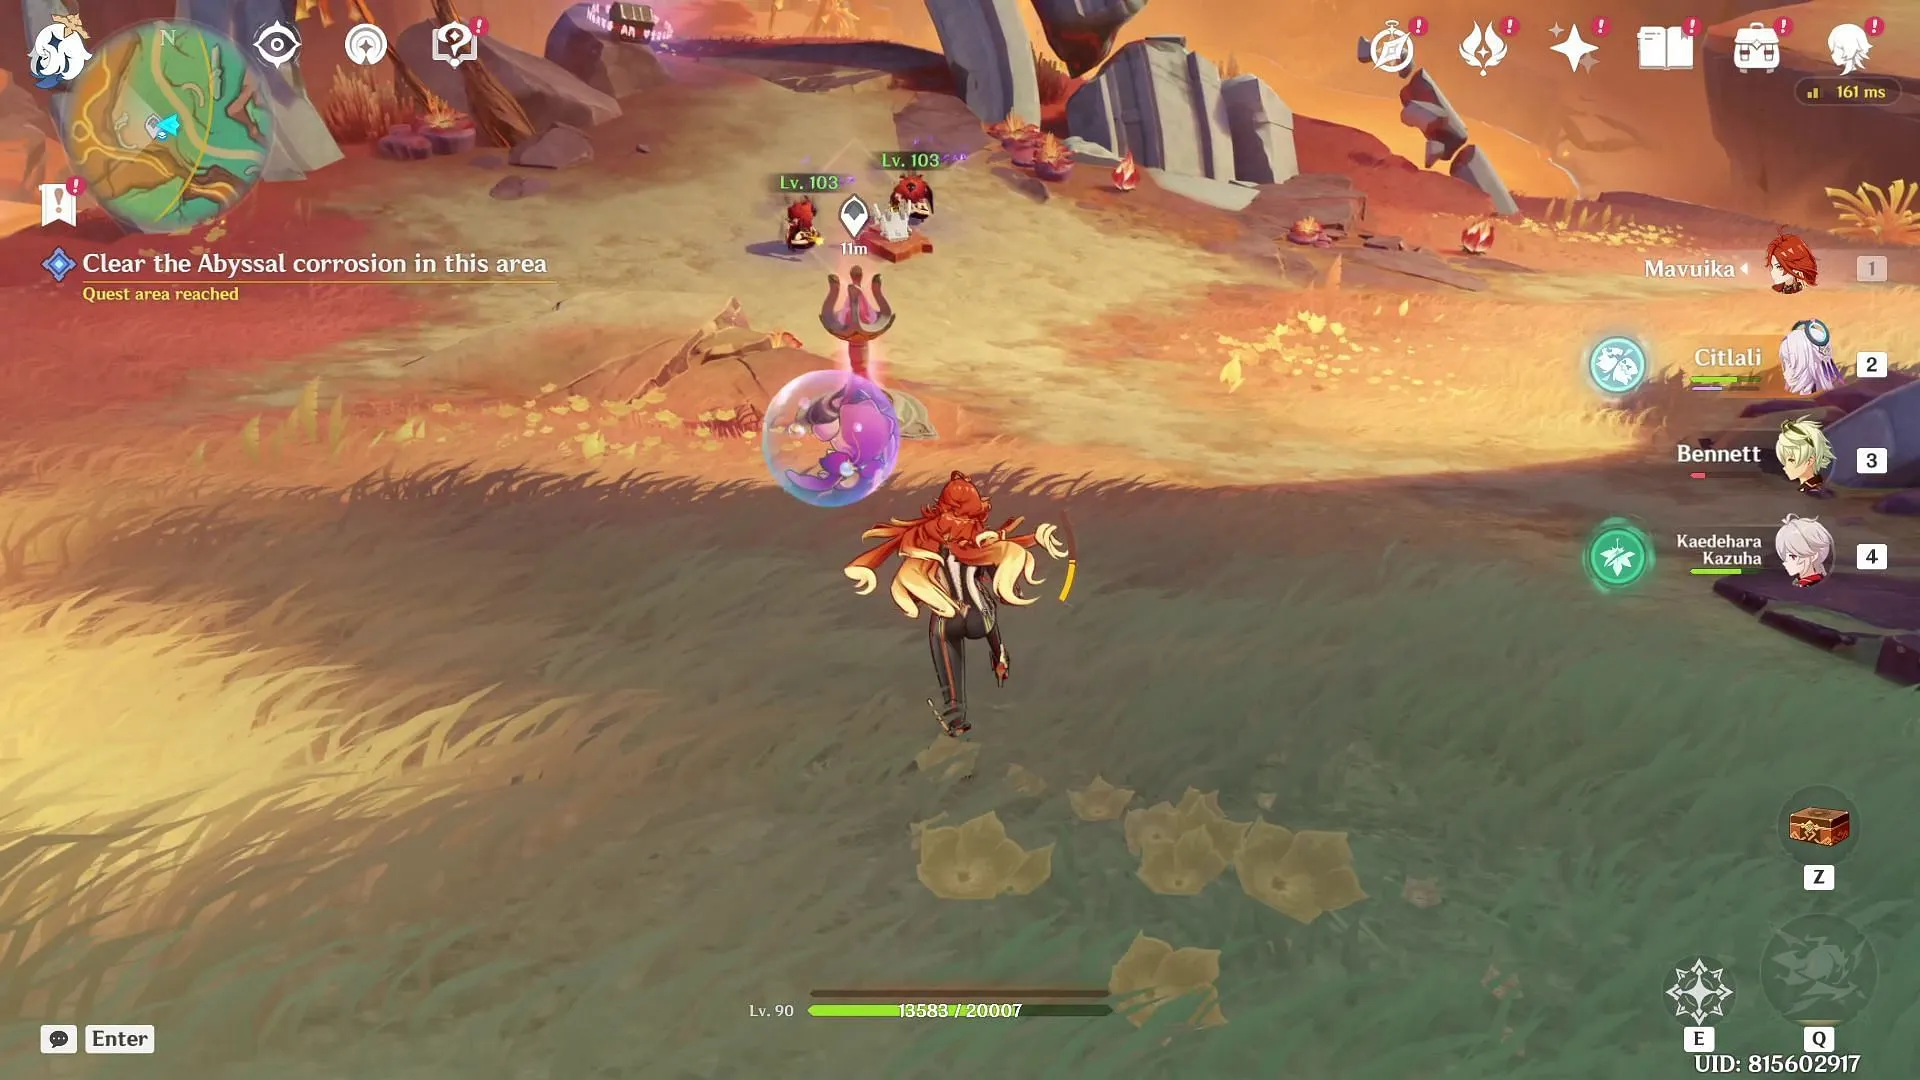
Upon arriving near the teleport point, you will encounter a Secret Source Servant under attack by two Pyro Abyss Mages. Successfully defeating these foes will liberate the servant. Follow the freed servant to a floating mechanism. Unfortunately, the servant will be struck by Abyssal Ooze, causing a mishap that will drop you into the hazardous liquid phlogiston.
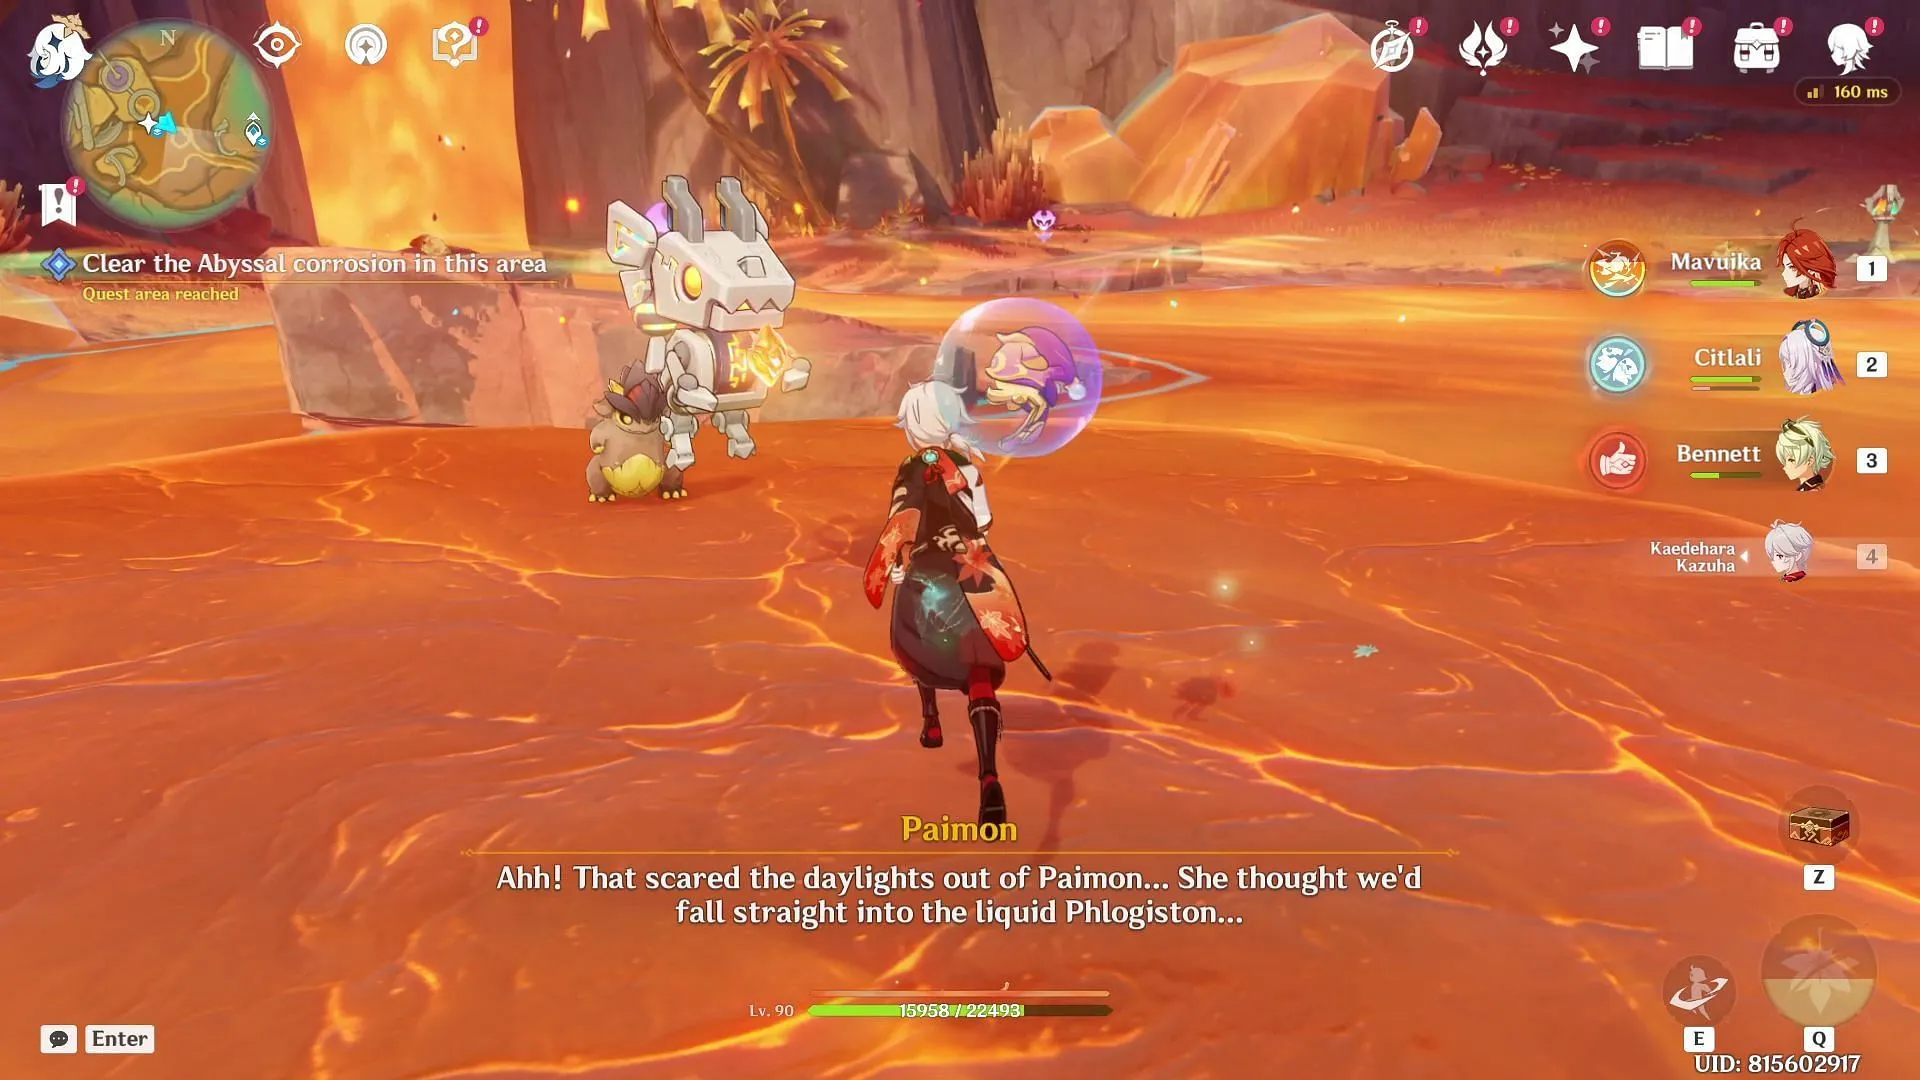
Luckily, the Secret Source Servant creates a solid phlogiston platform for you to traverse. Follow it towards the lava waterfall ahead. This servant will solidify the waterfall, enabling a transformation into a Tepetlisaur, allowing you to ascend the freshly solidified waterfall.
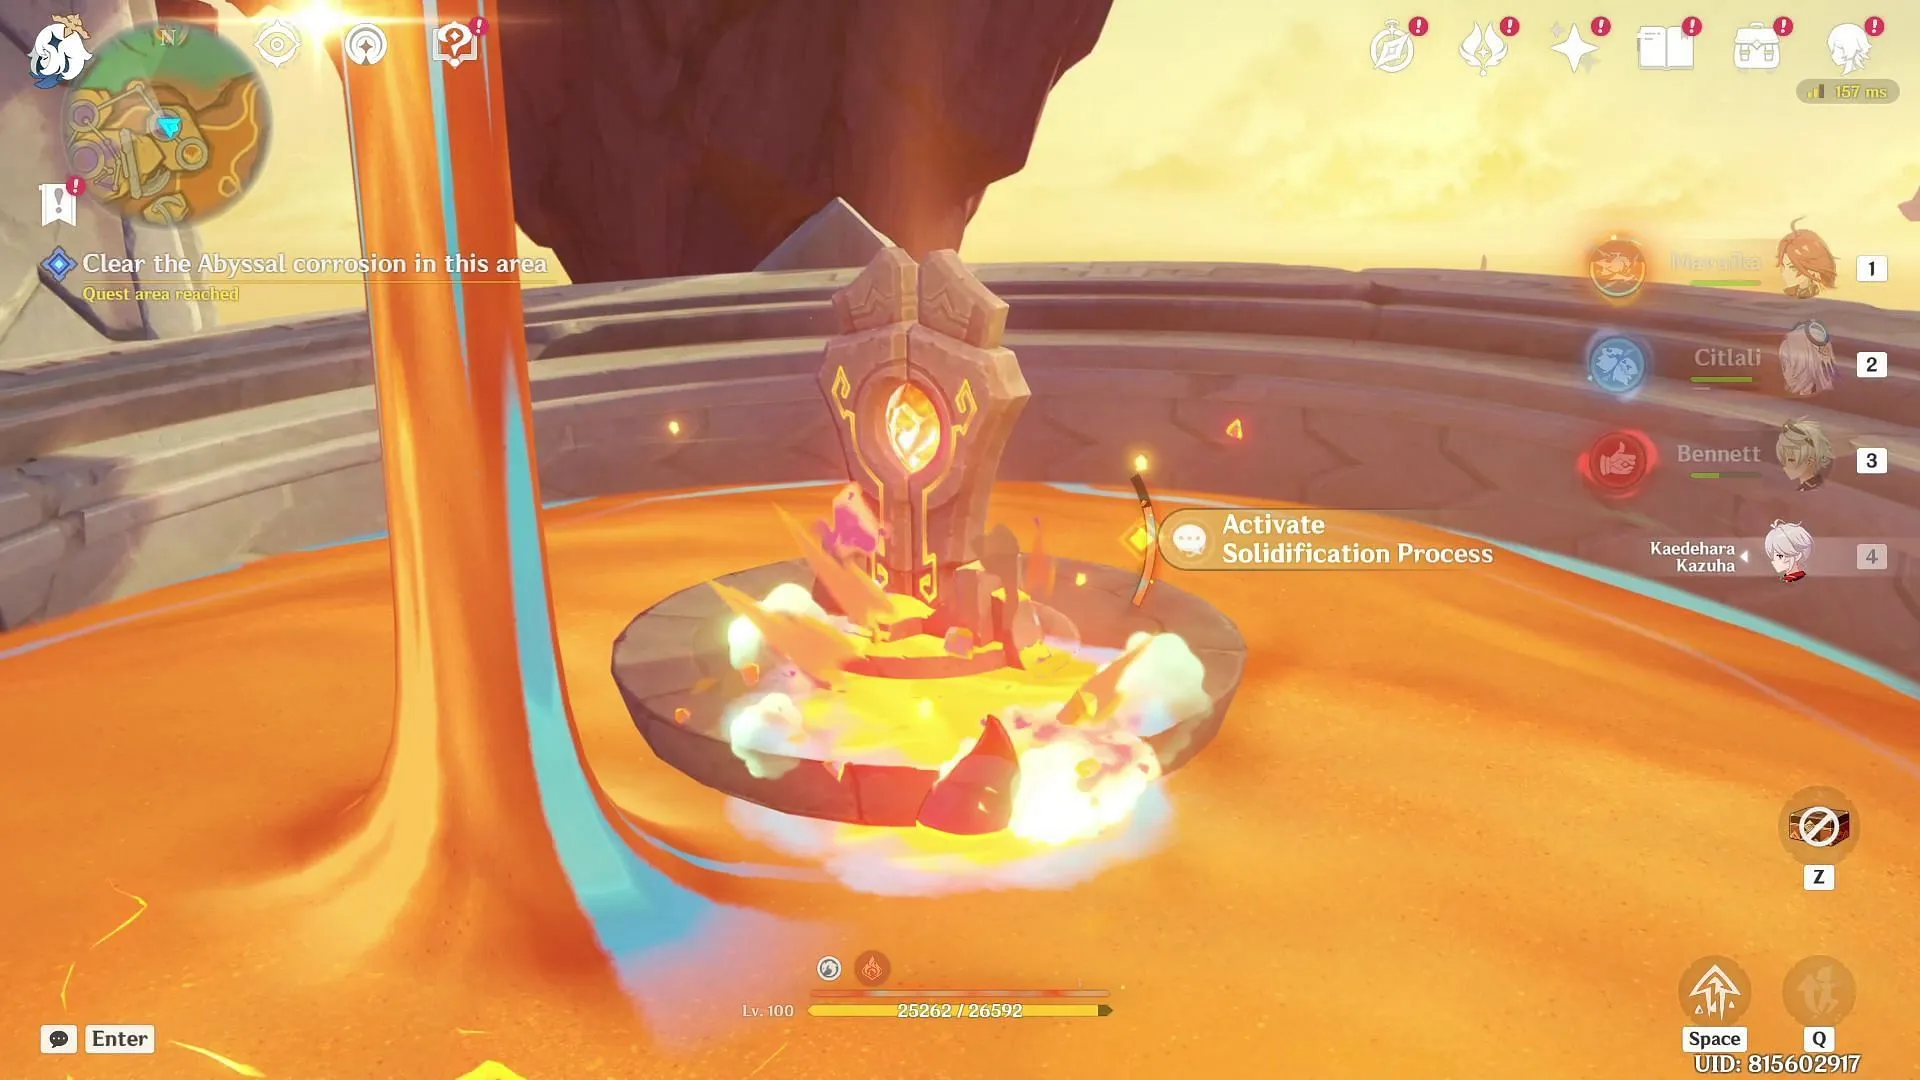
At the summit, you’ll discover a small pool of lava housing a mechanism. Execute a careful jump to activate the solidification process, then scale the waterfall once more to discover your pathway ahead.
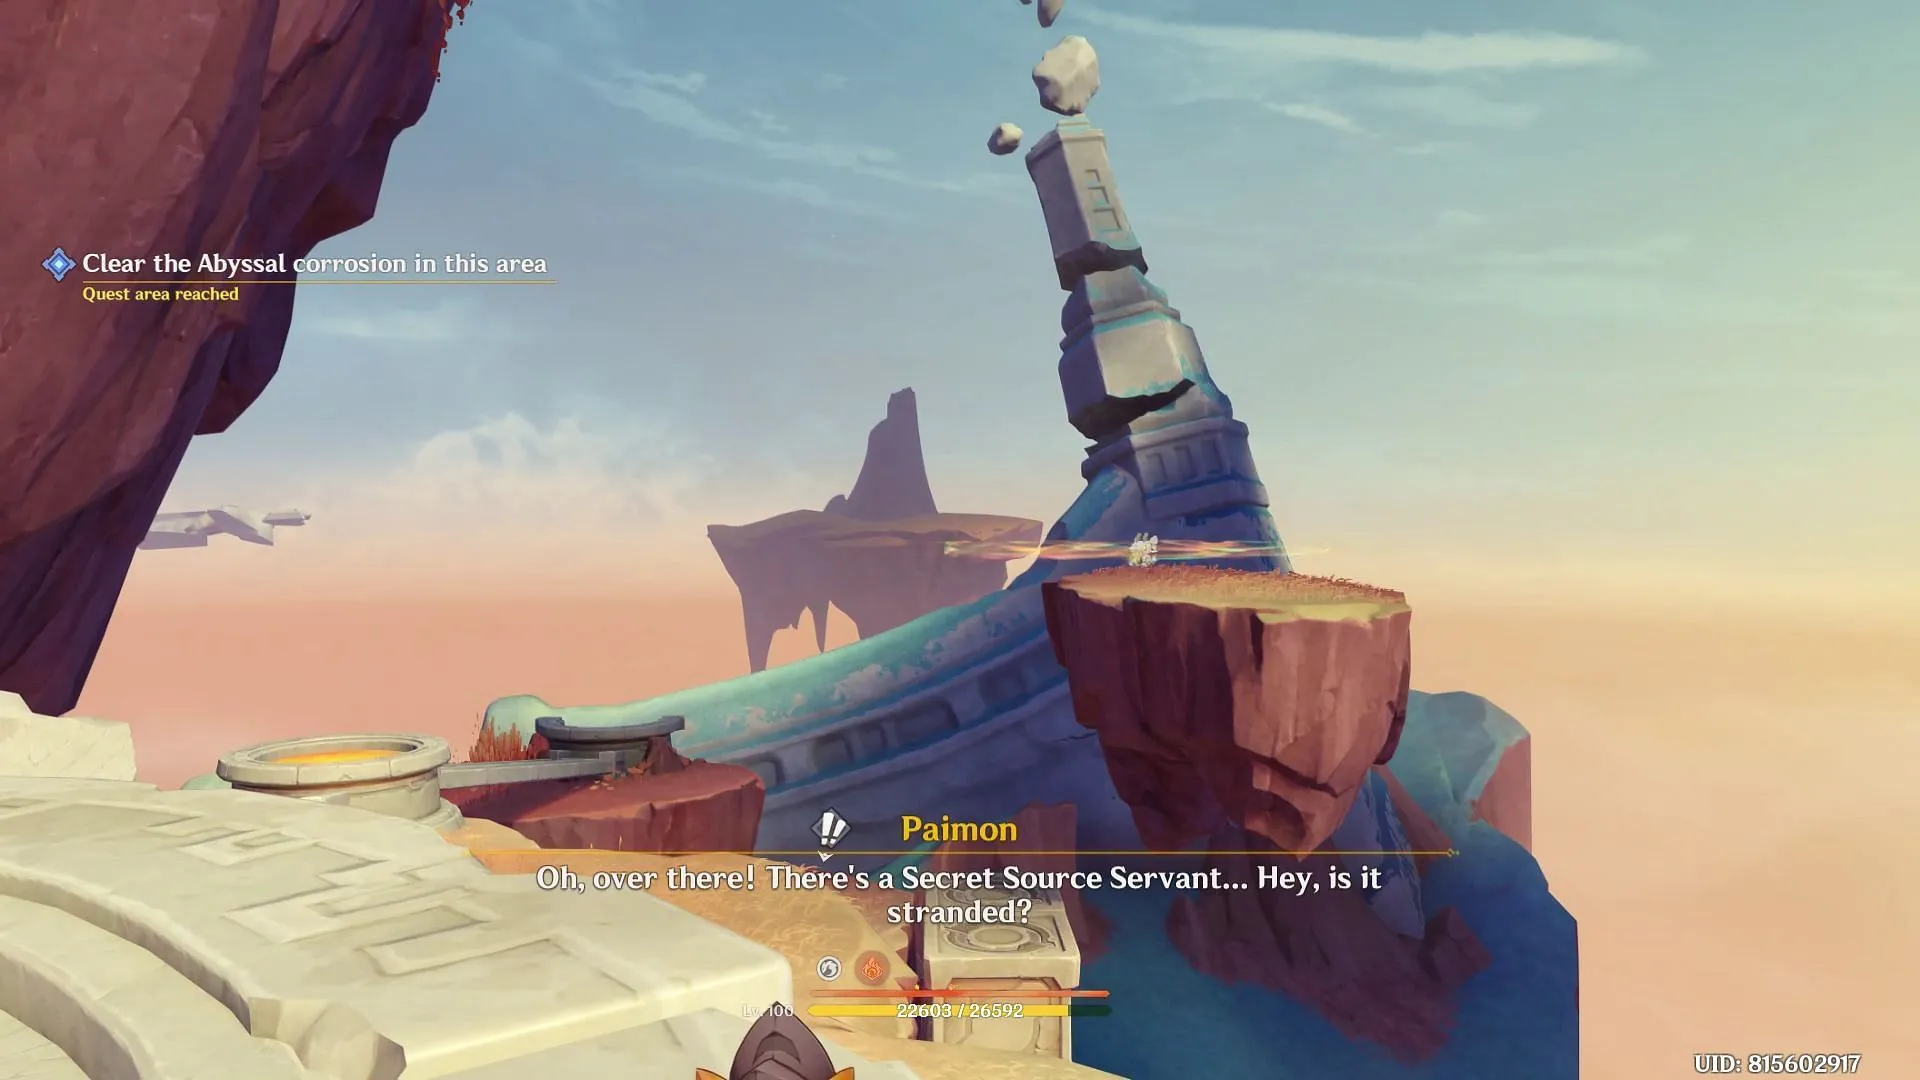
As you continue, you will come across another Secret Source Servant stranded on a small floating island. Teamwork will be crucial here, as you and a companion named Little One must collaborate to rescue this servant.
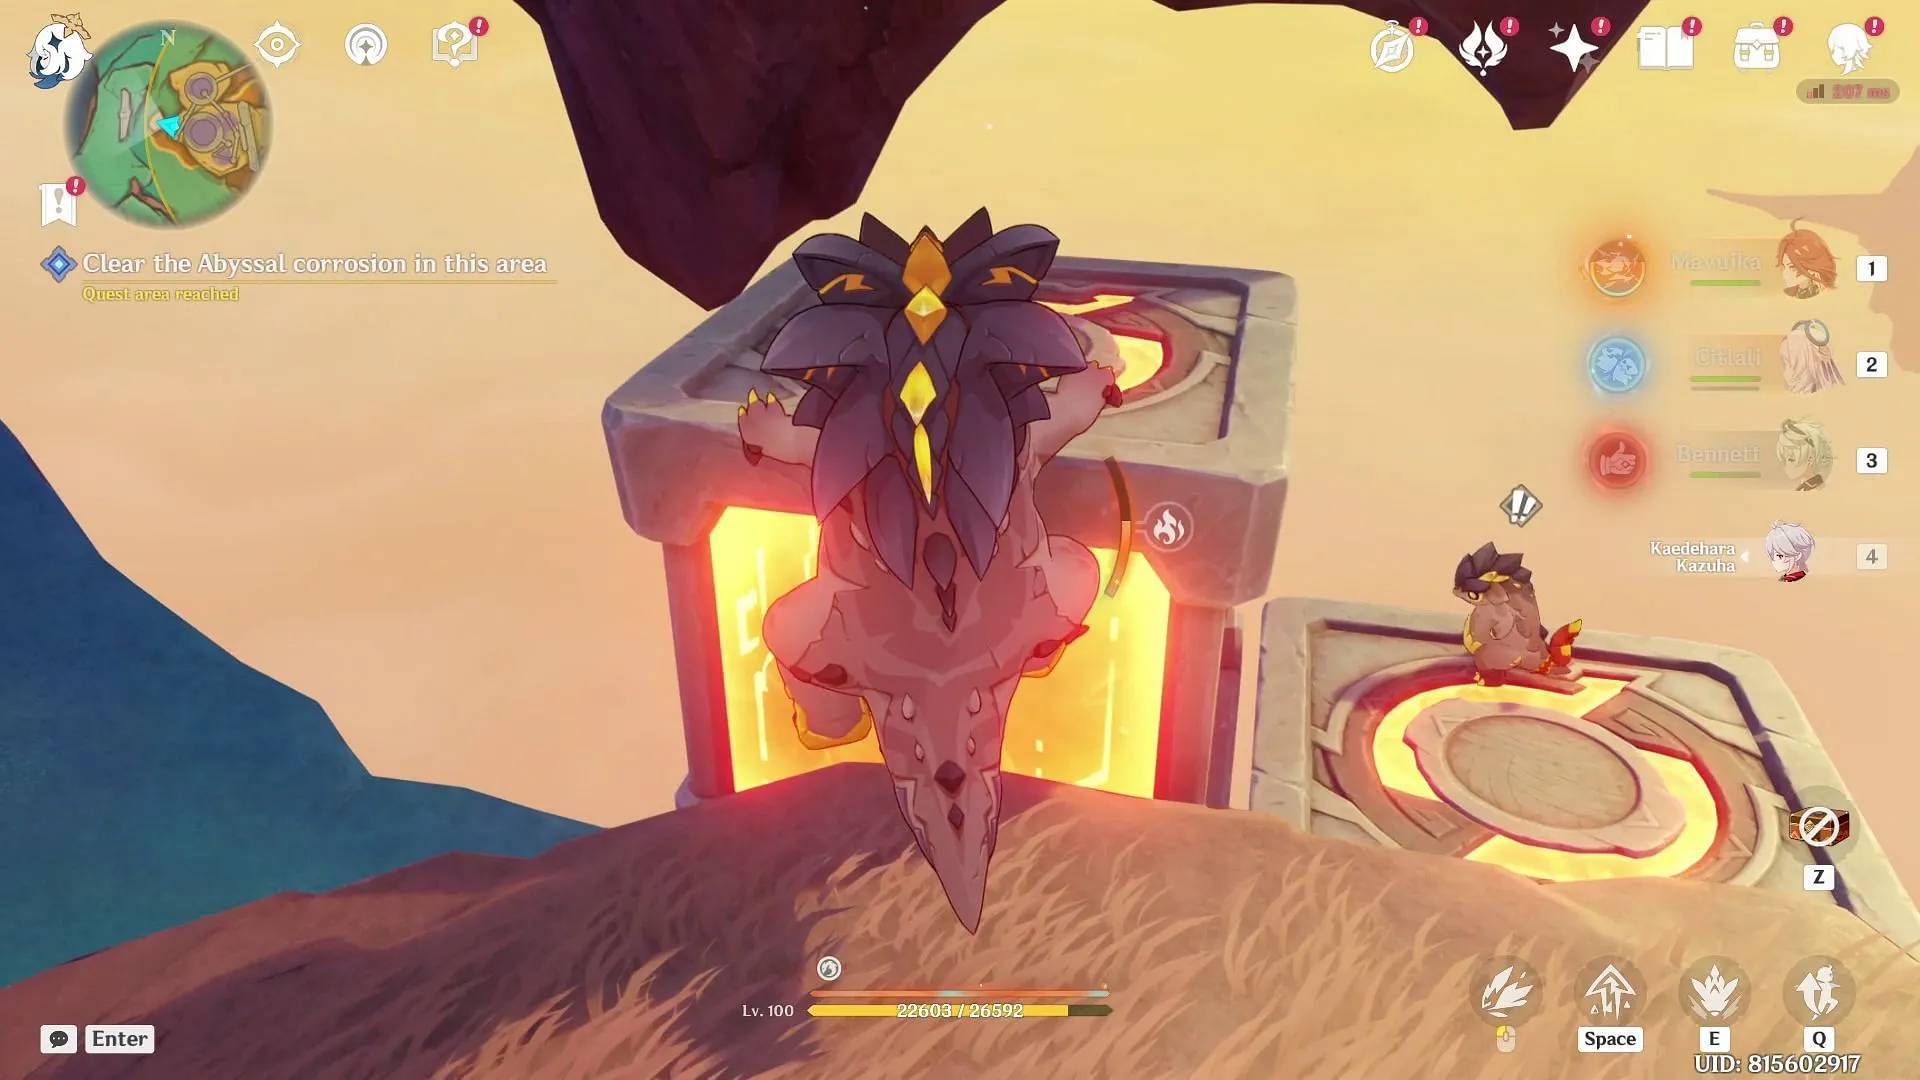
- Position Little One atop the mechanical cube on the right while you stand on the left side. This maneuver raises the mechanical cube to enable access to the floating island.
- Subsequently, the Secret Source Servant can stand on the elevated cube.
- To balance the weight, glide down to the ground, returning the cubes to their original stance.
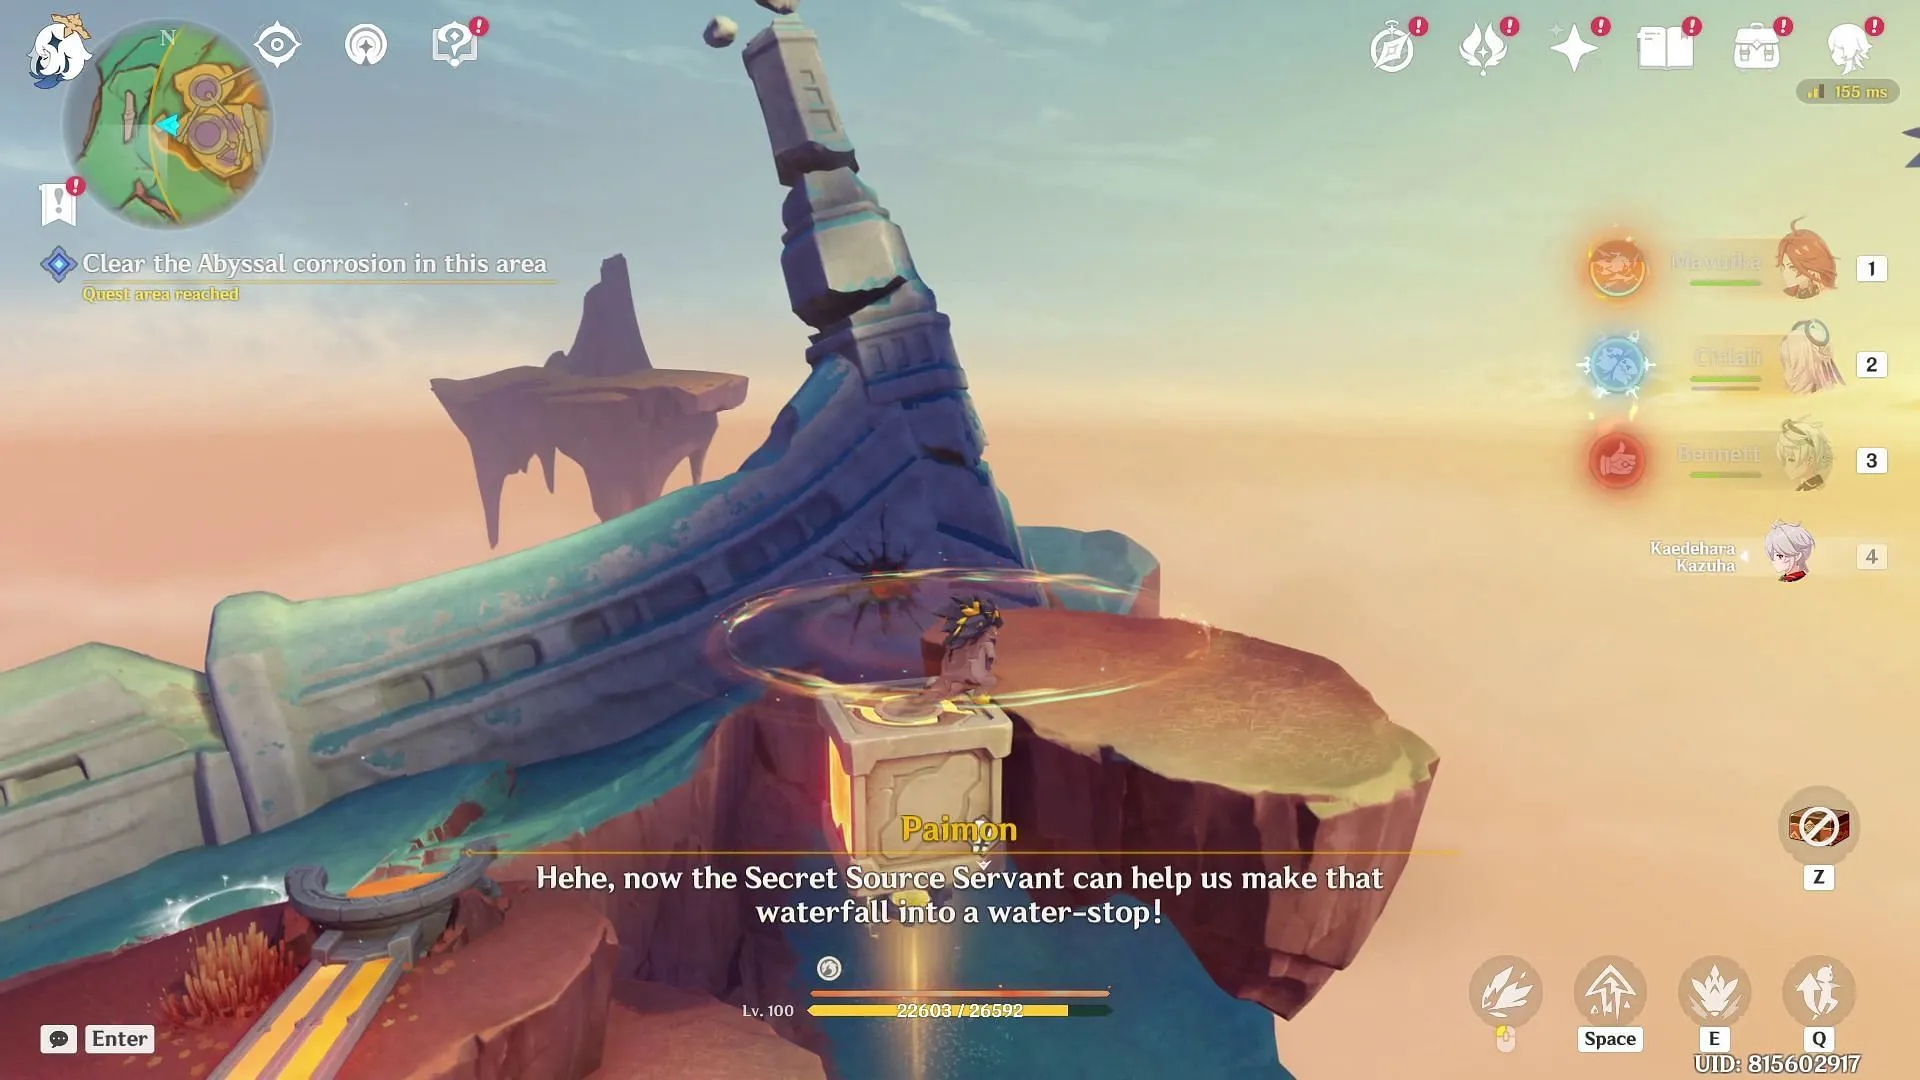
Follow the relieved Secret Source Servant as it creates another solidified pathway leading to a teleport point adjacent to the area plagued by Abyssal Corrosion. Here, you can utilize Tepetlisaur’s ability to activate mines under the Abyssal Oozes to cleanse the corruption effectively.
Once the Abyssal Corrosion has been successfully removed, a lush pool of liquid phlogiston will fill the area, triggering a visually captivating cutscene.
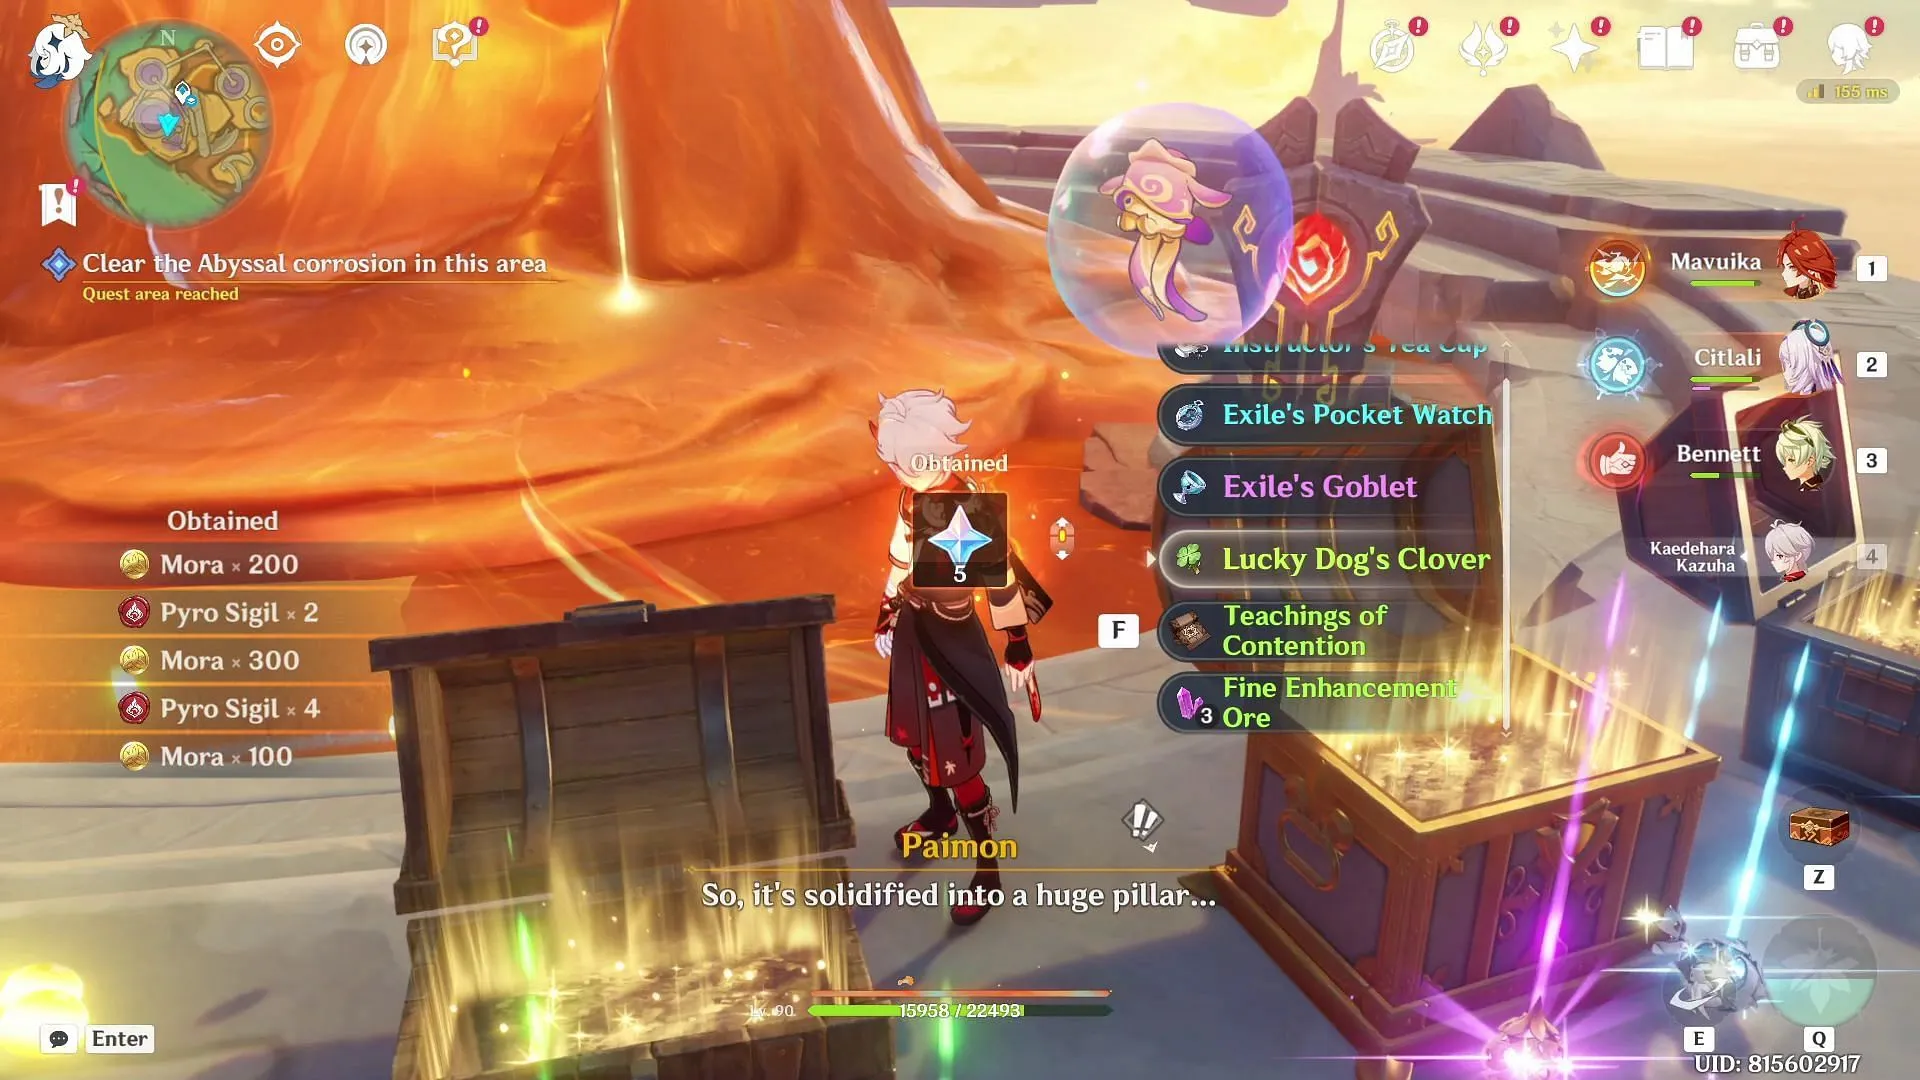
Completing the Where Once Force Was Reversed quest rewards players with:
- 1 x Luxurious Chest
- 1 x Exquisite Chest
- 1 x Common Chest
After claiming your rewards from the treasure chests, head back towards the previously solidified waterfall to collect the second unit of Phlogiston. This marks the conclusion of the Where Once Force Was Reversed quest in Genshin Impact.
