
For those navigating Schedule 1, locating specific items can often be a challenge. One location that tends to confuse many players is the Grocery Store, primarily because it is not indicated on the map. If you’ve placed an order with Albert Hoober and received a prompt to “Collect Dead Drops: Alleyway Behind the Grocery Store,”there are effective steps you can take to find it.
Locating the Grocery Store in Schedule 1
If you’re new to this segment of the game, it’s important to understand that Dead Drops are crucial for acquiring supplies like seeds, upgrades, and various other items. Orders are placed via your in-game phone by texting Albert Hoober, and shortly afterward, you’ll receive a message detailing your pick-up location.
")
The challenge with these drop-off points is that they are often hidden in less obvious spots. Players frequently find them in back alleys or nearby nondescript buildings that don’t give any clear indications of their purpose. If your message instructs you to retrieve a Dead Drop behind the Grocery Store, don’t waste time searching for a grocery store icon on your map—it simply isn’t there. Instead, follow these steps:
- Access the message you received.
- Examine your map for a Star icon; that’s where the drop is located.
- Make your way toward the star; it is your primary reference point.
Understanding the Grocery Store’s Appearance
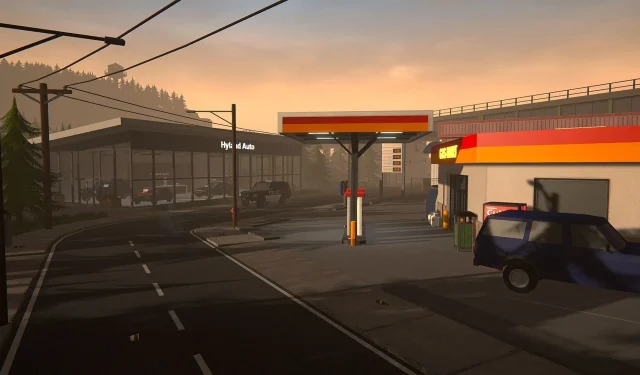
It’s crucial to note that the Grocery Store isn’t as recognizable as one might anticipate. There is no prominent signage or a clearly defined storefront; rather, it resembles a dilapidated building utilized as a delivery point.
To locate the Grocery Store effectively, start by heading towards well-known landmarks:
- Navigate towards the Koyama Chemical Company. It stands out as one of the larger industrial structures in the area.
- Pass the brightly painted fast-food restaurant, Taco Ticklers (yes, that’s its name).
- Look out for an ATM nearby; its presence indicates that you’re nearing your destination.
Final Steps to the Dead Drop
Once you spot the ATM, here’s what you need to do:
- Proceed behind the ATM and continue walking straight.
- After a brief distance, you will see a right-hand turn leading down a narrow alley—this is where you’ll find your Dead Drop if the message specified “behind the Grocery Store.”
As an alternative, you can choose to circle around the parking garage adjacent to the building and approach from the back entrance. Both routes will lead to the same drop-off point.
With these tips, you’ll enhance your ability to navigate Schedule 1 effectively and ensure you can collect all the necessities for your next missions.