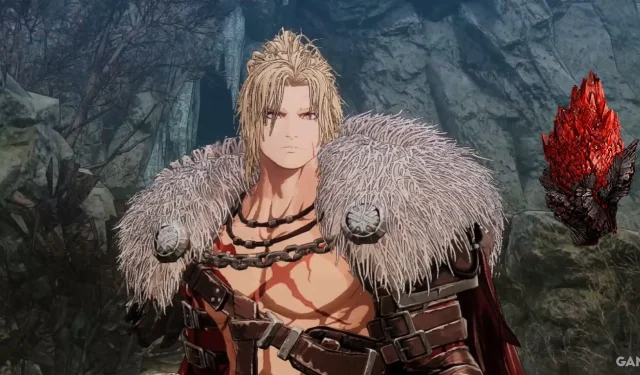

The fourth primary story mission in The First Berserker: Khazan, titled First Act of Revenge, transports players to the quaint Phraugh Village. If you find yourself struggling or unsure on how to proceed, this comprehensive walkthrough is designed to guide you through the mission. Additionally, this guide will help you track down all three Soulstones scattered throughout the First Act of Revenge.
First Act of Revenge Walkthrough
Soulstone Locations

Upon commencing the mission, immediately glance to your right where the first Blade Nexus can be located near a cabin named Cabin on a Cliff. Proceed along the main path and you will encounter a character named Duimuk; feel free to converse with him or continue onward.

When you reach a fork in the path, bear to the right (the left path continues the mission). As you follow the right trail, keep an eye out for a cave entrance on your right side.

Inside the cave, you will encounter a few wolf enemies, the Revenant of Adversity’s Lacrima, as well as several other minor items.

Once you exit the cave, be prepared to confront a large bear enemy. This area is relatively circular, allowing you to navigate back to the main path seamlessly.

You may encounter another challenging enemy or additional Revenants in this area. Engaging in these fights occasionally can yield Lacrima of Circulations, which you will need to summon spirits to aid during boss encounters.
Proceed through the gate and descend three levels to reach a new passage that leads to another cave opening. Before entering, be cautious of a glowing red spot resembling a Lacrima point. This is actually a monster lurking—either shoot it with your Javelin or bypass it to let the creature emerge.


Once you enter the cave, follow the path straight ahead. Soon, you’ll come to a room on your right that contains a ladder; however, for now, ignore it and continue forward to encounter other worm enemies.


Within this room, you’ll discover a treasure chest containing valuable loot for Khazan.

With the treasure secured, retrace your steps back to the earlier-mentioned ladder.
Soulstone #1 in First Act of Revenge
Climb the ladder after dispatching the nearby worms and you will discover the first Soulstone of the mission.


After breaking the Soulstone, you’ll need to descend five levels to return to the cave entrance. From this point, continue dropping lower until reaching ground level.

Upon arrival at ground level, a cutscene will unfold, illustrating Khazan assisting villagers under siege by monsters.
When the cutscene concludes, you will find yourself in a new area where two enemies await—one to your right and another beyond a significant hole in the ground.

Continuing along the path leads you to the second Blade Nexus (Phraugh Village Dock). If you ascend the nearby stairs, there will be a mechanism that facilitates transit across the area. However, this shortcut requires foot travel to activate initially, so leave it for later.

Make your way through the docking section, scaling a small ladder. Look to your left to spot enemies on a boardwalk—perfectly positioned for a Javelin projectile attack.


Stay on track (it’s nearly impossible to get lost) and ascend the staircase at the far end of this area. Here, you will encounter two significant features: a closed gate and the opposing side of the mechanism. You can activate the switch if you wish to return to the Blade Nexus.

Approach the gate and press B/Circle to open it.
Soulstone #2 in First Act of Revenge
After you’ve opened the sizable gate, take the left path to locate the second Soulstone within the mission. Then, progress up the hill to rejoin the main route.


Continue forward until you trigger a tutorial highlighting the mechanics of dropping wood on monsters using your Javelin to strike the structure above them.

Upon eliminating the monsters, a hidden treasure chest can be discovered by breaking into the home the enemies were guarding. Once inside, climb the ladder to access a secret area filled with loot, but exercise caution as monsters reside here.


After securing the loot, drop back down to the primary path and move forward, passing beneath a bridge. From this point forward, expect to face numerous enemies. Upon reaching the end of this segment, find a ladder leading down. Exit the home and venture onto a new path that gradually ascends to a stone staircase, flanked by two dilapidated houses—be prepared for a swarm of monsters aiming to thwart your progress.
Ascend the hill to discover a body from which you can absorb Lacrima.


Once you’ve obtained the Lacrima, retreat downwards, then take the left path across the bridge. This will retrace steps from earlier. Ascend the ladder ahead.


Next, navigate across another bridge leading to an area populated with swift, feline-like creatures. Defeat these foes and continue down the path where you will soon reach a fork; veering right will lead you to the next Nexus Blade (General Storehouse Entrance). Explore the left direction which leads to a narrow mountain path infested with monsters.


Your journey will lead you onto a rooftop; descend to the ground level and access a side door that opens into a room with a ladder and a substantial door. Before proceeding to open the door, go up the ladder to uncover a chest brimming with loot, but be wary of lurking monsters.


Soulstone #3 in First Act of Revenge
After you’re done collecting loot, push through the large doors to see the third and final Soulstone in the distance. Engage it directly or unleash your Javelin from a safe distance after dealing with the Elite Enemy lurking nearby.


Next, traverse up the hill aligning with the windmill where a boulder will roll down towards you—dodge swiftly to evade.

Upon entering the new area from which the boulder originated, veer right to confront a few enemies while following the path until you encounter a drop leading to two wolves and a scaled beast.


After defeating these adversaries, ascend the staircase adjacent to the house. The stairs will curve around the structure, leading you to a bridge where another formidable foe awaits.

Defeat this enemy and press forward across a second bridge. The path will be straightforward from here, guiding you to a massive building that seems perfect for a boss encounter.

Approach the grand entrance and prepare for a showdown with the boss of this mission. If you find yourself struggling against Volbaino, refer to our detailed guide for assistance.
Successfully defeating Volbaino will award you the Fallen Guardian trophy or achievement.