

Welcome to our comprehensive mission walkthrough for Atomfall. This action-survival game is set in a fictional universe, five years post the Windscale disaster, inspired by true events. Players must navigate a series of objectives to complete the game, though it notably lacks a traditional quest structure, challenging you to investigate clues and uncover its narrative.
In total, Atomfall offers six different endings. This guide focuses on the simplest path to completion, guided by the enigmatic Unknown Telephone Caller.
Detailed Walkthrough of Atomfall’s Main Story
Each ending is linked to a unique character: the Unknown Telephone Caller, Captain Sims, Dr. Garrow, Dr. Alan Holder, Joyce Tanner, and Mother Jago. For the richest narrative experience, following the paths of Dr. Garrow and Dr. Alan Holder is recommended. However, here we will explore the Unknown Telephone Caller’s approach — a clandestine figure who bears critical advice: trust no one but him.
")
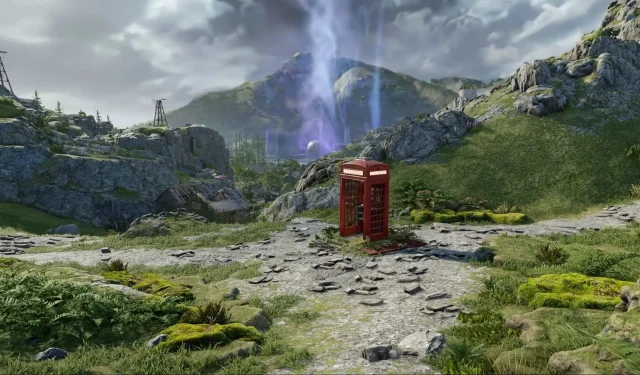
Upon leaving the Derelict Bunker and entering Slatten Dale, you will encounter a ringing red telephone booth. Answering it unveils the cryptic statement: “Oberon must die.” This comment sets the foundation for your mission.
Step 1: Accessing the Interchange
Your journey begins with navigating to the Interchange. Proceed to coordinates 26.5 E, 79.0 N within Slatten Dale. Inside, unlock the large door using a modified keycard and move into the Central Processing Center.

To boot the Interchange’s system, find a dead Hazmat employee nearby. Next to the body lies an Atomic Battery; collect it and insert it into the console to power the system. Note that at this stage, all data centers will be down, and your next goal is to restore power to them.
Step 2: Restoring Power to Data Centers
There are entrances to the Interchange in several regions:
- Slatten Dale: 31.0 E, 77.8 N
- Wyndham Village: 33.8 E, 78.3 N
- Skethermoor: 39.6 E, 73.1 N
- Casterfell Woods: 27.6 E, 83.6 N
Overall, four data centers—Alpha, Bravo, Charlie, and Delta—require an Atomic Battery each for operation. Collect at least four batteries to move ahead.

Prior to advancing, it’s advisable to obtain the Signal Redirector, which will prove vital later in the game.
Where to Find the Signal Redirector
The Signal Redirector can be located in:
- Skethermoor Prison
- A Windfall Crate
For a combat-free method, assist Captain Sims in Wyndham Village to acquire it:
- Visit the Village Hall and converse with him.
- Earn his trust by solving a murder mystery at St. Katherine’s Church and reporting back.
- He will direct you to retrieve information from Dr. Garrow at Skethermoor Prison.
- Upon entering the prison, interact with Dr. Garrow and find the Signal Redirector on a shelf inside the Security Room.
Step 3: Acquiring Atomic Batteries

Atomic Batteries are crucial and can be sourced in several ways:
- From Robots: Defeating robots, which are powered by Atomic Batteries, can yield one.
- Trader Molly (Slatten Dale): Either trade or defeat her to obtain a battery.
- Vicar at St. Katherine’s Church: Solve the murder mystery for a chest key with an Atomic Battery inside.
- Skethermoor Region: Find a broken robot at Nora’s Camp (coordinates: 41.2 E, 78.2 N).
- Nora (Skethermoor): Trade or defeat her to secure a battery.
- Greenhouse Landmark: Within the Vehicle Storage Bunker, locate the Storage Room Keycard on a bunk, unlocking the storage room that holds another Atomic Battery.
Step 4: Re-establishing Power at Data Centers
Once you have collected four Atomic Batteries, return to the respective data centers and insert a battery into each console.

Next, return to the Central Processing Center to activate the system. Utilize the Signal Redirector to redirect power—trace the power lines and switch them over to the Processing Center.
After connecting all four lines, pull the lever at the console to activate the unit, thereby granting access to the Windscale Plant.
Step 5: Confronting and Destroying Oberon
With access to the Windscale Plant secured, proceed with caution as you may encounter dangerous levels of a mysterious infection.

Optional: Reducing Infection Risk
If you assisted Mother Jago, she will require you to fetch her book from Druid’s Castle in Casterfell Woods. Here, you’ll also uncover a recipe for a Strange Tonic that mitigates the infection effects.
Navigating to the Dig Site
As you venture deeper into the Windscale Plant, look for a door leading to the Oberon Dig Site. Move through carefully, as robotic guards will be present.
- Enter the building on the left.
- At the Dig Site, locate and activate four explosives positioned around the area.
- Inside the building’s control room, initiate the self-destruct sequence to obliterate the Oberon Site.
Step 6: Returning to the Derelict Bunker
After successfully destroying Oberon, the Telephone Caller will guide you back — return to the Derelict Bunker and revisit the room where your journey began.
Upon arrival, you will encounter gas that causes unconsciousness, marking the conclusion of your mission.
This walkthrough encapsulates everything you need to know to achieve the ending in Atomfall.