Upon entering Schedule 1, players find themselves in the desolate town of Hyland Point, often with scant funds and limited means to launch their illicit enterprises. Fortunately, an NPC named Uncle Nelson is ready to assist. He hints at several hidden cash stashes scattered throughout the city, which players can discover through exploration of key locations.
The quest to uncover Uncle Nelson’s stashes is essential for players aiming to establish their illegal operations. In total, there are three stashes in Hyland Point, though Uncle Nelson provides no precise directions. Exploring notable spots marked on the map in Schedule 1 will unveil landmarks where players can hunt for his concealed money.
Where To Find The Canal Stash
Look Under An Overpass Near Another Location
The order in which you search for the stashes doesn’t matter; the goal is to locate all three to complete the “Welcome to Hyland Point”mission. Notably, all Uncle Nelson’s stashes are situated relatively close to one another, allowing players to use familiar Hyland Point landmarks to navigate towards them. Begin your search in the town’s heart, where several prominent buildings and landmarks are located.
Enter the city via the main road and head to the intersection featuring The Supermarket and The Butter Box. This area serves as an excellent reference point, providing insights into the locations of potential clients in Schedule 1, as well as other sites of interest you may visit later.
Should you find yourself lost, simply press the “M”key to pull up your map, which will also display all your quest objectives, helping you keep track of stash locations.
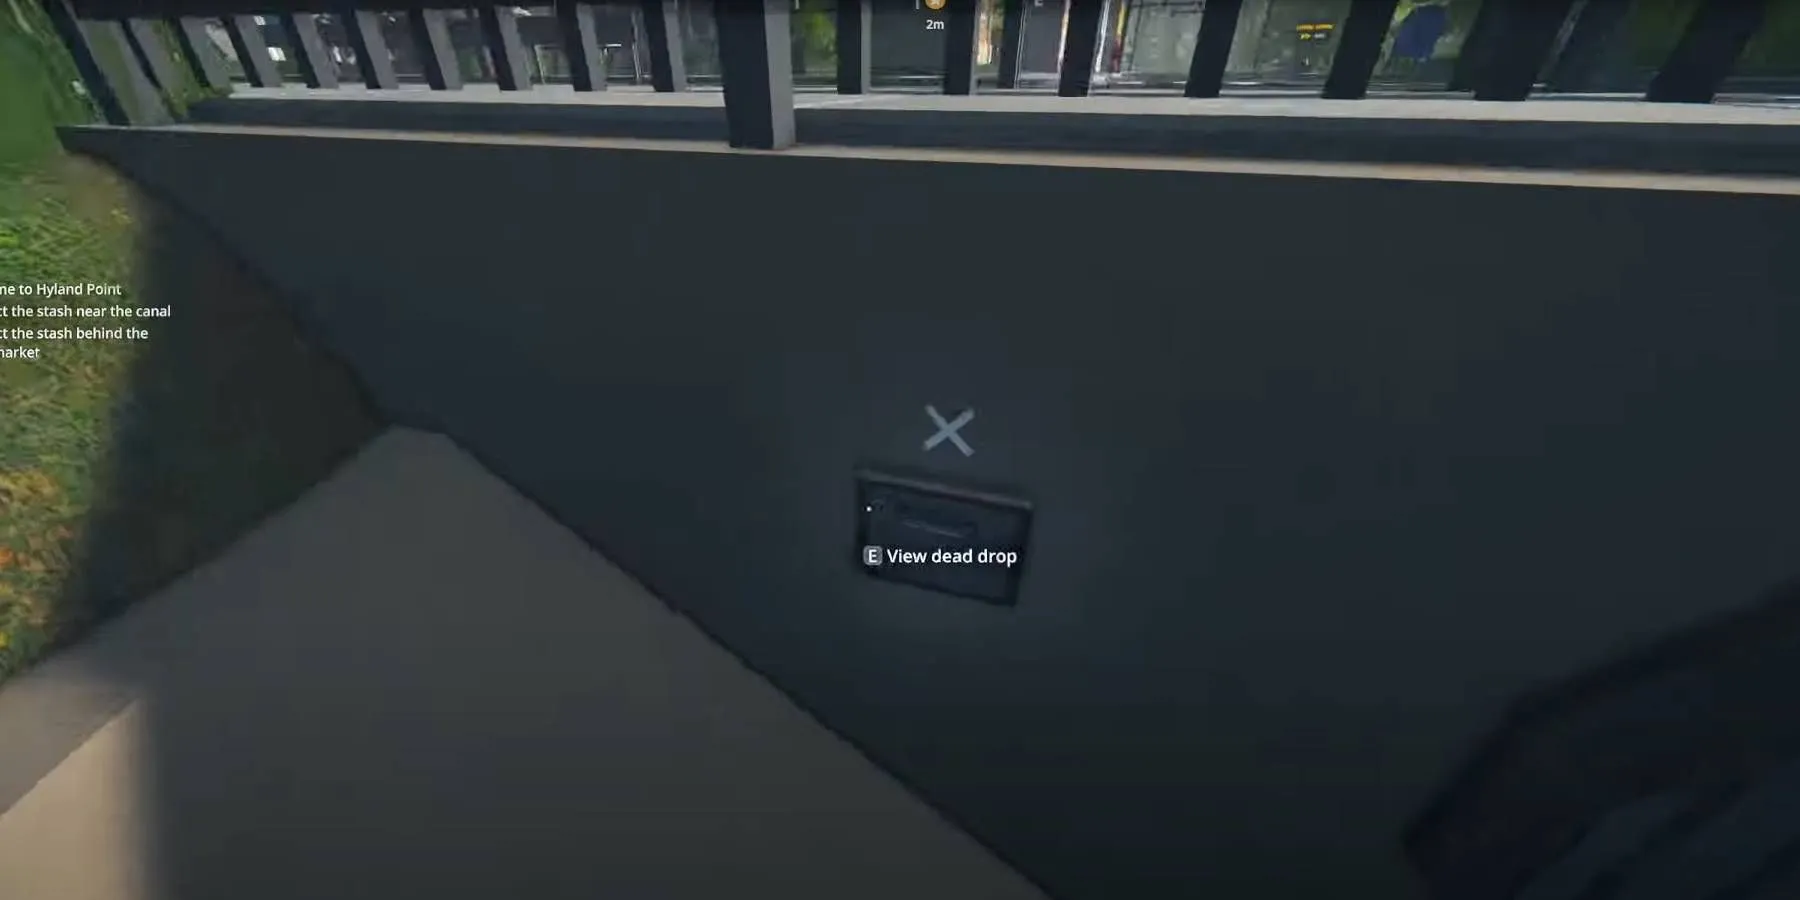
To find Uncle Nelson’s Canal stash, follow these steps:
- Head to the Gas Mart near Hyland Auto.
- Face away from Hyland Point towards the Bridge entering the town.
- Jump into the Canal to your left, adjacent to a path lined with pine trees near the Gas Mart.
- Turn back towards town and locate a sewer grate.
- Look to the left of the grate for a white “X”that marks a small dropbox.
- Investigate the dropbox to collect Uncle Nelson’s stash from the Dead Drop.
This Dead Drop contains approximately $80, providing you with essential funds to kickstart your empire. After this, refer to your map to identify the next two stash locations before continuing your search.
Where To Find The Fountain Stash
Look For Some Graffiti Near An Important Building
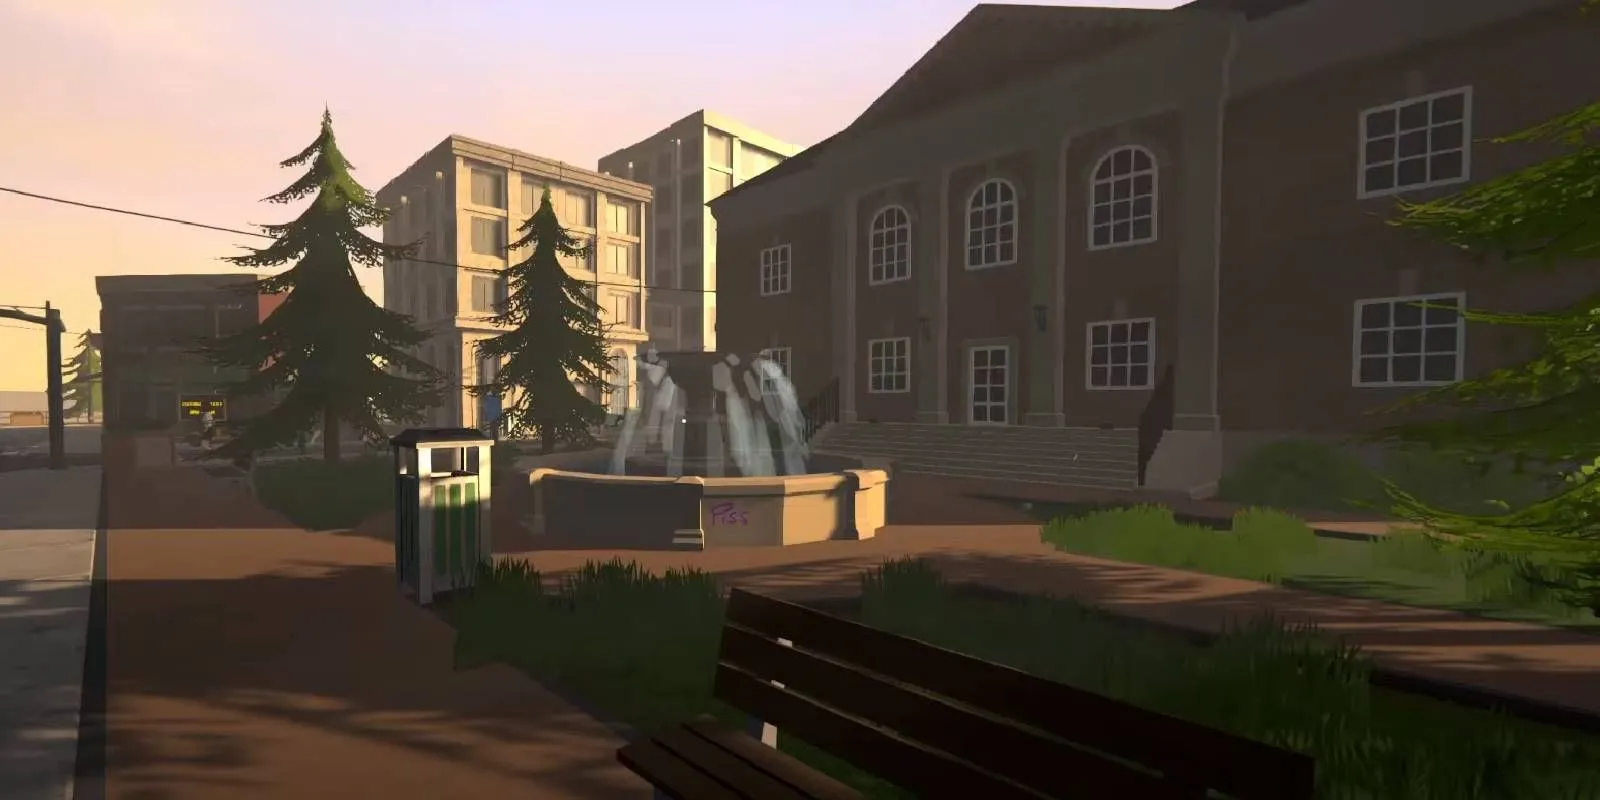
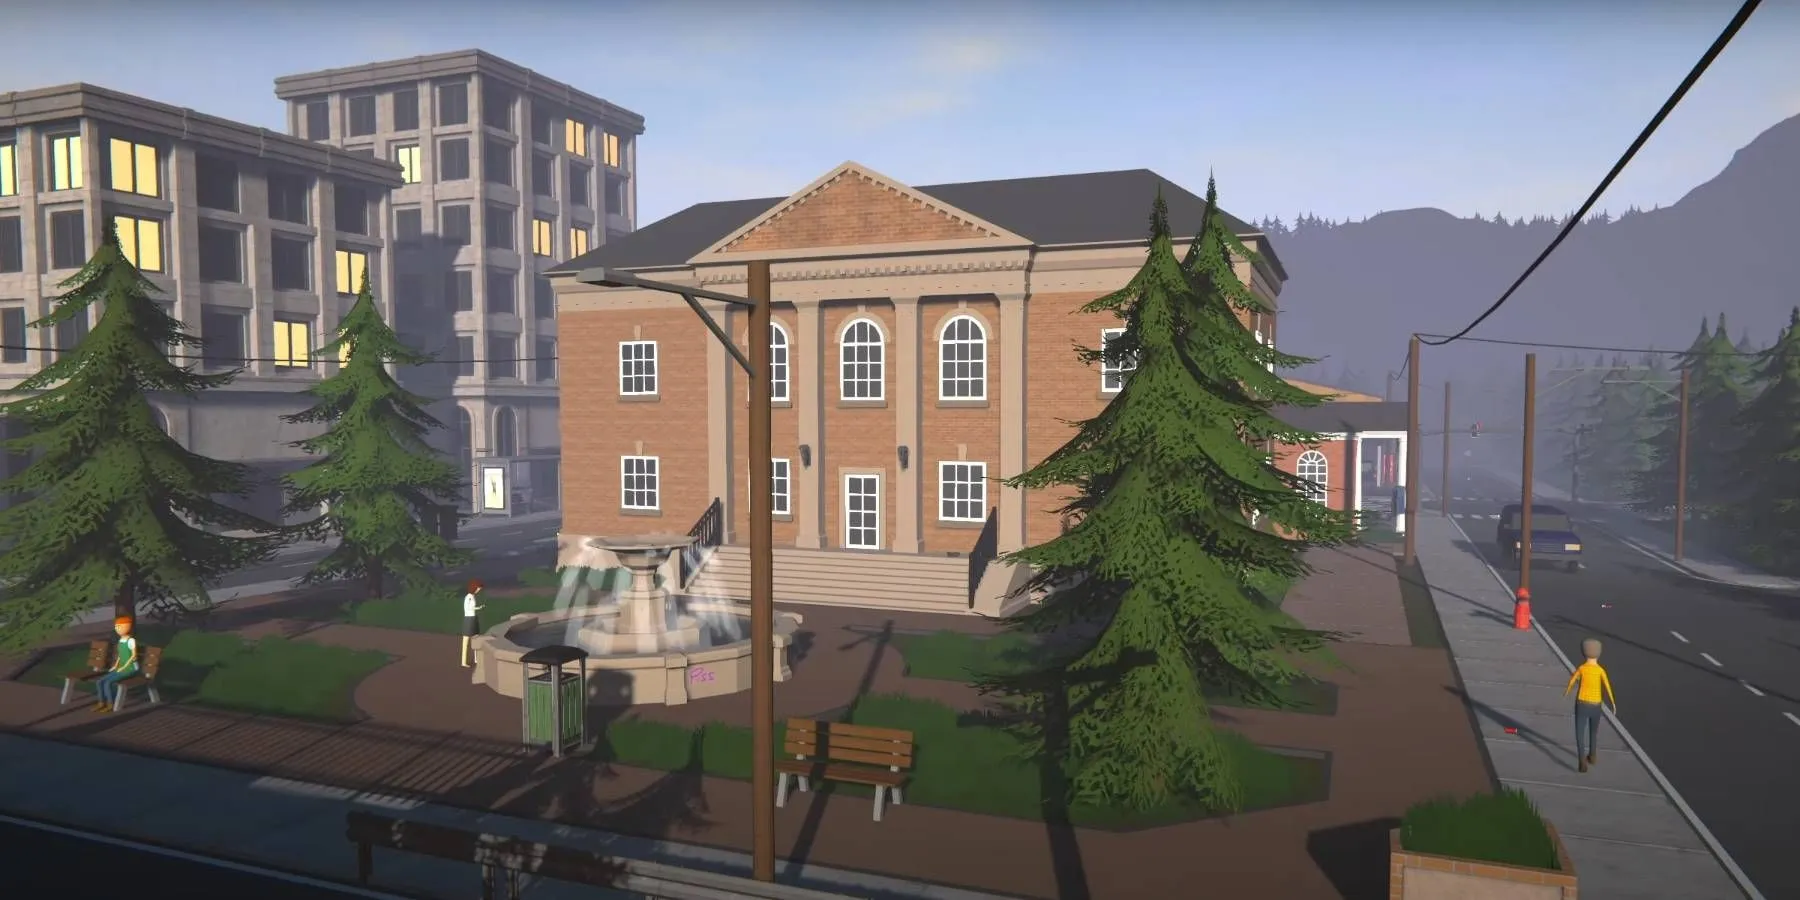
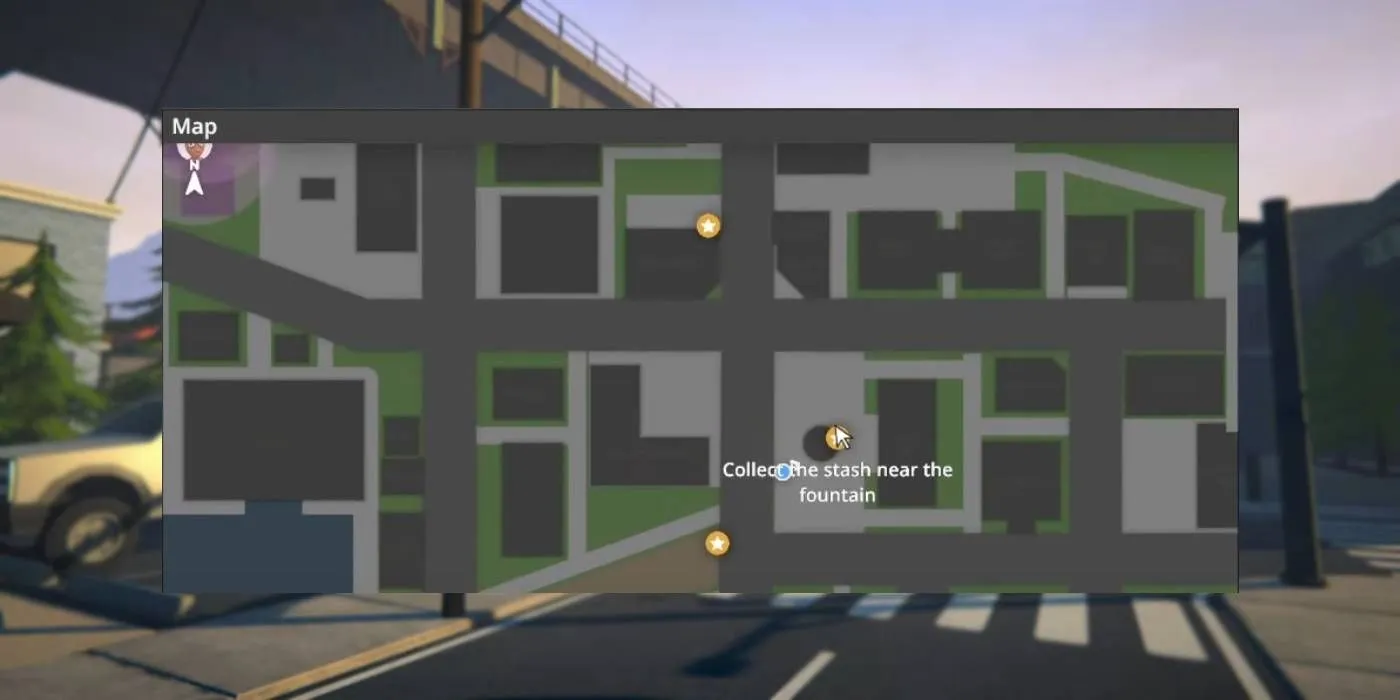
The second stash is conveniently located near a fountain, just a short distance from the Canal area where you previously searched. After collecting from the Canal stash, retrace your steps to the streets and look for a significant political building—Town Hall.
Recognized as a hub for many dealers you’ll recruit in Schedule 1, Town Hall is unmistakable, located directly across from the Police Station. Follow these directions to locate the next Uncle Nelson Dead Drop:
- Approach the front of the Town Hall building.
- Scan the courtyard for its water fountain.
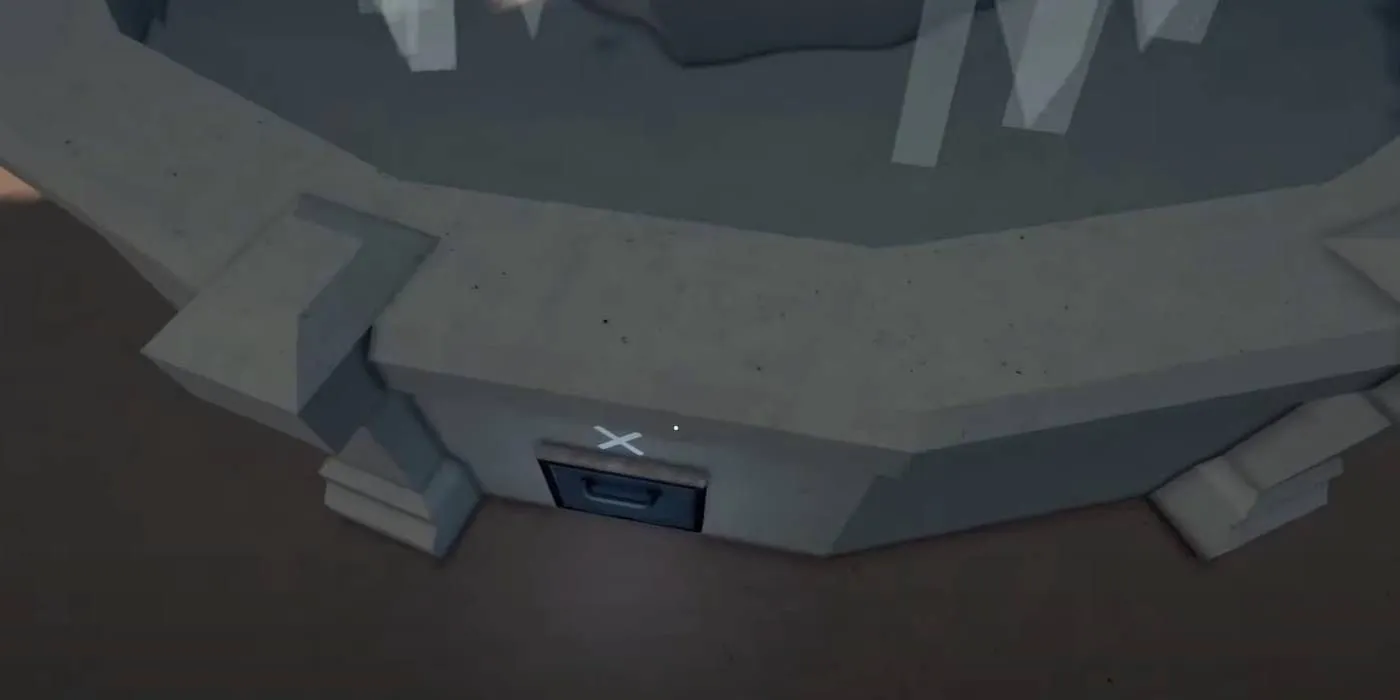
- Inspect the area around the fountain until you find the Dead Drop.
- Examine the Dead Drop to gather the stash contents.
This stash is the easiest to locate, as Town Hall is quite prominent in Hyland Point. Keep an eye out for vibrant purple graffiti sprayed along one side of the fountain for an additional clue on its whereabouts.
Gathering from this stash will net you $120, which helps secure enough funds to acquire essential supplies for your operations. The initial costs for top-notch ingredients in Schedule 1 can be steep, especially when planning for successful drug strains.
Where To Find The Supermarket Stash
Investigate Where Money Gets Spent
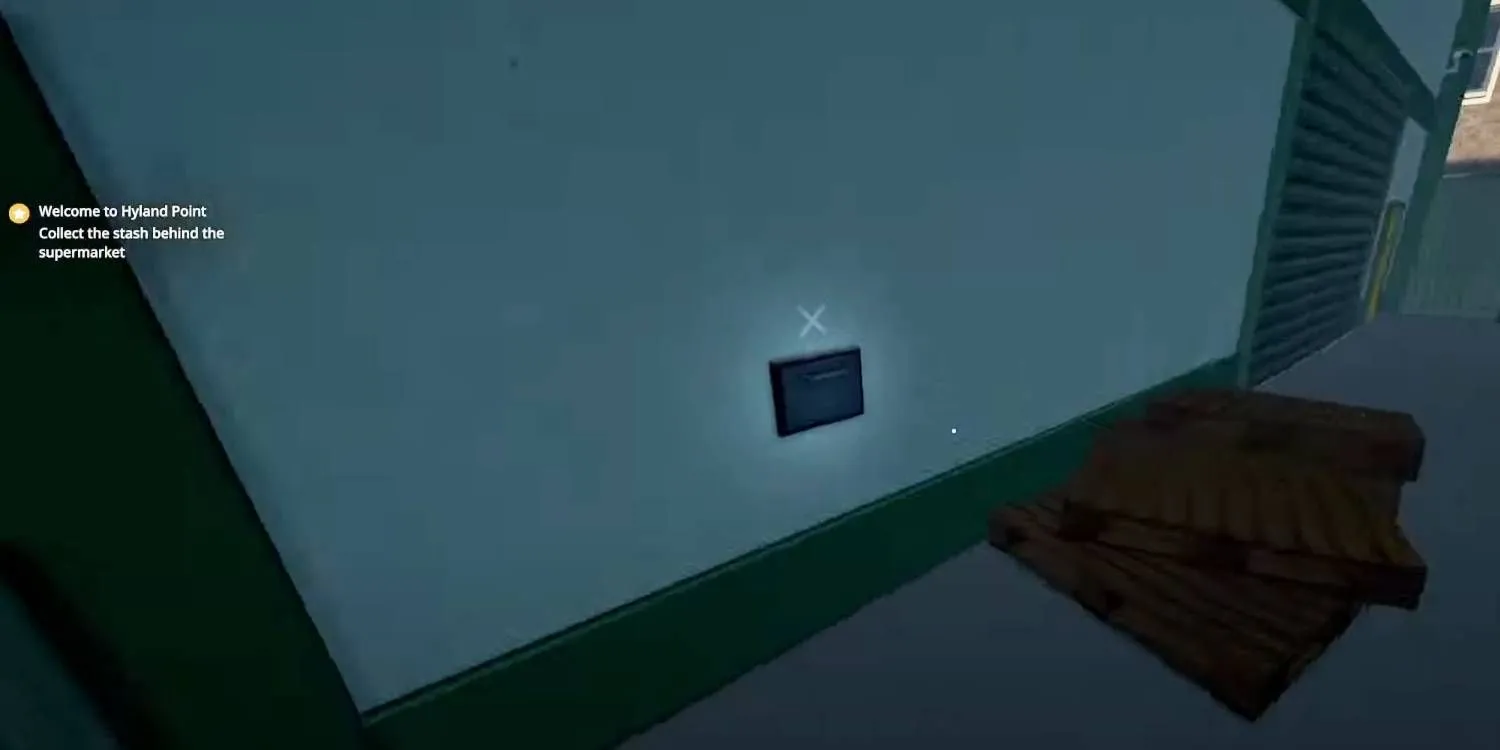
The final stash is located near your starting point—the Supermarket. According to Uncle Nelson’s clues, this stash is situated behind the Supermarket, giving you a clear idea of where to search.
To easily find this Dead Drop from the Fountain stash, follow these directions:
- Depart from the Fountain stash and head down the street past the Police Station.
- Locate the intersection featuring The Supermarket and The Butter Box.
- Continue past The Supermarket towards The Casino building.
- Turn left to find the back of The Supermarket, where you’ll notice several pallets.
- Examine the wall for the Dead Drop and retrieve the stash.
This stash may be easily overlooked, so be cautious as you navigate past The Supermarket. A handy tip is to keep your direction toward The Crimson Canary, located across the street. The back alley of The Supermarket is directly opposite this location, making the stash visible.
Once you successfully find all Uncle Nelson’s stashes, leveraging the cash is crucial for advancing in Schedule 1. Investing these funds into product creation will quickly yield XP, allowing you to rank up and unlock more resources and locations.
This final stash yields $175, the highest payout among Uncle Nelson’s Dead Drops. Altogether, securing $375 from these stashes gives you a robust start toward building your empire or a buffer to try your luck at the nearby casino. After locating all stash sites within Schedule 1, consider using the funds to acquire vital supplies necessary for establishing your drug enterprise.
