Black Ops 6 Zombies: Shattered Veil DLC 3 Easter Egg Guide
The latest DLC for Black Ops 6 Zombies, titled Shattered Veil, invites players into the enigmatic abode of Richtofen located in Liberty Falls. The mission: to utilize the fascinating Sentinel Artifact and quell the chaos unleashed by relentless, flesh-hungry zombies. However, those daring enough to undertake the primary easter egg quest should brace themselves for the tumultuous forces of the Dark Aether.
To assist players in their quest, we offer a detailed step-by-step guide, ready to transform you into a COD Zombies aficionado through a comprehensive walkthrough of the easter egg challenges. Let’s dive right into the action!
Step 1: Enter the Mainframe Chamber & Activate Pack-a-Punch
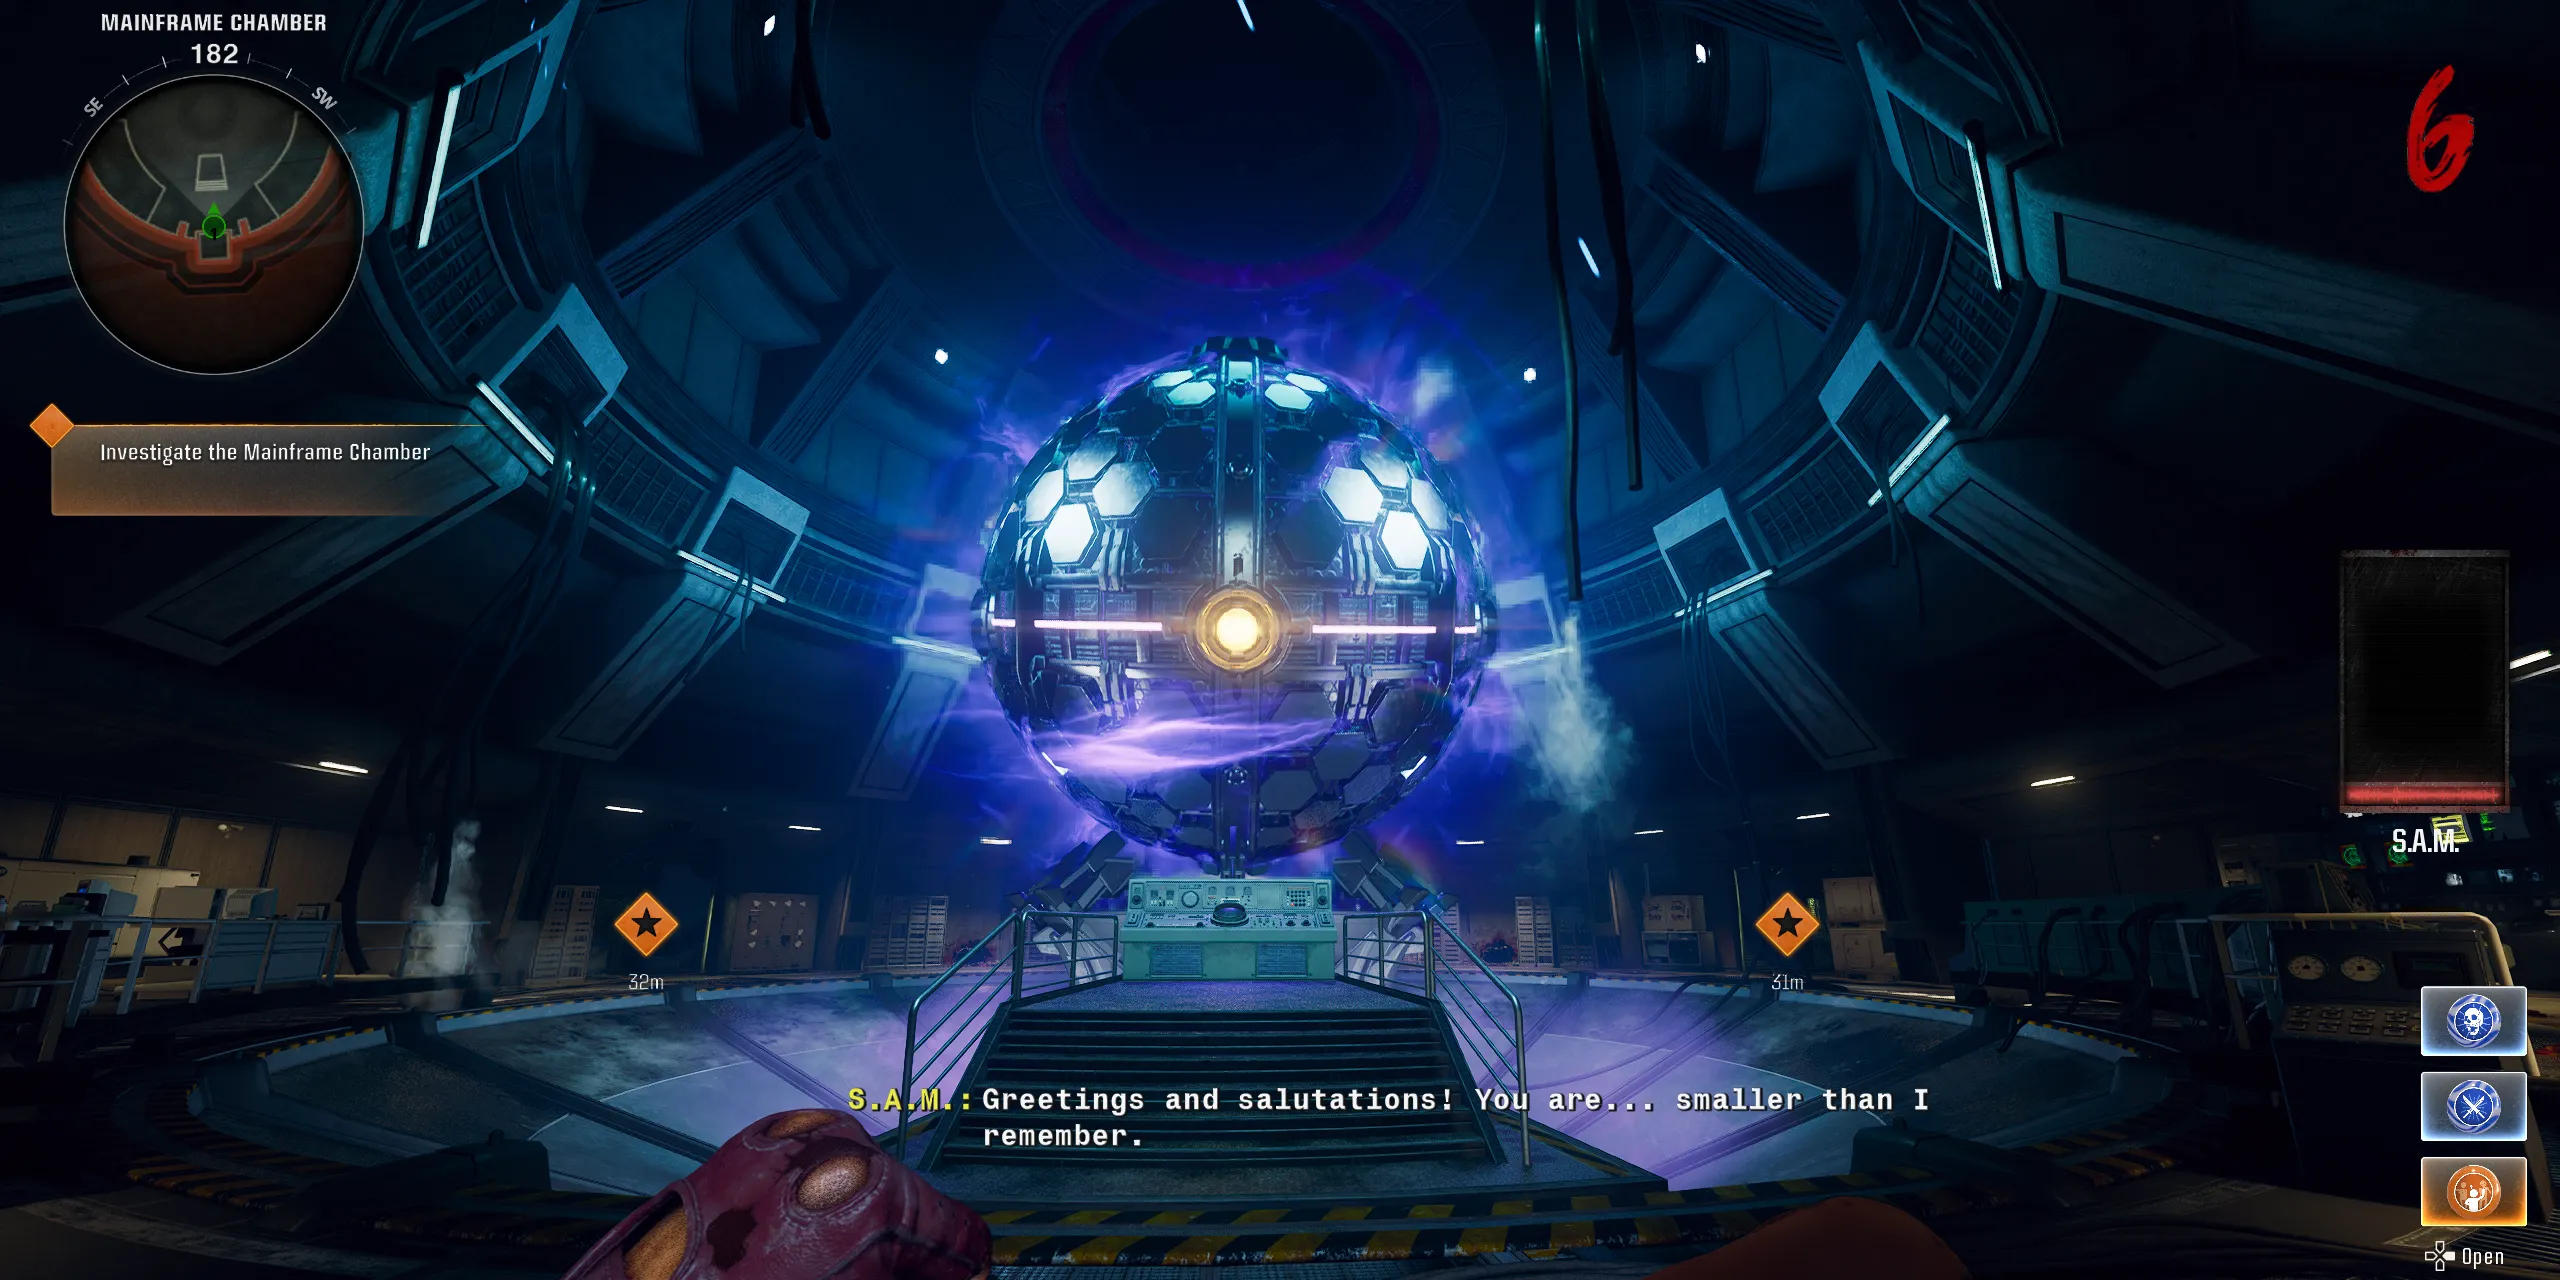
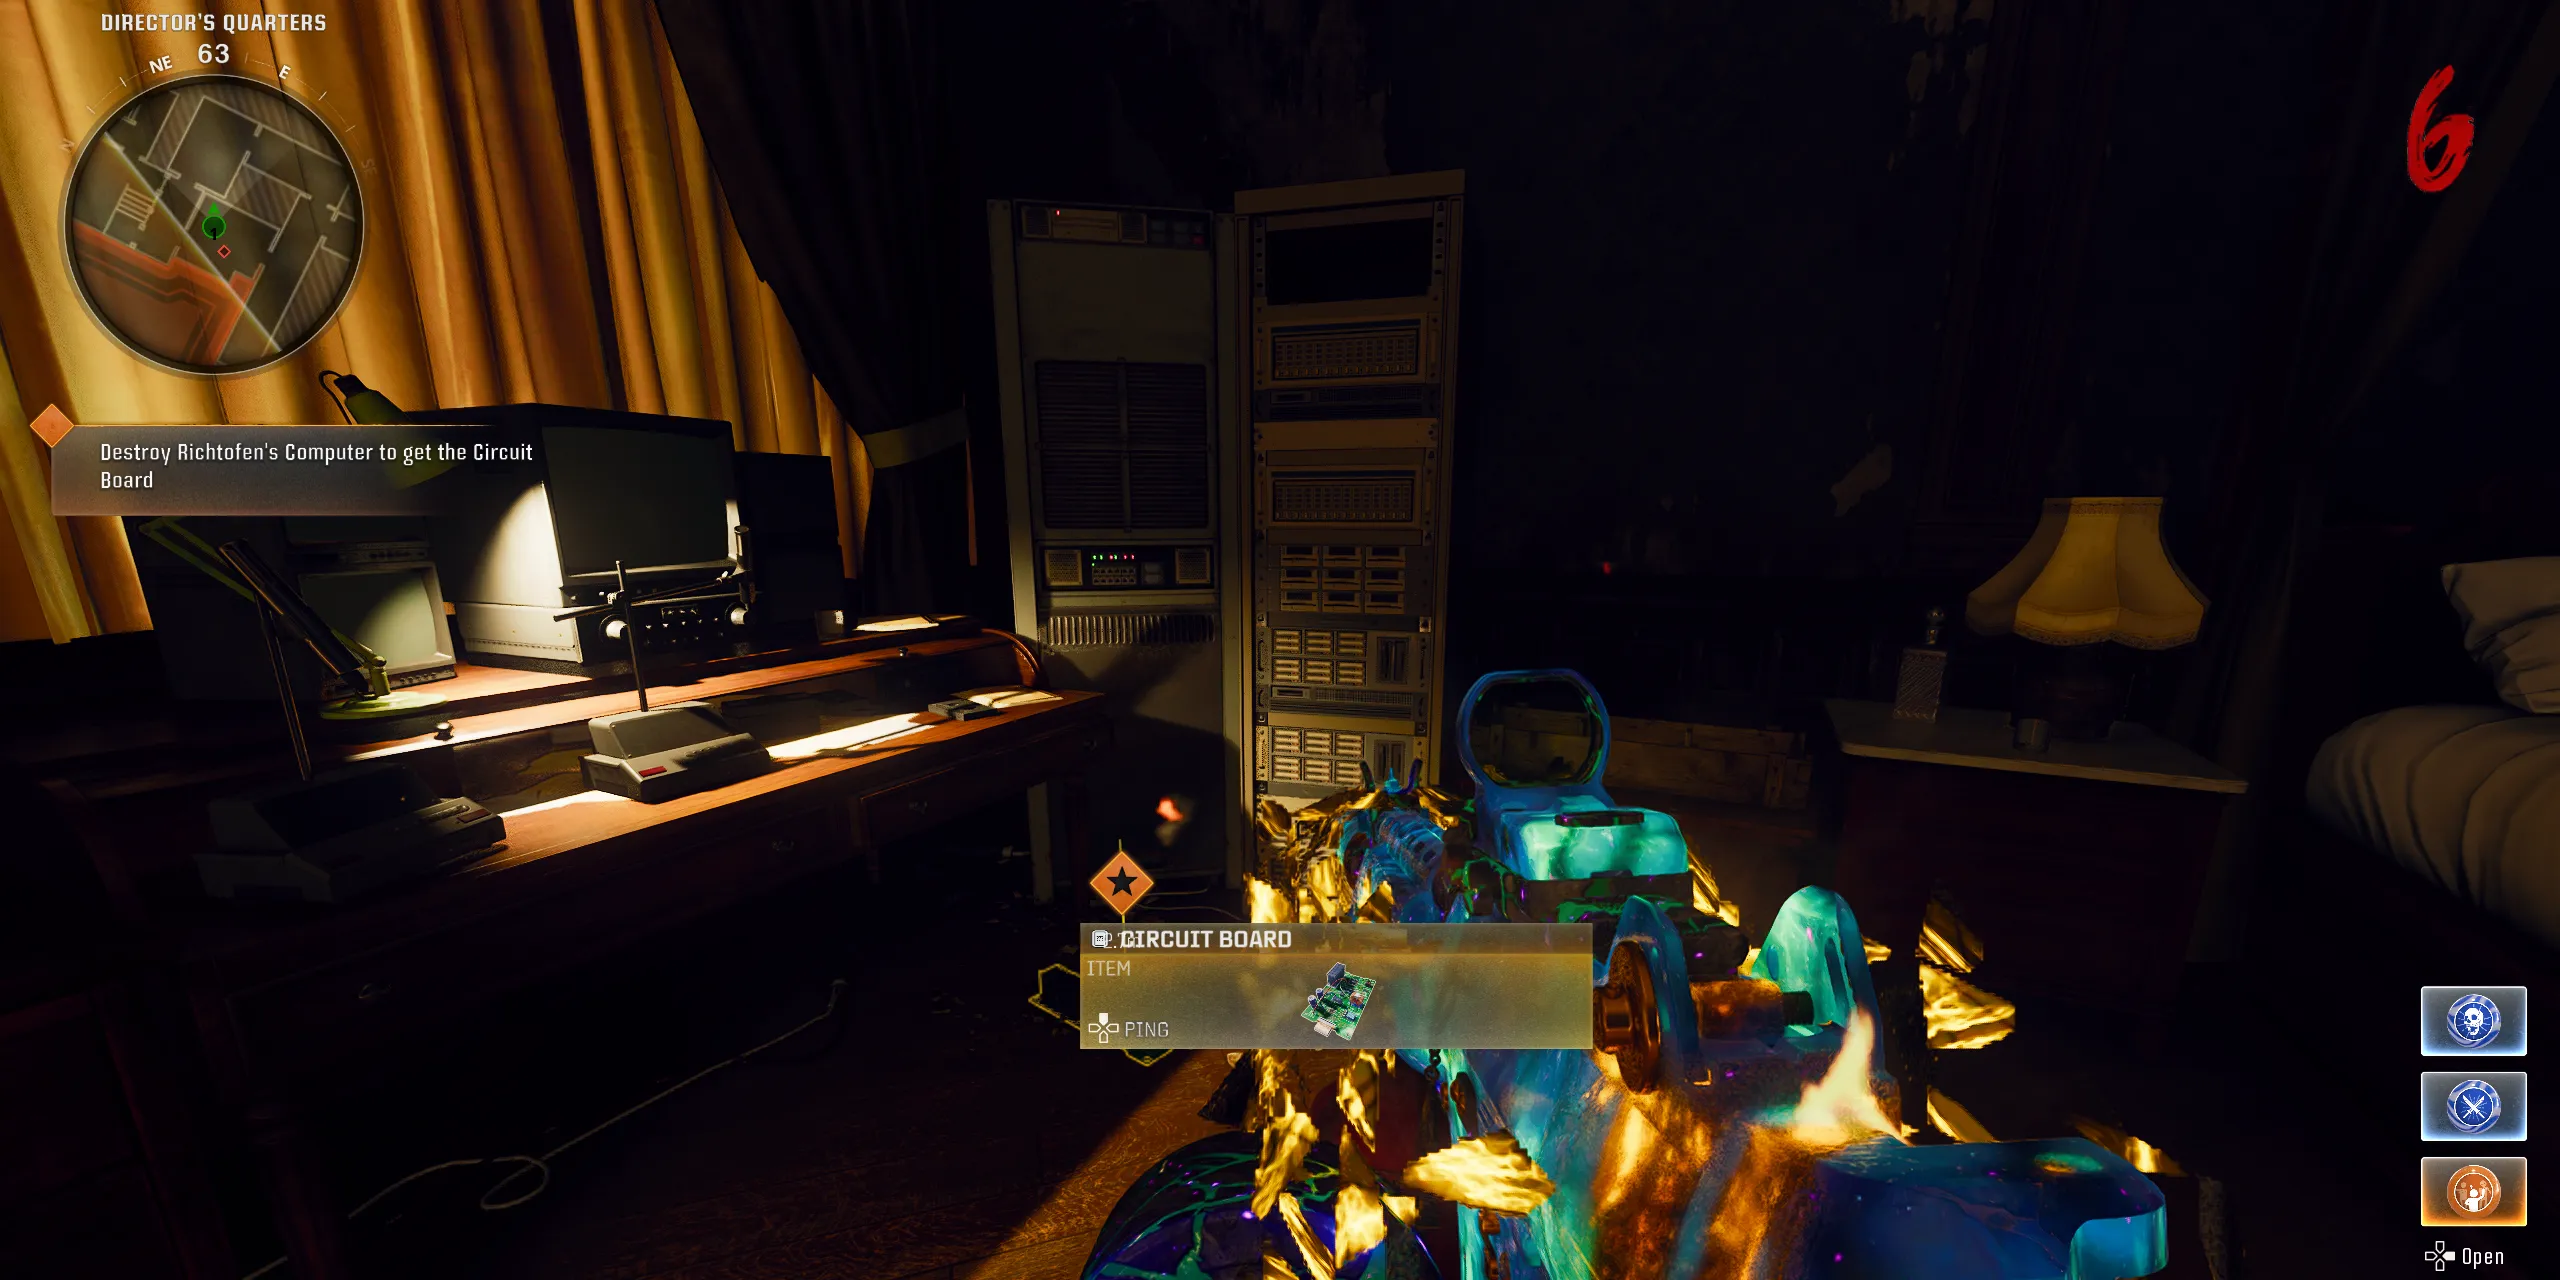
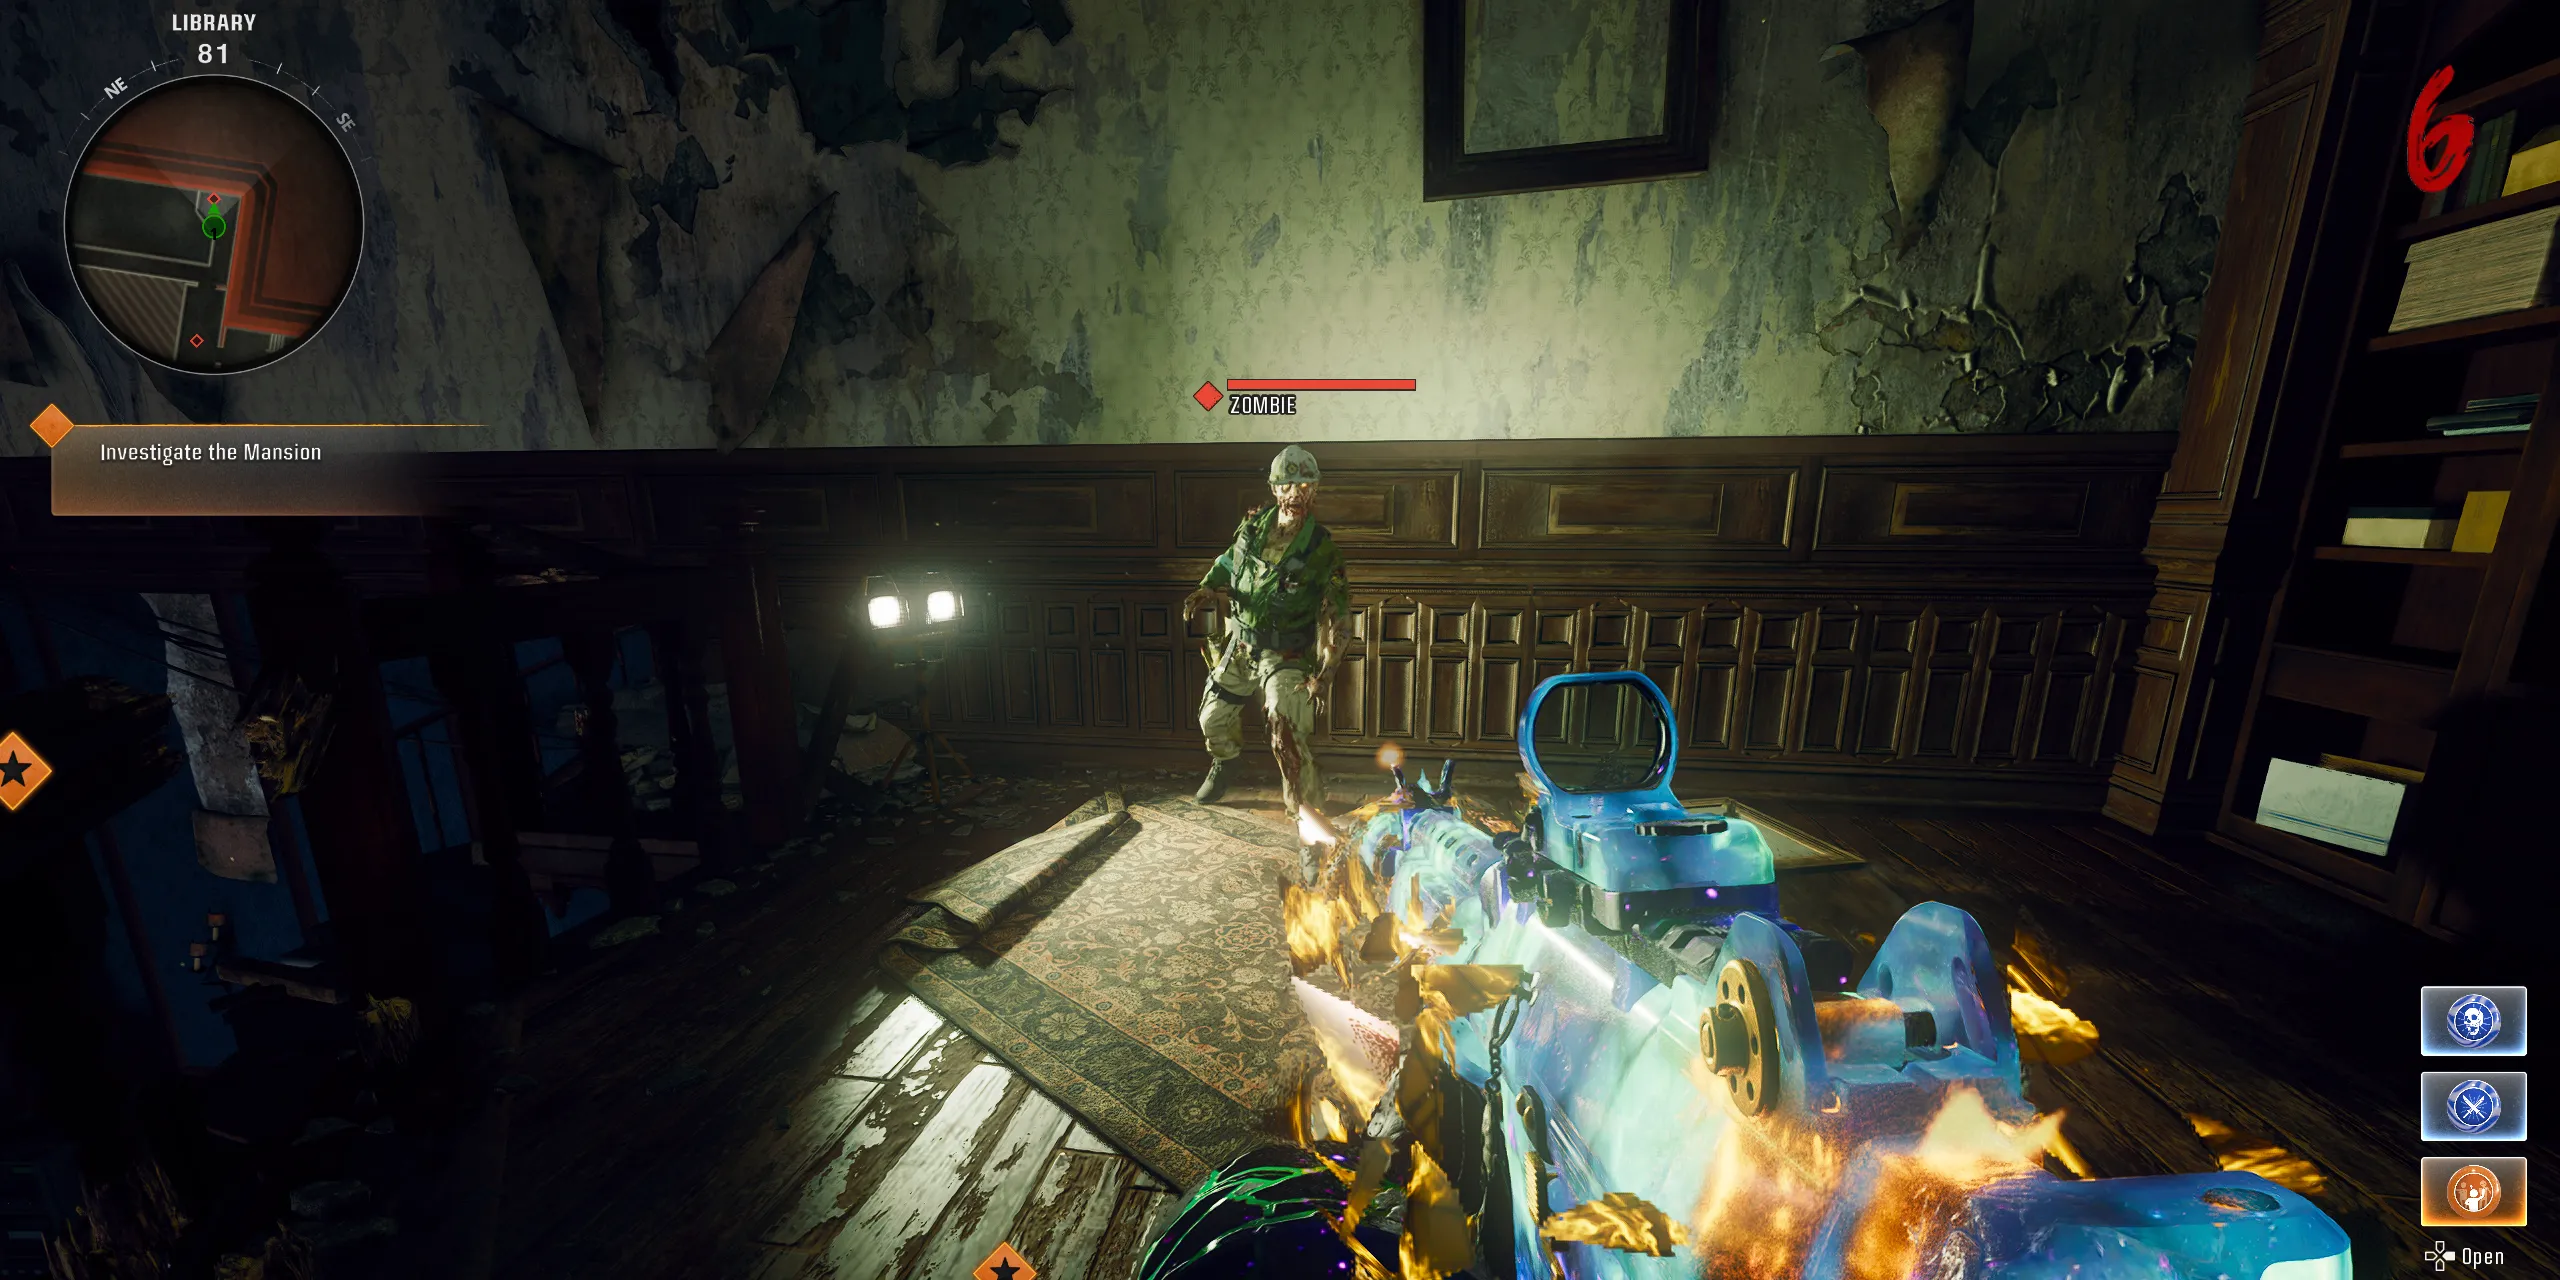
Start your journey by exploring the mansion, gathering crucial items to activate the elevator leading to the Mainframe Chamber and enabling the Pack-a-Punch machine. Key items can be located in the following areas:
- Defeat the Maintenance Worker zombie on the upper floor of the Library to acquire the Fuse.
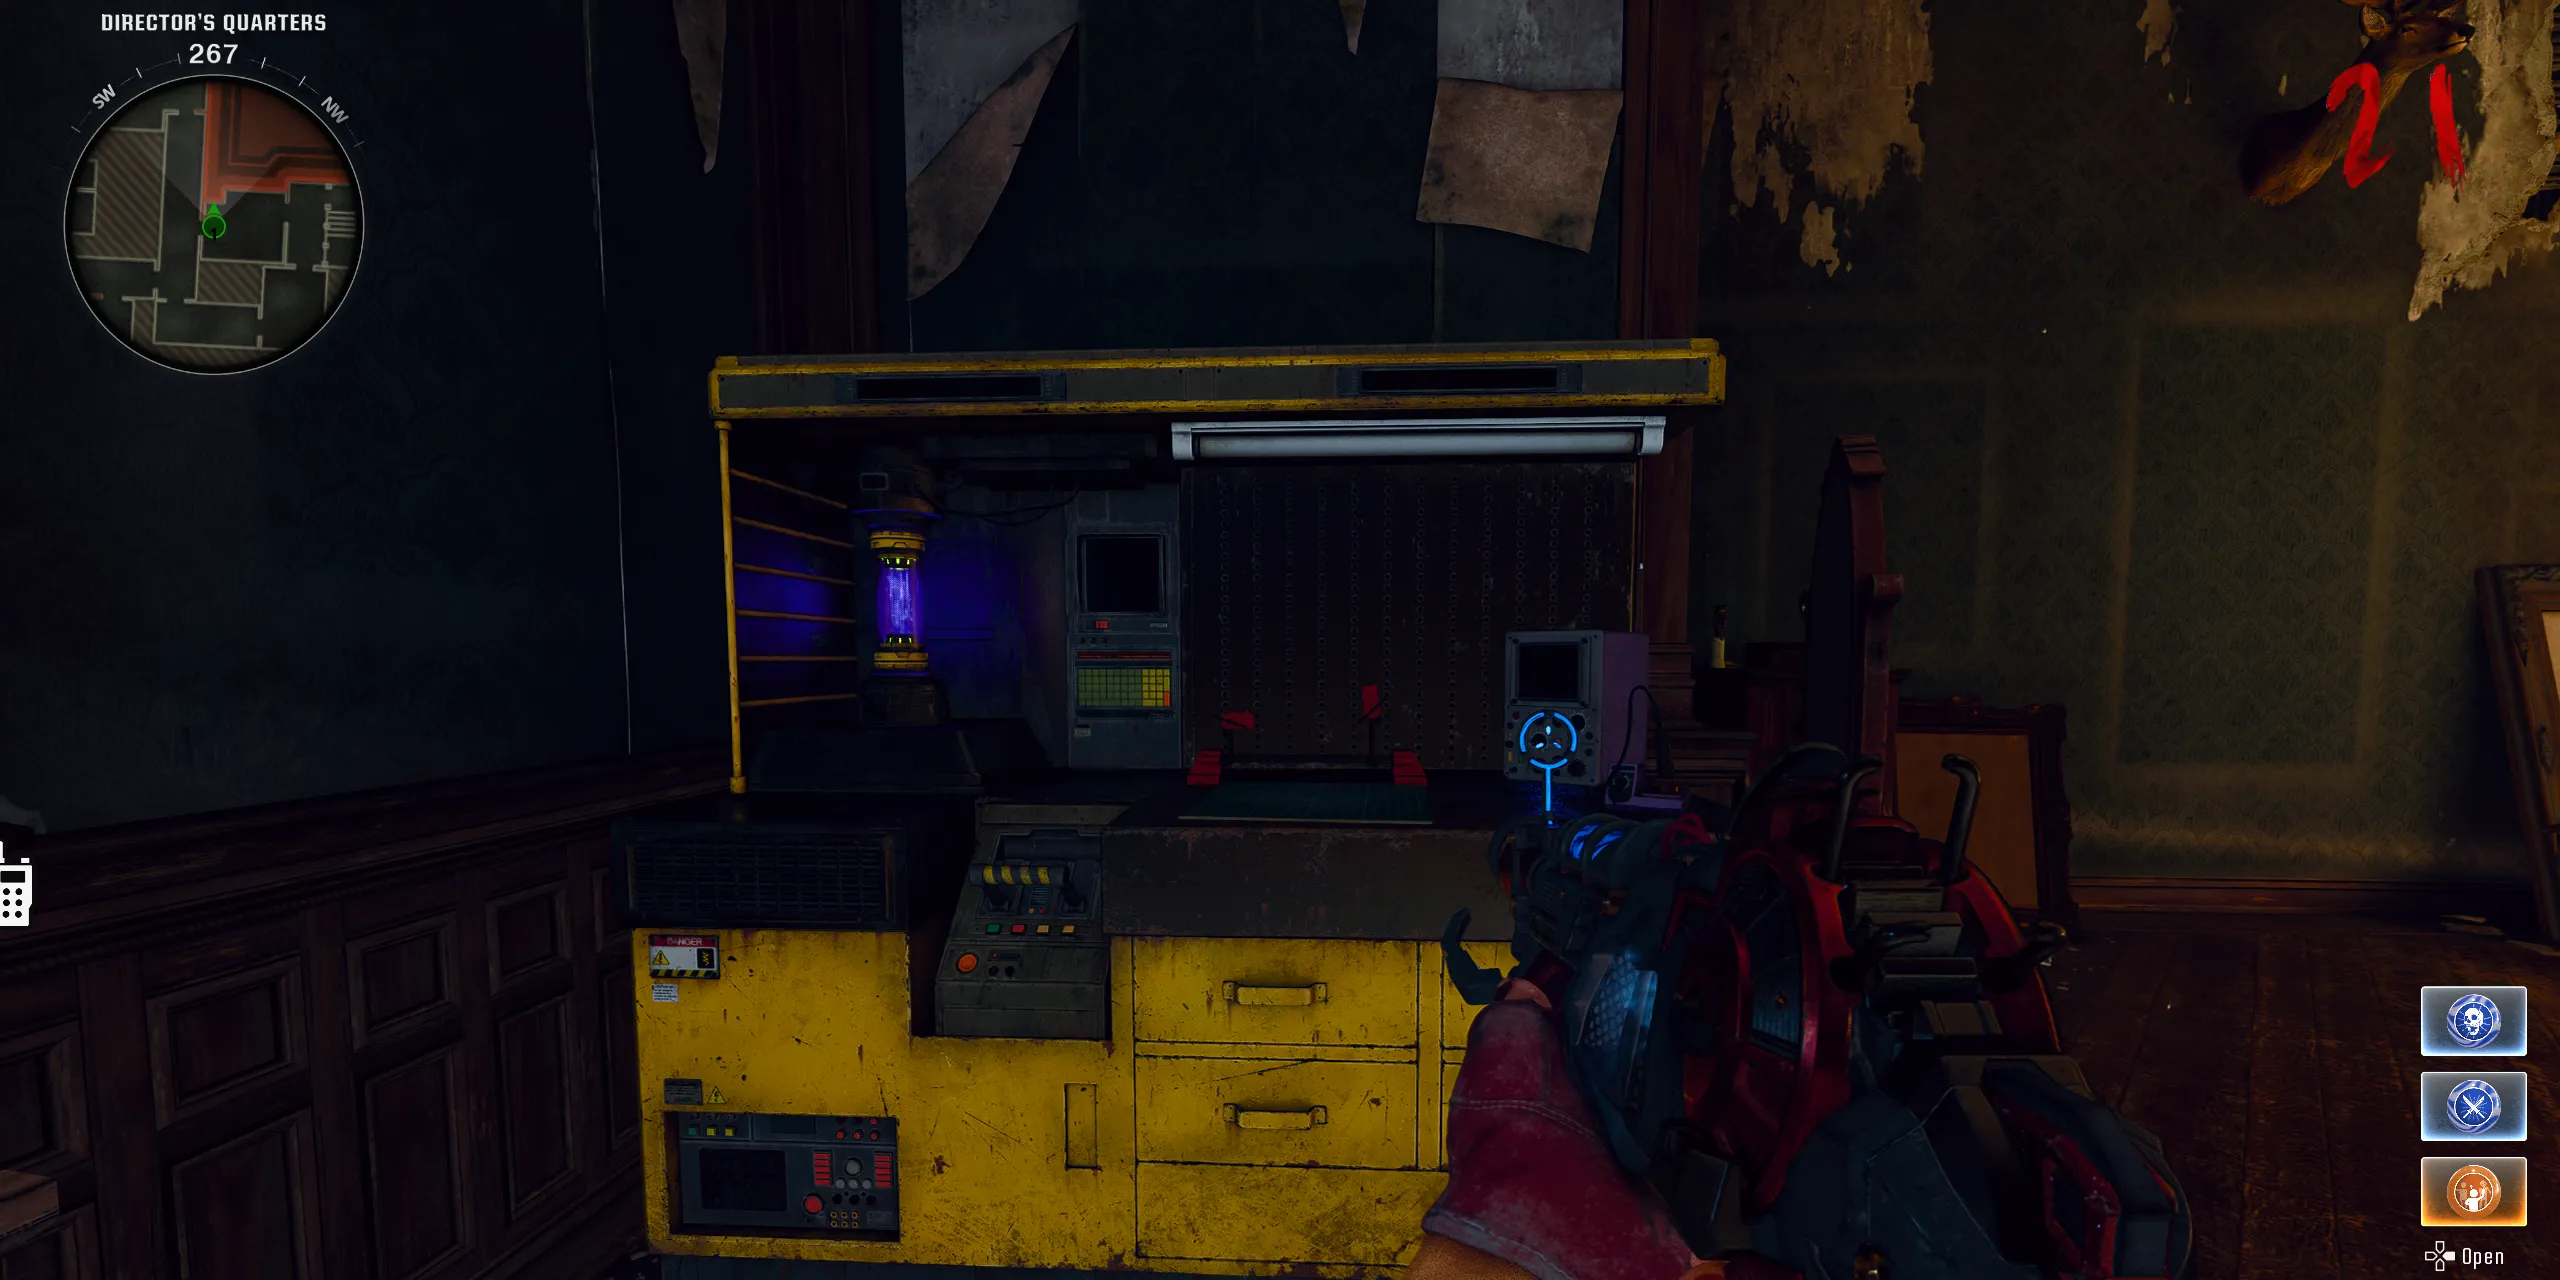
- Shoot Richtofen’s Computer located in the Director’s Quarters to obtain the Circuit Board.
Once you have both items, proceed to the Banquet Hall and interact with the elevator to access the Mainframe Chamber where S.A.M. awaits.
Step 2: Obtain the Ray Gun Mark 2
With the Mainframe Chamber accessible, it’s time to procure the iconic Ray Gun Mark 2. While players can rely on the Mystery Box and the Wonderbar! GobbleGum, there is a guaranteed method to acquire it:
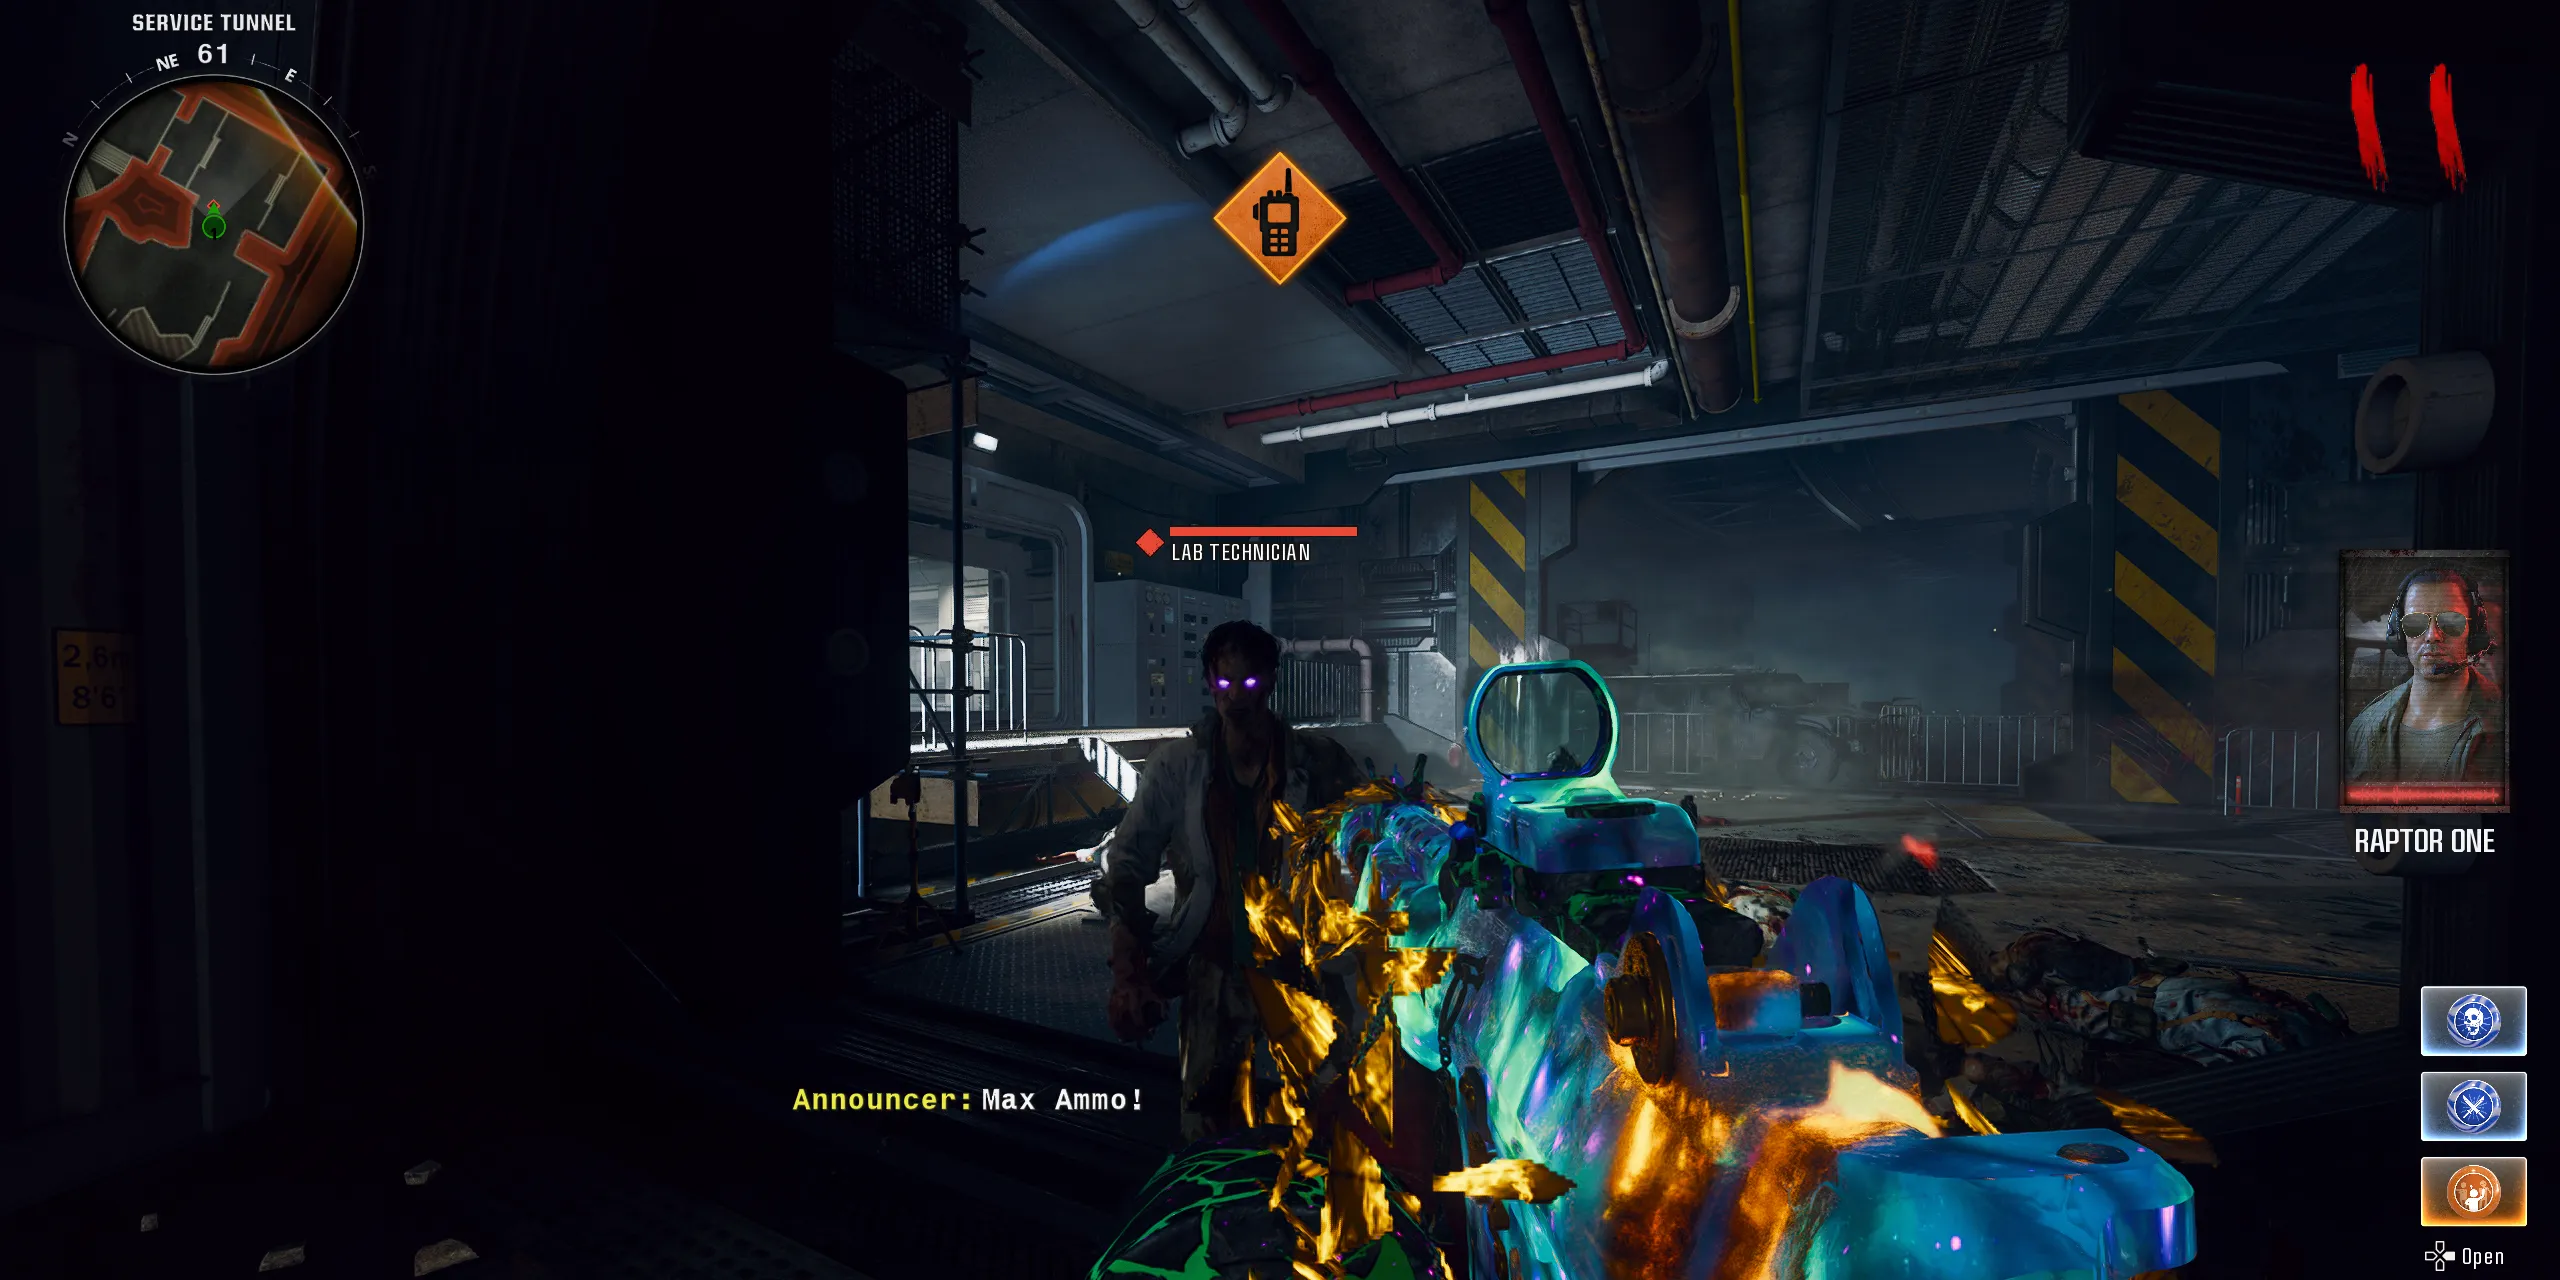
- Defeat the Lab Technician Zombie for the Floppy Disk, which appears on Round 10 in the Mainframe Chamber.
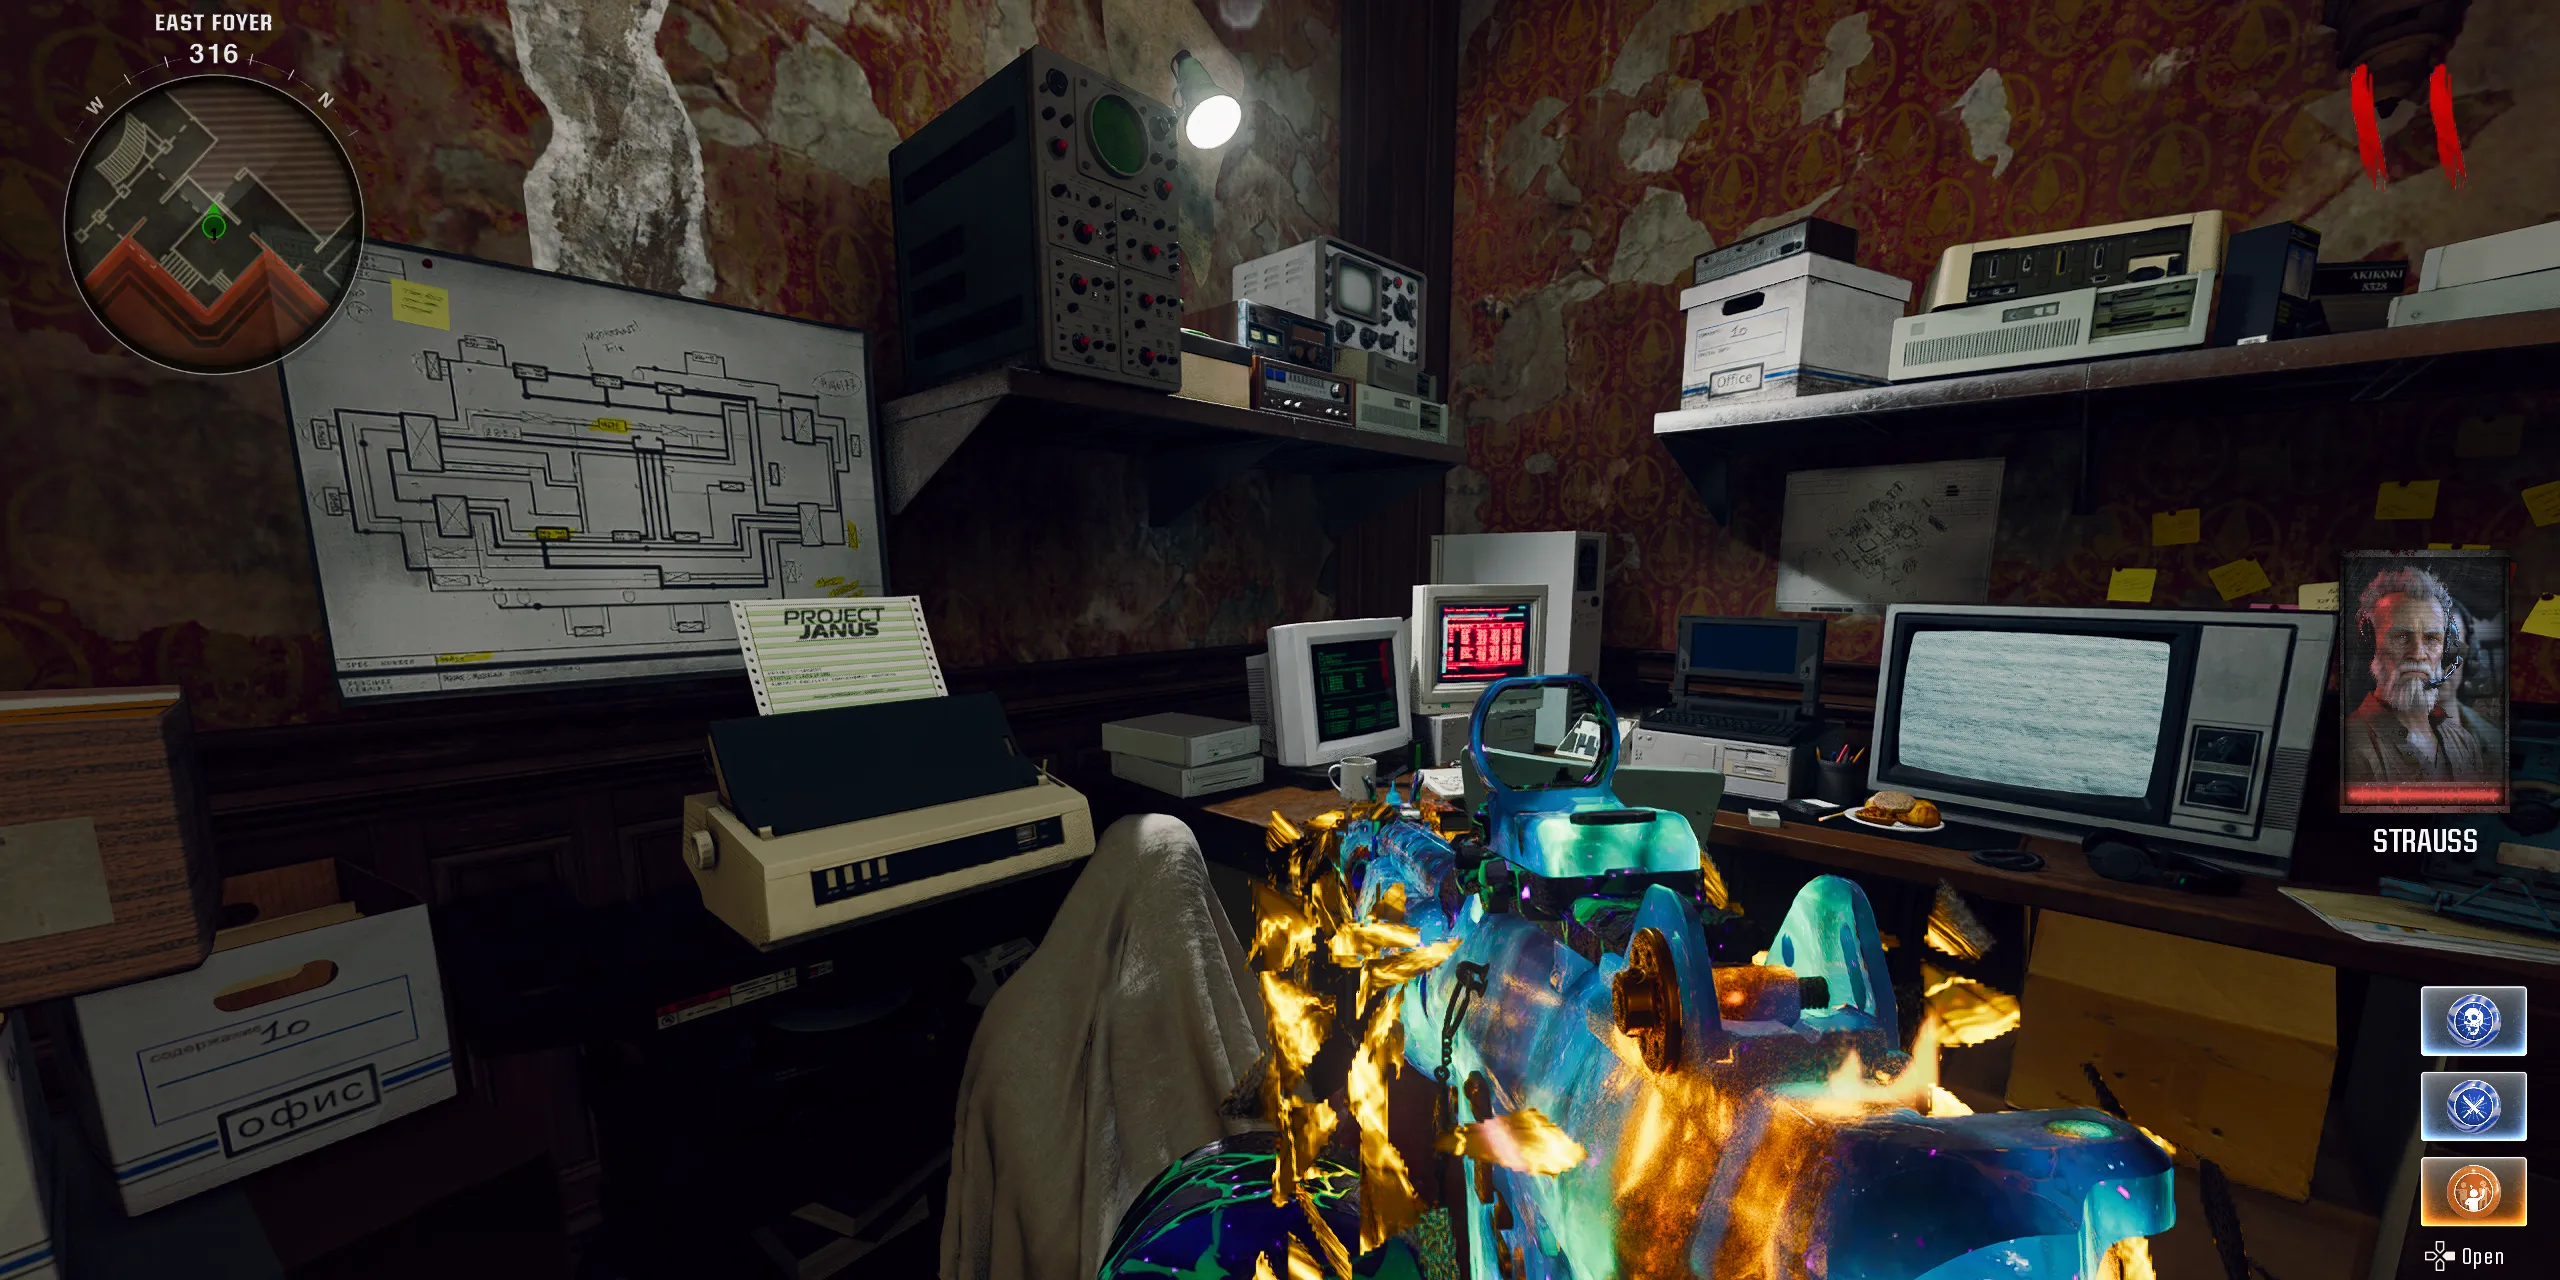
- Use the computer beside the Fax Machine in the East Foyer to receive a unique four-letter code.
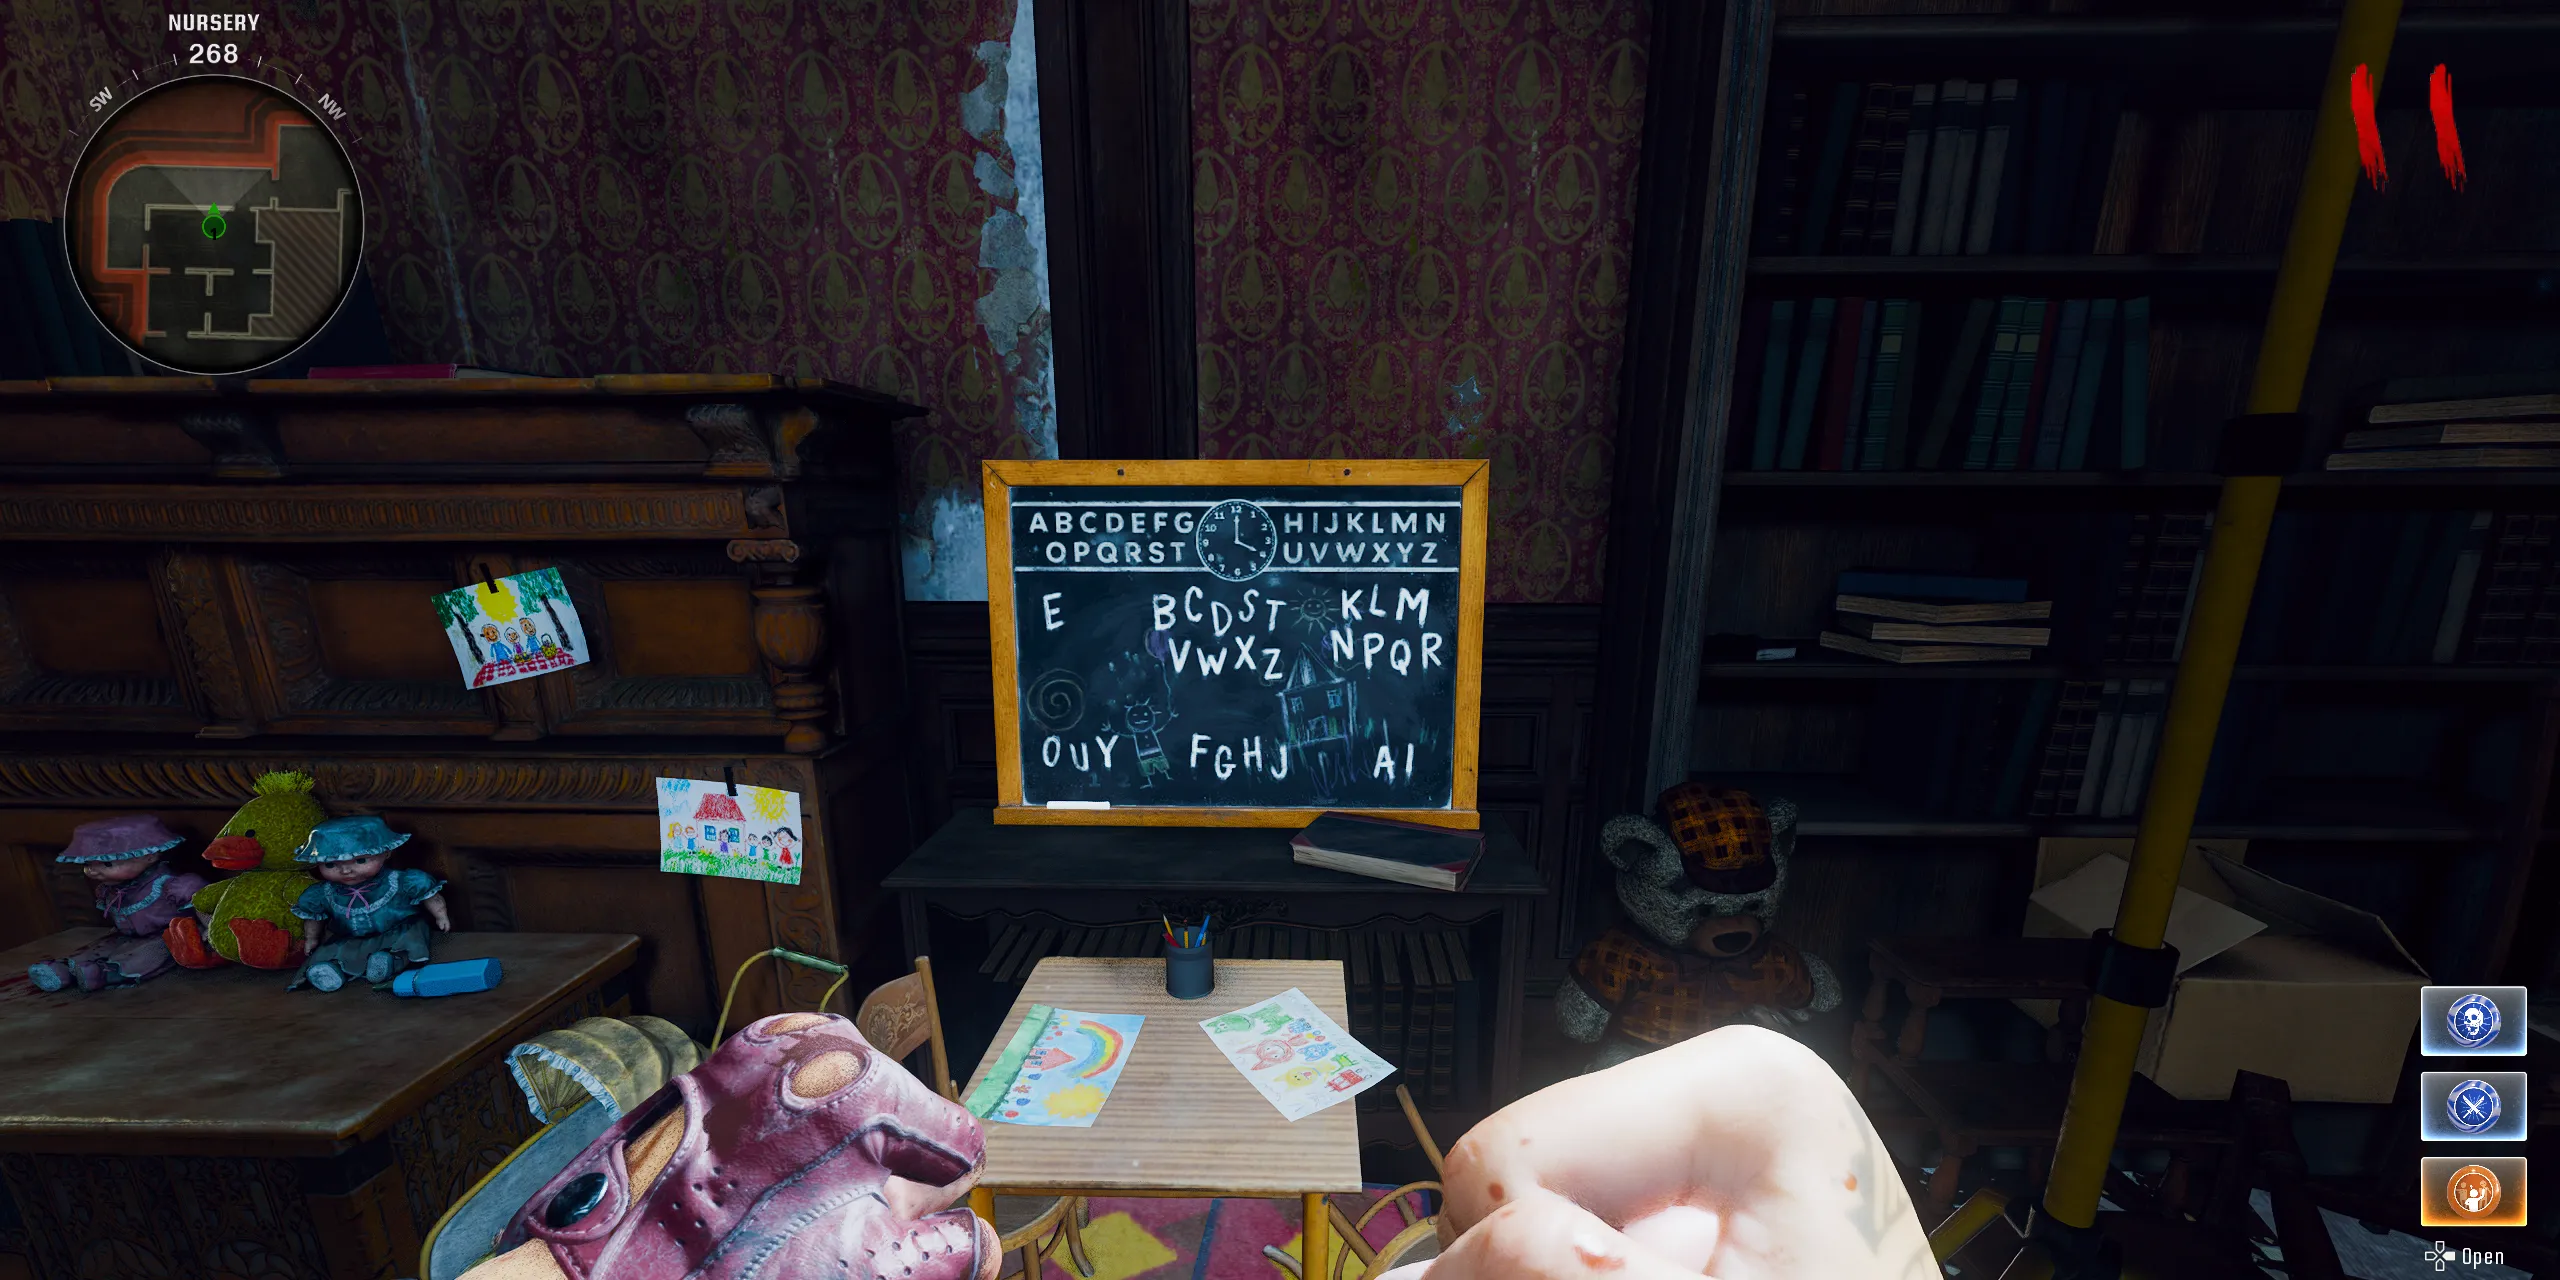
- Translate this code at the Nursery’s blackboard, identifying letters grouped by corresponding numbers. Each letter, such as ‘B’, correlates to its position in the group (the blackboard resets each game).
- Enter the translated code in the keypad at the Doppelghast’s cell located in the Maintenance Chamber, then defeat the Doppelghast for its Severed Arm.
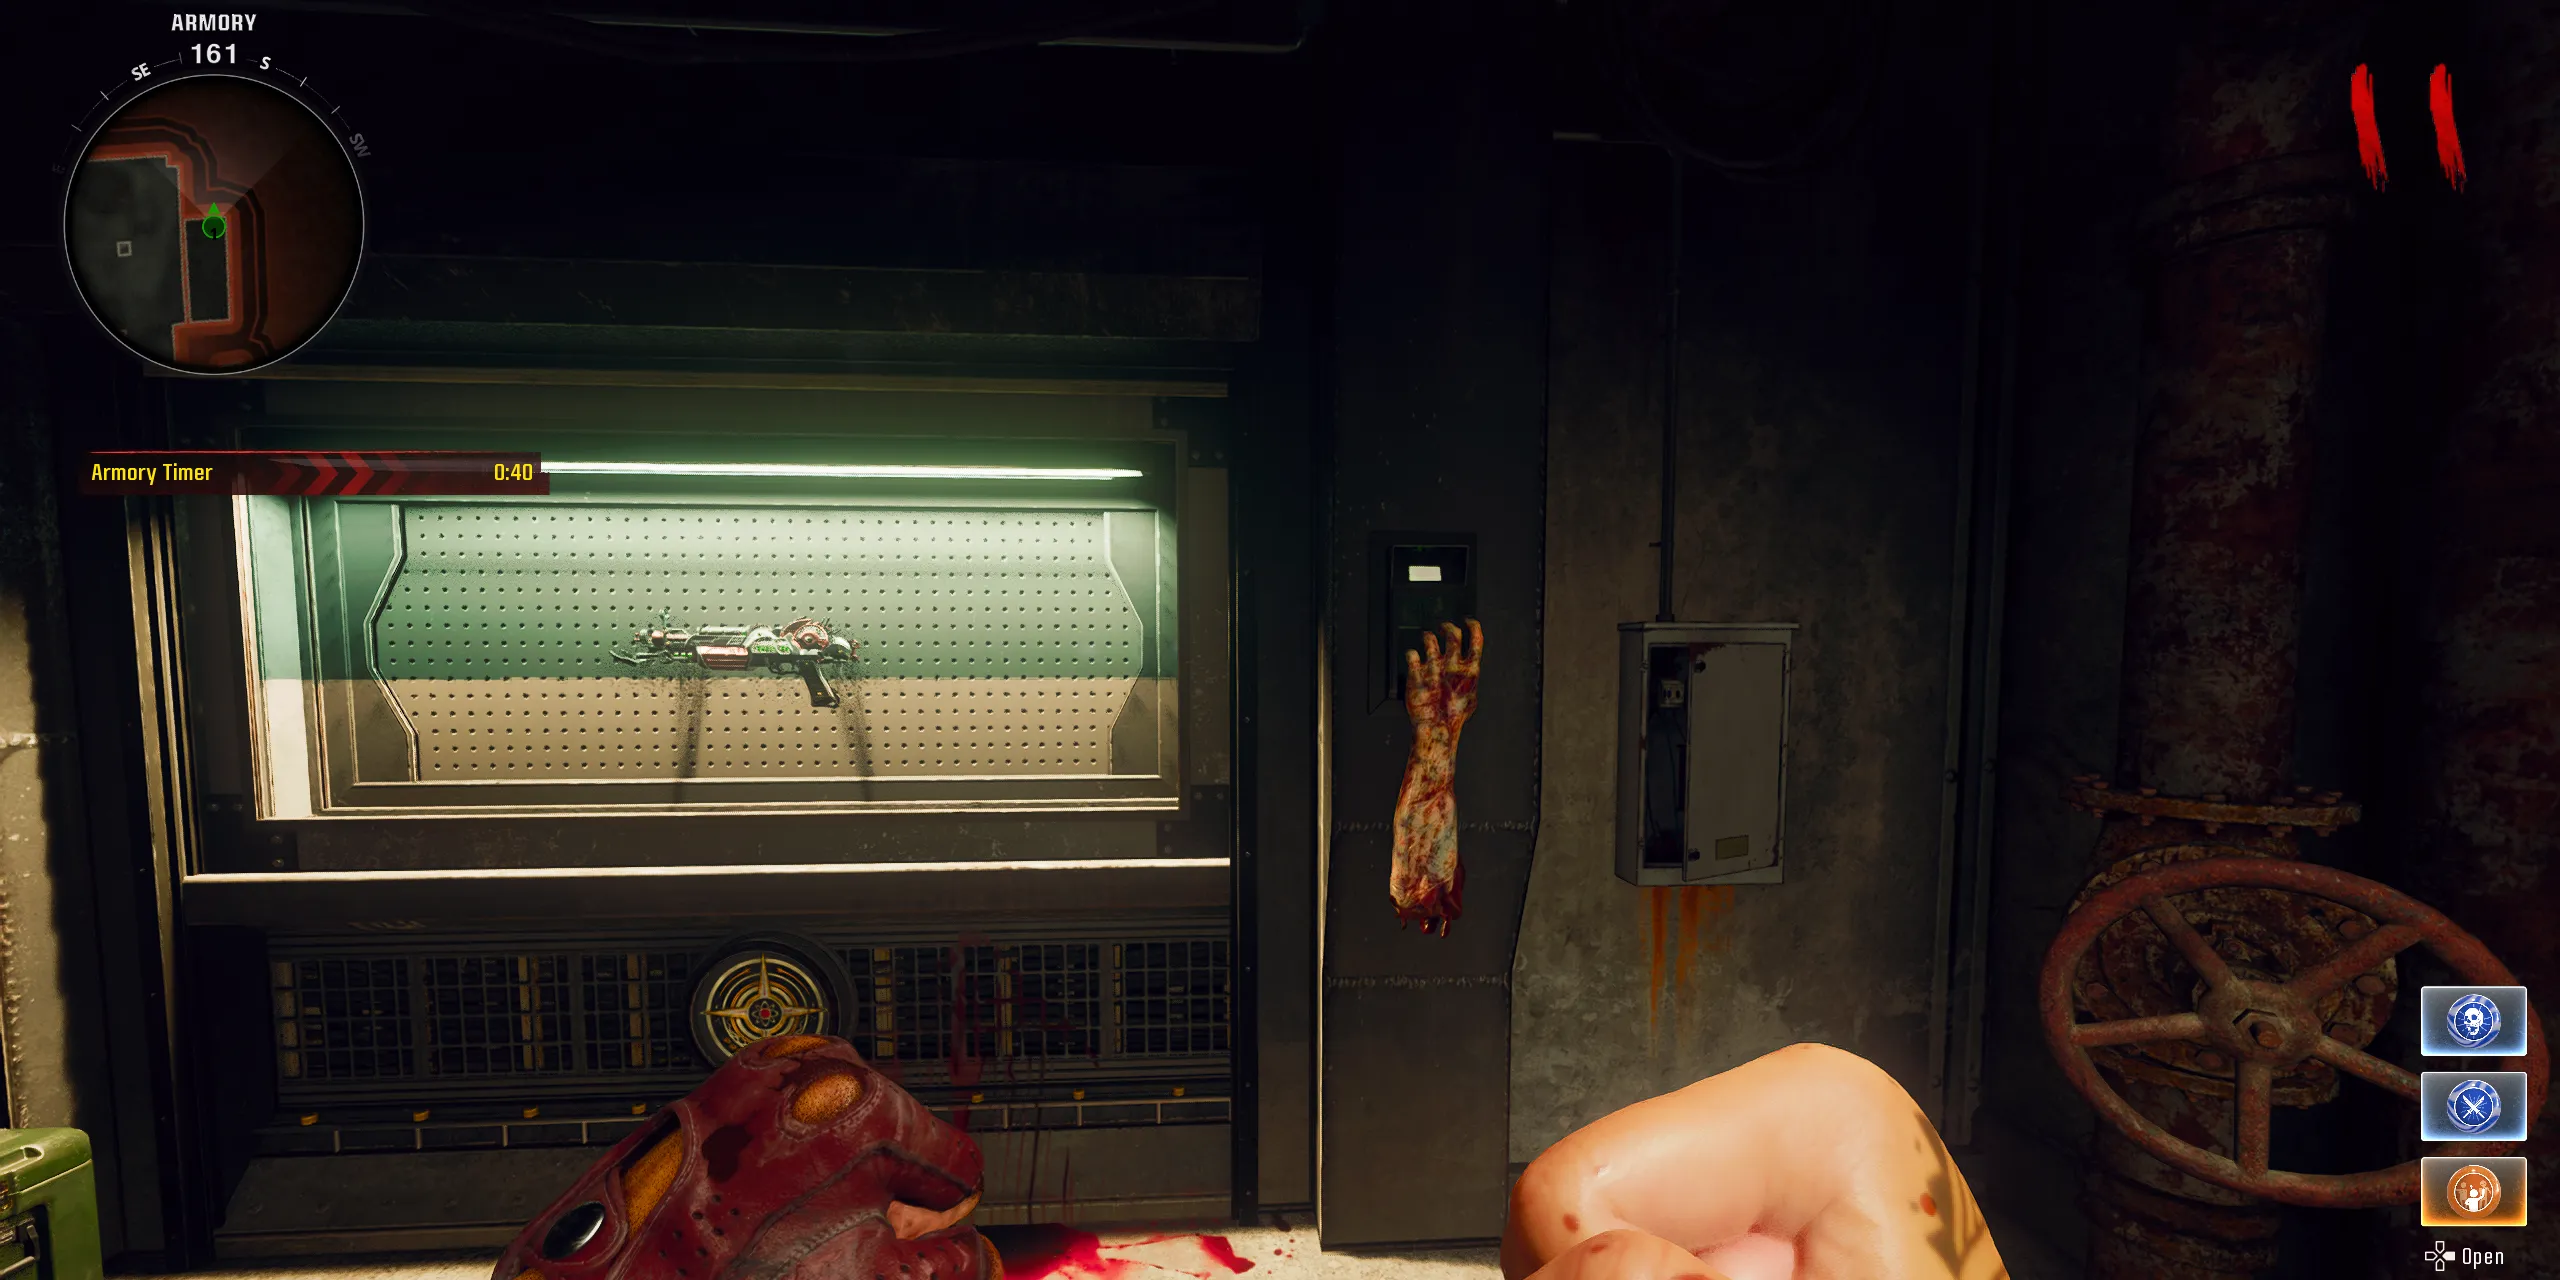
- Navigate to the Supply Depot to unlock the Ray Gun Mk2 from its display case.
Step 3: Upgrade to the Ray Gun Mark 2-W
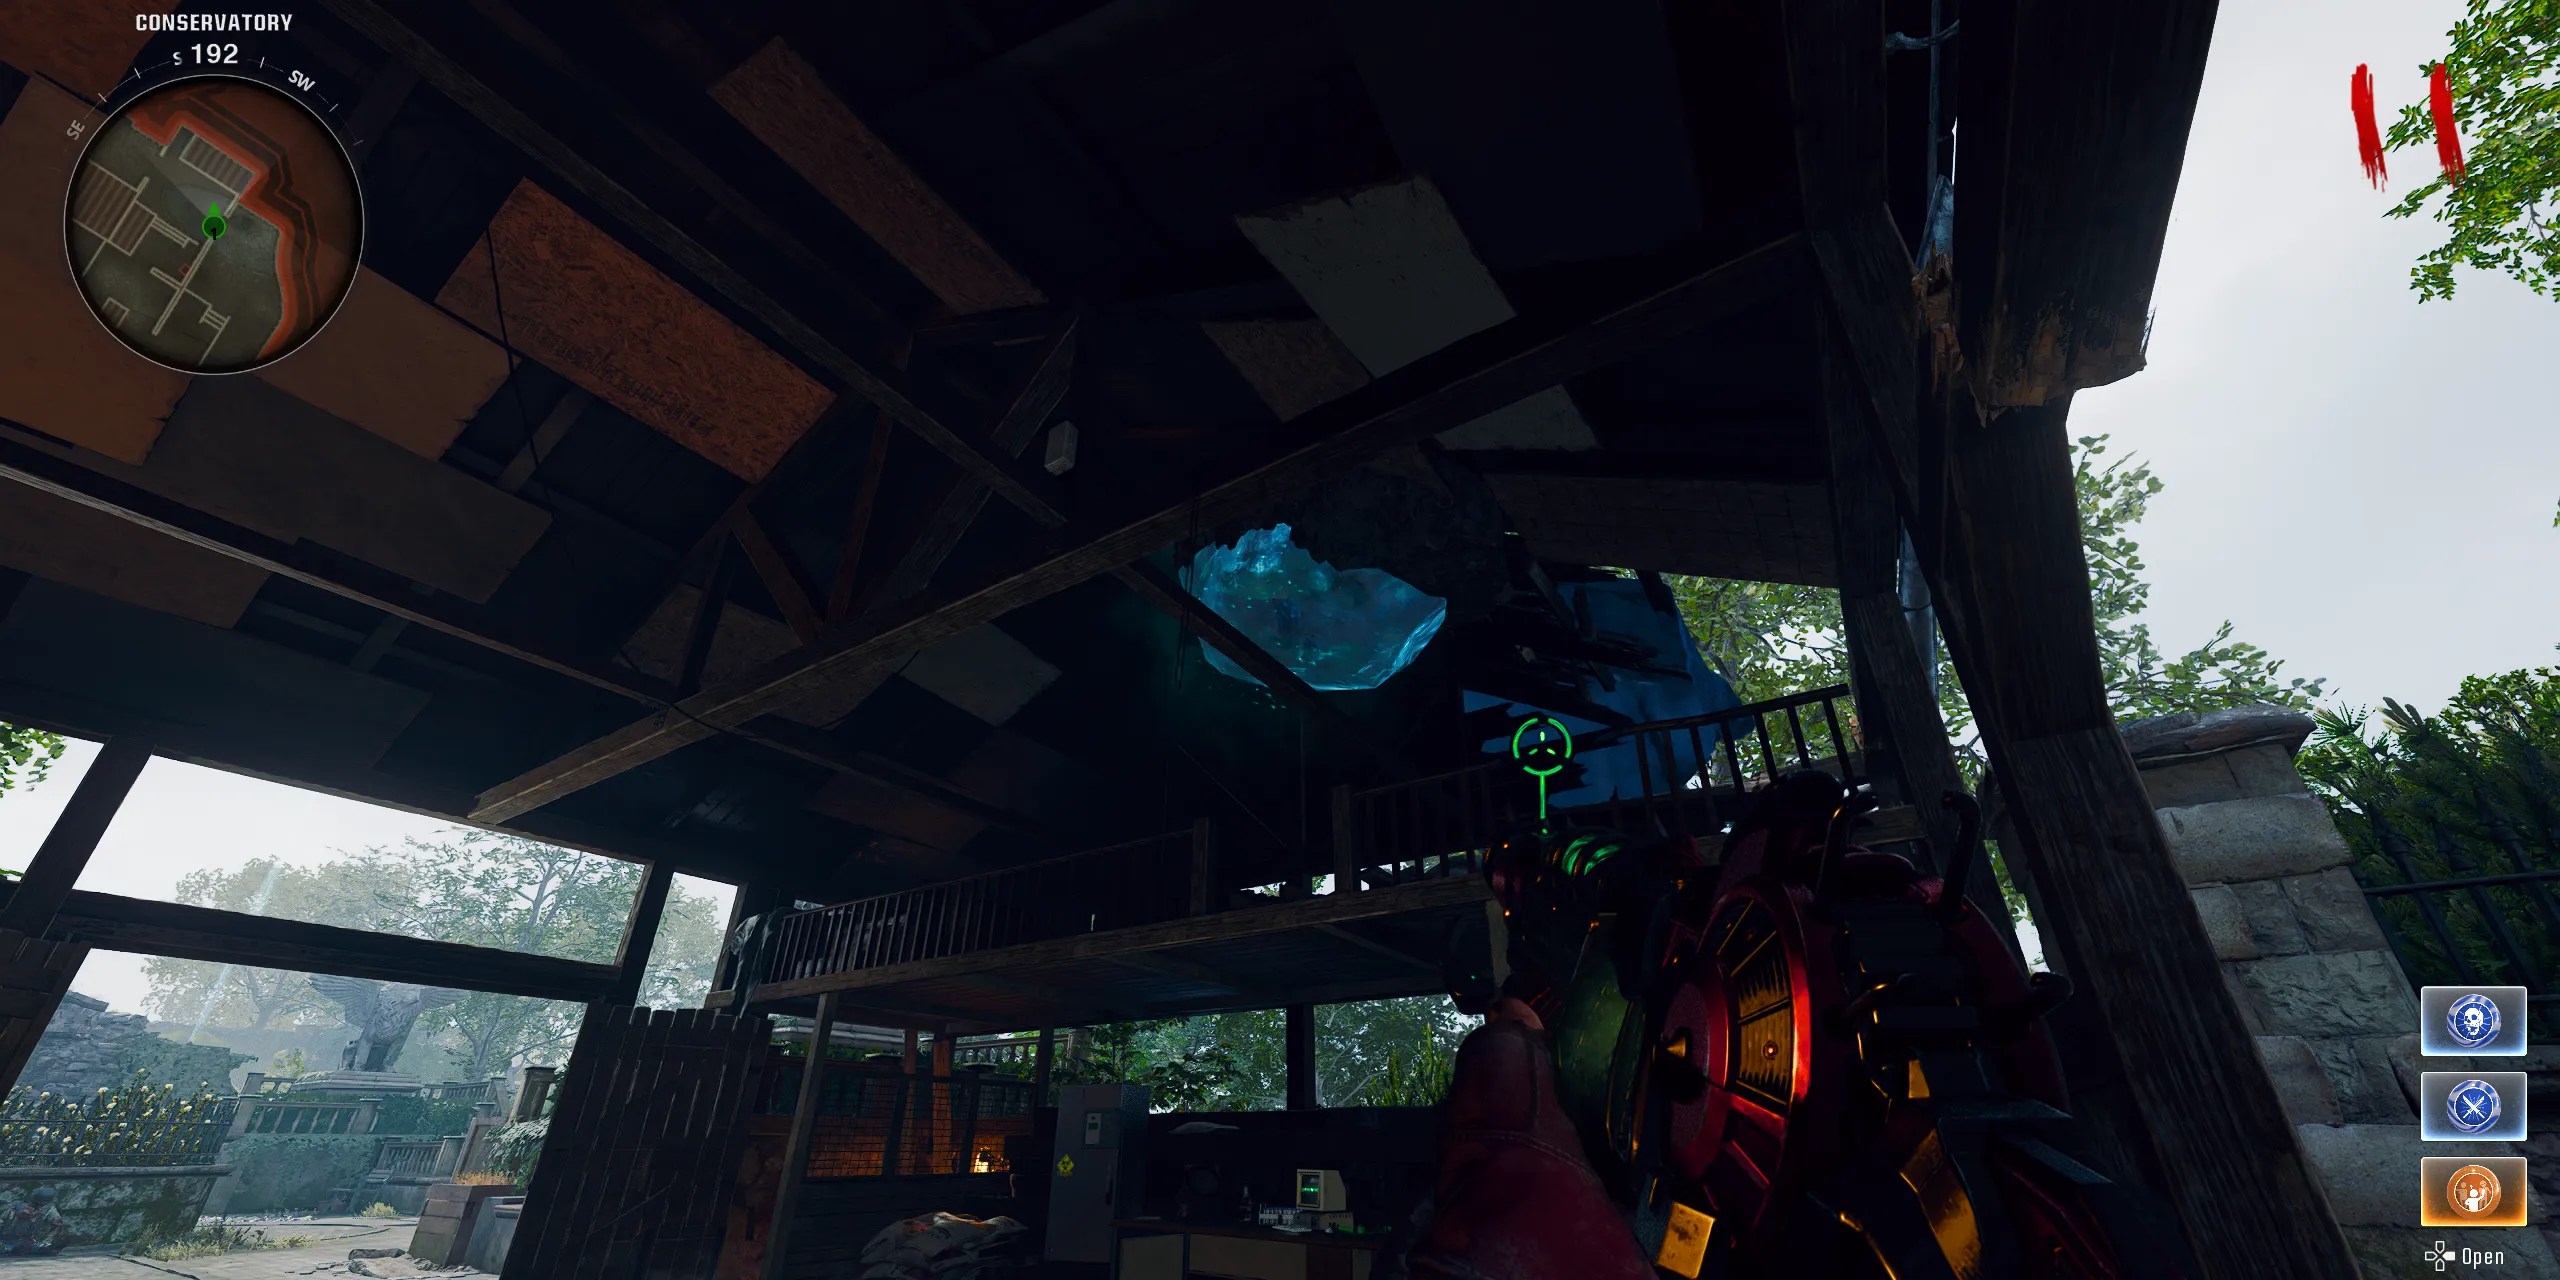
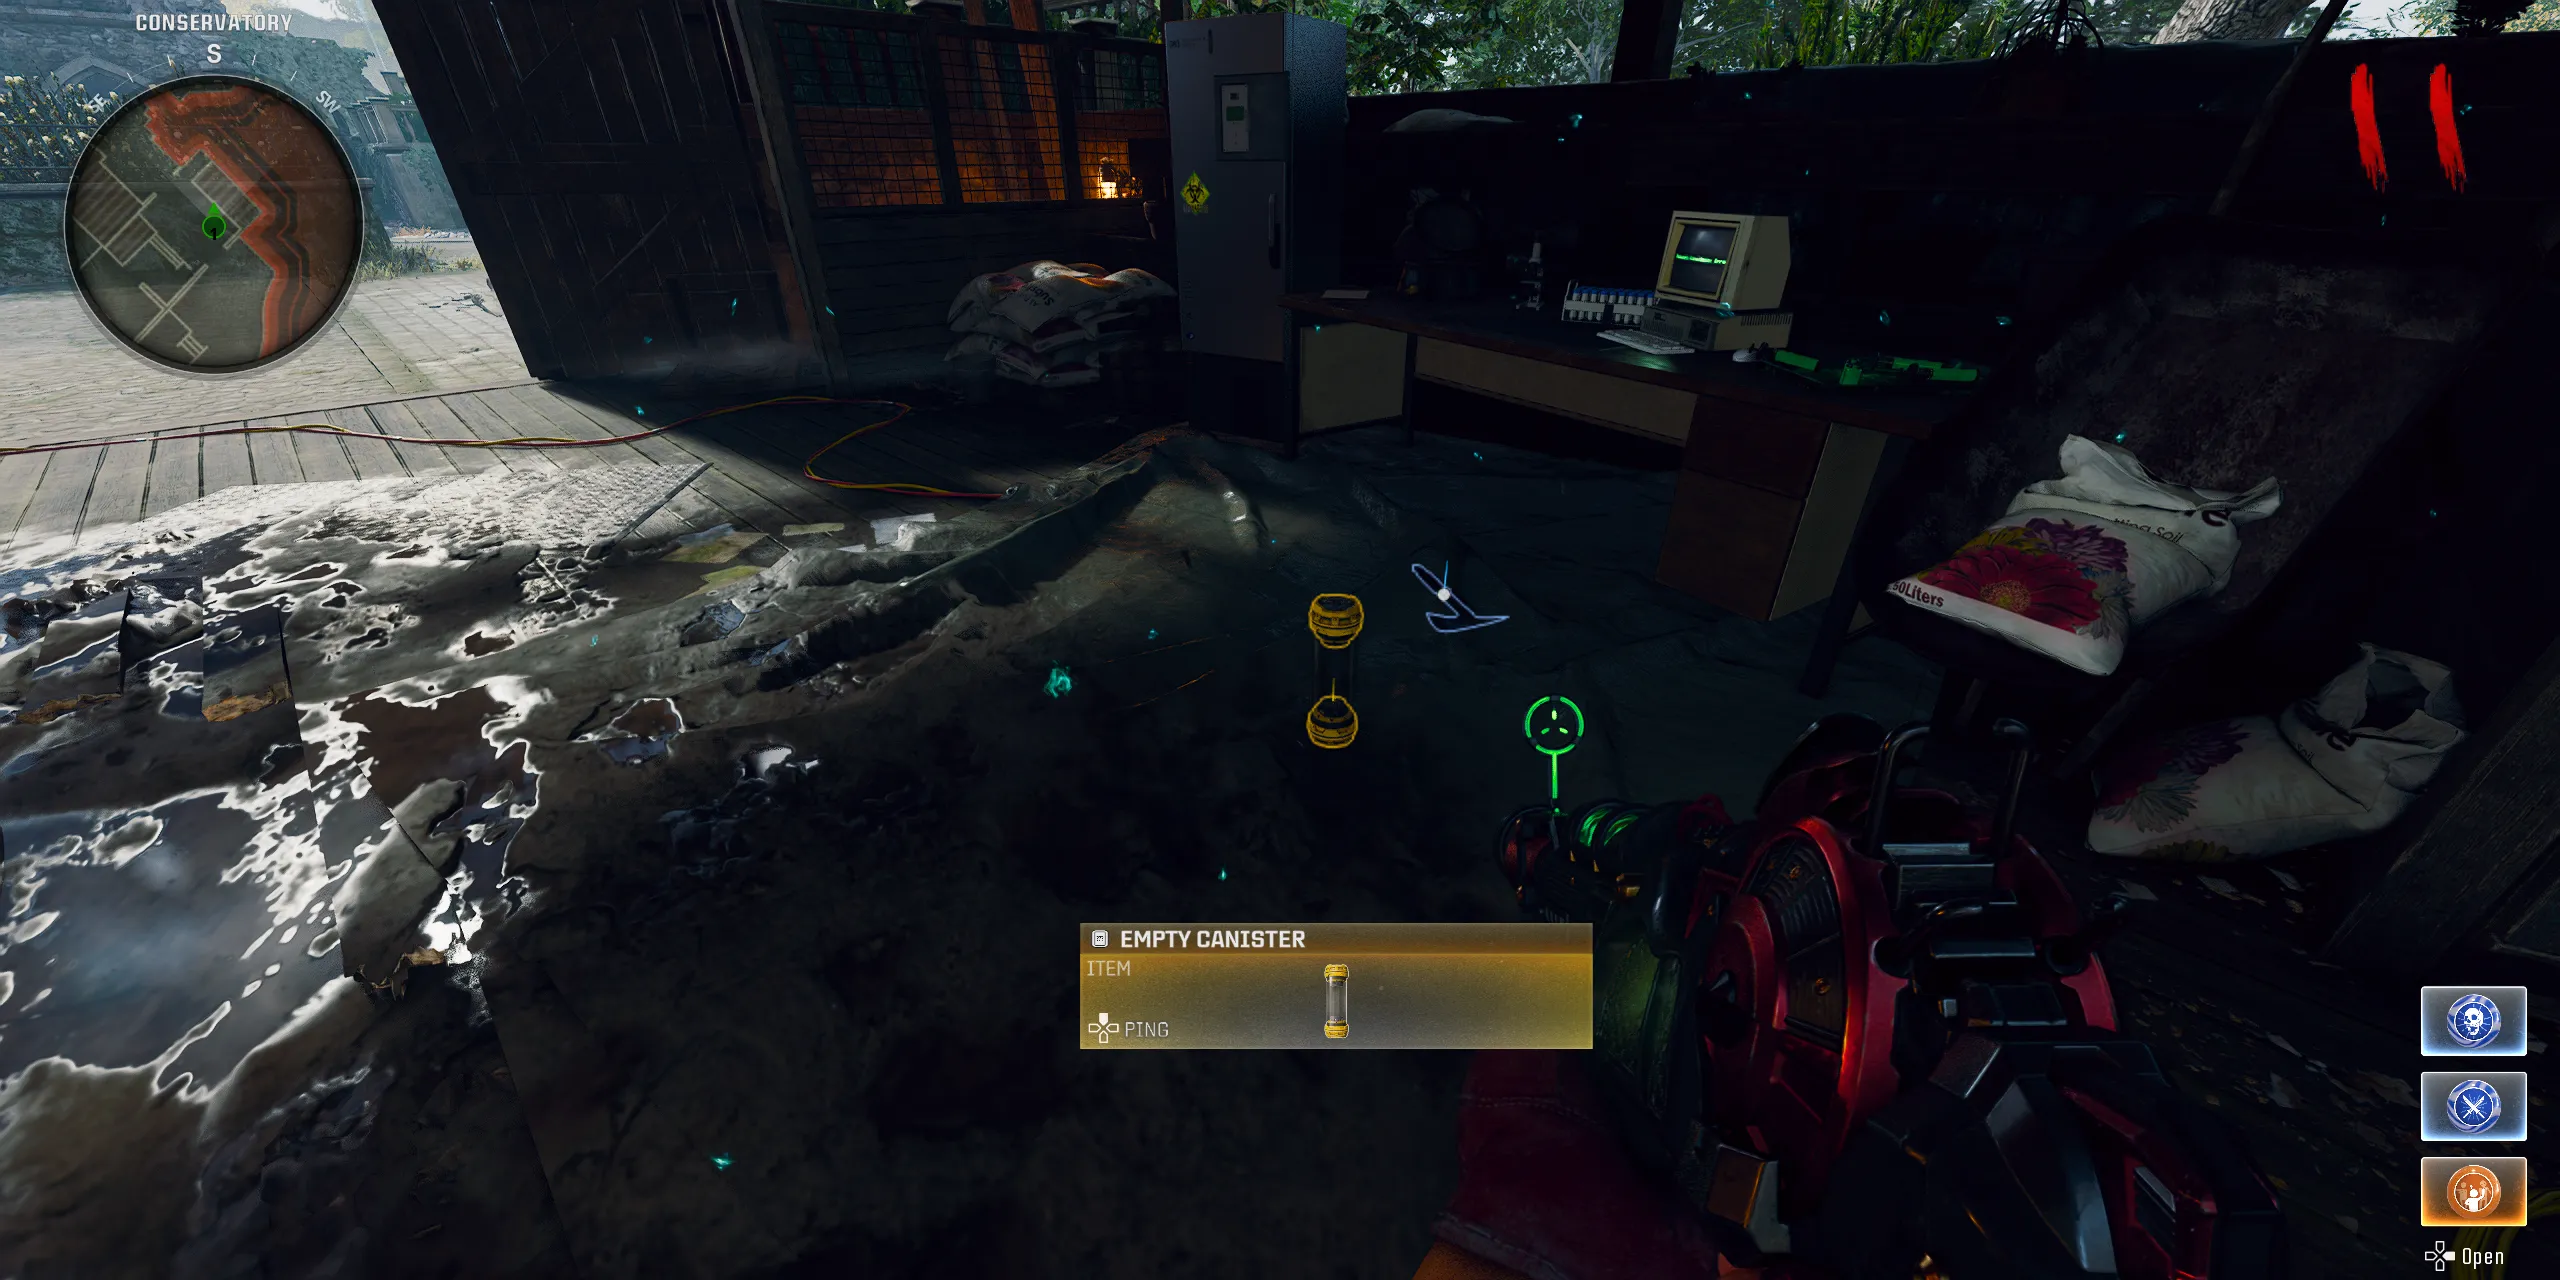
Now that players are armed with the Ray Gun Mk2, the next upgrade is to evolve it into its first variant, the Ray Gun Mark 2-W. To initiate this upgrade, players must locate an Empty Vessel by shooting blue crystals scattered throughout the map. The spawning points include:
- The Conservatory
- The ceiling in the East Foyer
- Above the wall outside the Southwest Balcony
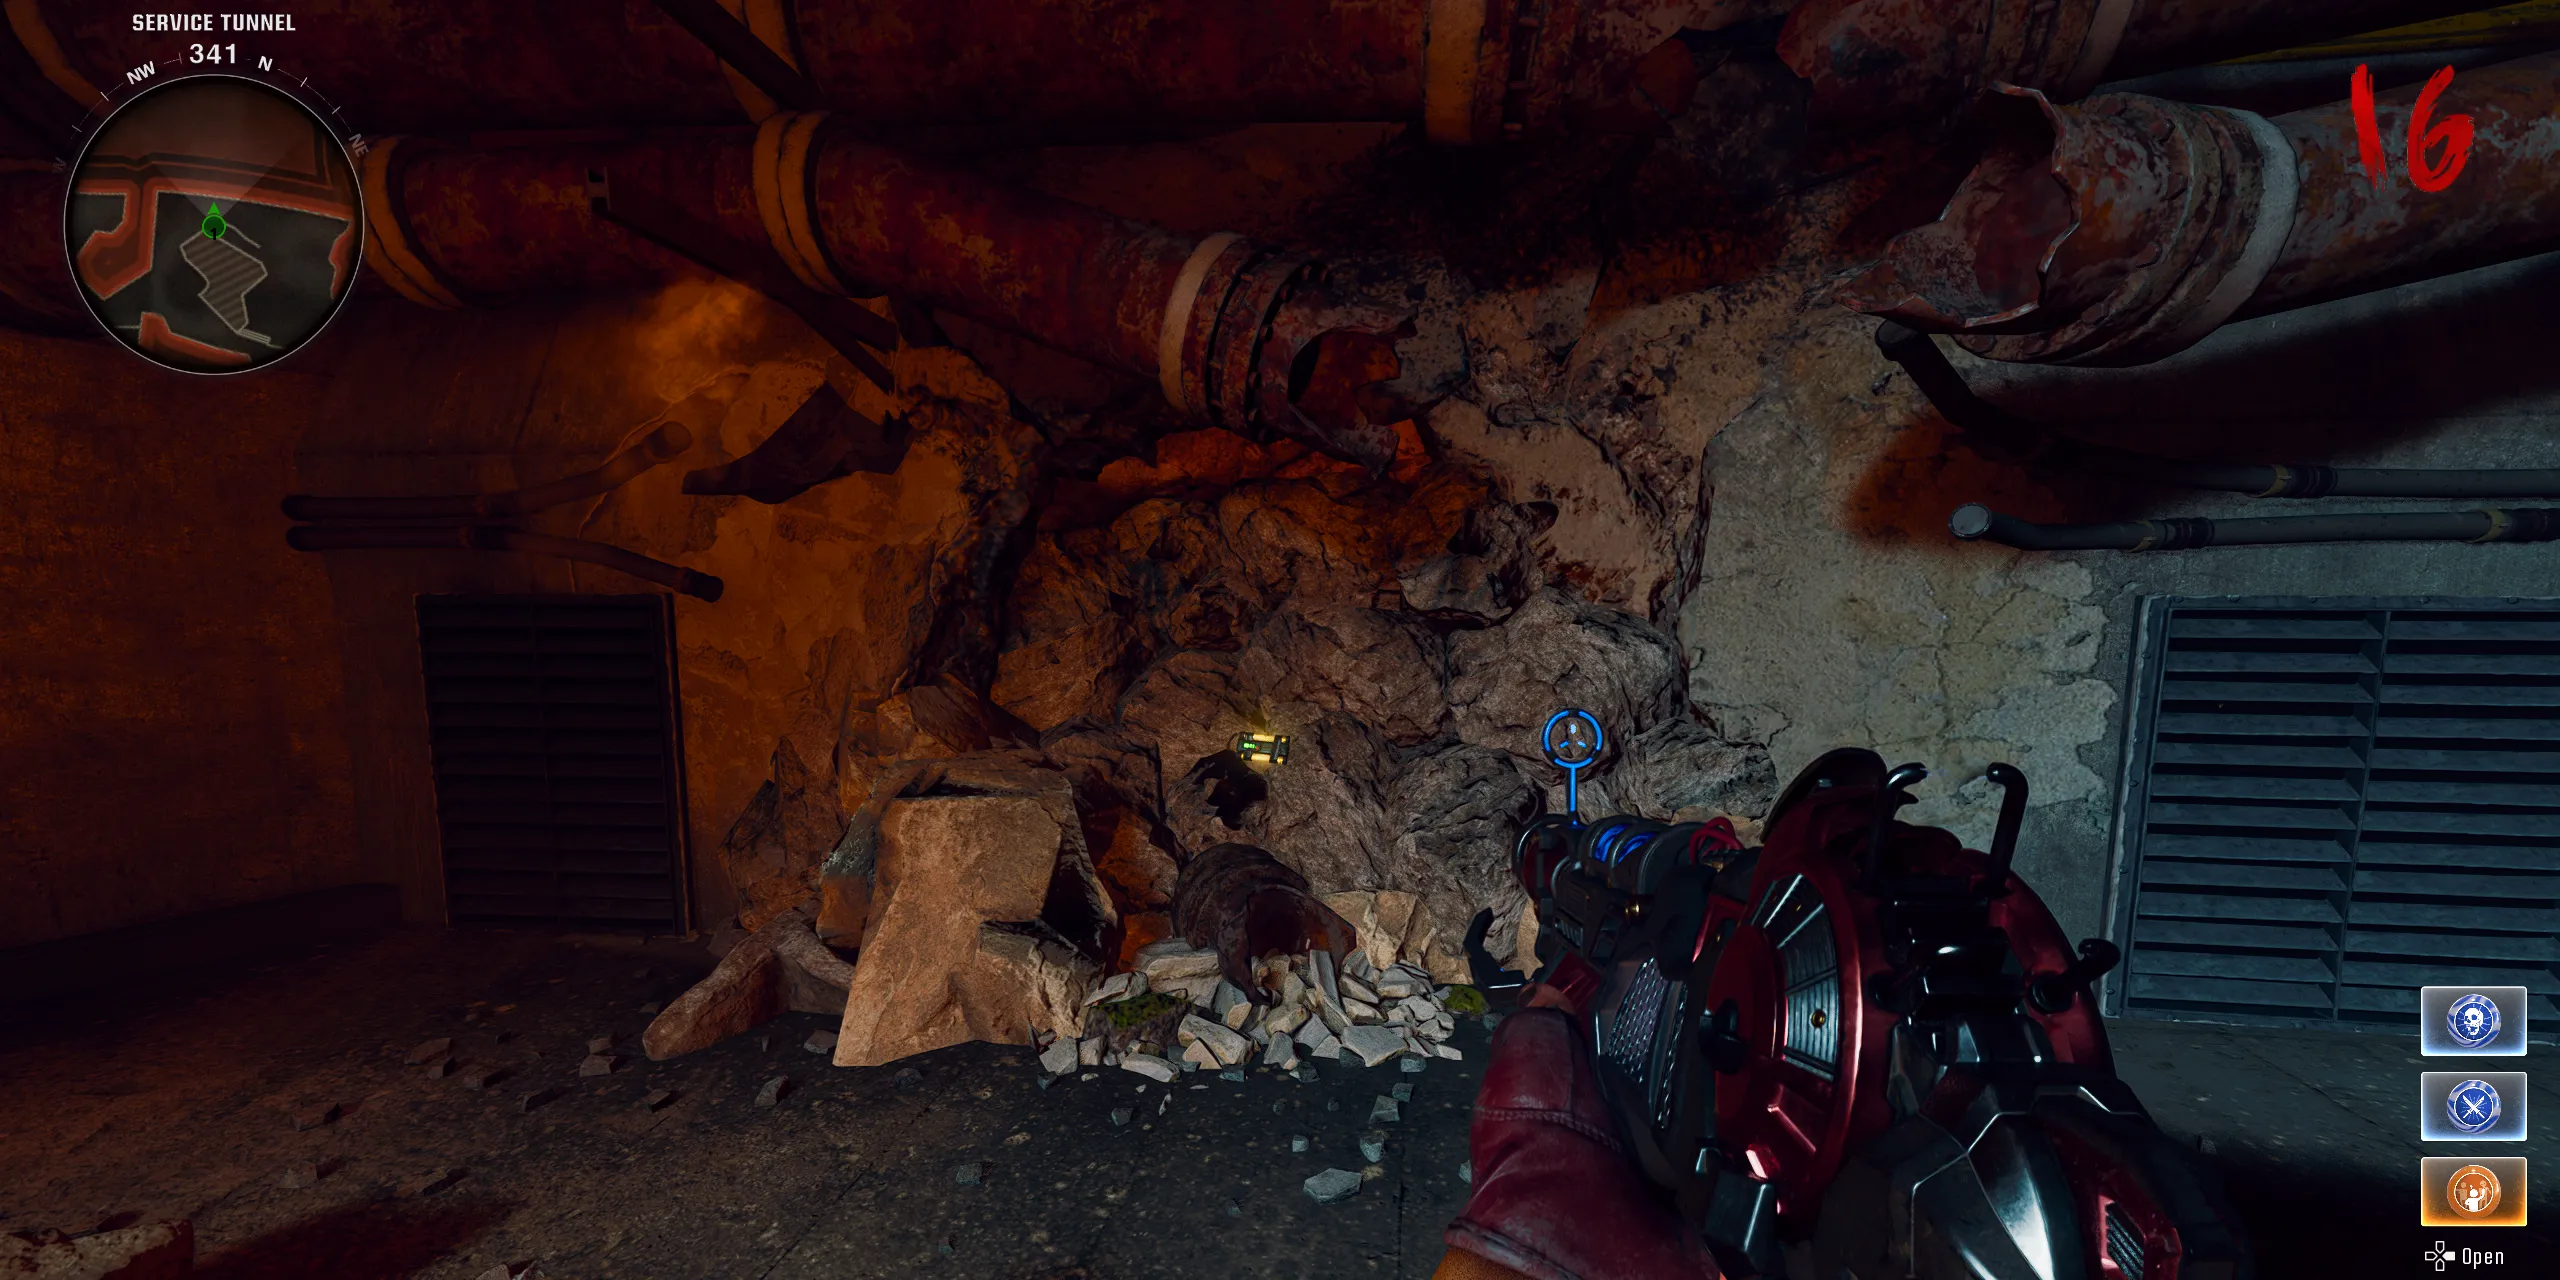
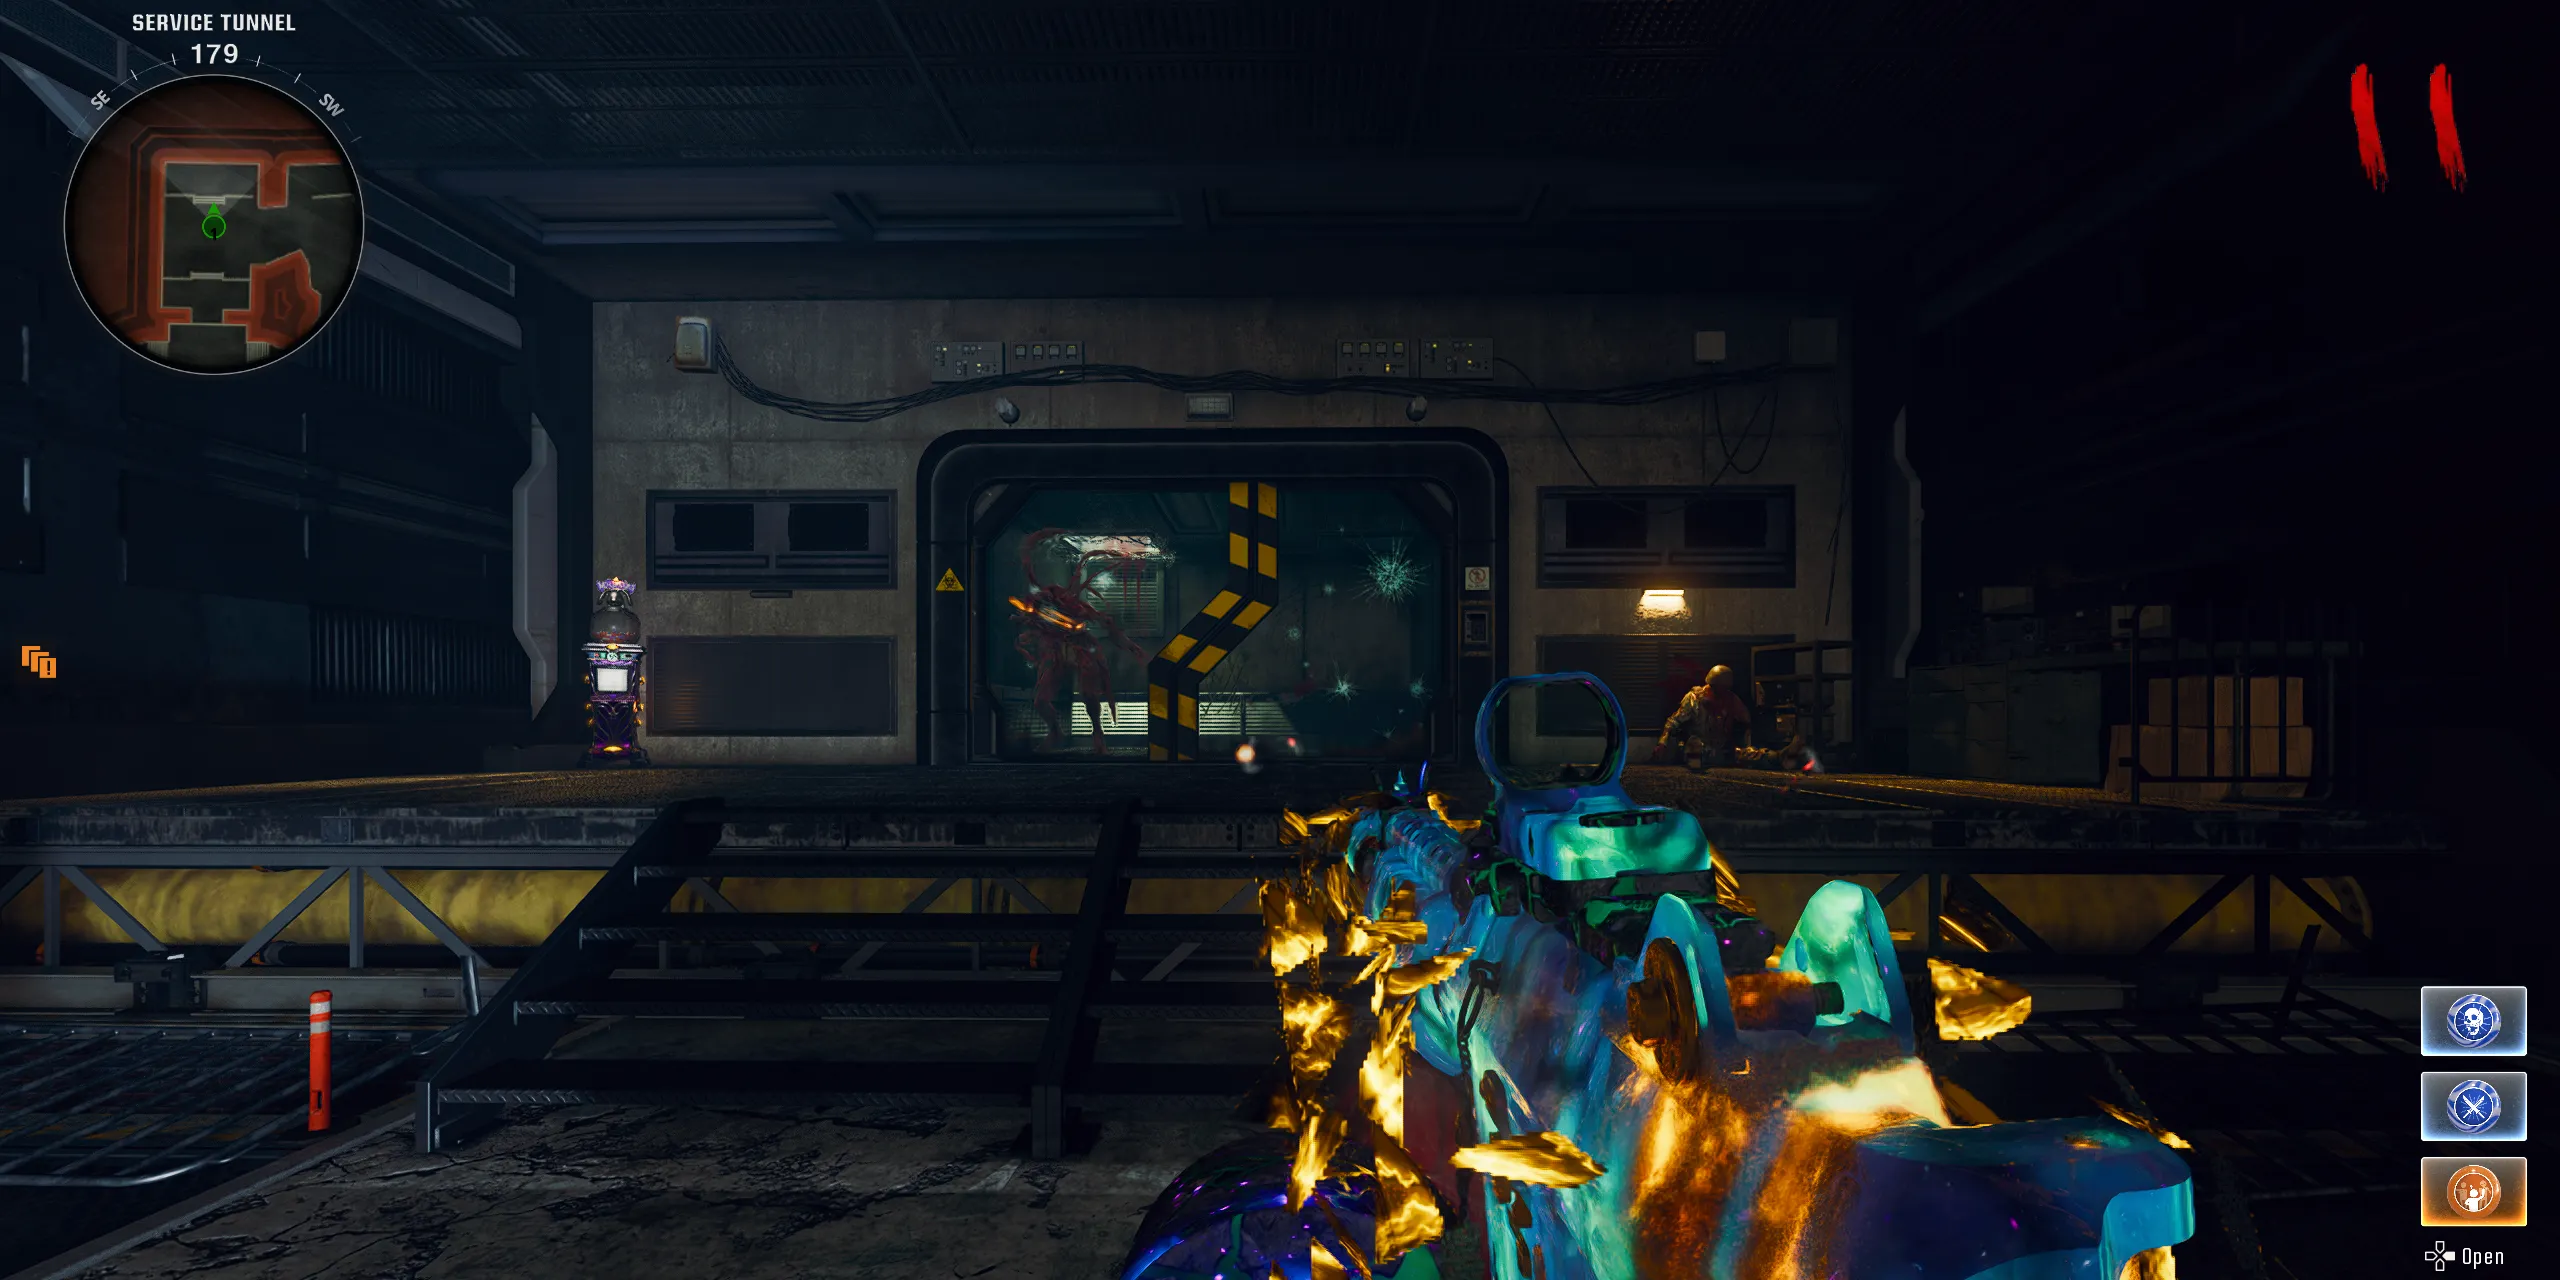
- Ceiling in the Service Tunnels
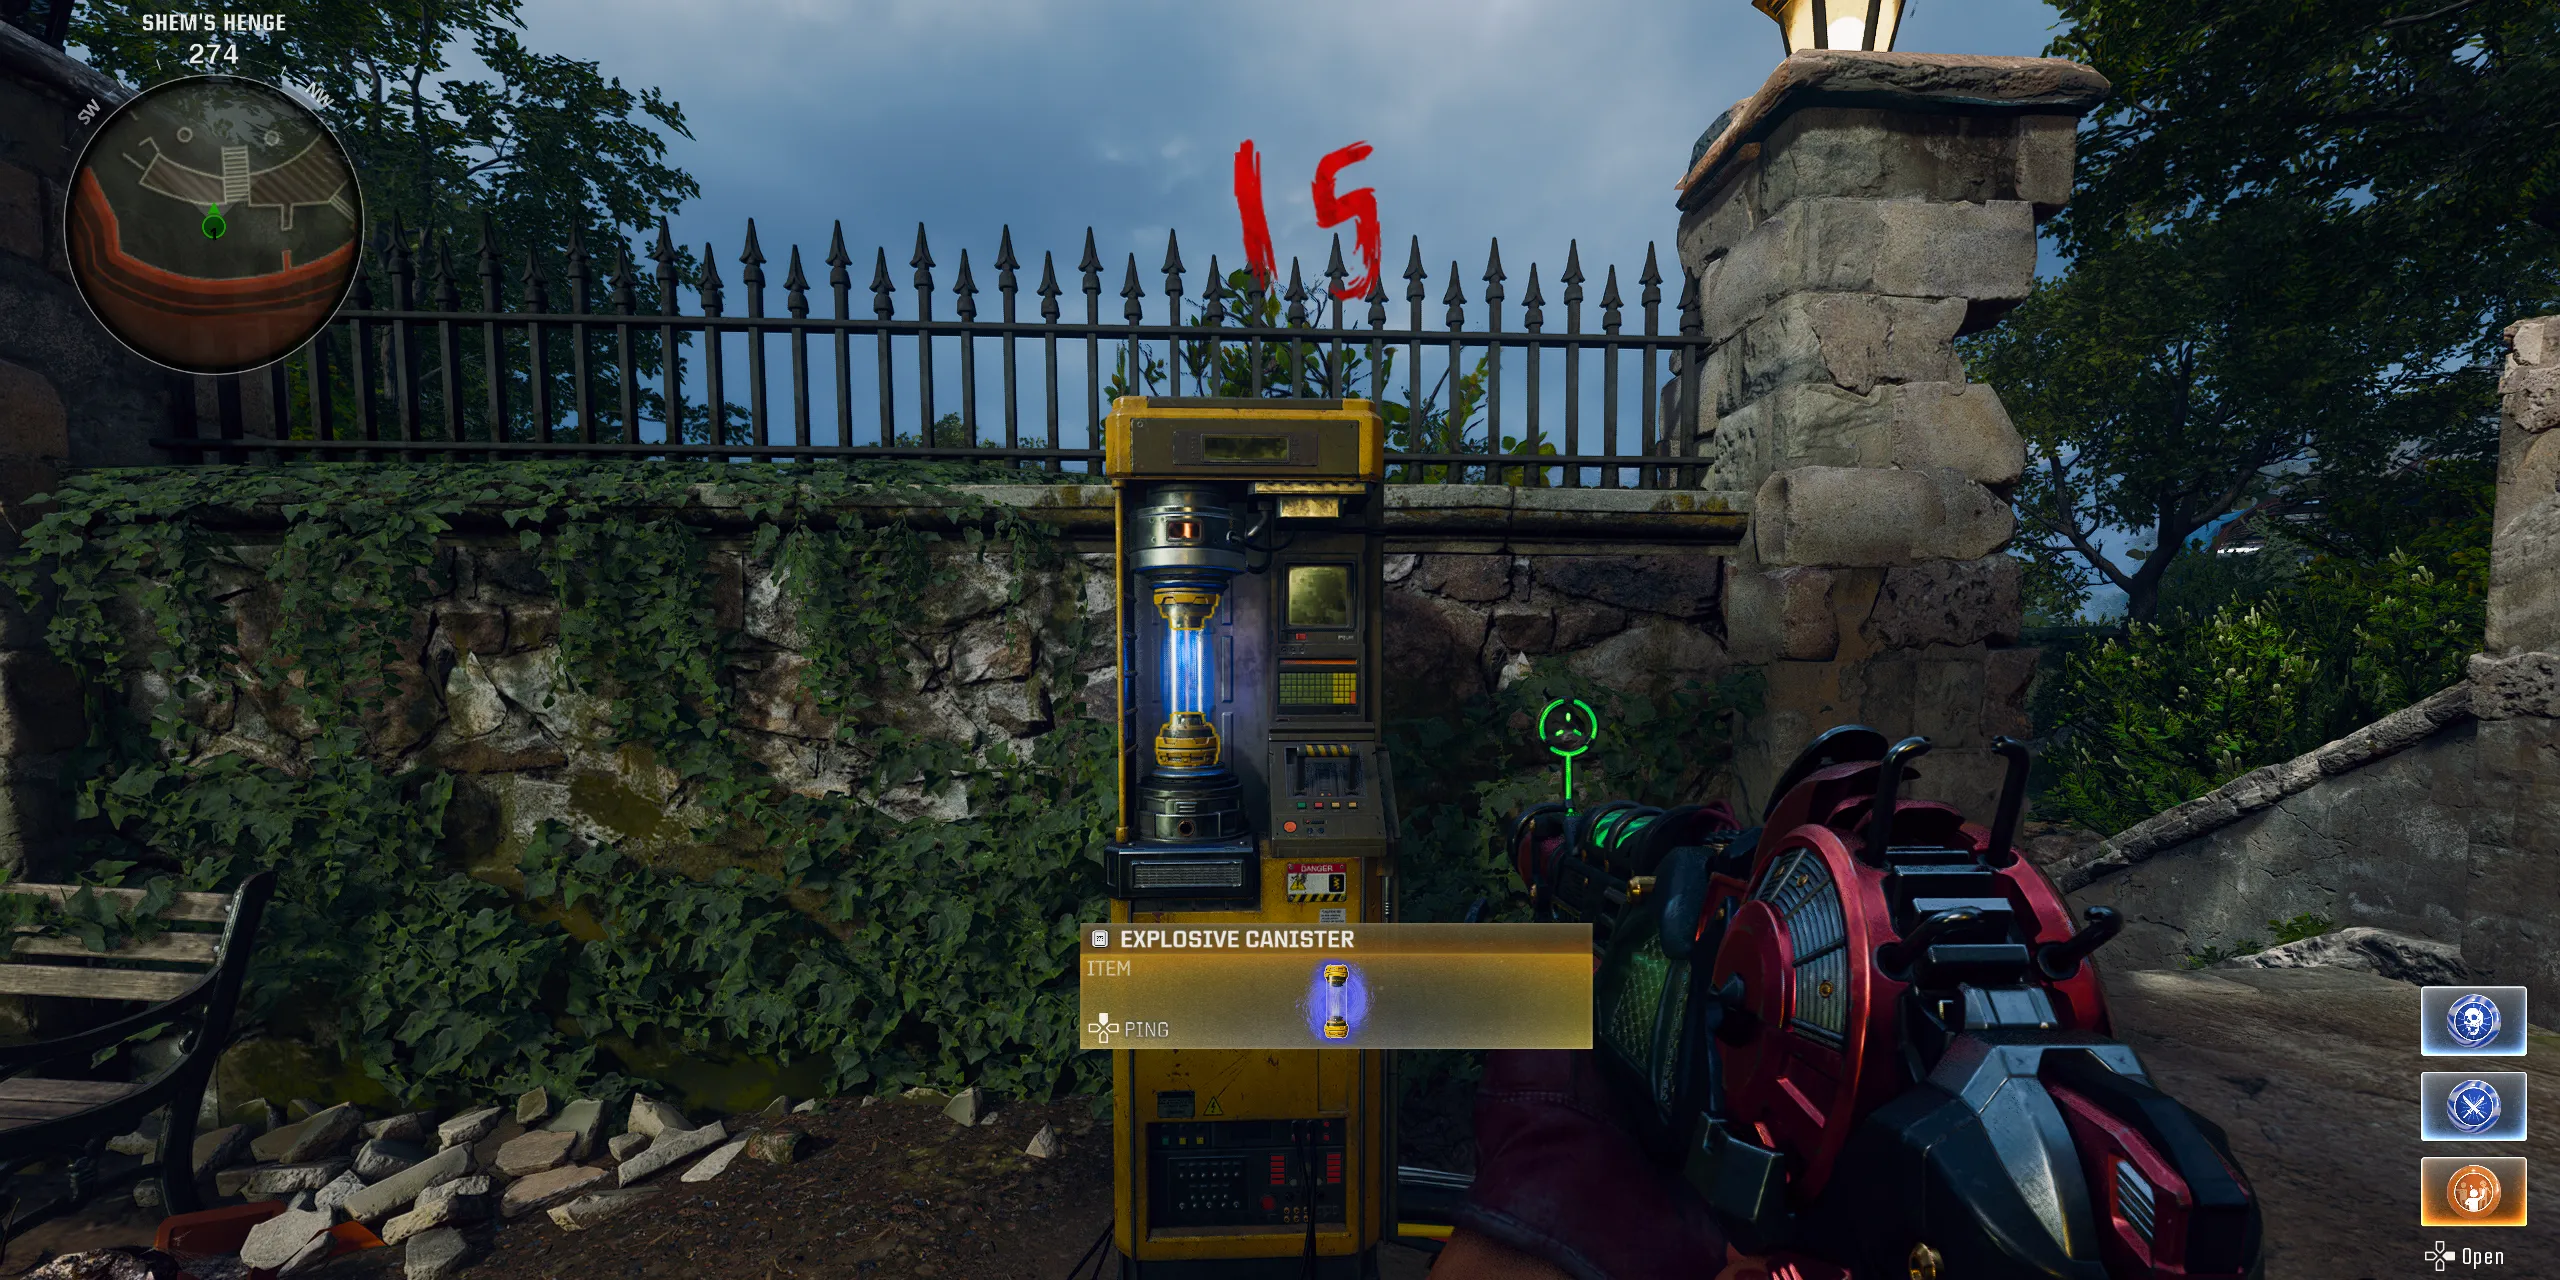
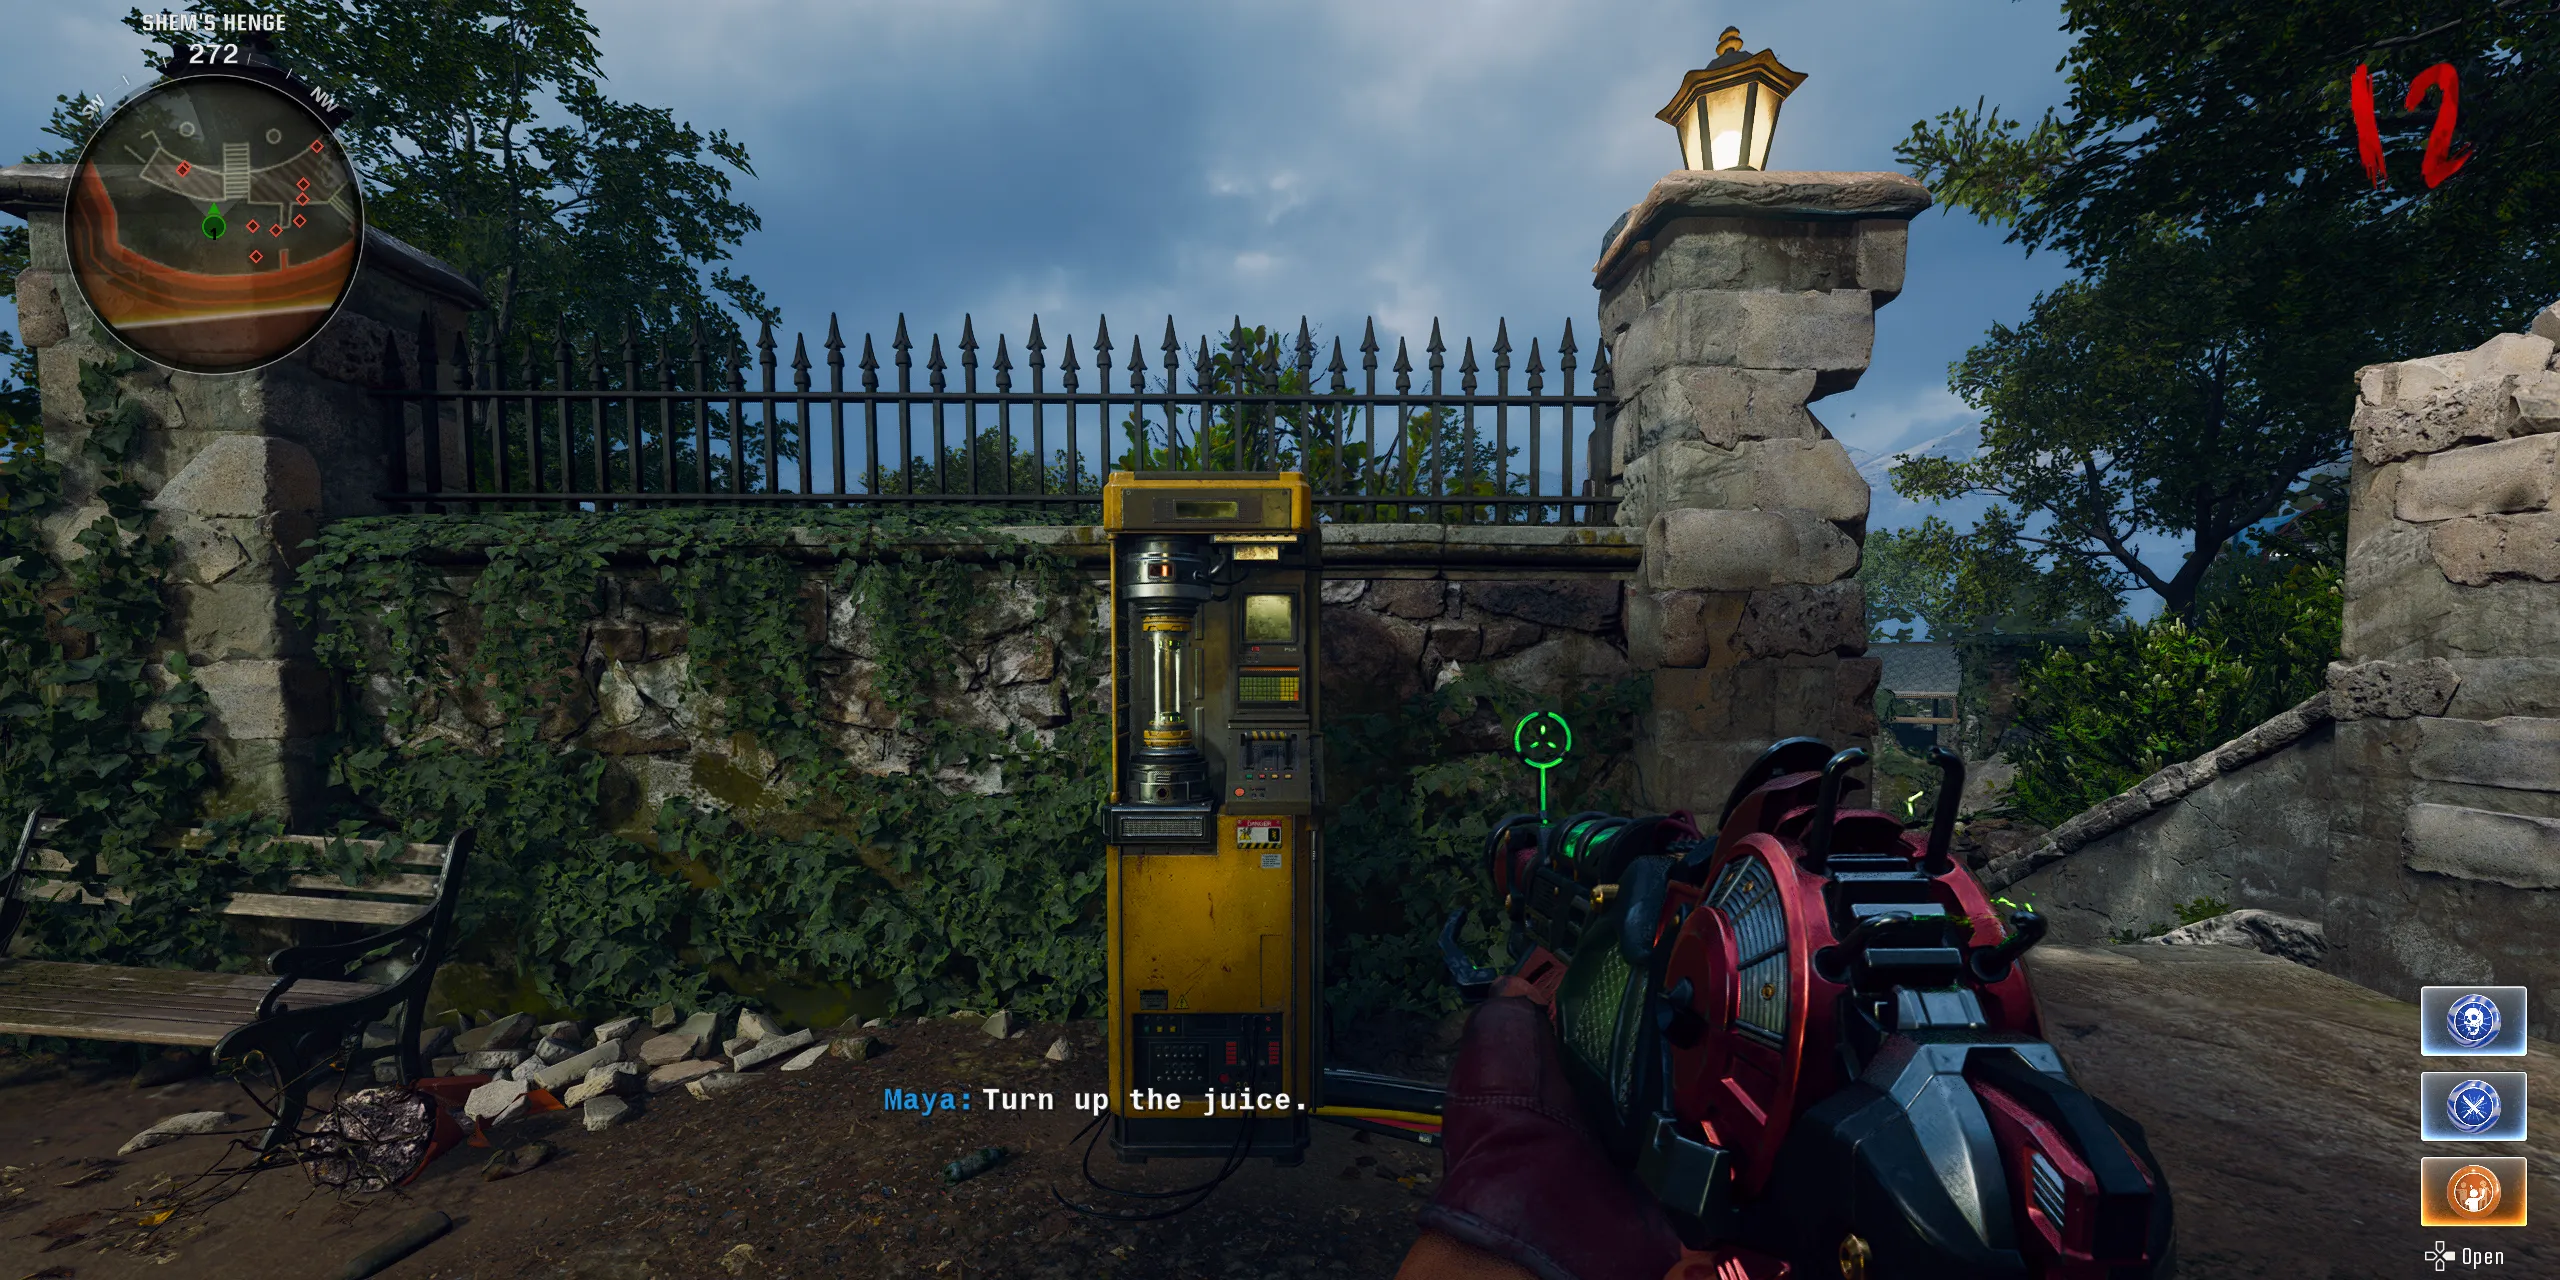
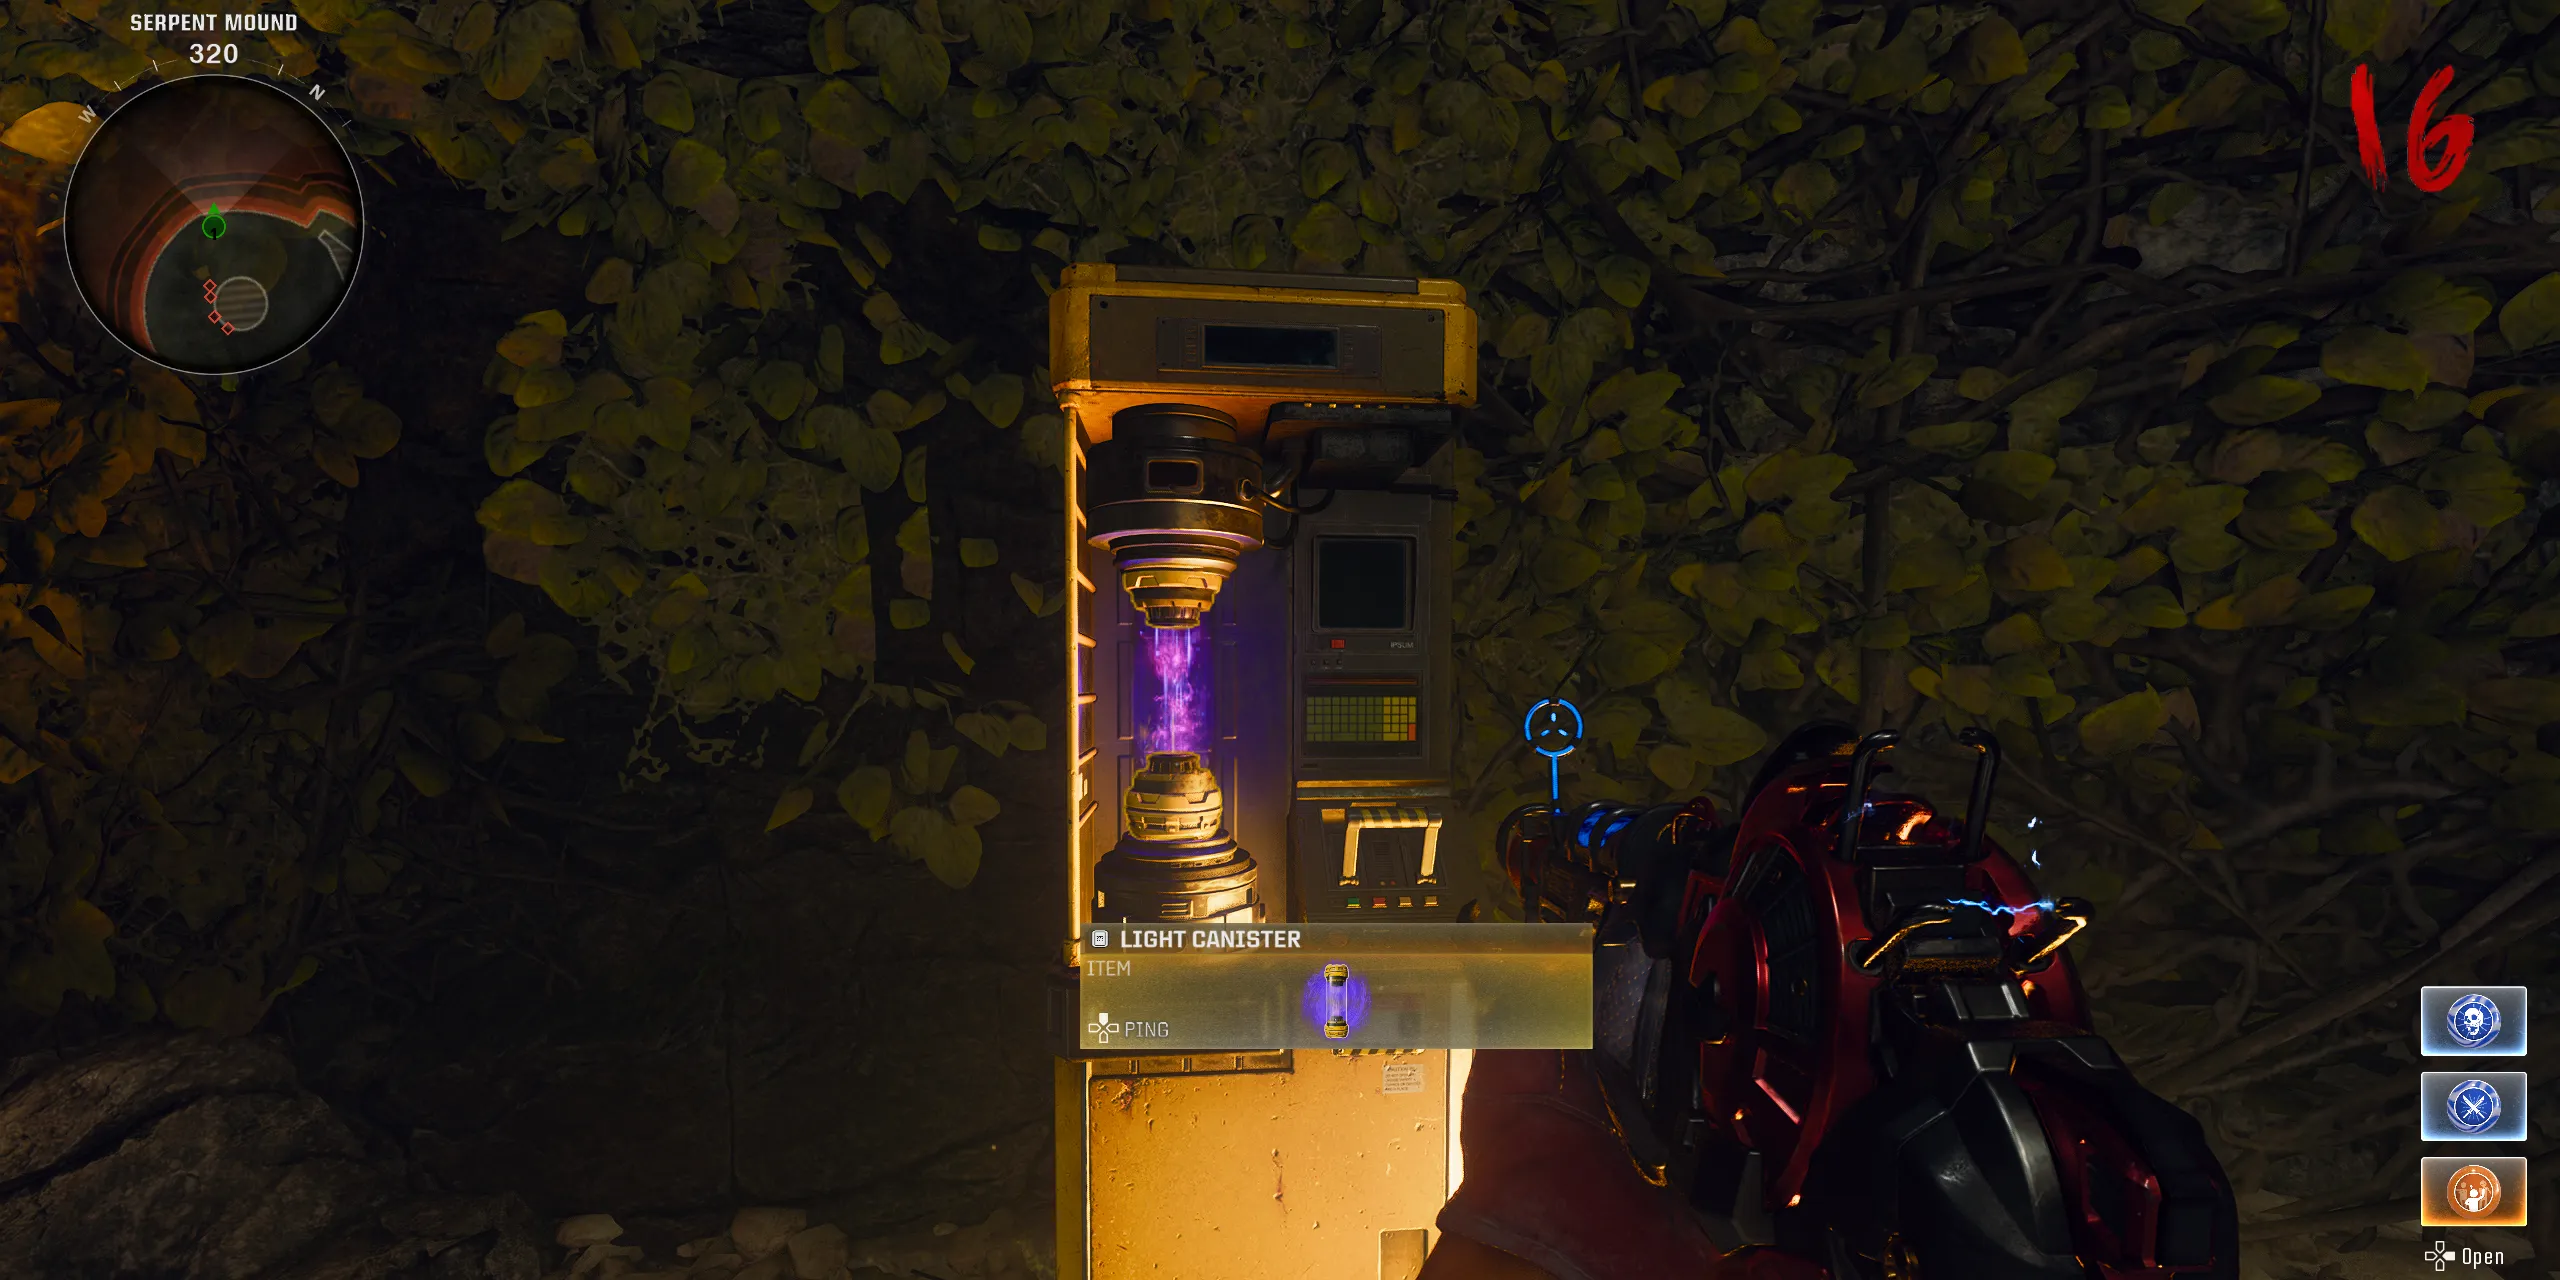
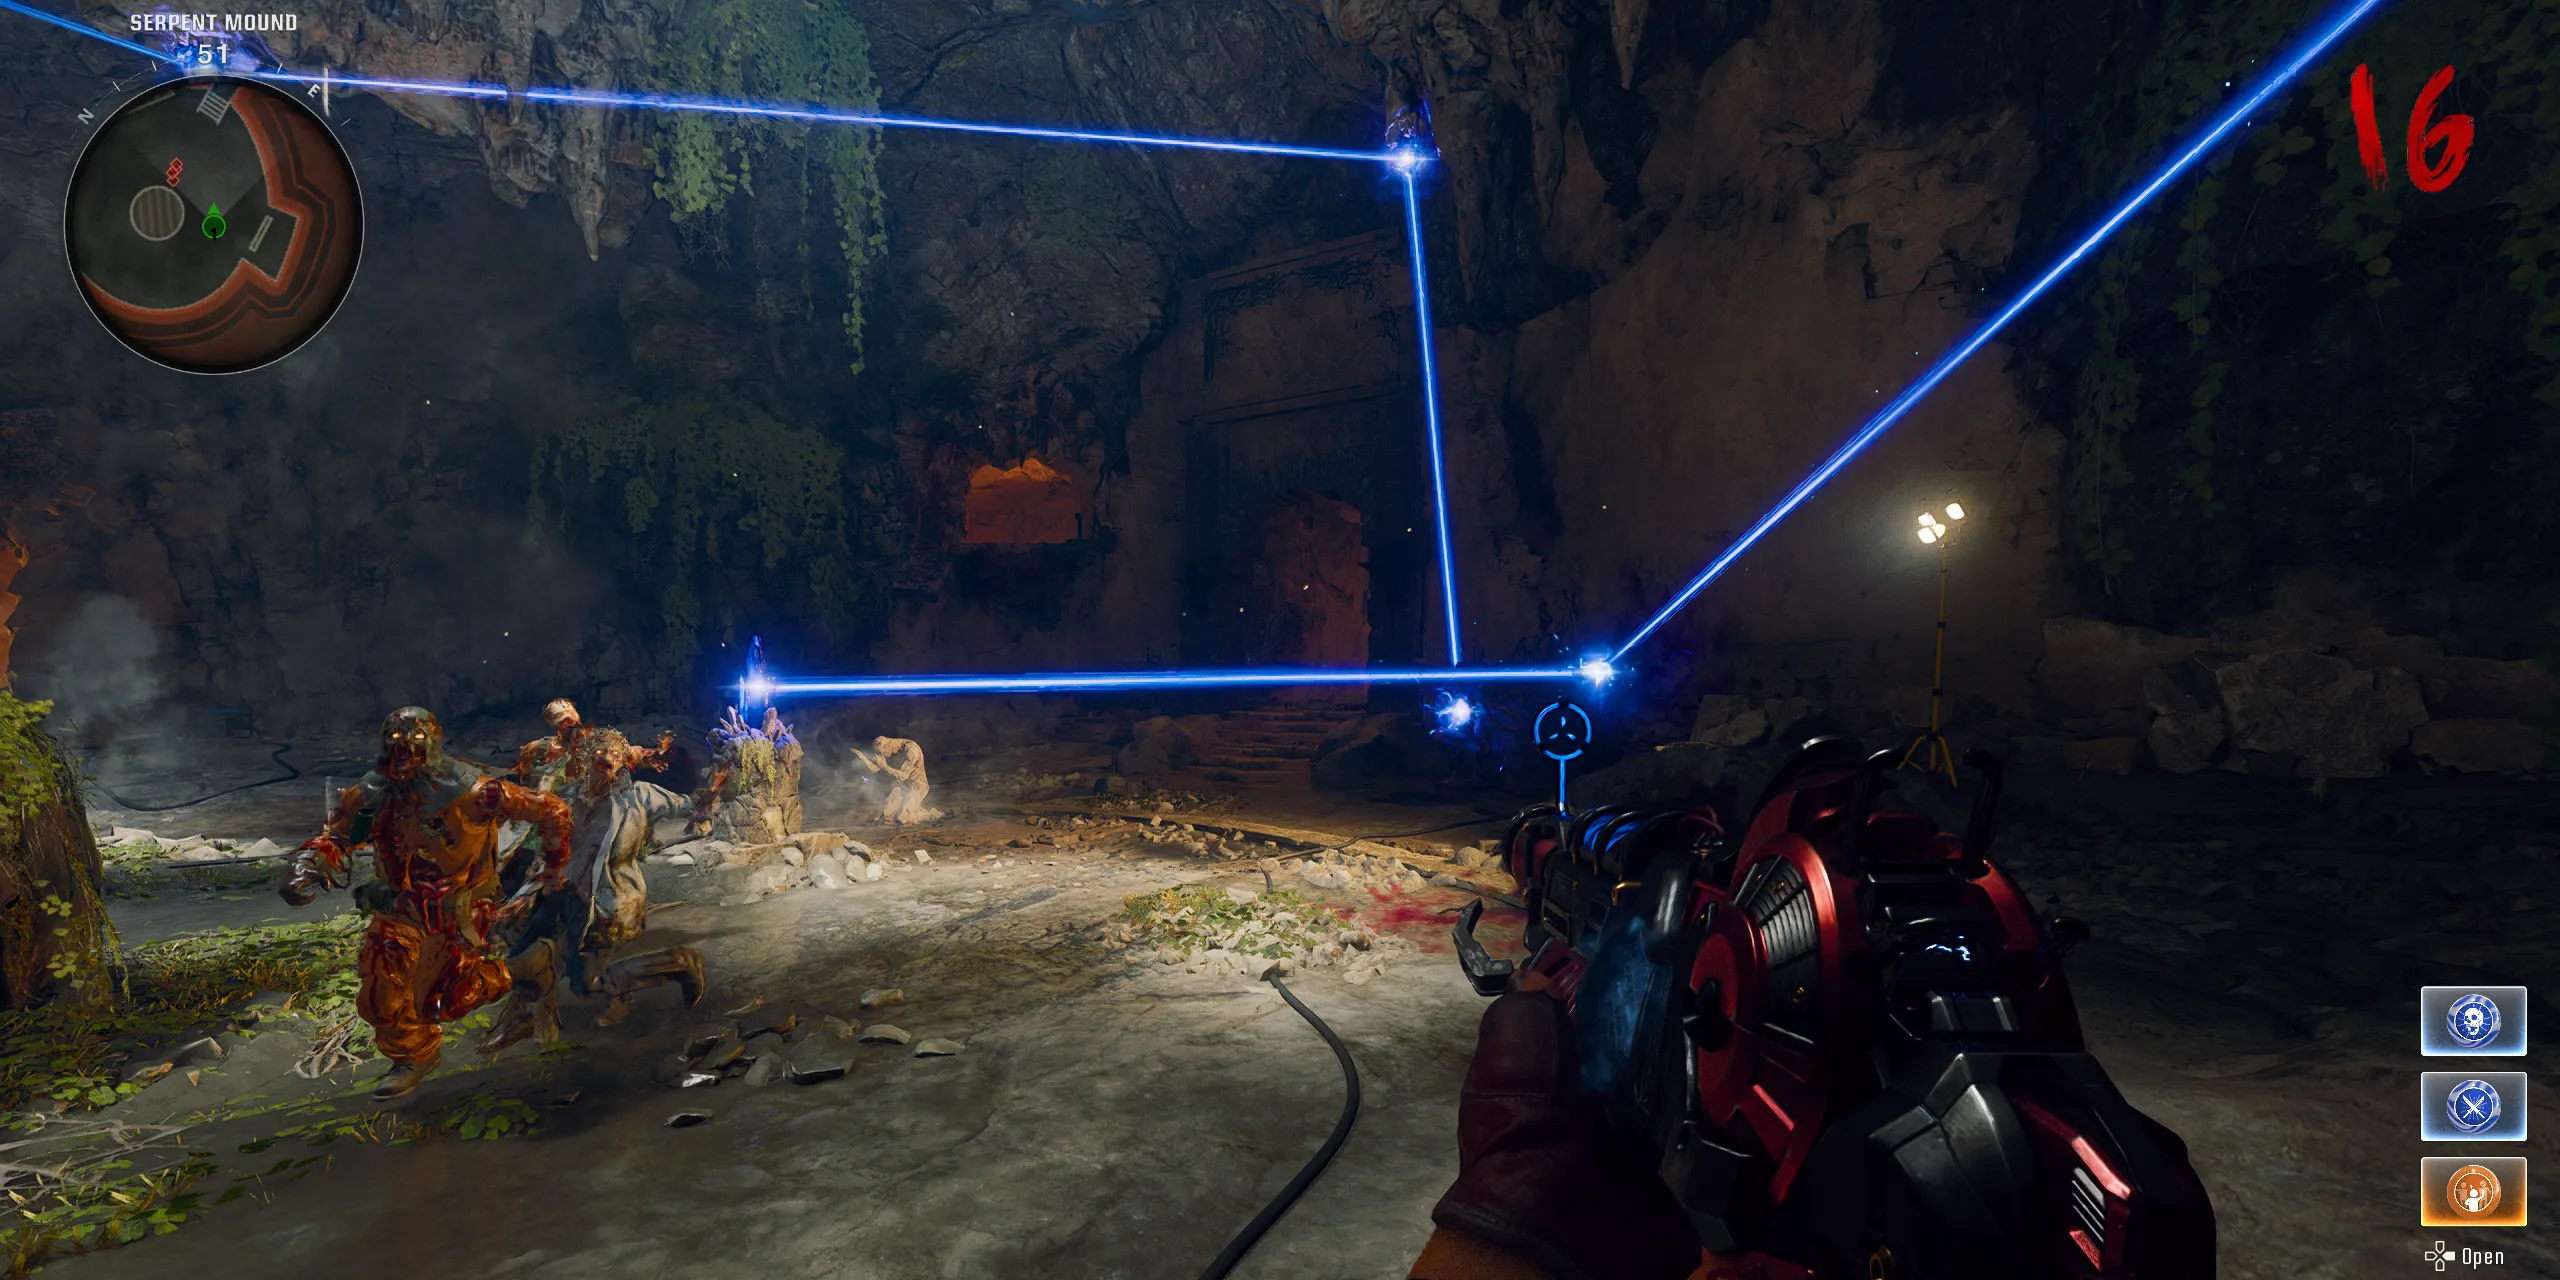
After obtaining the Empty Canister, navigate to Shem’s Henge, where you’ll find a yellow box opposite Speed Cola for canister placement. This will summon an Abomination. Players must utilize its laser attack to strike three glowing rocks in the central area, which leads to floating rocks. Once all three rocks are afloat, defend the portal that opens to receive the Explosive Canister, facilitating the upgrade of the Ray Gun Mark 2 into the Mark 2-W.
Step 4: Upgrade to the Ray Gun Mark 2-P
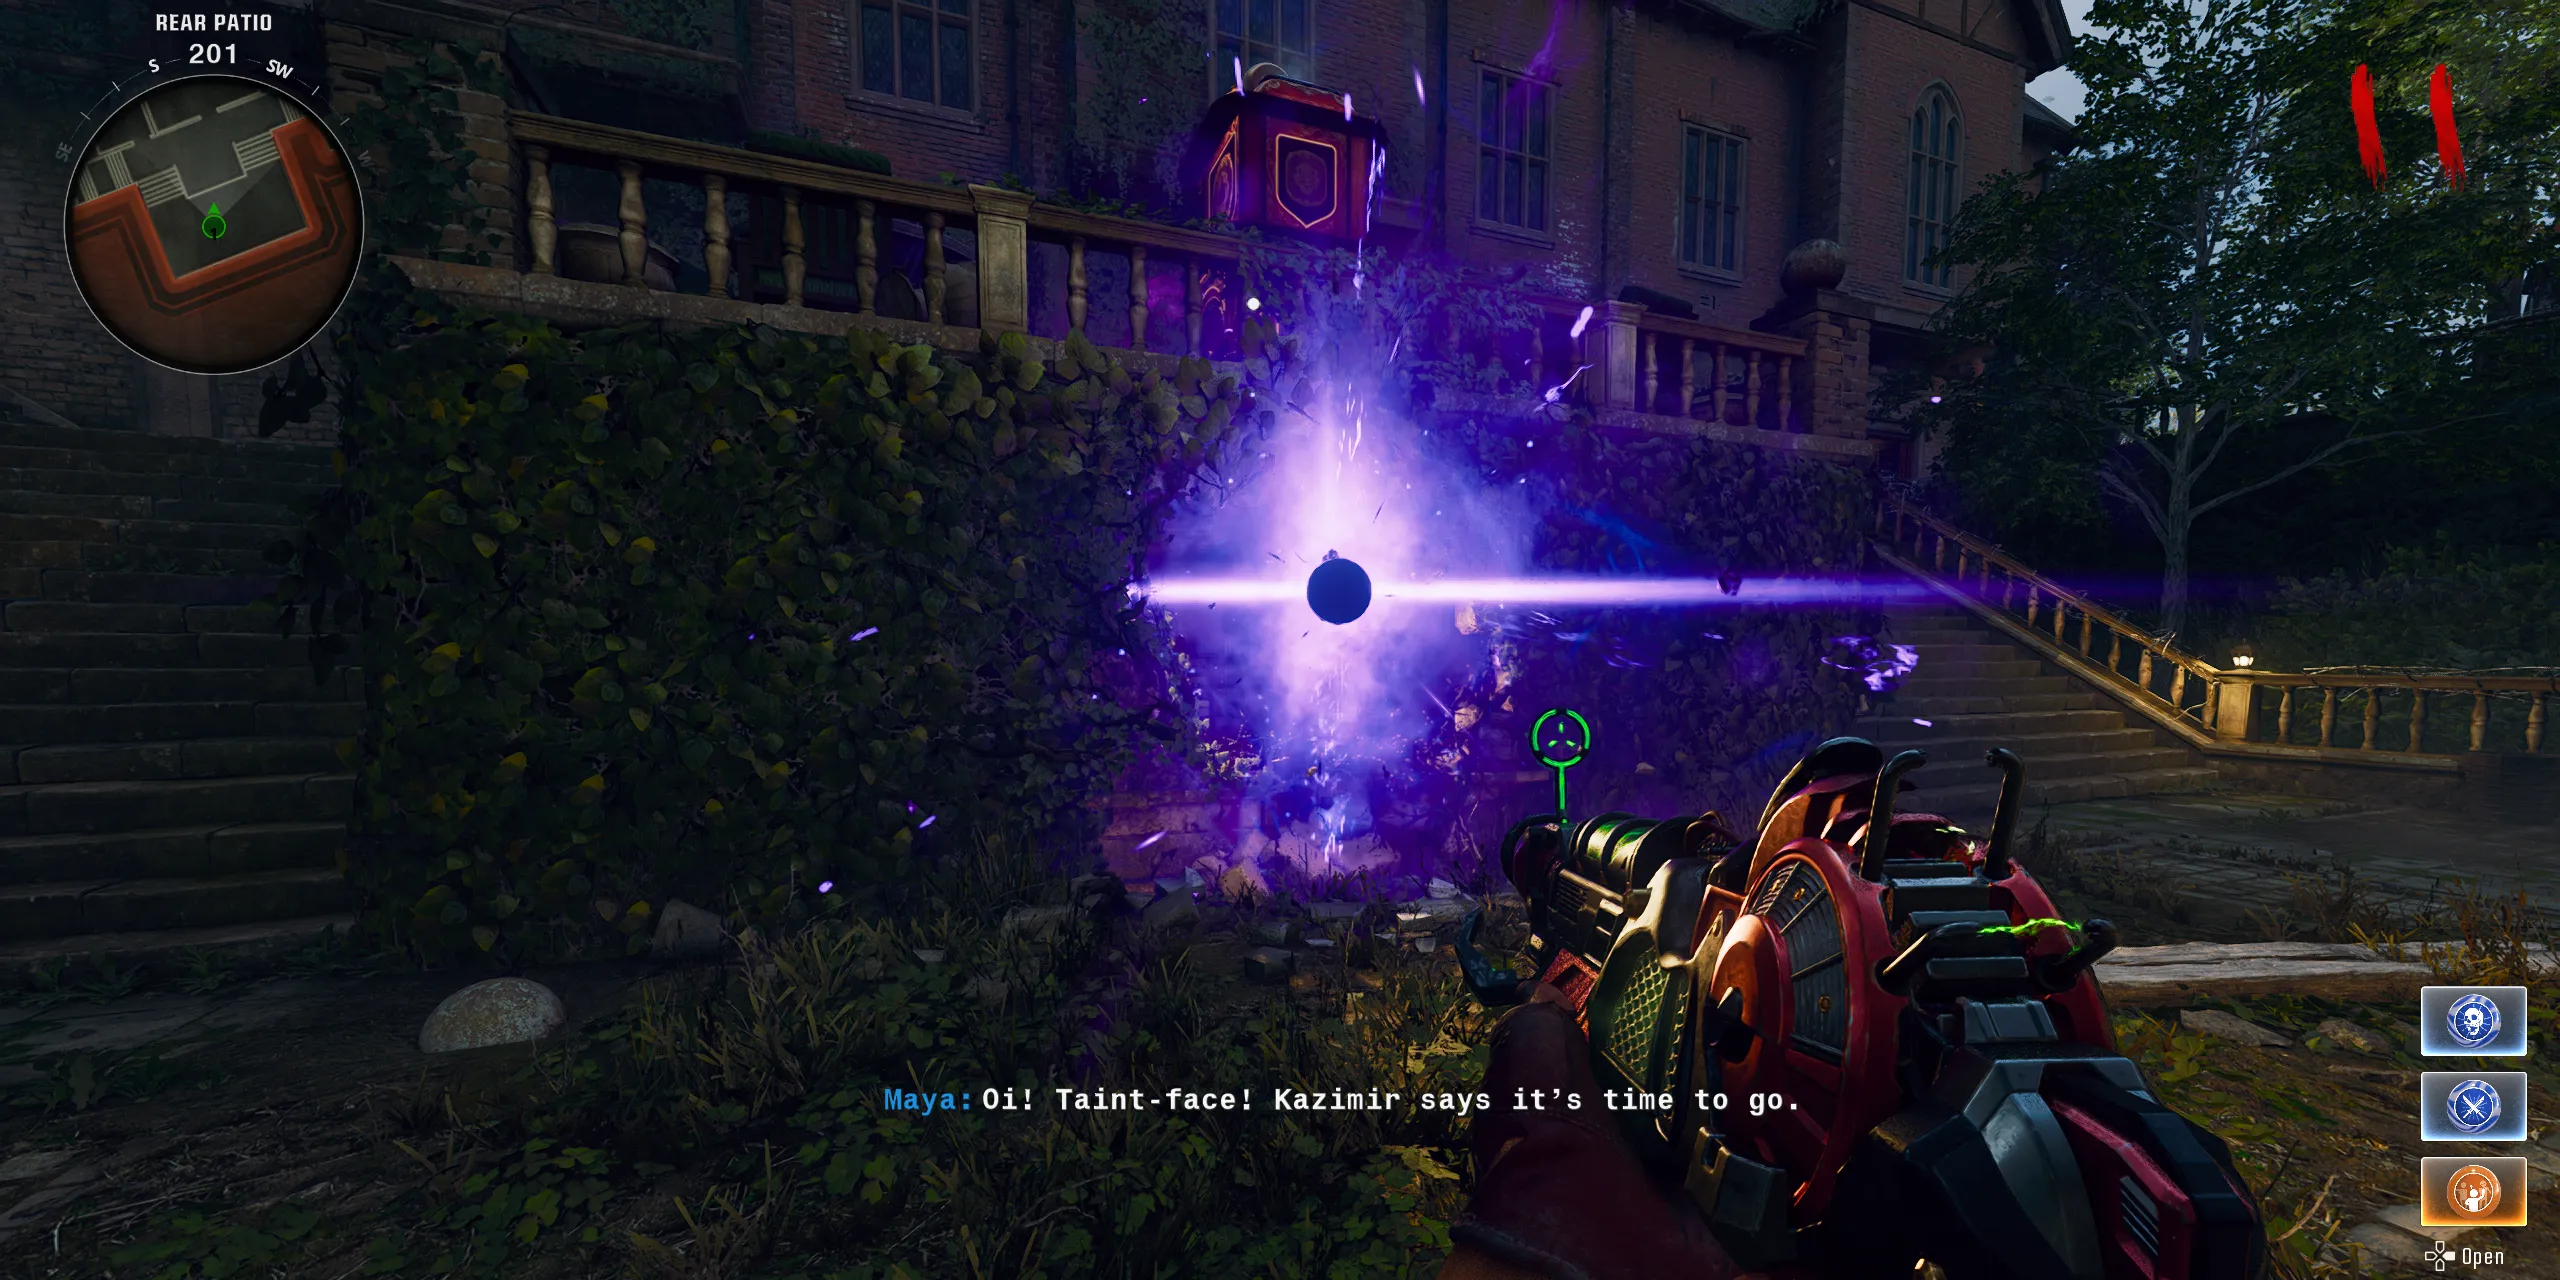
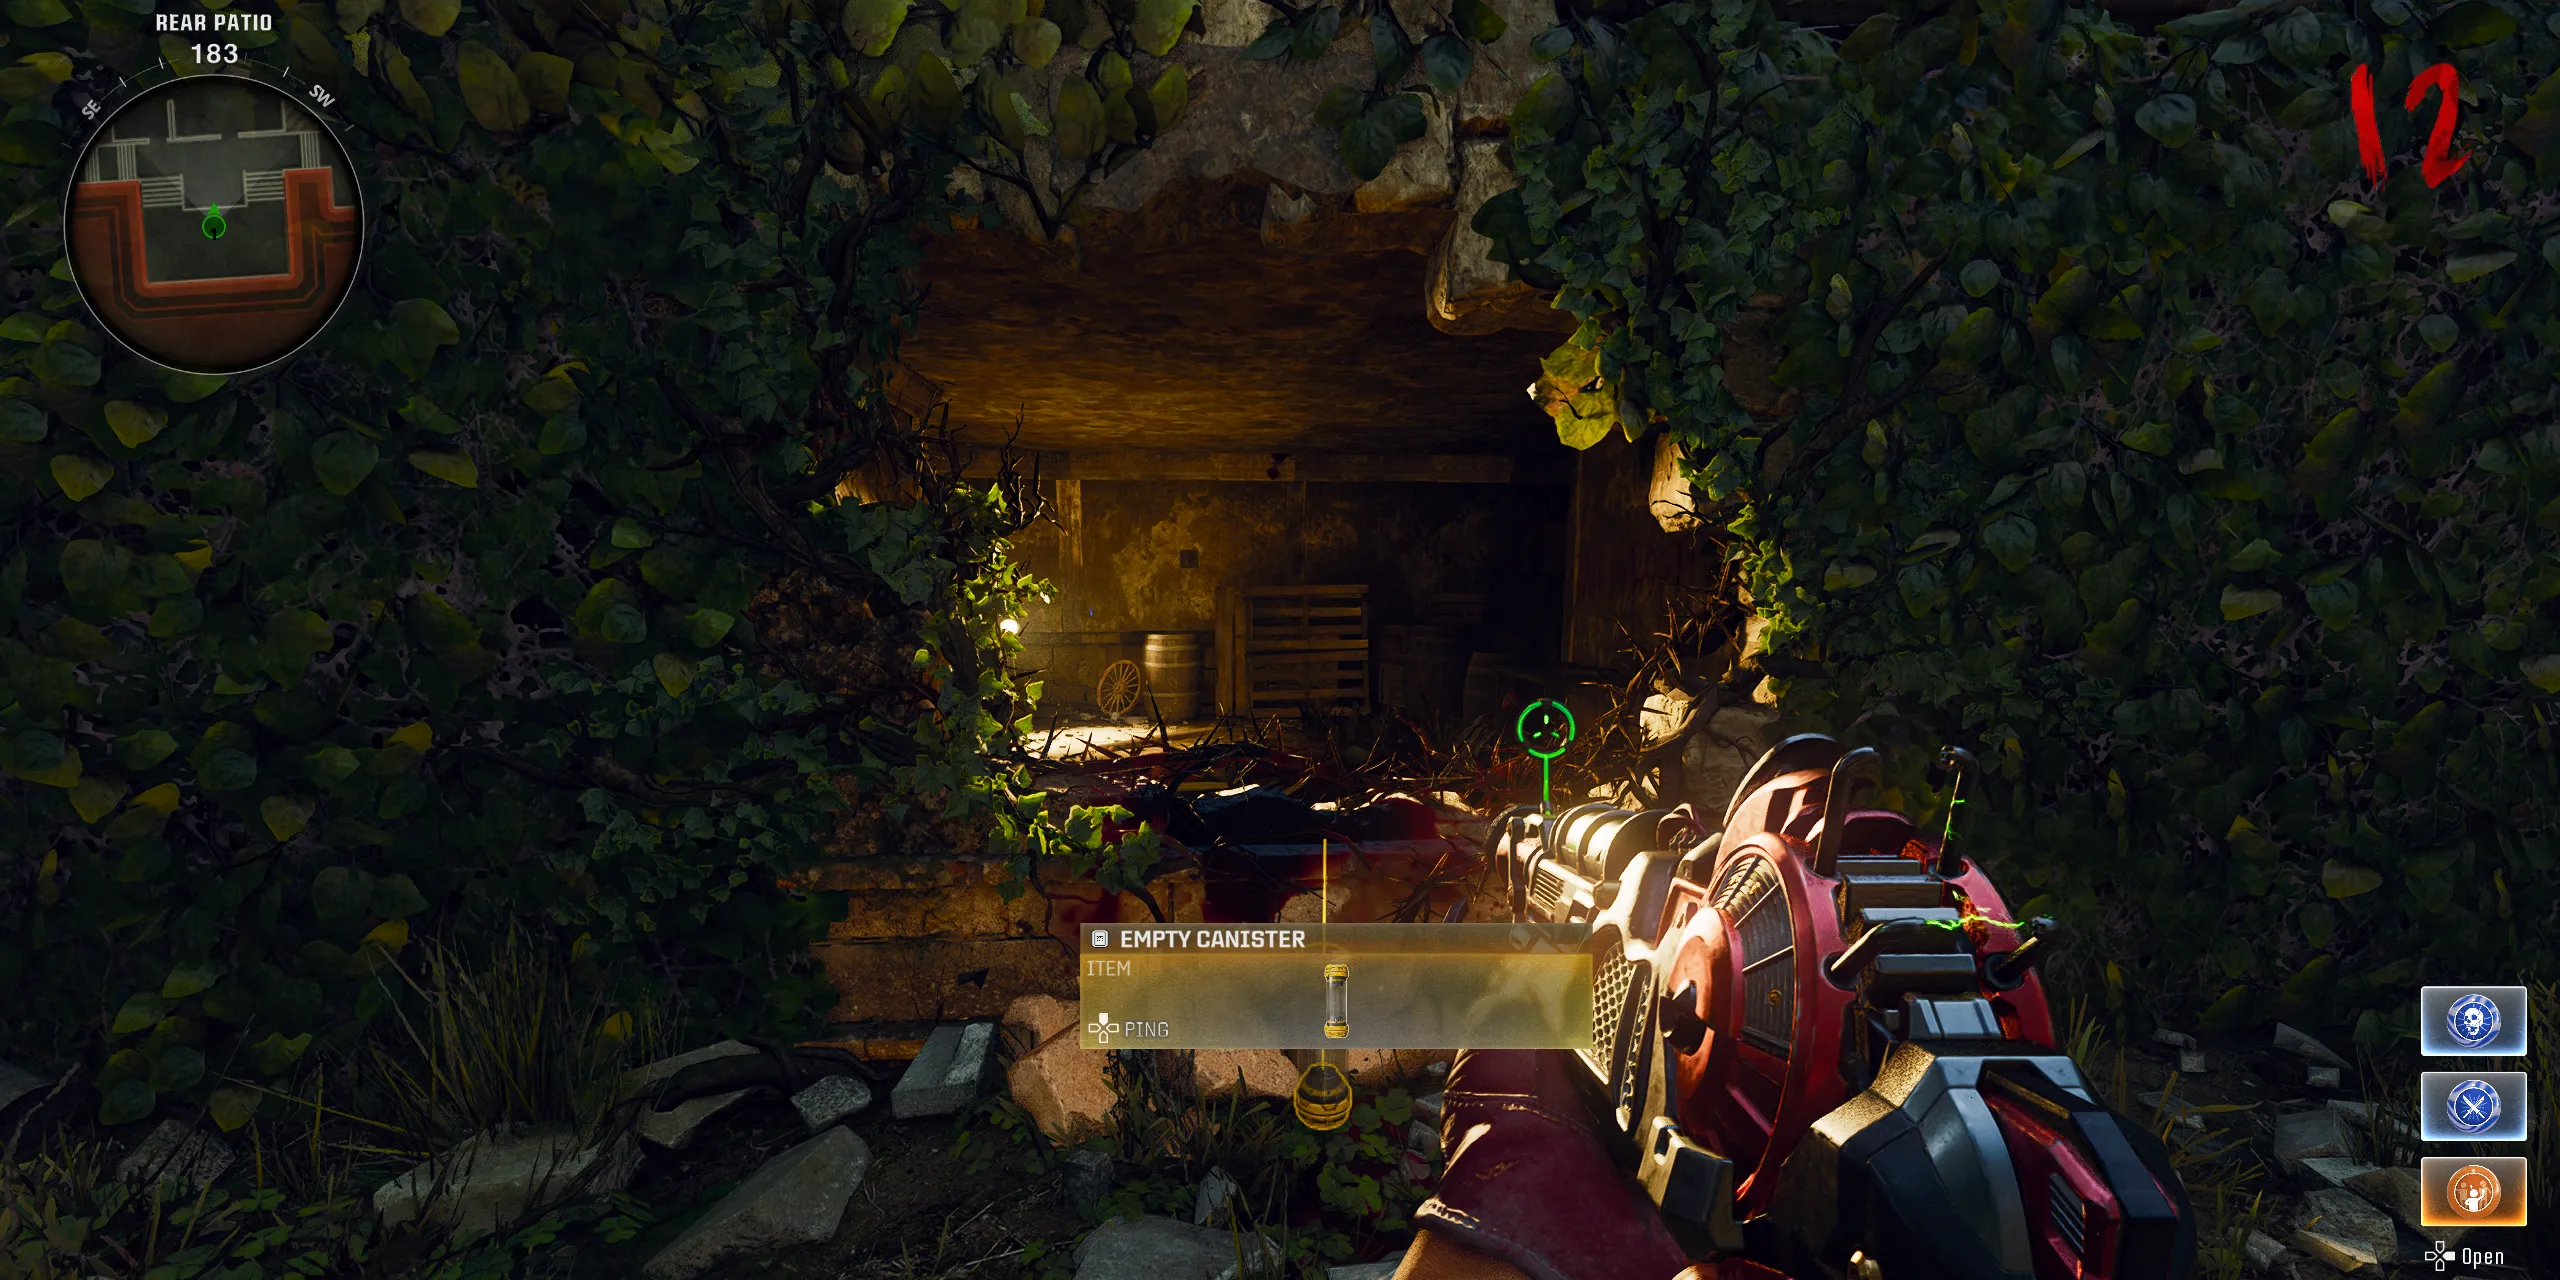
To evolve the Ray Gun to Mark 2-P, players will again need an Empty Canister. This can be acquired by tossing an LT53 Kazimir near the Rear Patio’s zombie spawn point. Once you gather the canister, collect additional necessary items, including two Reflectors, which can be found by interacting with the stone fountains:
- In front of the Conservatory
- By the Southwest Balcony
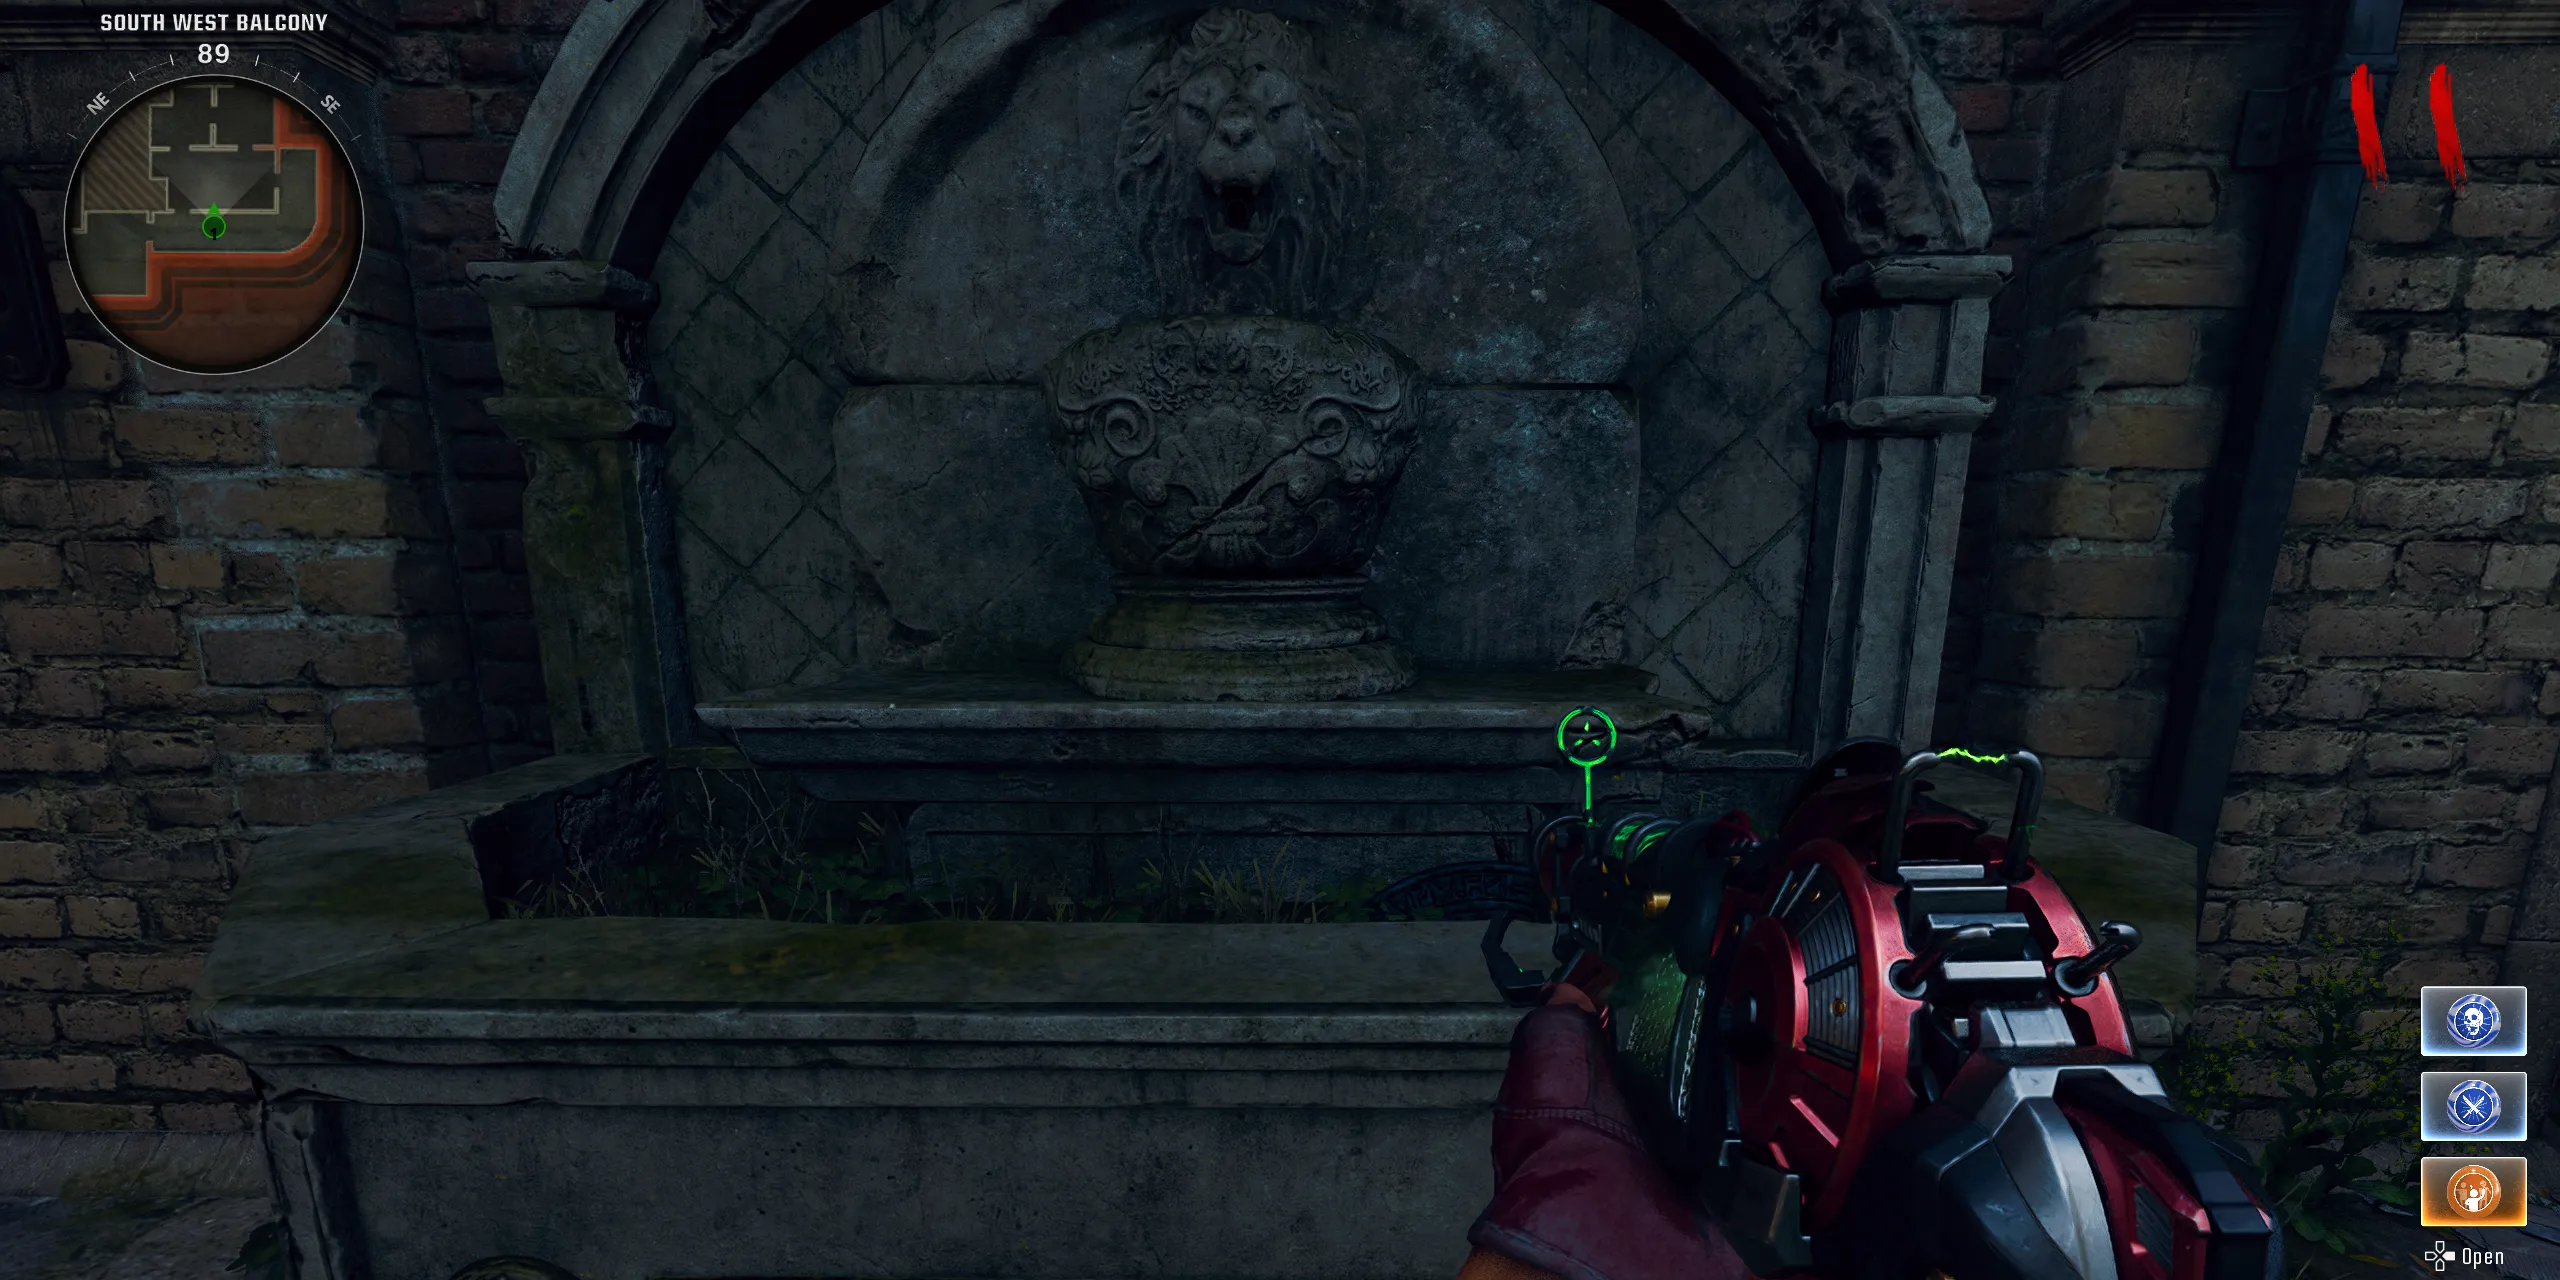
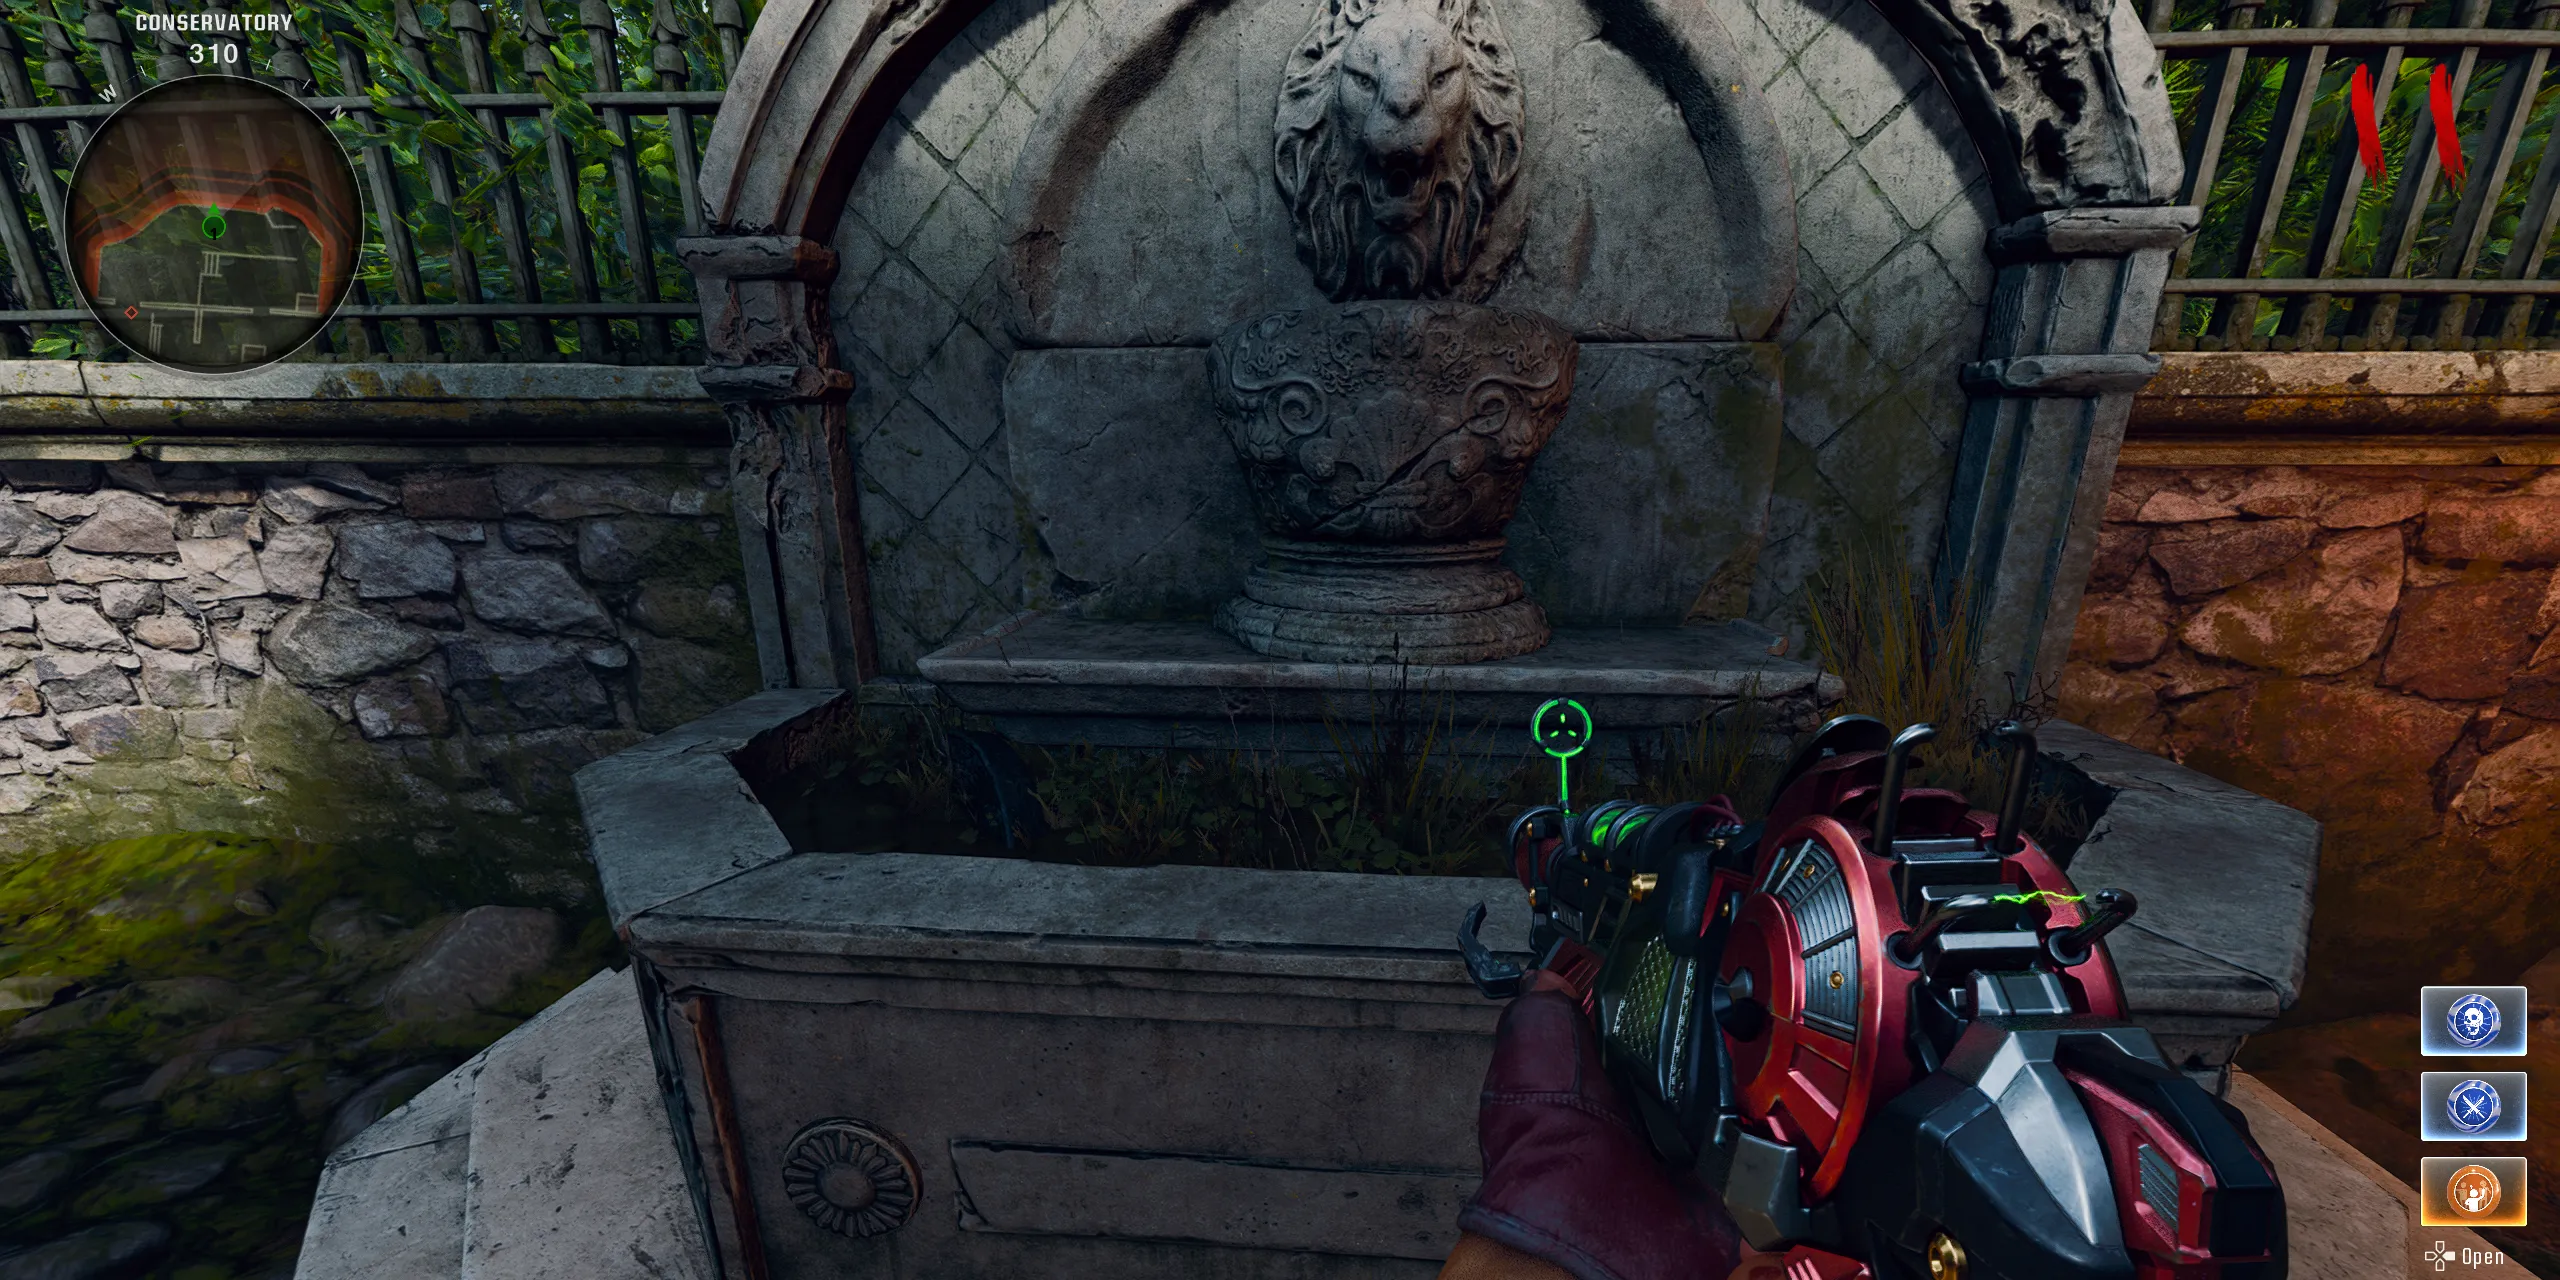
The final item needed is the Essence Bomb, which players can randomly acquire by destroying white JANUS crates across the map. With the Essence Bomb in hand, make your way to the Service Tunnels, just beside the armor wall-buy. Interact with the rocks to access a secret room and place the canister in its chamber, triggering a laser puzzle.
