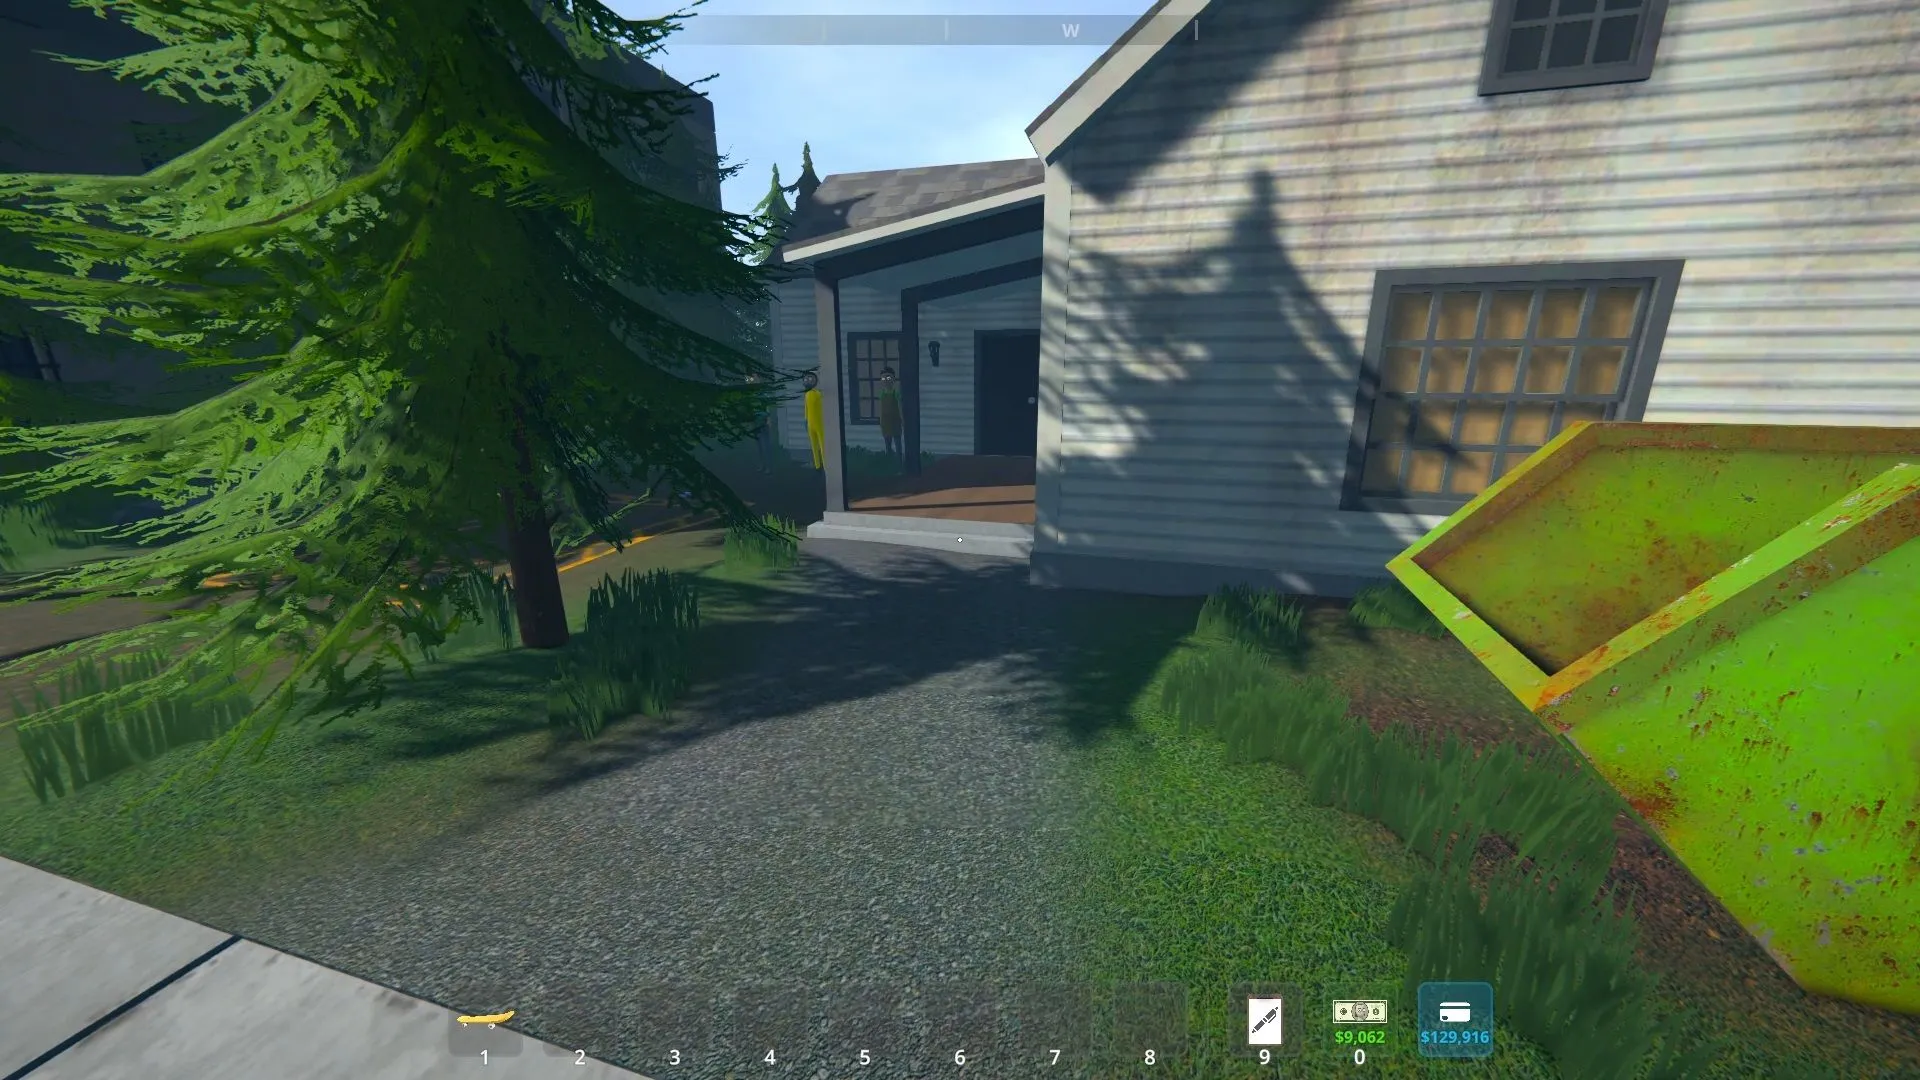
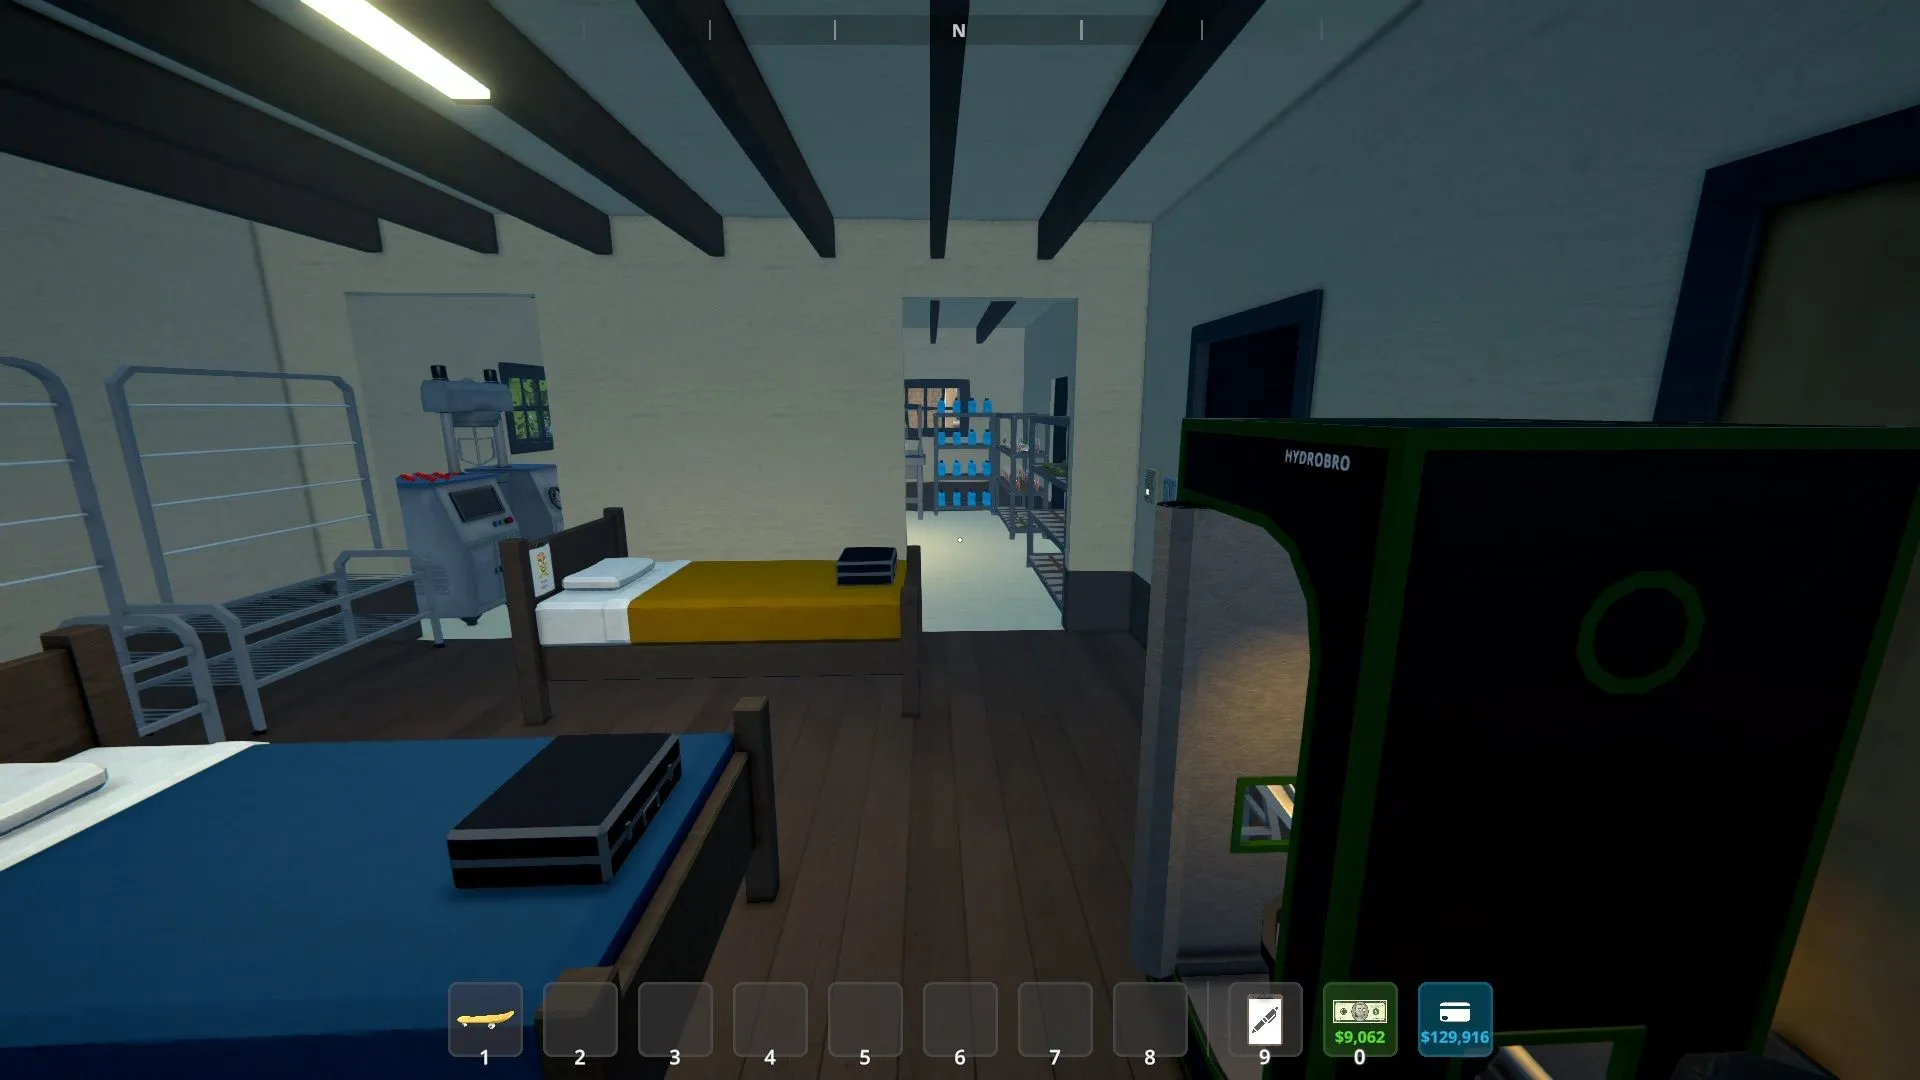
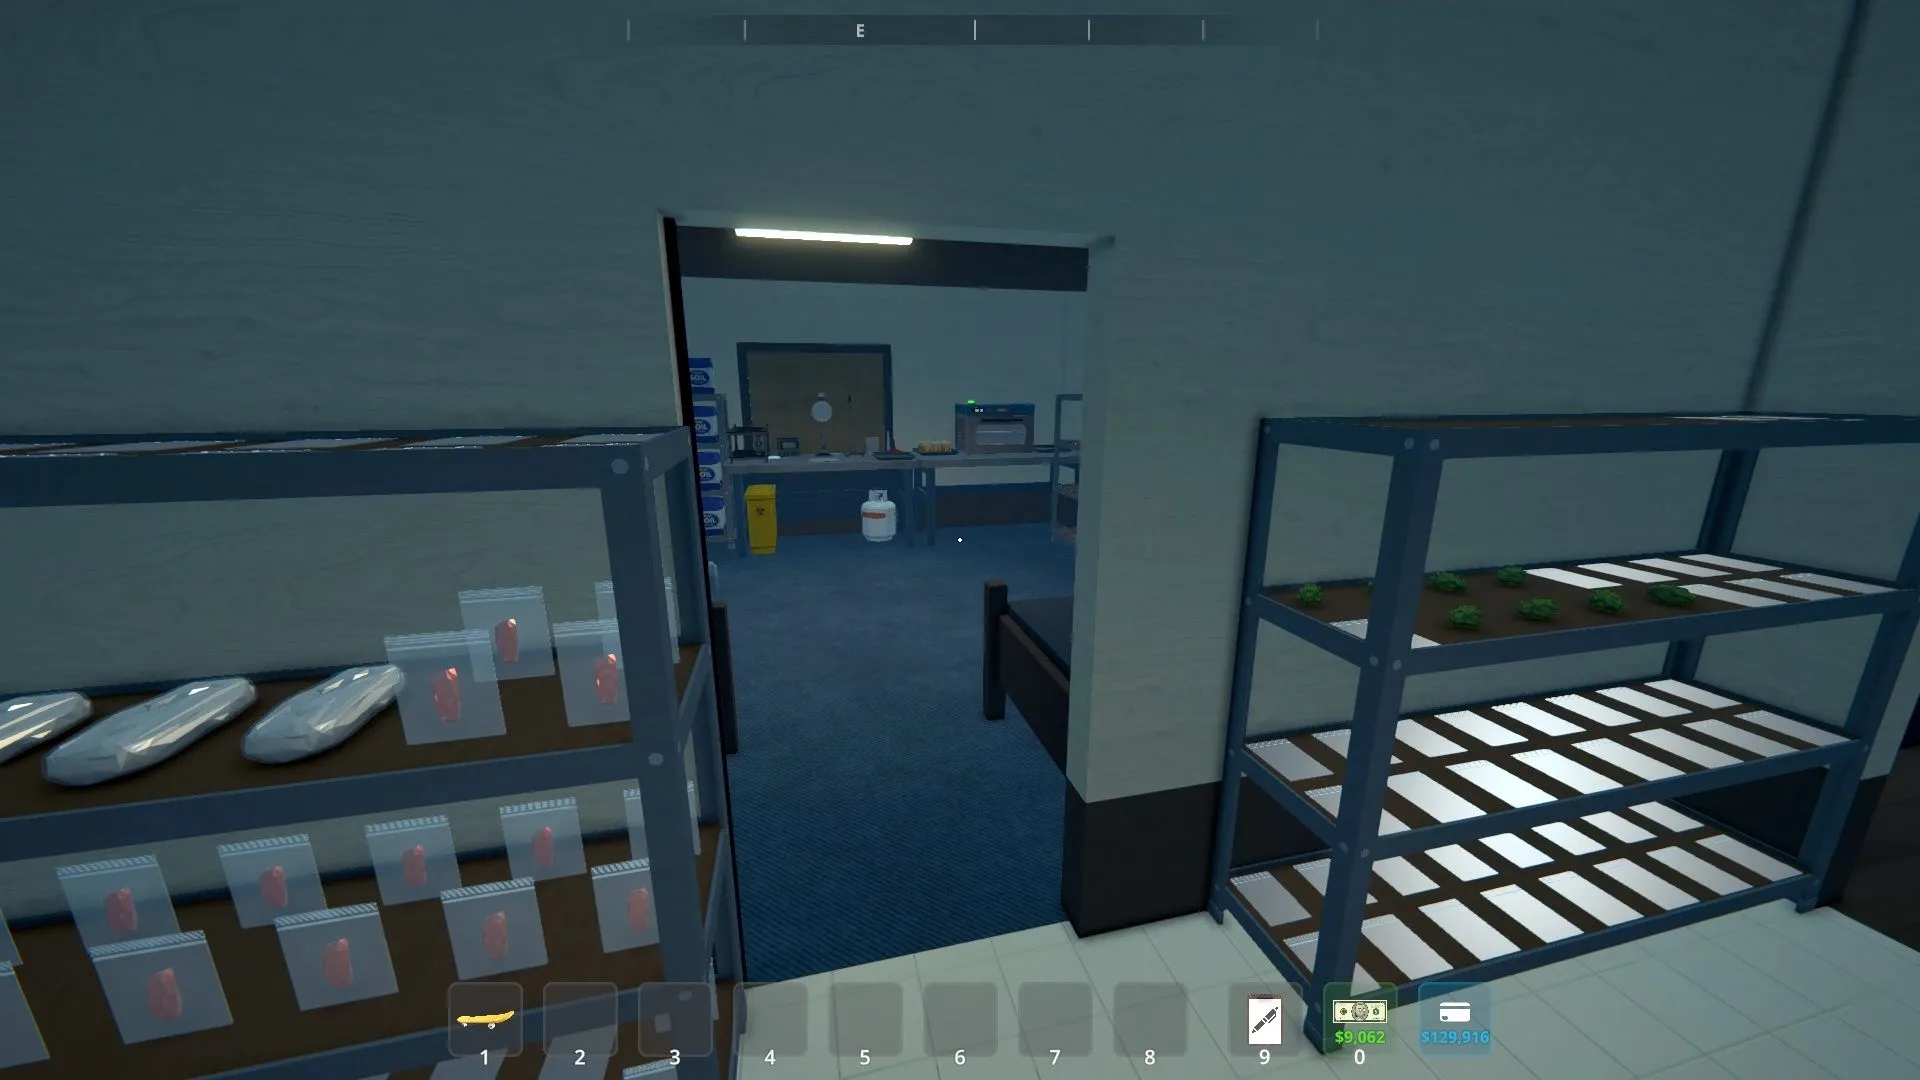
The Bungalow represents one of the initial properties available in Schedule I, characterized by its compact size. However, with meticulous planning and attention to detail, you can fully automate operations here and swiftly accumulate enough capital to facilitate upgrades. As you progress through Schedule I, you will encounter numerous opportunities to acquire a range of properties from Ray’s Real Estate. While each new property is generally larger and better equipped than the last, it also comes at a higher cost. Your ultimate objective is to expand your real estate portfolio, resulting in a more lucrative operation.
A primary short-term goal whenever you purchase a new property should be to optimize its operations. Aim for full automation, where the property essentially operates independently—your workers will handle production and sales with minimal involvement from you. This freedom allows you to explore the game world (including exciting new features added in the April update) and enjoy your profits. Achieving full automation may involve some trial and error; you may encounter occasional challenges even after reaching this state.
Optimal Bungalow Setup for Complete Automation
Overview of the Setup


Designate one of the Bungalow’s three rooms as a bedroom; the northernmost room is ideal as it accommodates up to six beds, including yours. While you could add some storage racks, they aren’t essential upon your initial purchase and can be acquired later if needed.
For our operations, we will establish the Bungalow as a weed cultivation site. This choice is easily accessible at the start of the game. Although you could opt for a meth operation, it’s advisable to save that transition for when you have more funds and space available.
Utilize moisture-preserving pots in the other corner room, starting with eight to ten pots, which can later be increased based on your needs. Above each pot, install a suspension rack topped with a grow light. Place a trash can centrally for convenience, and position mixing stations where there’s space available, ensuring they remain accessible to your workers.
Ensure there’s sufficient room for mobility within the Bungalow. A recommended configuration includes three rows of pots and grow lights, one set against each wall that’s perpendicular to the entrance, leaving a central aisle for ease of access.
Transform your kitchen into a multifunctional area for storage and packing. Install storage shelves two-deep along the walls beside the doors; this can be done later if you prefer to kick off operations sooner. Additionally, add a packaging station in the room’s center.
The entire setup is projected to cost around $12,000, varying with the number of pots and shelves you initially decide to purchase. This investment should yield a quick return, paying for itself within the first week of operation.
Assigning Employees and Managing Supplies
Hiring Staff and Optimal Placement


Prior to hiring, it’s crucial to strategically arrange all necessary supplies. Keep seeds, soil, and fertilizer close to your grow room while locating jars and bags near the packing area, along with any ingredients for mixing your chosen strain adjacent to the mixing stations.
Once your supplies are set, commence the hiring process. Ideally, start with a team that includes at least one botanist, one chemist, one cleaner, and one handler. Assign the cleaner to the trash can in the grow room, provide the botanist with all relevant supplies and grow pots, allocate the chemist to the mixing machines, and designate the handler to the mixing stations.
For efficiency, remember that a single staff member can oversee multiple stations by holding shift while clicking on them.
Initially, you may need to assist by transporting jars and bags to and from the packing station. However, once financially viable, consider hiring a second handler for this task to achieve complete autonomy.
With this arrangement, your operations should smoothly manage themselves, provided your employees remain compensated. For optimal performance, consider pre-paying staff whenever possible to prevent disruptions. As you keep processes running efficiently, this setup will help you generate substantial revenue in Schedule I.


