In the immersive world of Schedule 1, establishing your empire transcends merely producing goods; it requires astute navigation to gather the necessary resources. Once you initiate orders via your in-game phone—typically through a contact named Albert Hoover—you’ll receive updates directing you to various Dead Drop locations. These locations are strategically positioned throughout Hyland Point, often disguised as small hatches located in alleys and back streets.
While some hatches are easily accessible, others demand a bit more street-savvy and a willingness to explore. To help you efficiently locate these drops, here’s a comprehensive guide detailing known Dead Drop sites, complete with directional hints.
Complete Guide to Dead Drop Locations in Schedule 1
These Dead Drops, typically appearing as inconspicuous hatches embedded in walls, are spread throughout Hyland Point. Here’s where you can find them:
1) Behind the Grocery Store
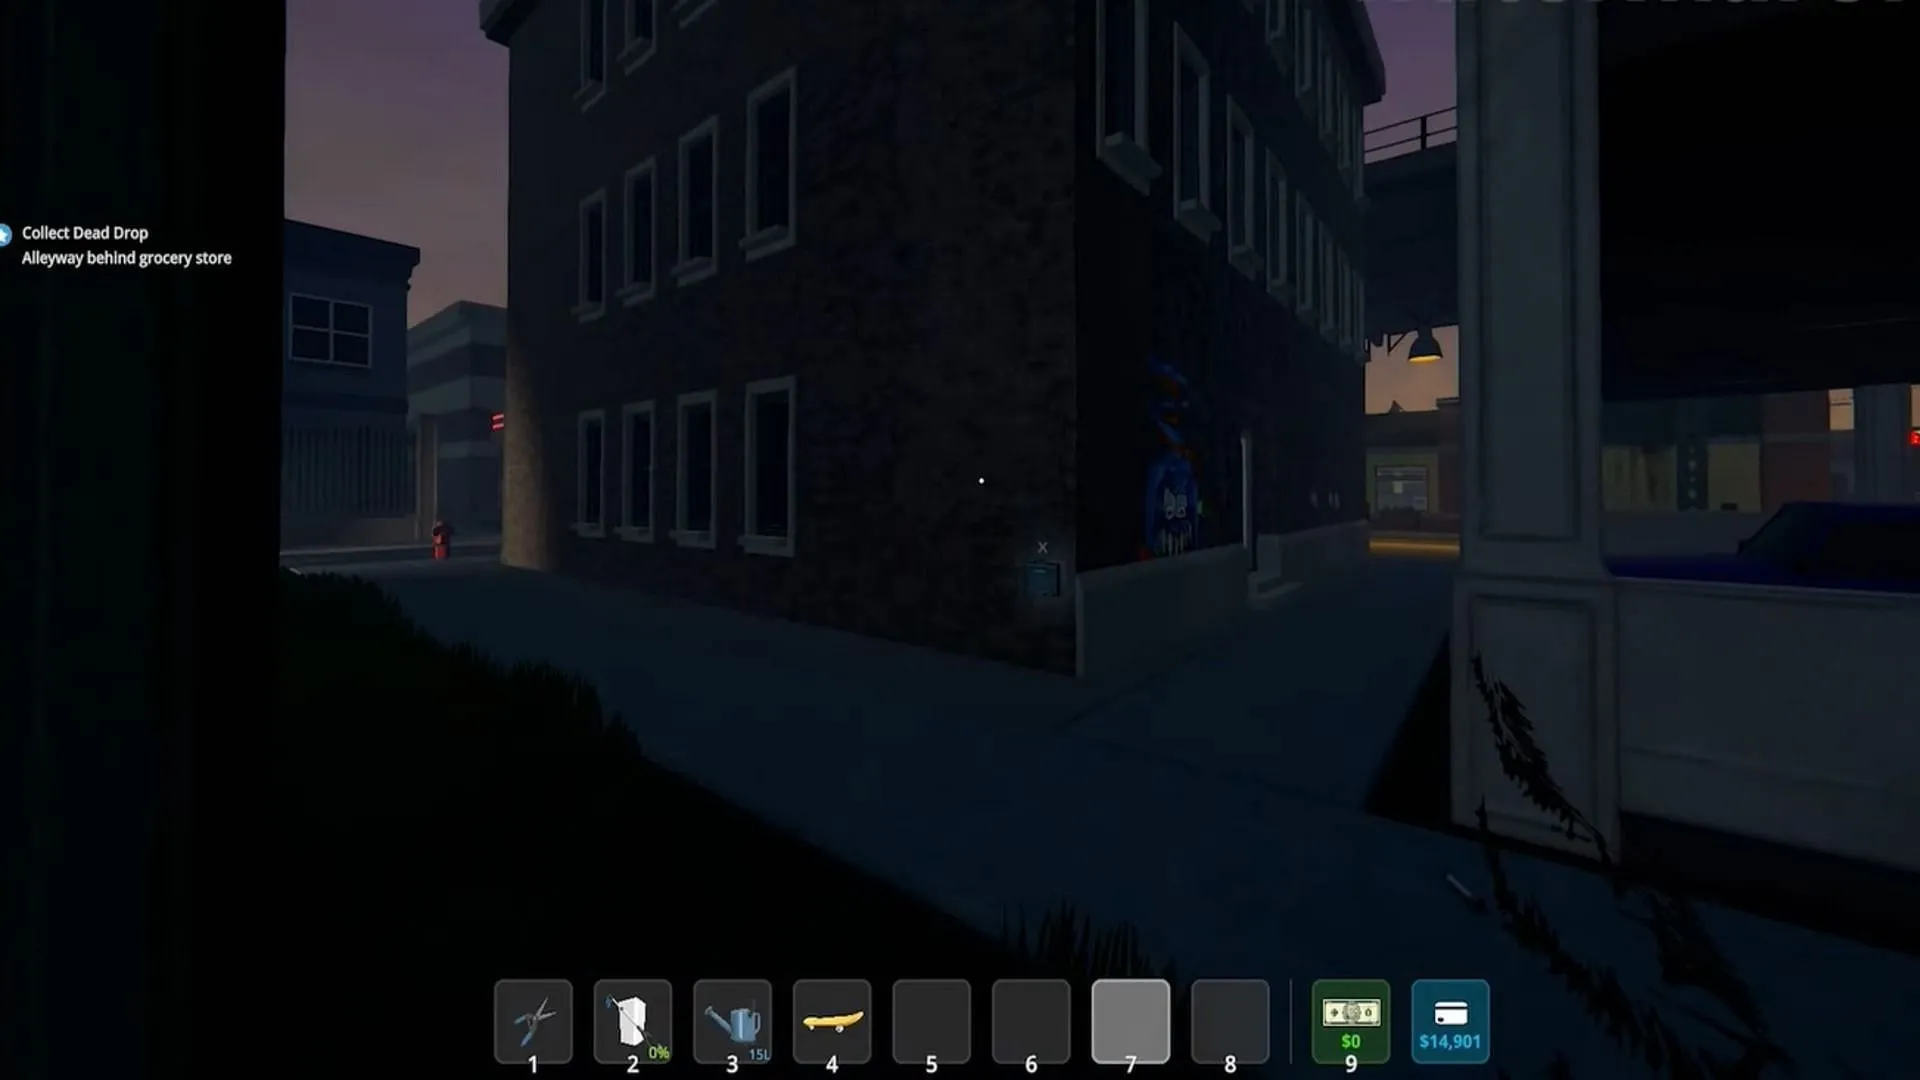
This location is somewhat of a puzzle. When you receive the alert indicating, “Collect Dead Drop behind the Grocery Store,”don’t waste time searching for it on the map—the grocery store is not marked. Instead, navigate past Koyama Chemical Company and Taco Ticklers until you spot an ATM. Turn right into a narrow alley beyond the ATM and follow the path until you discover the hatch, which may require a keen eye to spot.

2) Behind the Laundromat
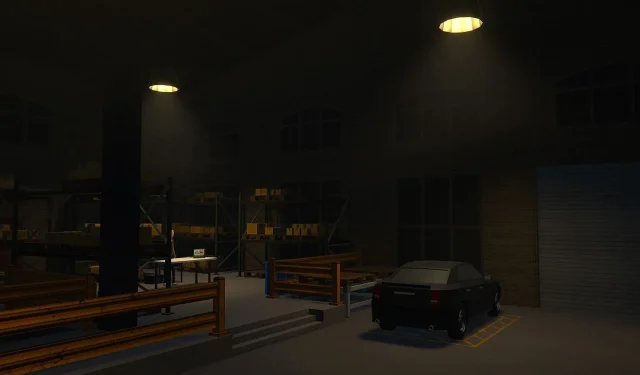
This Dead Drop is subtly placed between a warehouse and a laundromat. Venture through the narrow alley situated between the two buildings; the hatch can be found at the rear. It can be easily overlooked, especially if you’re in a rush, but once located, it serves as a convenient pickup point.
3) In the Rear of the Motel Office

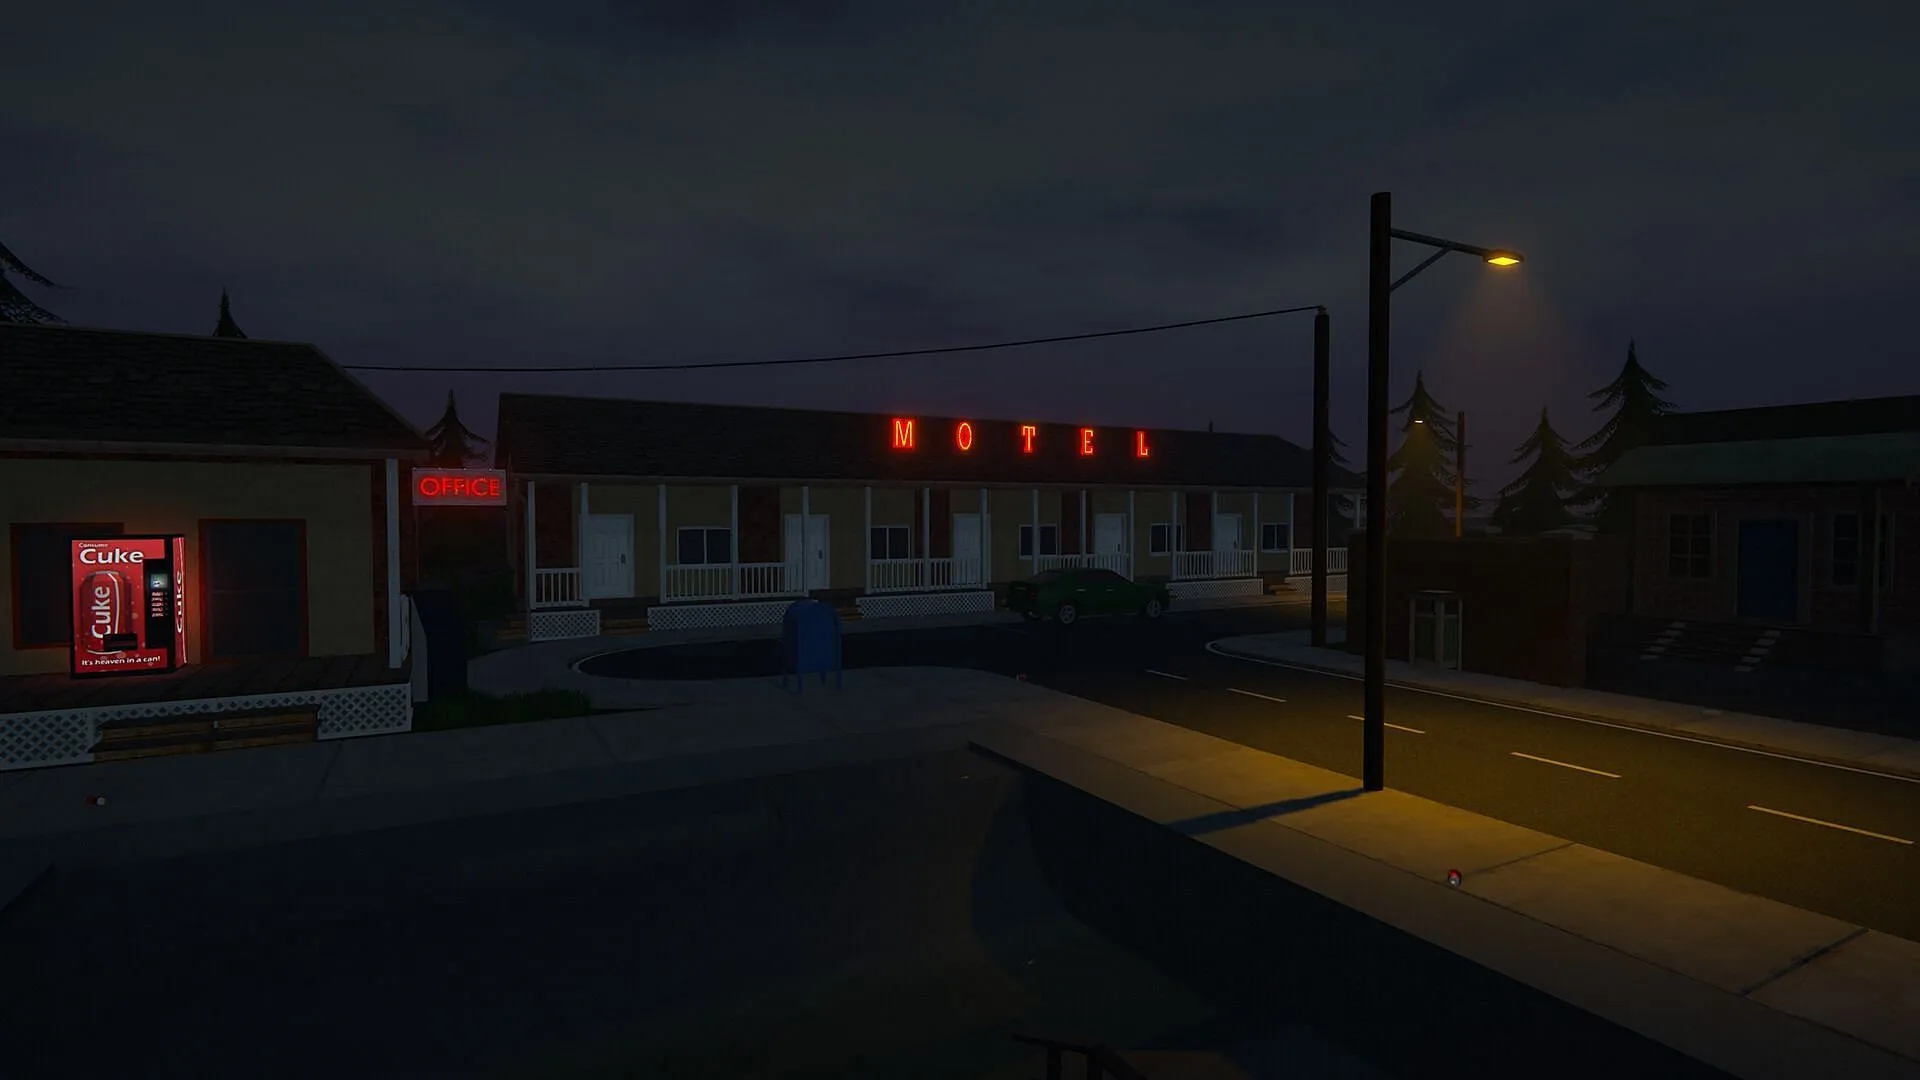
A reliable Dead Drop awaits behind the Motel. Walk between the Motel and its adjacent office building, and then turn left. You’ll want to keep an eye out for the hatch, which is affixed to the back wall—this drop is straightforward to access once you know its location.
4) Crimson Canary Back Alley
This Dead Drop can be found close to the Crimson Canary nightclub, adjacent to The Butterbox. To discover it, enter the alley wedged between the Crimson Canary and a building named Les Ordures Puantes. Look closely at the right-hand wall, as that’s where the hatch is situated, making it a prime location in the mid-city area.
5) North Arcade Wall
To reach this spot, cross the canal bridge and immediately turn into the first alley on your left. Then take a right, moving past stacked drums, and search for the hatch on the north side of the arcade. Though it may feel a bit maze-like, this Dead Drop is worth your while once you familiarize yourself with the route.
6) West Wall of the Pawn Shop
Located near Taco Ticklers, this Dead Drop is easily accessible. Approach the Pawn Shop, where you’ll notice a signboard and a trash bin nearby. Just past these, on the west wall of the building, you’ll find the hatch cleverly hidden. Since it’s in plain sight, it makes for a quick stop during your collection rounds.
7) Skate Park Wall
Positioned directly across from Thompson Construction & Demo, the Skate Park features a hatch on a small wall facing the road. This drop is particularly memorable due to its visibility, making it a straightforward location to recall.
8) Taco Ticklers Exterior Wall
Near the famous Taco Ticklers, this hatch is easily accessible. After passing Taco Ticklers, take the first left turn; the hatch is positioned next to a green pillar so keep an eye out for it. Given the area’s popularity, this drop spot is frequently visited, making it beneficial for routine checks.
9) Under the West Bridge
Arguably the most concealed Dead Drop in the game, this location is nestled beneath the West Bridge. To access it, climb into the canal and navigate your way below. Although it’s rather isolated, it’s an excellent pickup spot if you happen to be in the western part of Hyland Point.
Mastering the locations of these Dead Drops can significantly enhance your efficiency in resource collection. Once you familiarize yourself with these routes, retrieving pickups will become second nature. Whether you’re just beginning your journey or expanding your operation, this knowledge will undoubtedly provide a competitive edge in the engaging landscape of Schedule 1.


