In Baldur’s Gate 3, players encounter two pivotal characters: Sovereign Glut and Sovereign Spaw. The decision to ally with either of these Myconid sovereigns presents a significant branching path in the game, making this choice one of particular importance. These two figures can be found in the foreboding Underdark during Act 1. Sovereign Spaw leads a Myconid circle striving for protection and retribution against the hostile Duergar, while Sovereign Glut seeks refuge in Spaw’s colony after suffering a devastating loss at the hands of the same foes.
The choices in Baldur’s Gate 3 can drastically change the storyline, making it essential for players to understand the potential outcomes of their decisions. Aligning with one of these Myconid sovereigns can yield some loot and unlock unique narrative experiences. However, this choice often leads to formidable battles, and players face the looming possibility of Glut’s demise, which could abruptly conclude his related storyline.
Rewards for Helping Sovereign Spaw
Spaw’s Generosity Towards Allies

Supporting Sovereign Spaw entails informing him about the attempt on his life. In doing so, Spaw promises access to a hidden treasure room—if you eliminate Glut. This choice generates various approval ratings among companions: Karlach and Lae’zel are pleased, while Astarion disapproves, leaning into his character’s tendencies.
The loot gained from Glut’s defeat is generally superior compared to what can be gathered from Spaw post-battle. Glut possesses a variety of items, including several valuable spell scrolls and Underdark ingredients. However, it’s crucial to note that looting Glut’s remains in front of the other Myconids is considered theft, necessitating either a stealth approach or executing the deed away from the colony, which might sacrifice access to Spaw’s treasure room. Strategies like using invisibility spells have proven effective for this task.
Though Glut’s loot has its appeal, the most rewarding aspect comes from informing Spaw about Glut’s actions. He will honor his commitment, unveiling a secret chamber filled with additional scrolls, ingredients, and gold. More notably, the treasure room contains the Shadow of Menzoberranzan, an enticing helmet that bestows invisibility for one use per long rest. While various methods exist for acquiring invisibility in Baldur’s Gate 3, this item can be particularly advantageous for classes like rogues or rangers.
Benefits of Aligning with Glut
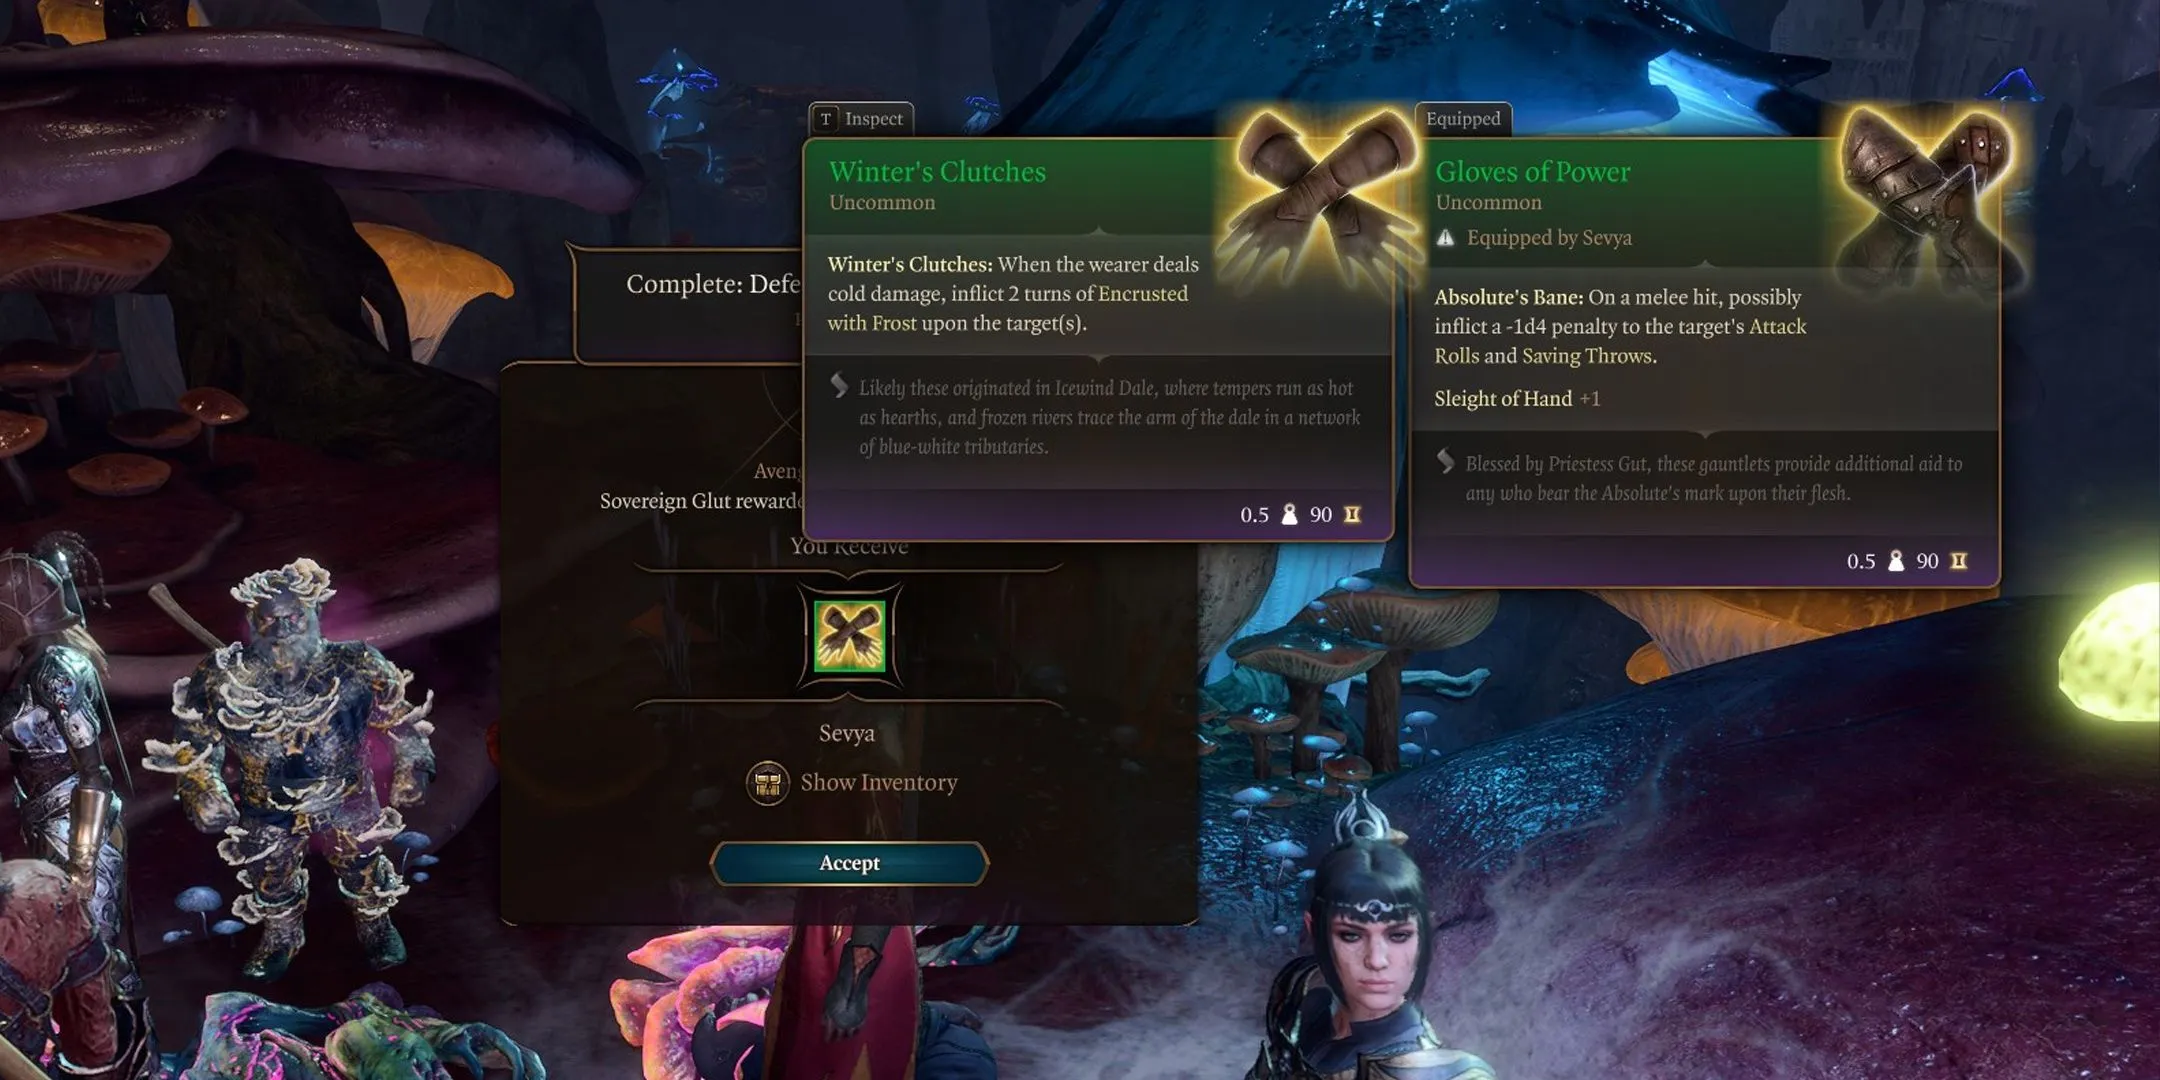
Unique Gauntlets as Key Rewards


While opting to defeat Glut may appear straightforward, joining his cause can unveil unique rewards in Baldur’s Gate 3. The approval dynamics shift with this decision: Astarion supports Glut, while Karlach and Lae’zel express disapproval.
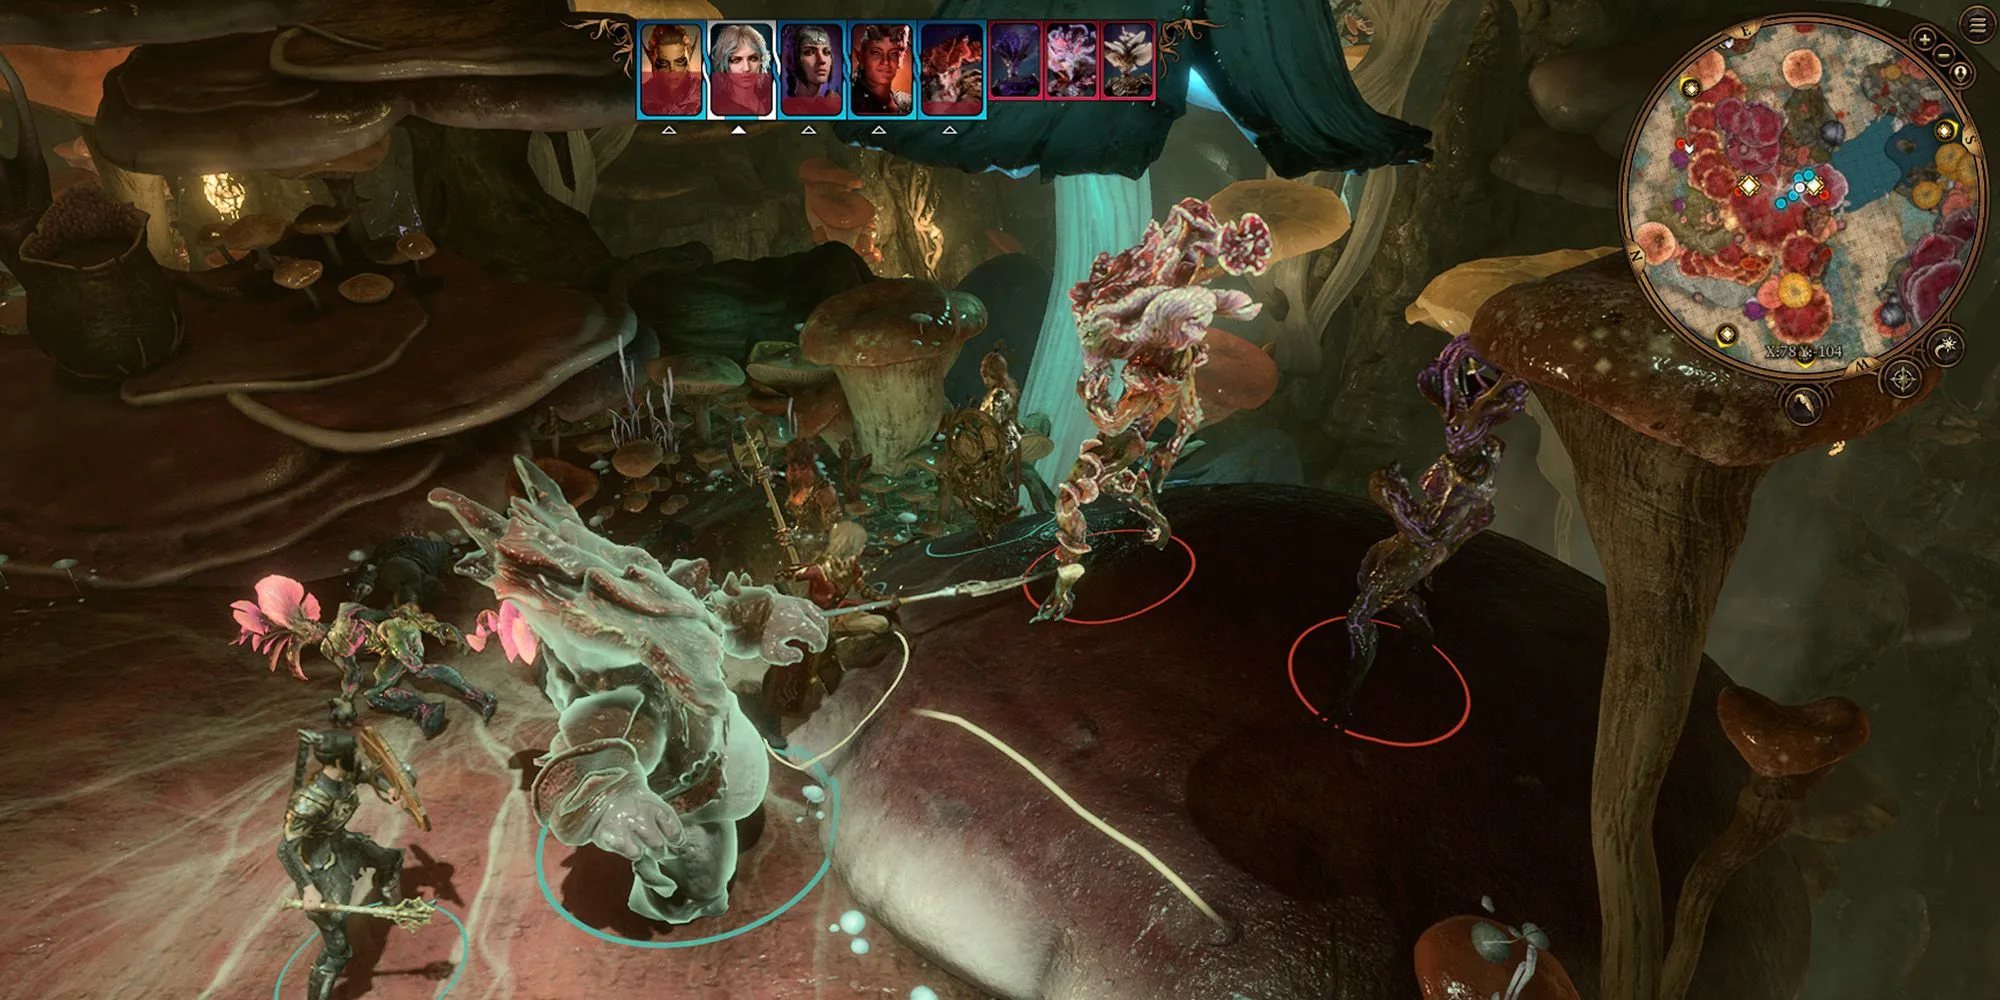
Notably, Glut will accompany the party to confront Gekh Coal if the party agrees to assist in eliminating Spaw afterward. The Gekh Coal encounter is intense, requiring strategic tactics in a vertical arena ripe for manipulation; players can push enemies off heights for significant advantages. Although Glut’s assistance is not critical for victory, his powerful spell, Animating Spores, allows players to control reanimated foes temporarily, providing a tactical edge.
That being said, there is a risk involved, as Glut may perish during the fight. In my own playthrough, a duergar sent him tumbling off a ledge, dissipating this quest line instantly. If you manage to keep Glut alive, your next target will be Spaw. However, defeating Spaw can be more challenging due to the potential interference from his allies, which can create overwhelming odds.
The loot from Spaw’s defeat typically mirrors that found on Glut’s body, with the main distinction being the Winter’s Clutches acquired through choosing Glut over Spaw’s treasure room contents. Clever strategies exist for dealing with Spaw, such as employing spells to knock him from ledges, which can facilitate an easier approach to the fight, although it precludes looting him outright.
Reasons to Support Sovereign Spaw
The Logical Choice in Supporting the Reigning Myconid

Although Sovereign Glut offers the allure of assistance in battles, he also harbors self-serving ambitions that threaten the stability of the Myconid community. Glut’s resentment stems from Spaw’s prior refusal to aid his fallen circle, pushing him to seek revenge. Additionally, his request for the party’s help to take control of the colony leaves little space for negotiation.
Choosing to oppose Glut often leads to a more manageable encounter, as defeating him typically proves simpler than confronting Spaw. Though Glut can inflict considerable damage, he acts as a solo opponent against the full party, often leading to a swift victory for well-prepared groups.
Conversely, challenging Spaw often invites the wrath of his entire circle, creating a tumultuous encounter filled with numerous combatants. While only Spaw needs to be vanquished for victory, delays can lead to heightened danger. Both avenues present their unique challenges, but consistently, eliminating Glut appears smoother.
Moreover, players can use tactics to subdue Glut, leading him back to Spaw and revealing his treachery. This strategy encourages the Myconids to aid in defeating Glut, significantly tipping the scales in favor of the party. However, it is critical to reveal Glut’s betrayal at the right moment to claim full rewards later.
Impact of Choosing Between Glut or Spaw on the Story
Limited Story Divergence

In contrast to other conflicts in Baldur’s Gate 3, the rivalry between the two Myconid sovereigns doesn’t lead to major narrative shifts. Choosing to side with Glut results in the Myconid colony transitioning seamlessly under his rule post-Spaw’s demise. Regardless of the choice, players will be tasked with defeating another enemy in the Underdark, prompting both paths to converge. Each Sovereign expresses gratitude differently, showcasing their unique characteristics.
The most notable narrative implication may arise from companion reactions. For instance, Astarion favors siding with Glut, while Karlach disapproves, reflecting their respective moral frameworks. Glut’s vengeance against Spaw is justified but also driven by his desire for control, making it a morally ambiguous choice.
Ultimately, players should find value in both paths for role-playing reasons, as custom characters may naturally lean toward revenge. Although the difference in rewards might not deter a good-aligned party from supporting Spaw, the extra bonuses certainly enhance the experience.
The lack of drastic narrative consequences highlights the decision between Sovereign Glut and Sovereign Spaw as one of subtle implications. While both routes present similar rewards, the combat advantages and slightly enhanced loot associated with siding with Spaw typically render it a more favorable choice, unless specific goals guide players toward Glut. Ultimately, choosing Spaw in Baldur’s Gate 3 aligns better with a strategic and well-rounded approach.


