No Man’s Sky captivates players with its stunning flora and fascinating fauna, inviting exploration and discovery. Initially, players faced challenges sharing their findings due to the lack of a dedicated functionality for photography. Fortunately, with the introduction of Photo Mode in the Pathfinder update, gamers can now immortalize their adventures and showcase their best shots to both friends and the broader community. However, entering Photo Mode requires a bit of navigation.
Accessing Photo Mode in No Man’s Sky

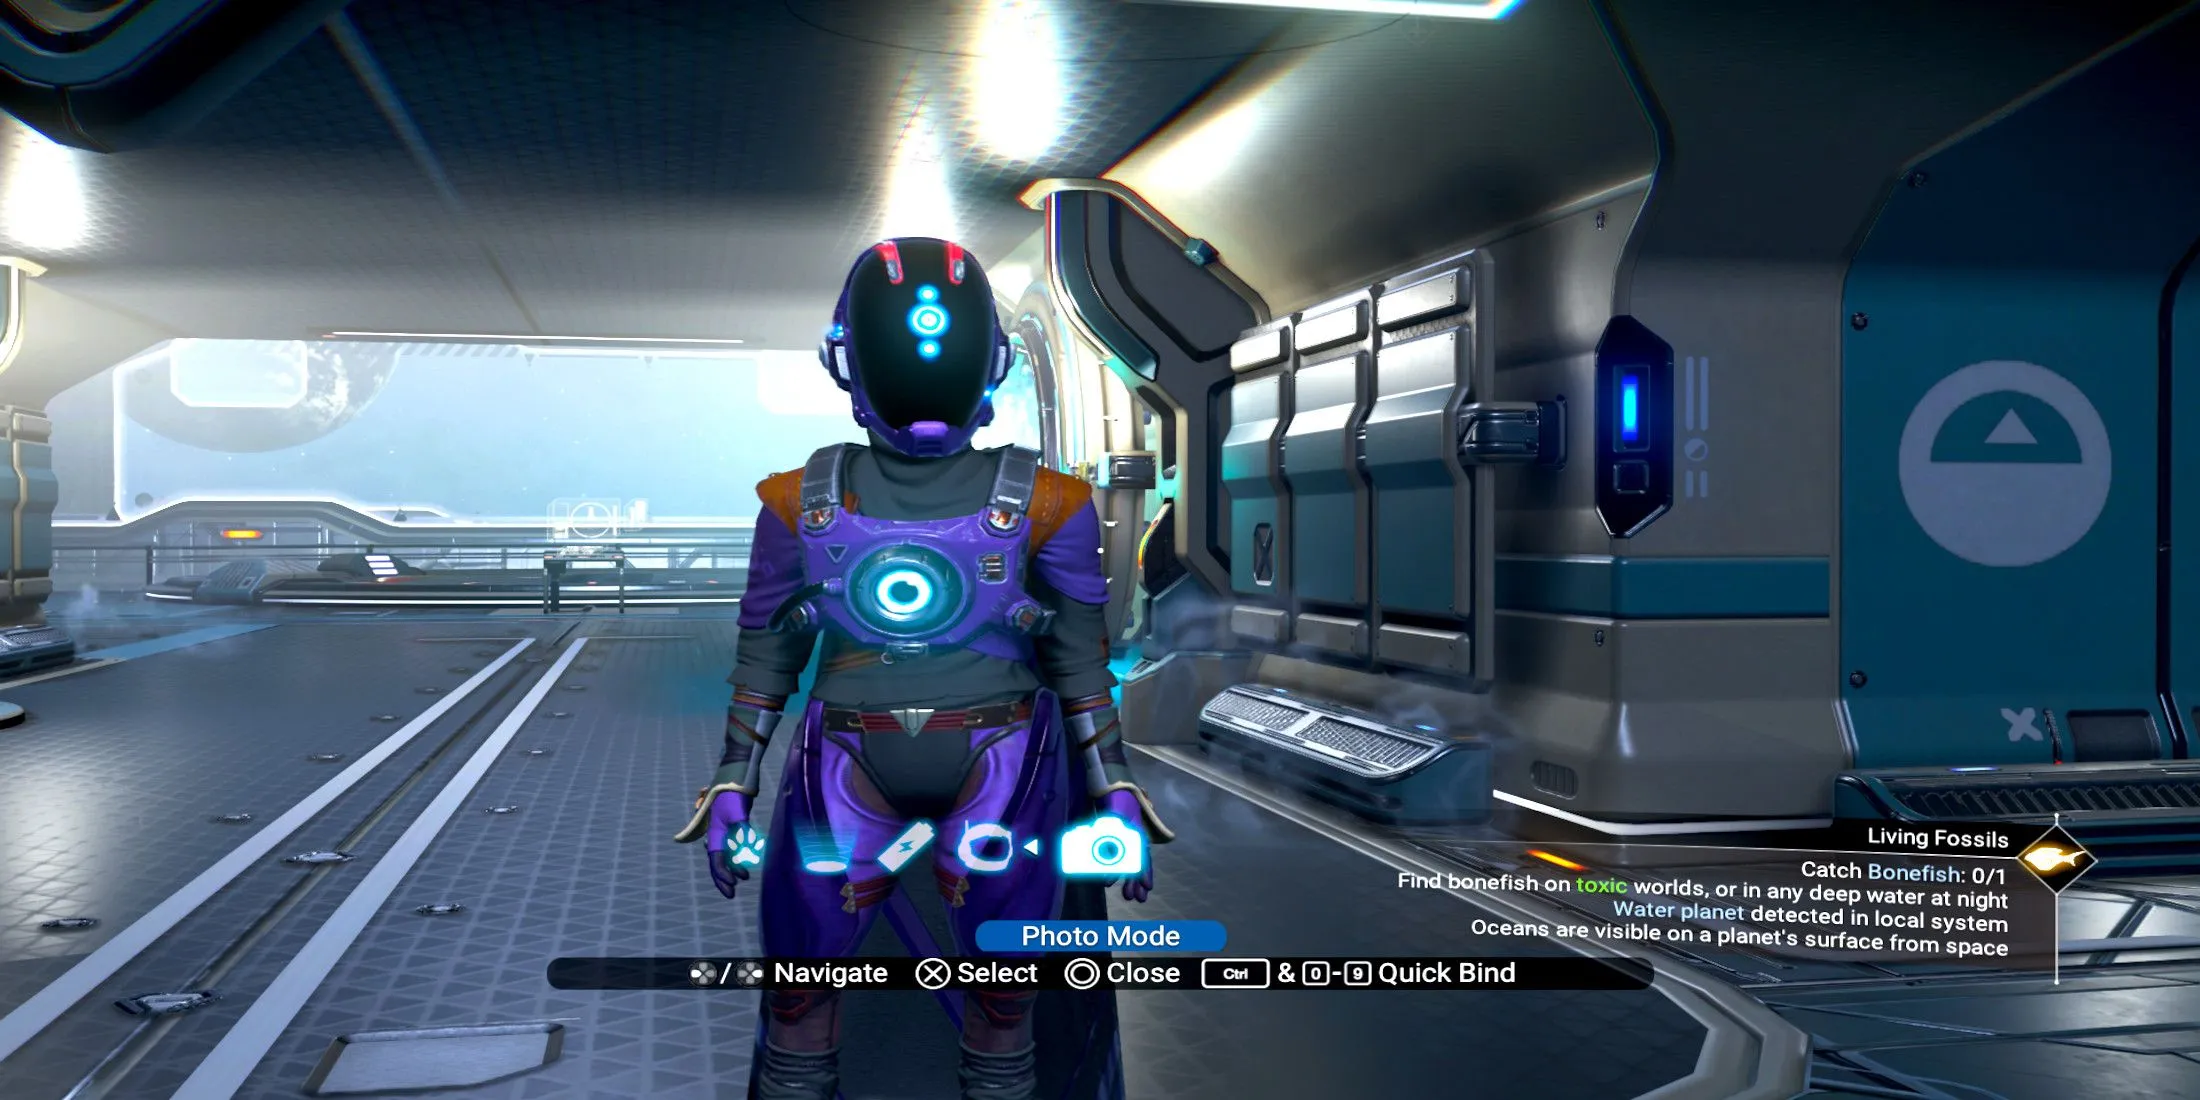
To access Photo Mode, players must first locate the option within their tool belt. For those using a controller, the process is simple: press the down button on the D-pad and scroll to the right until the camera icon appears. For keyboard users, the steps involve pressing the “X”key and moving the mouse upward until the camera icon is highlighted. A simple click will launch Photo Mode.
While in Photo Mode, players remain vulnerable to the surrounding environment; dangers such as Sentinels and hostile creatures can still impact them. It’s advisable to intermittently exit Photo Mode to ensure safety while capturing stunning visuals.
Once in Photo Mode, an array of options becomes available, allowing users to fine-tune their photography skills. To exit after taking your desired shots, use the “O“key on a DualShock controller, “B“on an Xbox controller, or right-click with the mouse on PC.
Customizing Effects in No Man’s Sky Photo Mode

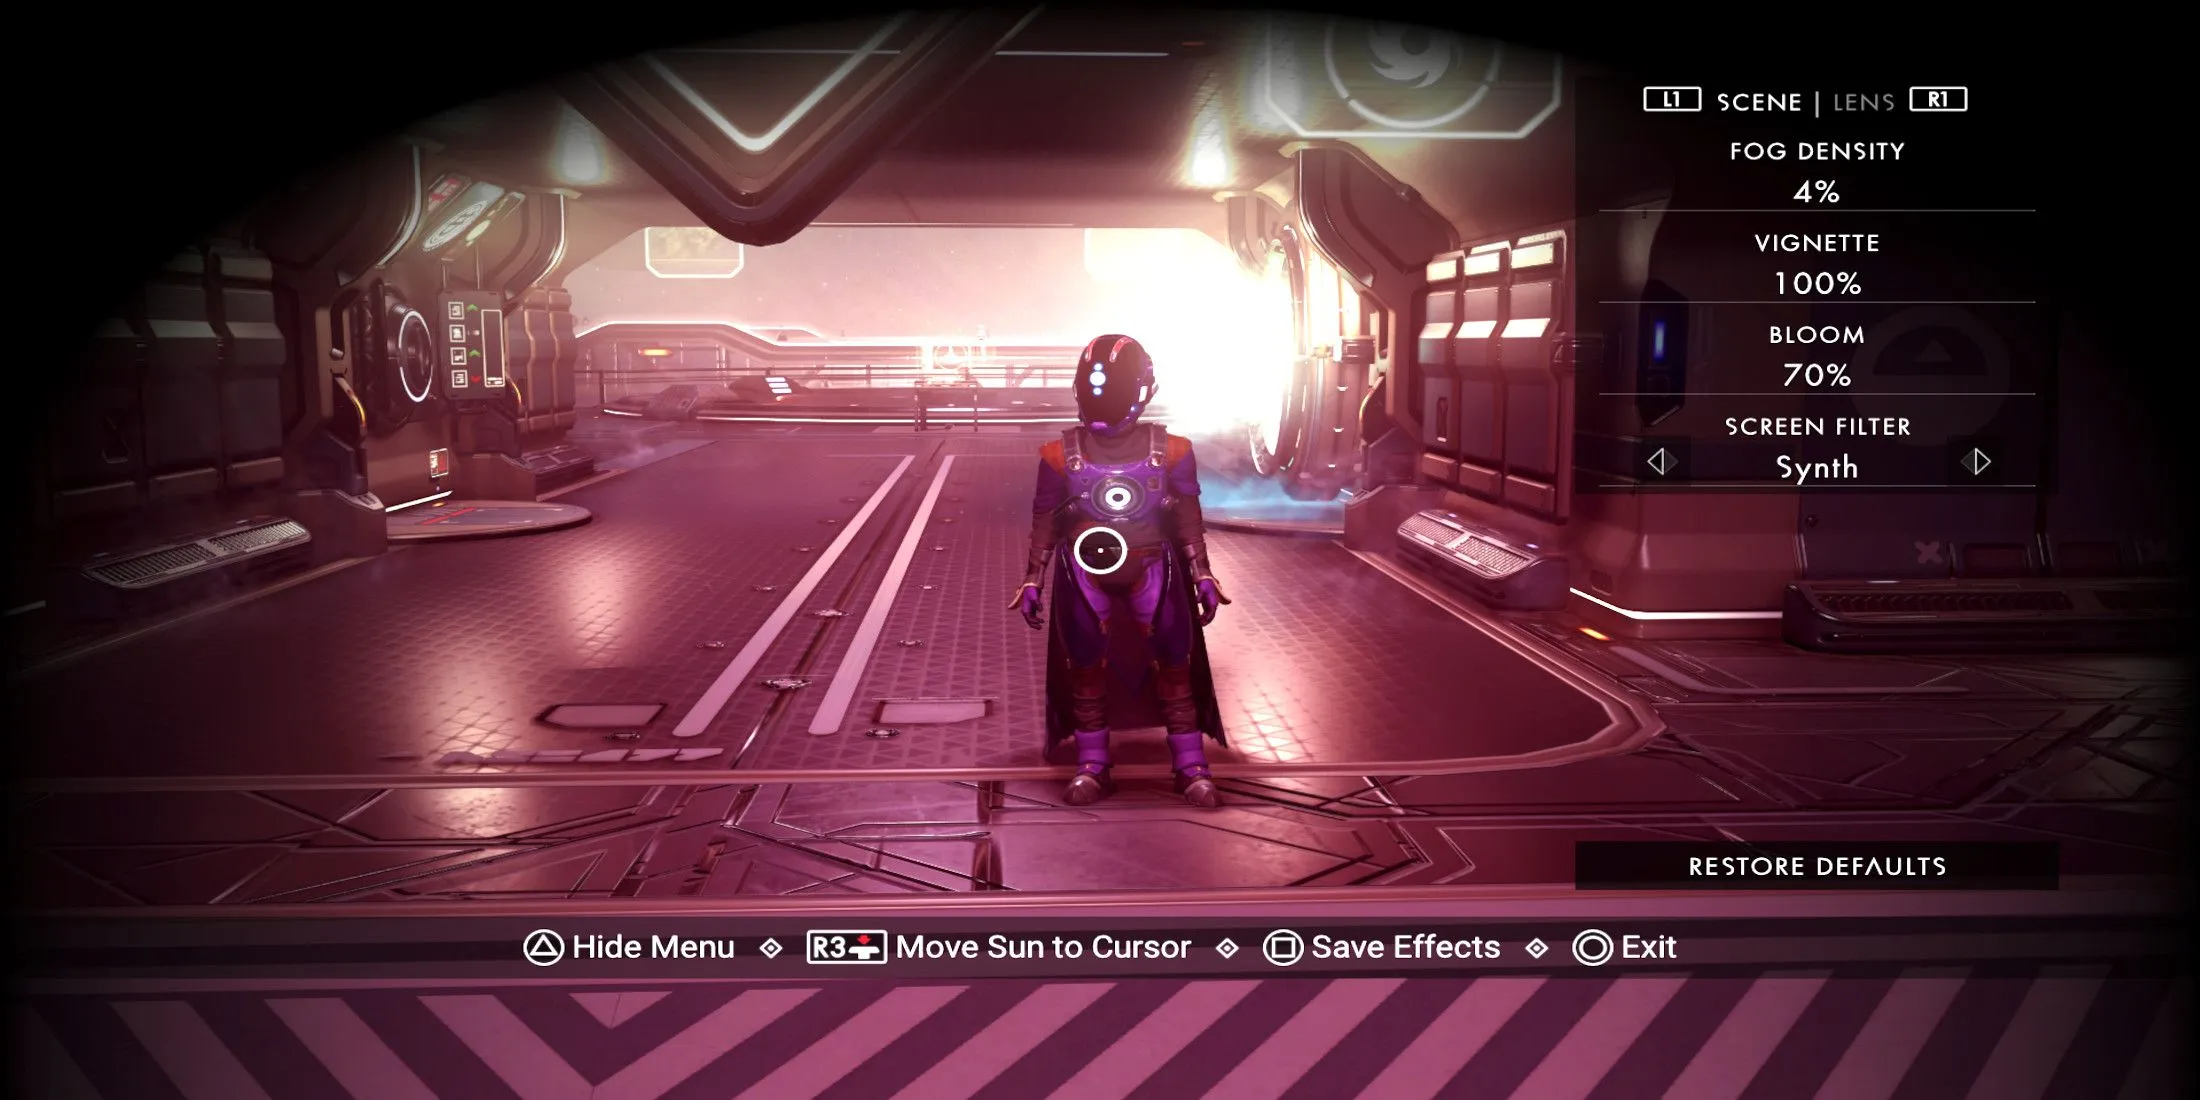
No Man’s Sky’s Photo Mode is especially impressive due to its customizable features that enhance screenshot quality. If the lighting isn’t ideal, players can modify the sun’s position to illuminate their subjects, avoiding the dilemma of waiting for natural sunlight. This flexibility empowers players to capture vibrant and picturesque scenes irrespective of the in-game time.
In addition to adjusting lighting, players can manipulate atmospheric effects such as fog and bloom, as well as customize depth of field and field of view. These tools are crucial for crafting breathtaking images of the rich landscapes that populate the universe of No Man’s Sky.
Players can also apply various filters to their images to enhance specific colors or set atmospheric tones. The range of filters available includes:
- Vintage
- Collapse
- Emral
- Chrono
- Vapour
- Soft Pulse
- Synth
- Revisti
- Mosaic
- Frost
- Aliora
- Hyper
- Xeno
- Deepend
- Simulation
- Pikisi
- Unsleep
- Haze
- Phono
- Scream
- Oil Rain
- Inverse
- Lattice
- Shimmer
For a visual demonstration of these filters, please refer to the accompanying video.
Additionally, players who wish to create dynamic photos can use the Gestures action feature within Photo Mode. Accessible via the tool belt, players can select their desired emote, whether it’s a dramatic superhero pose or a casual thumbs-up. Timing is crucial, as emotes last only for a brief period. After selecting an emote, quickly return to Photo Mode to frame the ideal shot.
PC users can streamline their experience by assigning the Gestures and Photo Mode menus to specific hotkeys, using the CTRL key in conjunction with a number from 0-9 to facilitate rapid transitions.
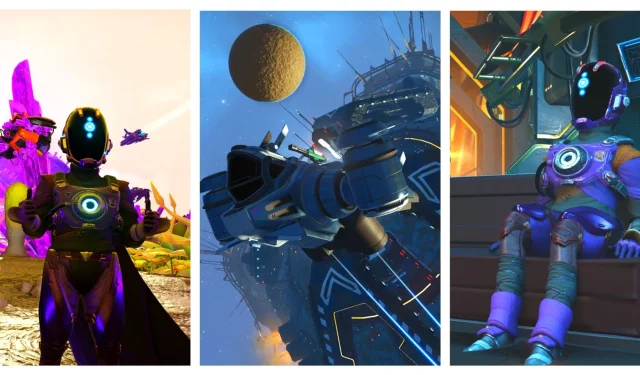
By creatively merging Gestures with the capabilities of Photo Mode, players can capture not just images, but also memories that reflect their unique experiences in the vast world of No Man’s Sky.


