As your operations expand in Schedule 1, the myriad tasks can become quite daunting. From production to storage and packaging, managing everything single-handedly is simply impractical. This is where the invaluable role of Handlers comes into play. Once your business begins to take off, these workers will prove instrumental in transporting materials around your base and preparing your products for sale.
However, it’s important to note that Handlers are not available to you at the outset of the game. You’ll need to progress through certain stages before this advantageous feature is unlocked. If you’re eager to learn when you can recruit a Handler and how to effectively utilize their skills, this comprehensive guide is designed to assist you.
Unlocking Handlers in Schedule 1
Initially, you won’t have the option to employ a Handler. You’ll need to advance through the game until you receive prompts to explore the Warehouse, which serves as the gateway to the employee system. Here’s a step-by-step guide on hiring your first Handler:
- Navigate to the Warehouse, conveniently located south of the Motel, accessible via the ramp behind the Pawn Shop.
- Ensure that your in-game clock reads between 6 PM and 6 AM, as the Warehouse operates only during these hours.
- Once inside, proceed to the northeast corner and ascend the blue staircase to locate Manny, who is situated next to Igor.

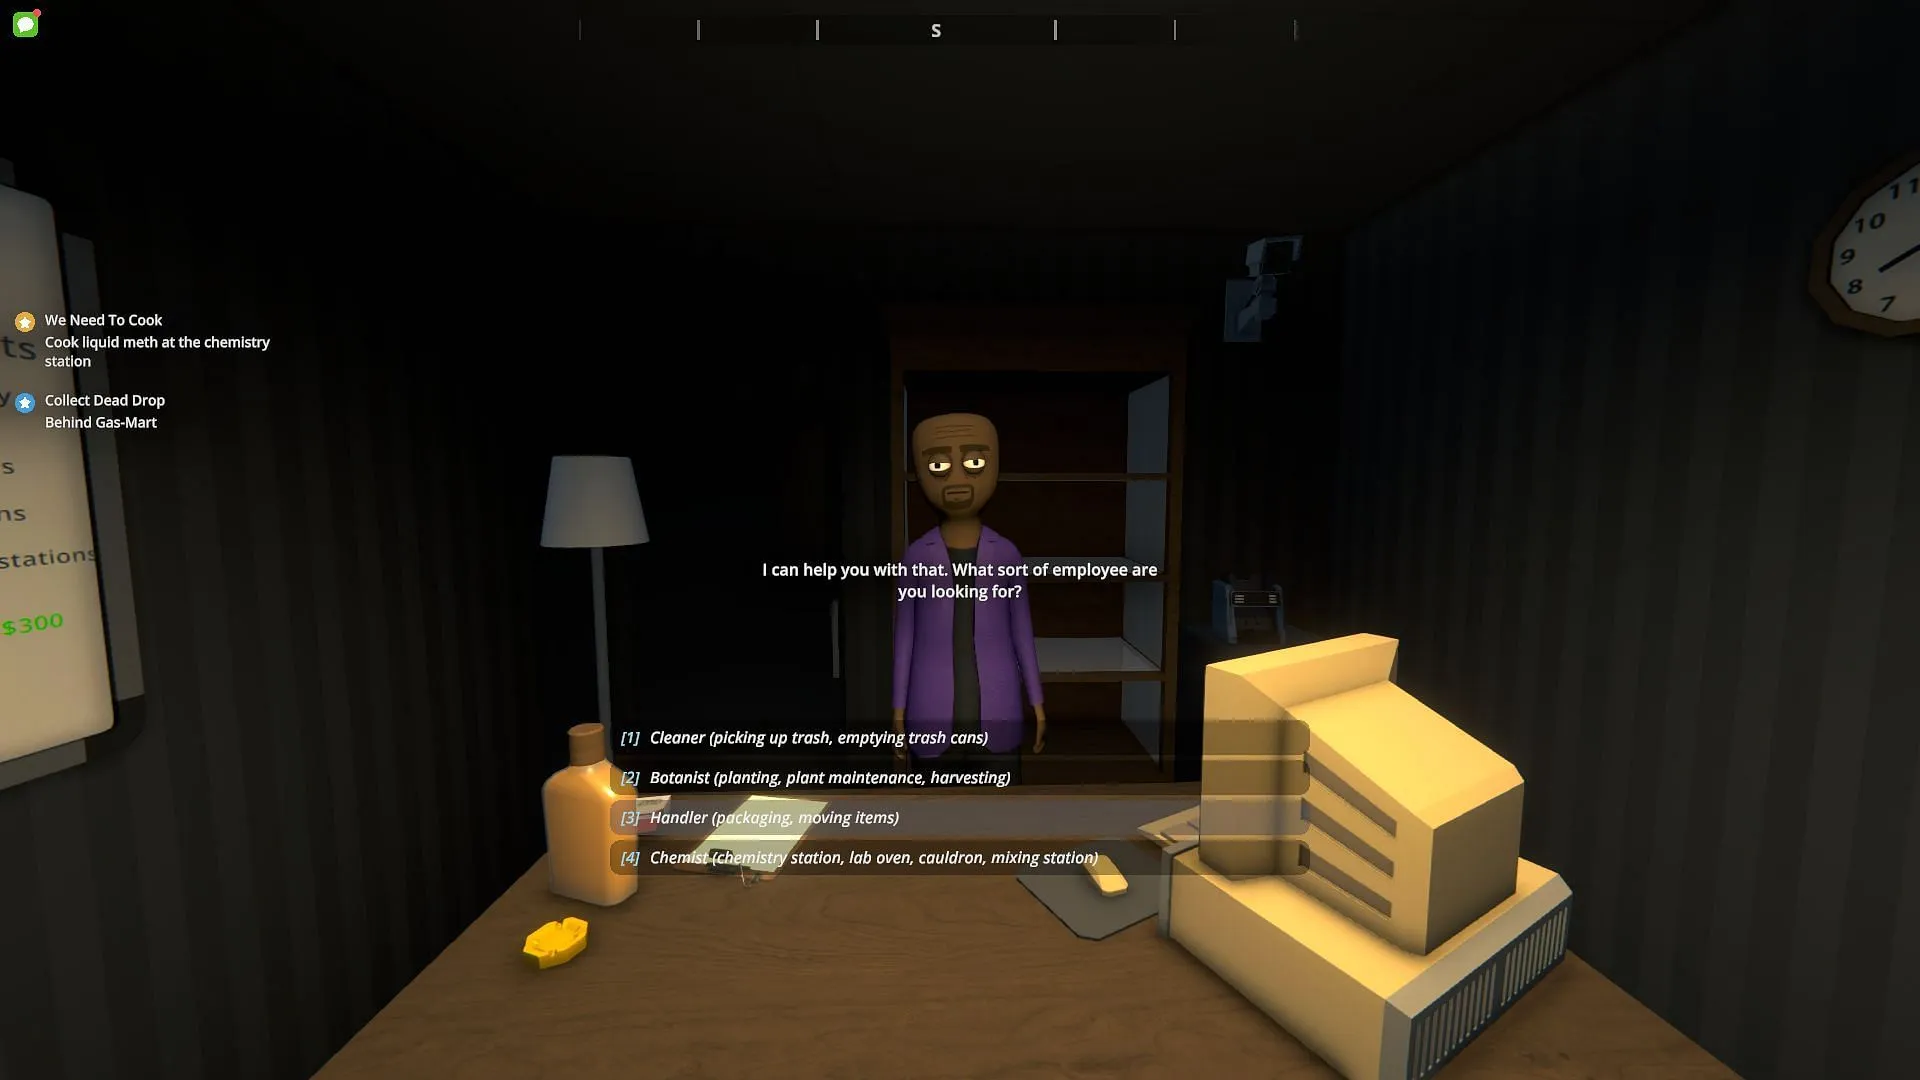
- Engage with Manny and select the Handler option under the “I want to Hire an employee”menu.
- Select one of your currently owned properties.
- Confirm your choice by clicking “Deal.”
- Be prepared with an upfront payment of $1,500 and a daily wage of $200.
Should your funds be running low, there’s an ATM conveniently located within the Warehouse to assist you.
After hiring, your Handler will be dispatched immediately to the property you designated for their services.

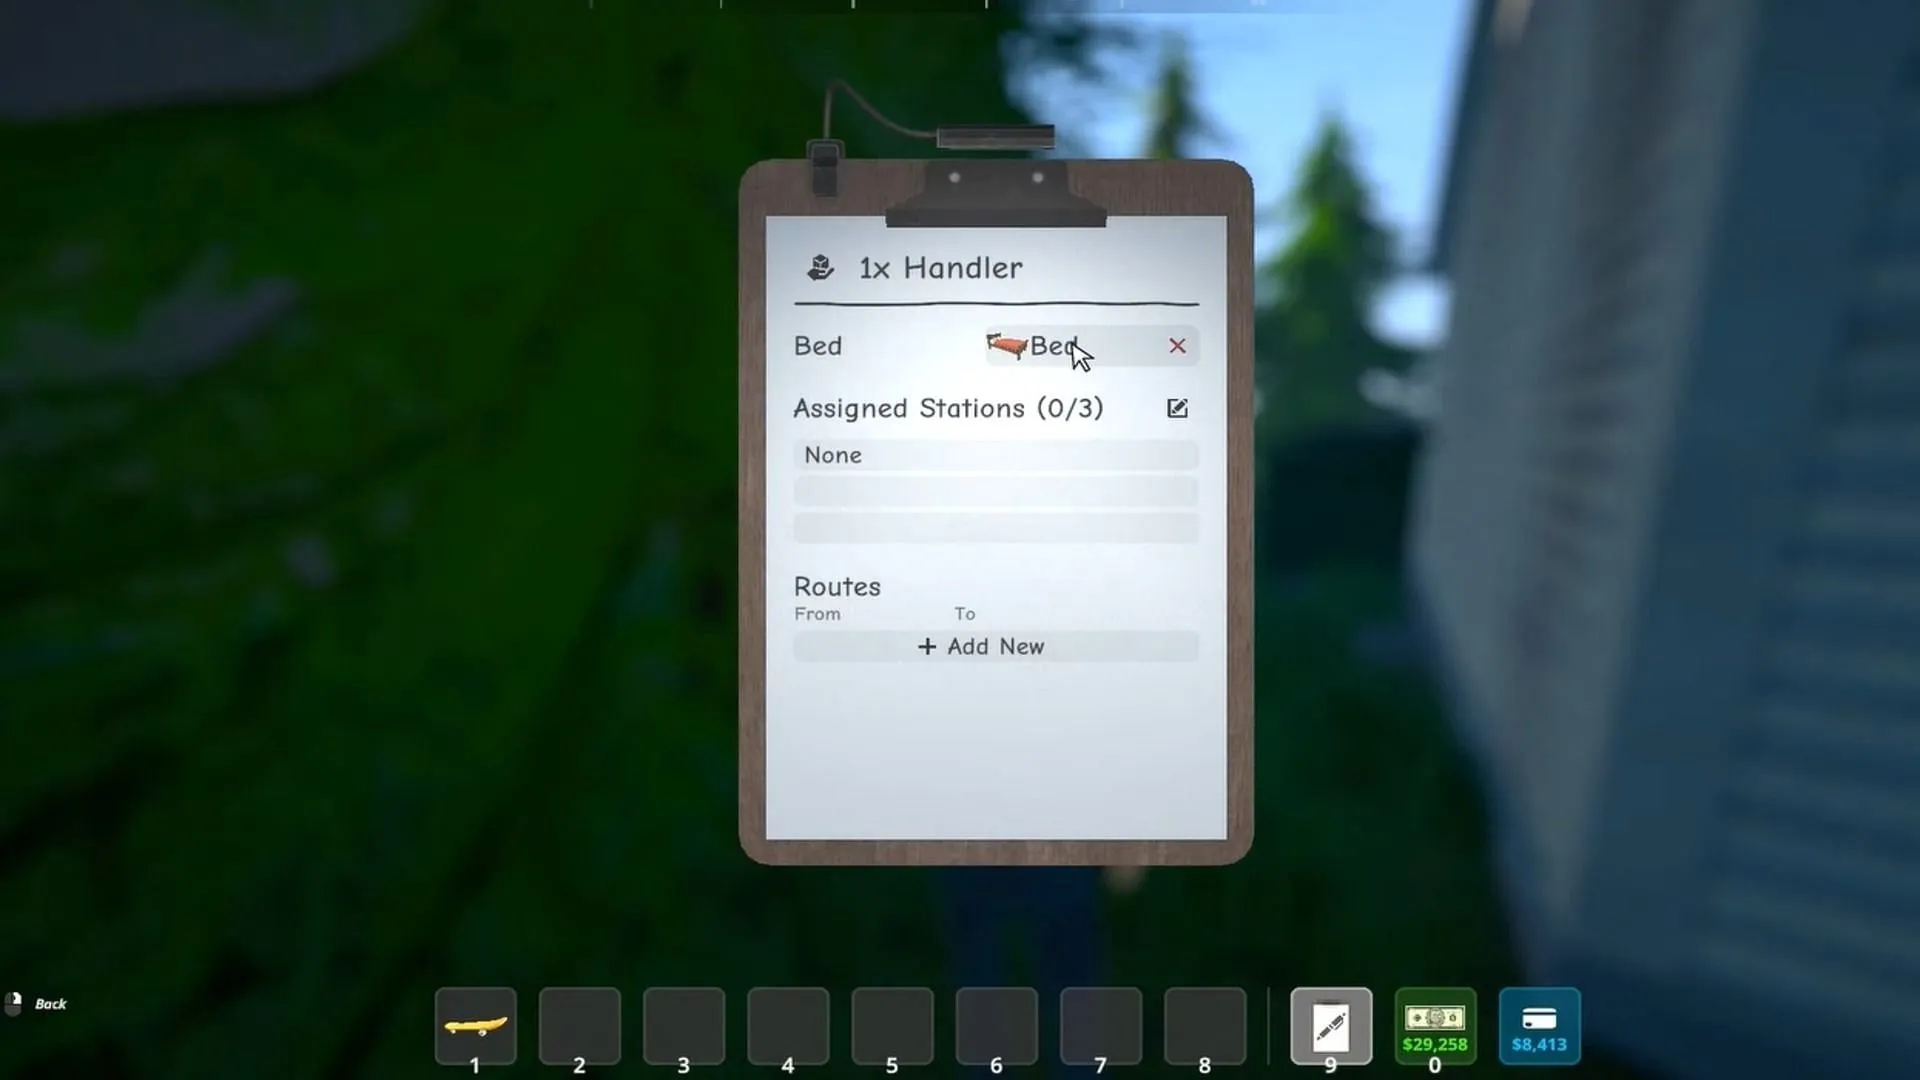
In addition to packaging tasks, Handlers are adept at automating the movement of goods throughout your base. You can establish custom delivery routes that efficiently transport raw materials, blends, or packaged items to their required locations.
Creating Custom Routes for Handlers
To set up a route, follow these straightforward steps:
- Point at your Handler while holding the Management Clipboard and press E.
- Within the menu, click on + Add New at the bottom.
- Select a From location, such as a storage rack or mixer.
- Designate a To destination, like a packaging station or an additional rack.
This routing system facilitates complete automation of your supply chain. For instance, your Botanist can transport buds to a storage rack, while your Handler can then manage the transfer to the packaging station. You have the ability to design intricate supply chains, incorporating mixers to refine your products before they reach their final packaging stage.


