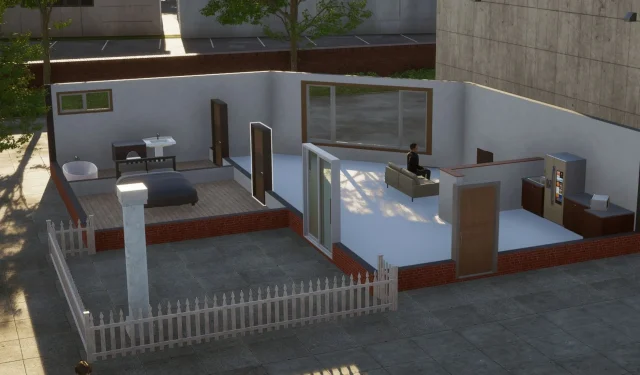
Building your first home in InZOI can be an exciting venture. The process begins with locating an empty plot of land and gathering sufficient Meows for your construction needs. It’s wise to start small, especially if you’re just beginning your journey, as the costs of larger homes can add up quickly.
As you progress in the game, you can enhance your home by adding new rooms, floors, or even relocating if your current space no longer suits your needs. This comprehensive guide will provide you with all the necessary steps to design and construct your house in InZOI, covering everything from the initial concept to the final touches. It also includes guidance on how to relocate should you desire a change of scenery.
Step 1: Access Build Mode
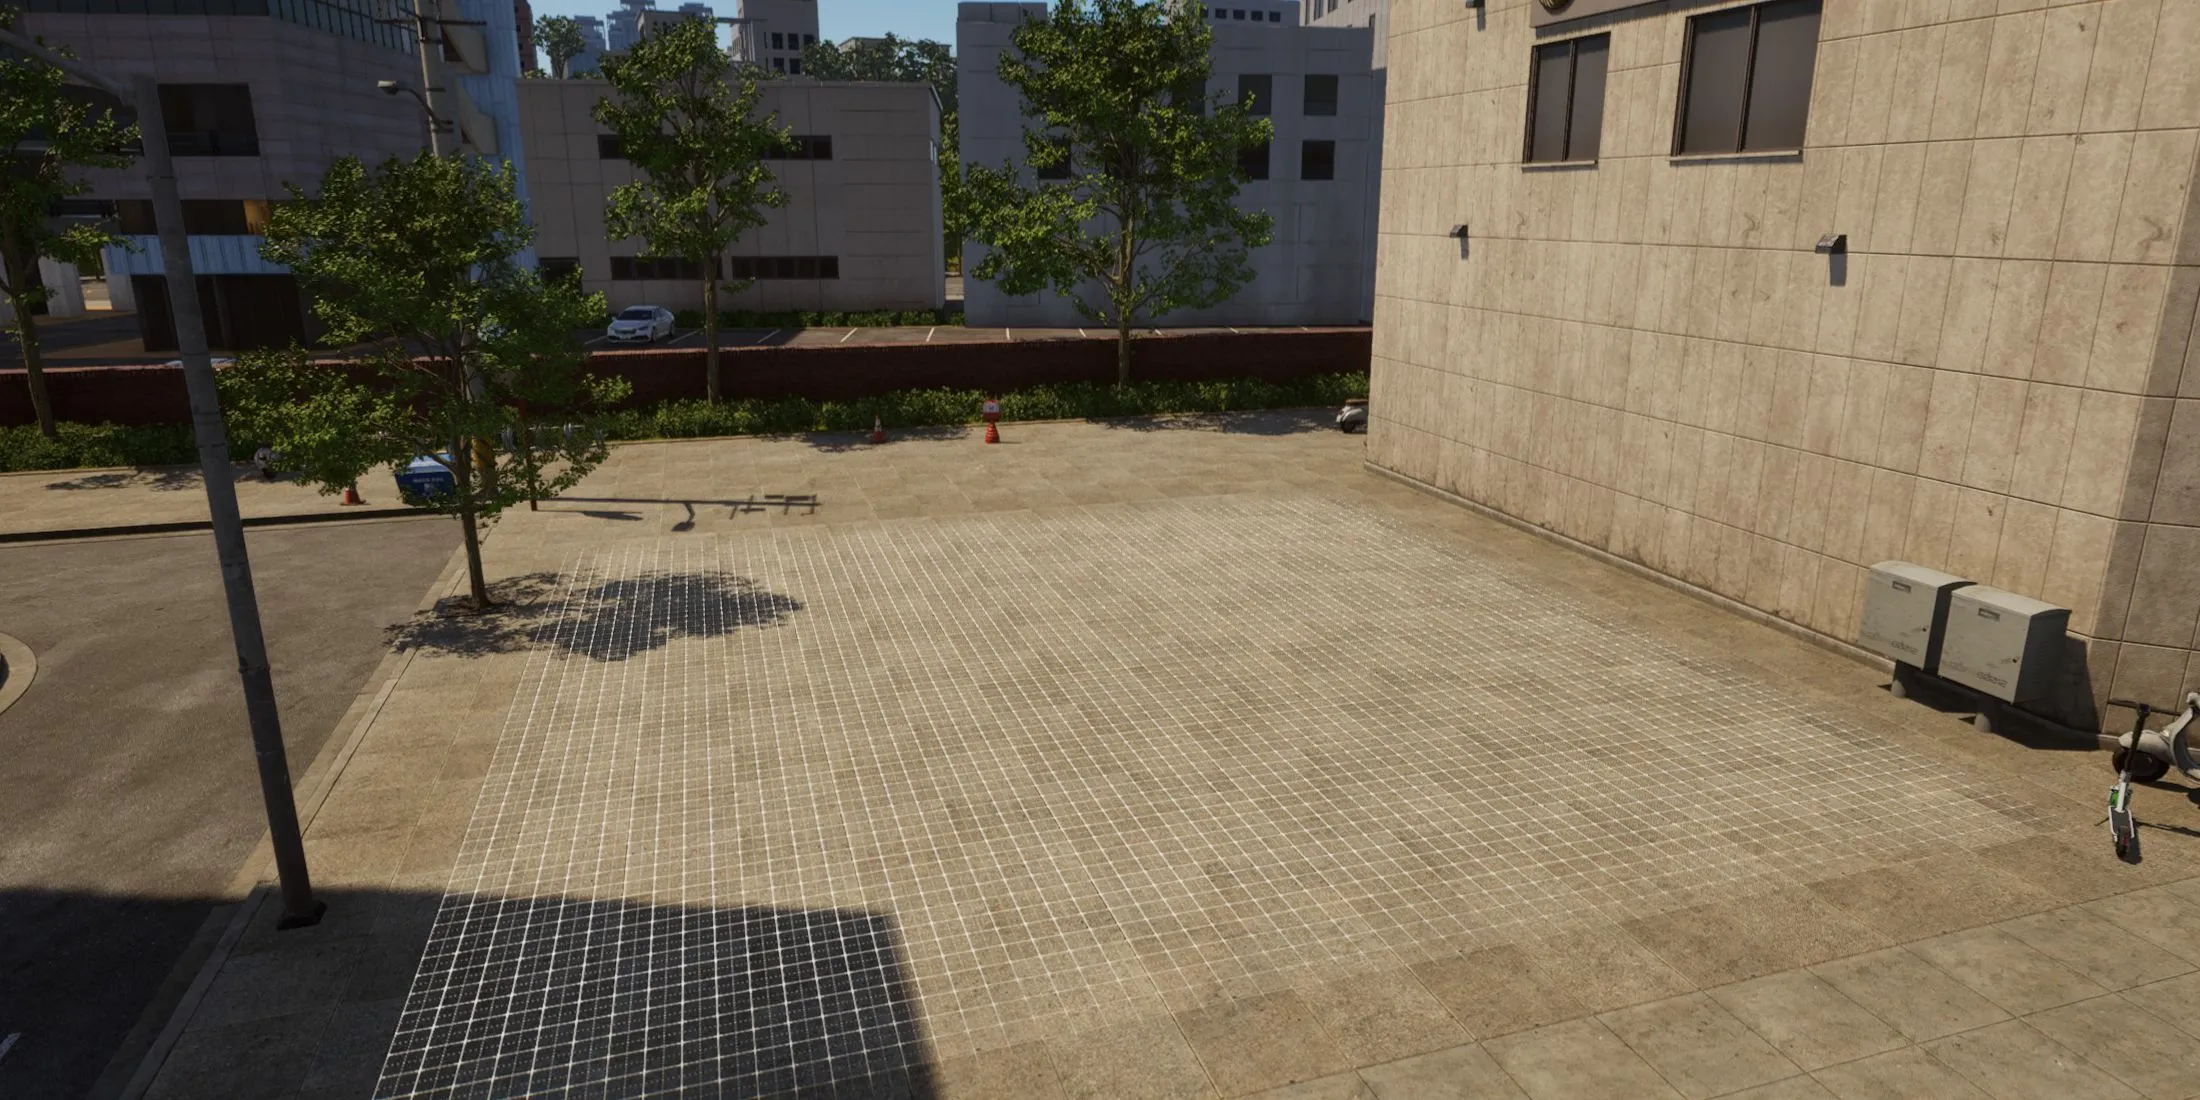
To begin customizing your new home, click on the Build Mode button located at the bottom left corner of your screen. It features an icon resembling a house with a hammer. This action will activate Build Mode, centering the camera on your Zoi’s current location.
Inside Build Mode, you will encounter various tabs, each providing options for your house design:
- Building Presets: A selection of pre-designed homes to simplify your start-up.
- Building: A collection of foundation and exterior materials, including walls, doors, and windows, to aid in your design process.
- Furniture: Everything required for interior decoration, ranging from beds and chairs to kitchen appliances.
- Crafting: A panel for creating unique furniture pieces.
- Inventory: An overview of items currently owned by your Zoi.
For first-time builders, focus on the Building and Furniture sections. While presets can expedite the process, they often require a larger allocation of Meows than what players have available initially.
Step 2: Layout Planning & Room Design
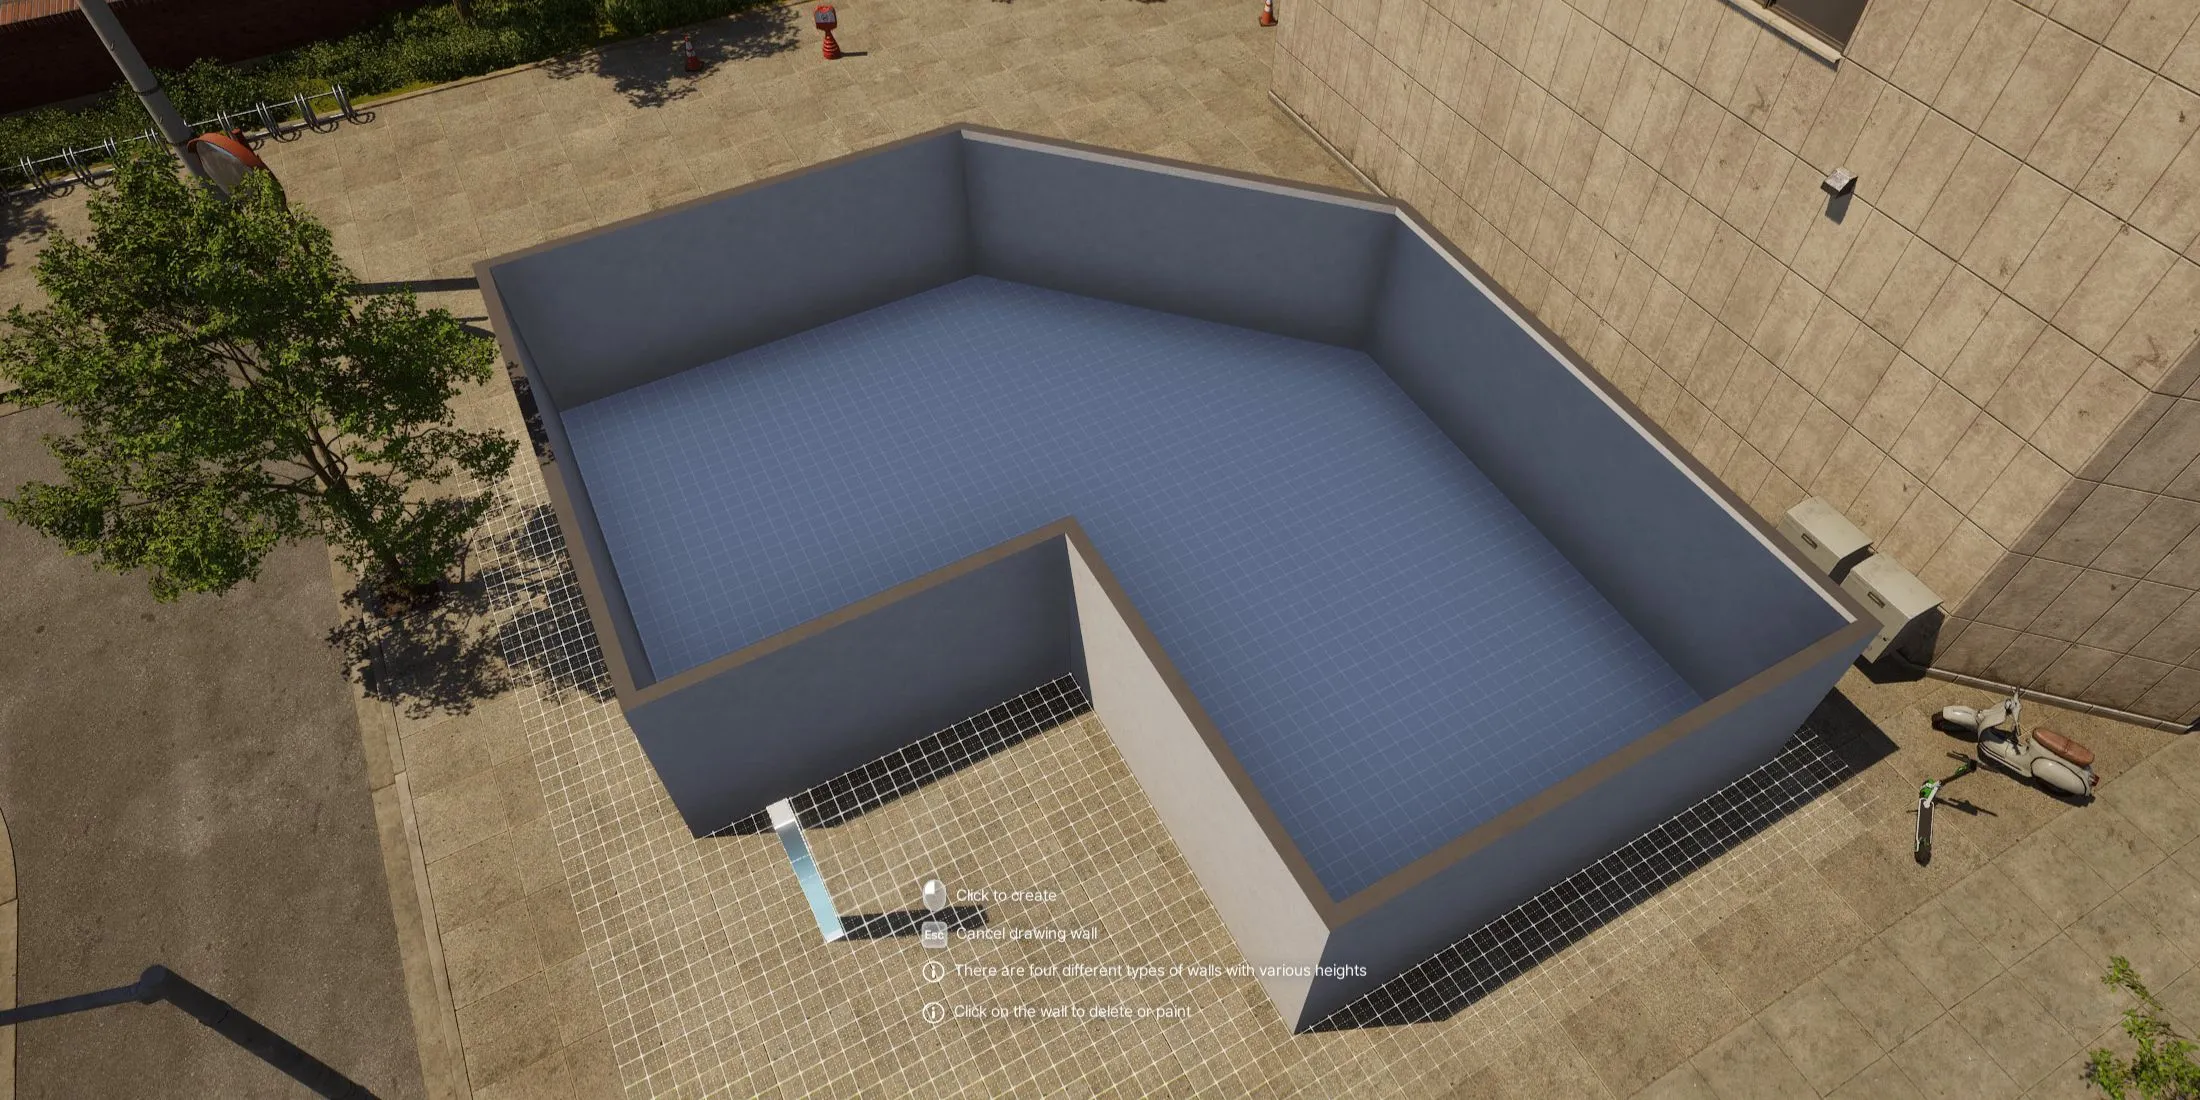
Once you’ve navigated the Build Mode interface, it’s time to develop the layout of your home. Players are encouraged to utilize either the 3m walls for single-story designs or taller 4.8m or 5.7m walls for multi-story constructions.
Click on a section of your empty lot to start placing walls. Drag your mouse to create vertical structures, confirming placement with a click. Complete the perimeter of your home, and note that the flooring will turn blue when the walls are fully enclosed.
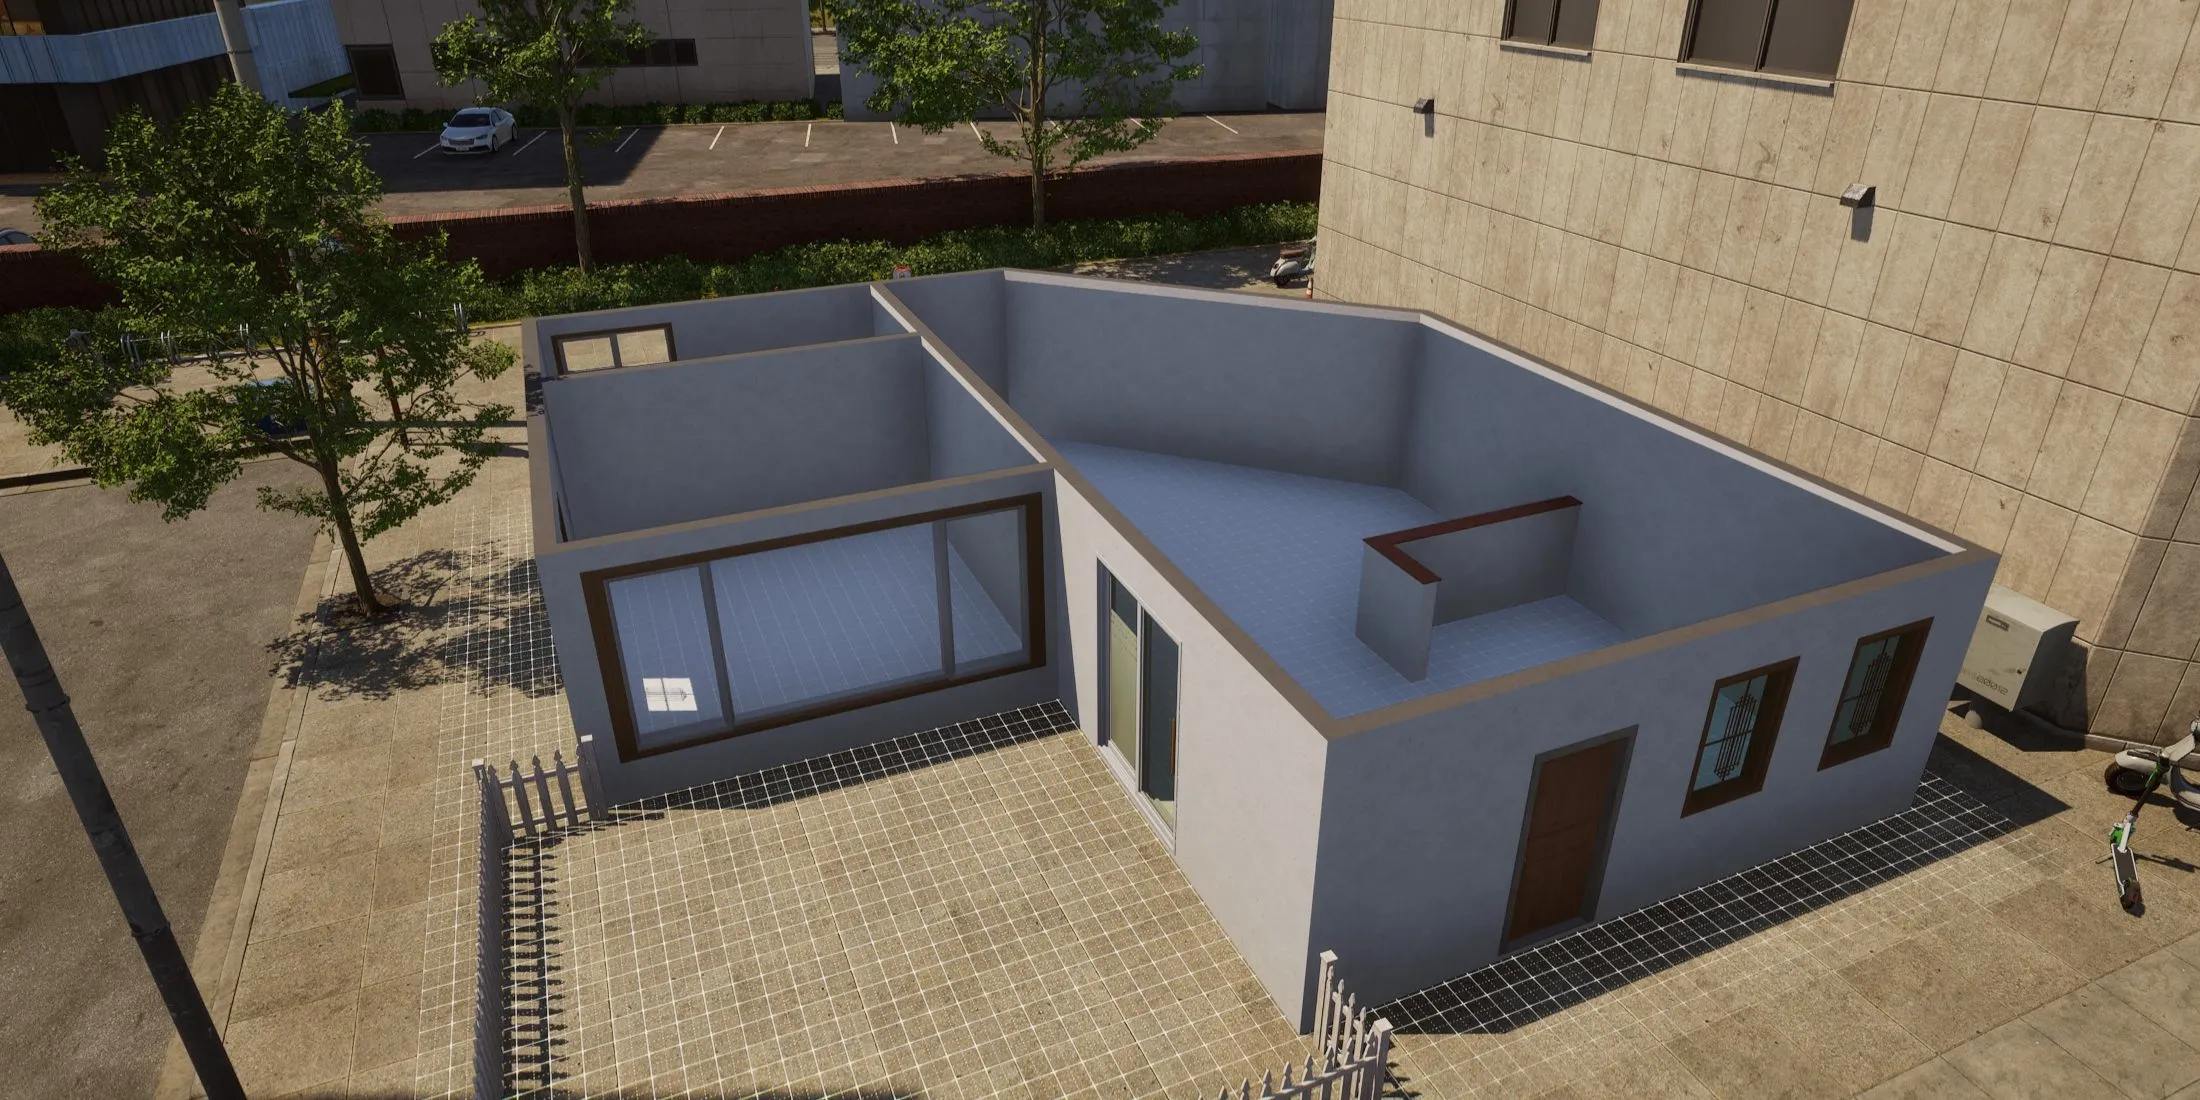
Next, design the individual rooms by continuing to place more walls. If you want different wall heights for various floors, select shorter walls for any upper levels. Essential areas include at least one bedroom, a bathroom, a kitchen, and a relaxation space.
To configure wall settings on different floors, use the PgUp and PgDn keyboard keys. Ensure at least one corner remains clear for stairways leading to the upper levels.
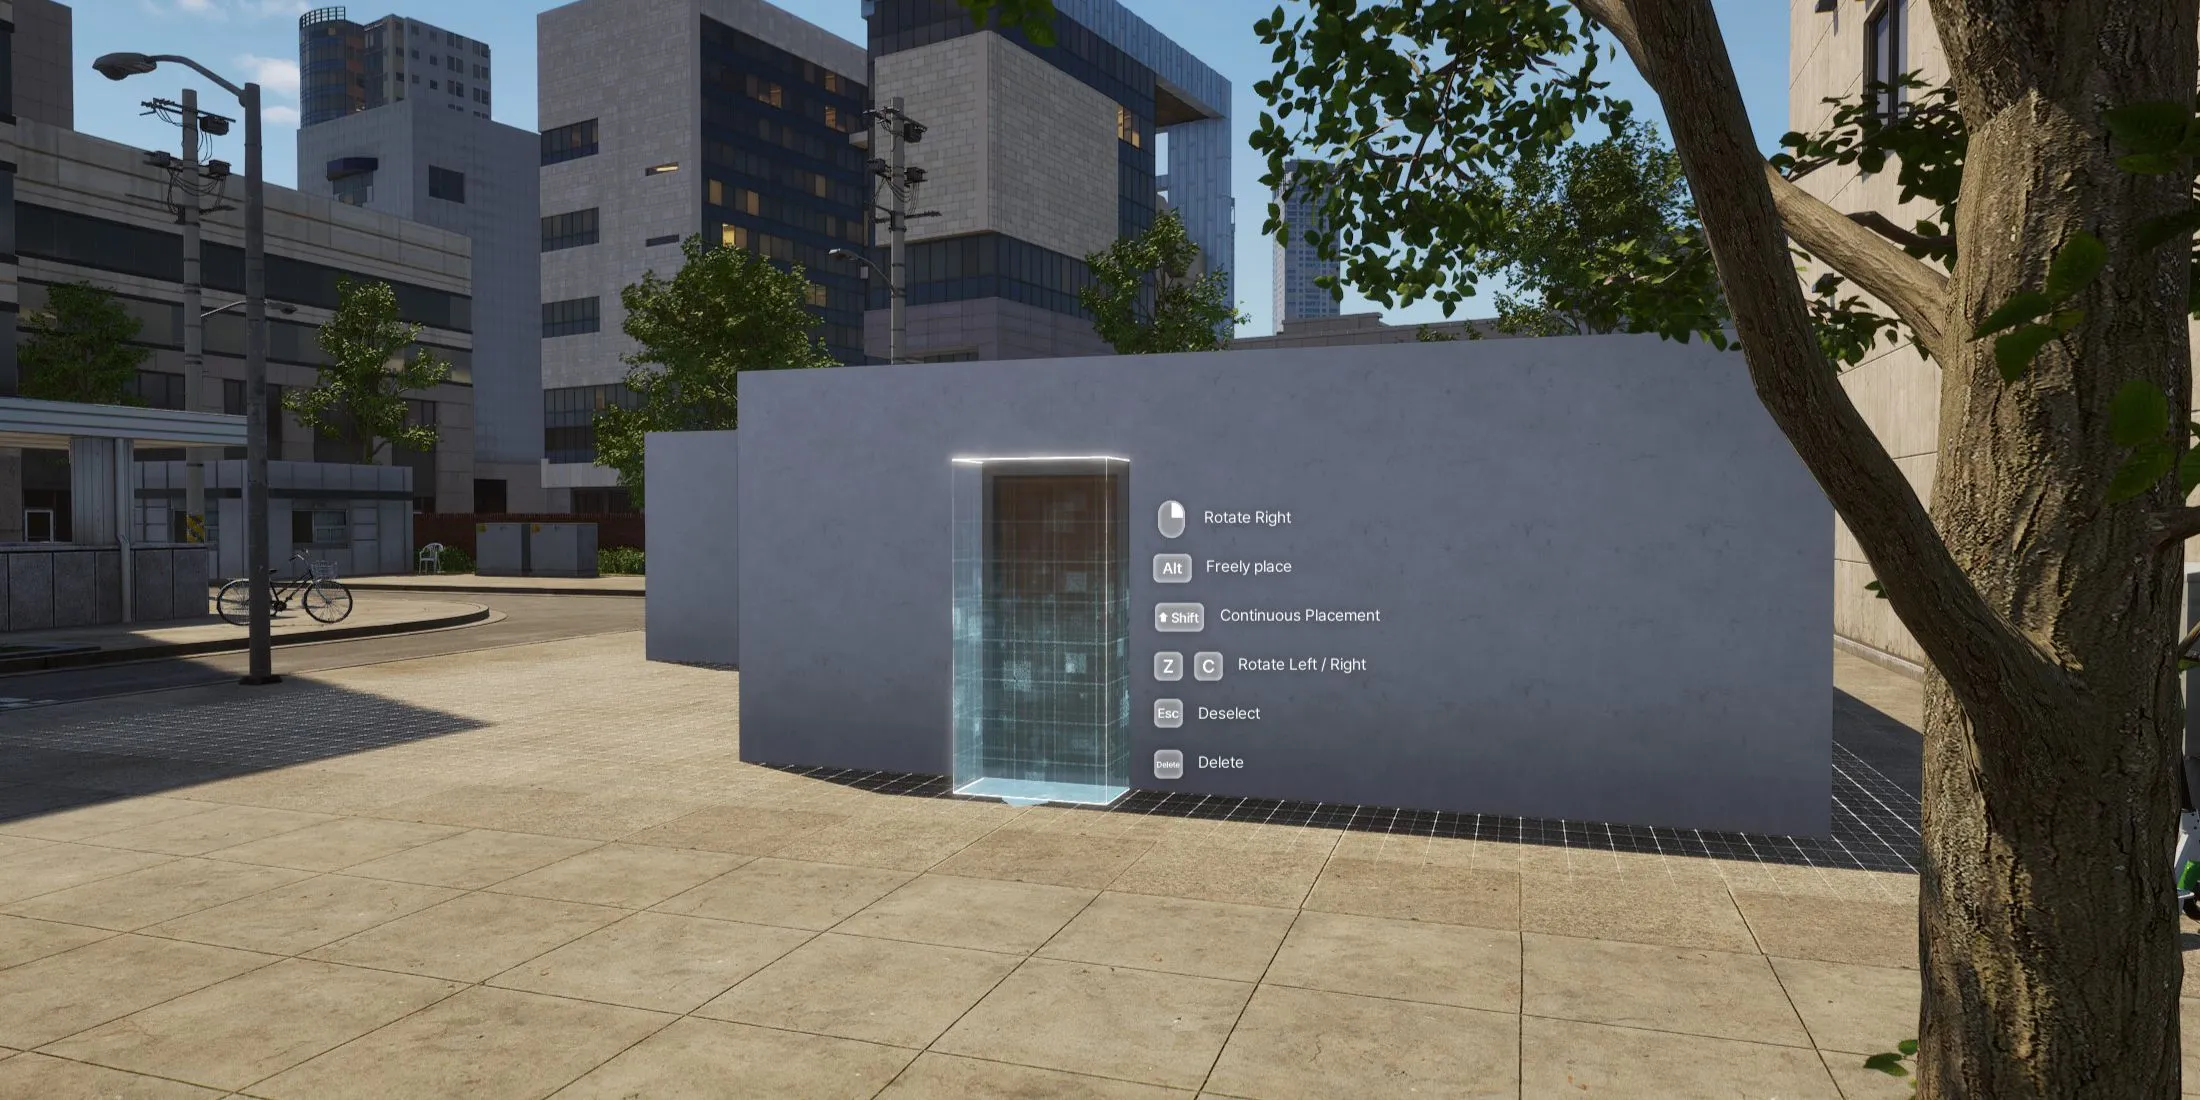
After finalizing your layout, place doors, staircases, and windows—accessible through the Building tab. To reverse any actions, simply press Ctrl-Z.
Step 3: Customize Flooring, Wallpaper, & Roofing
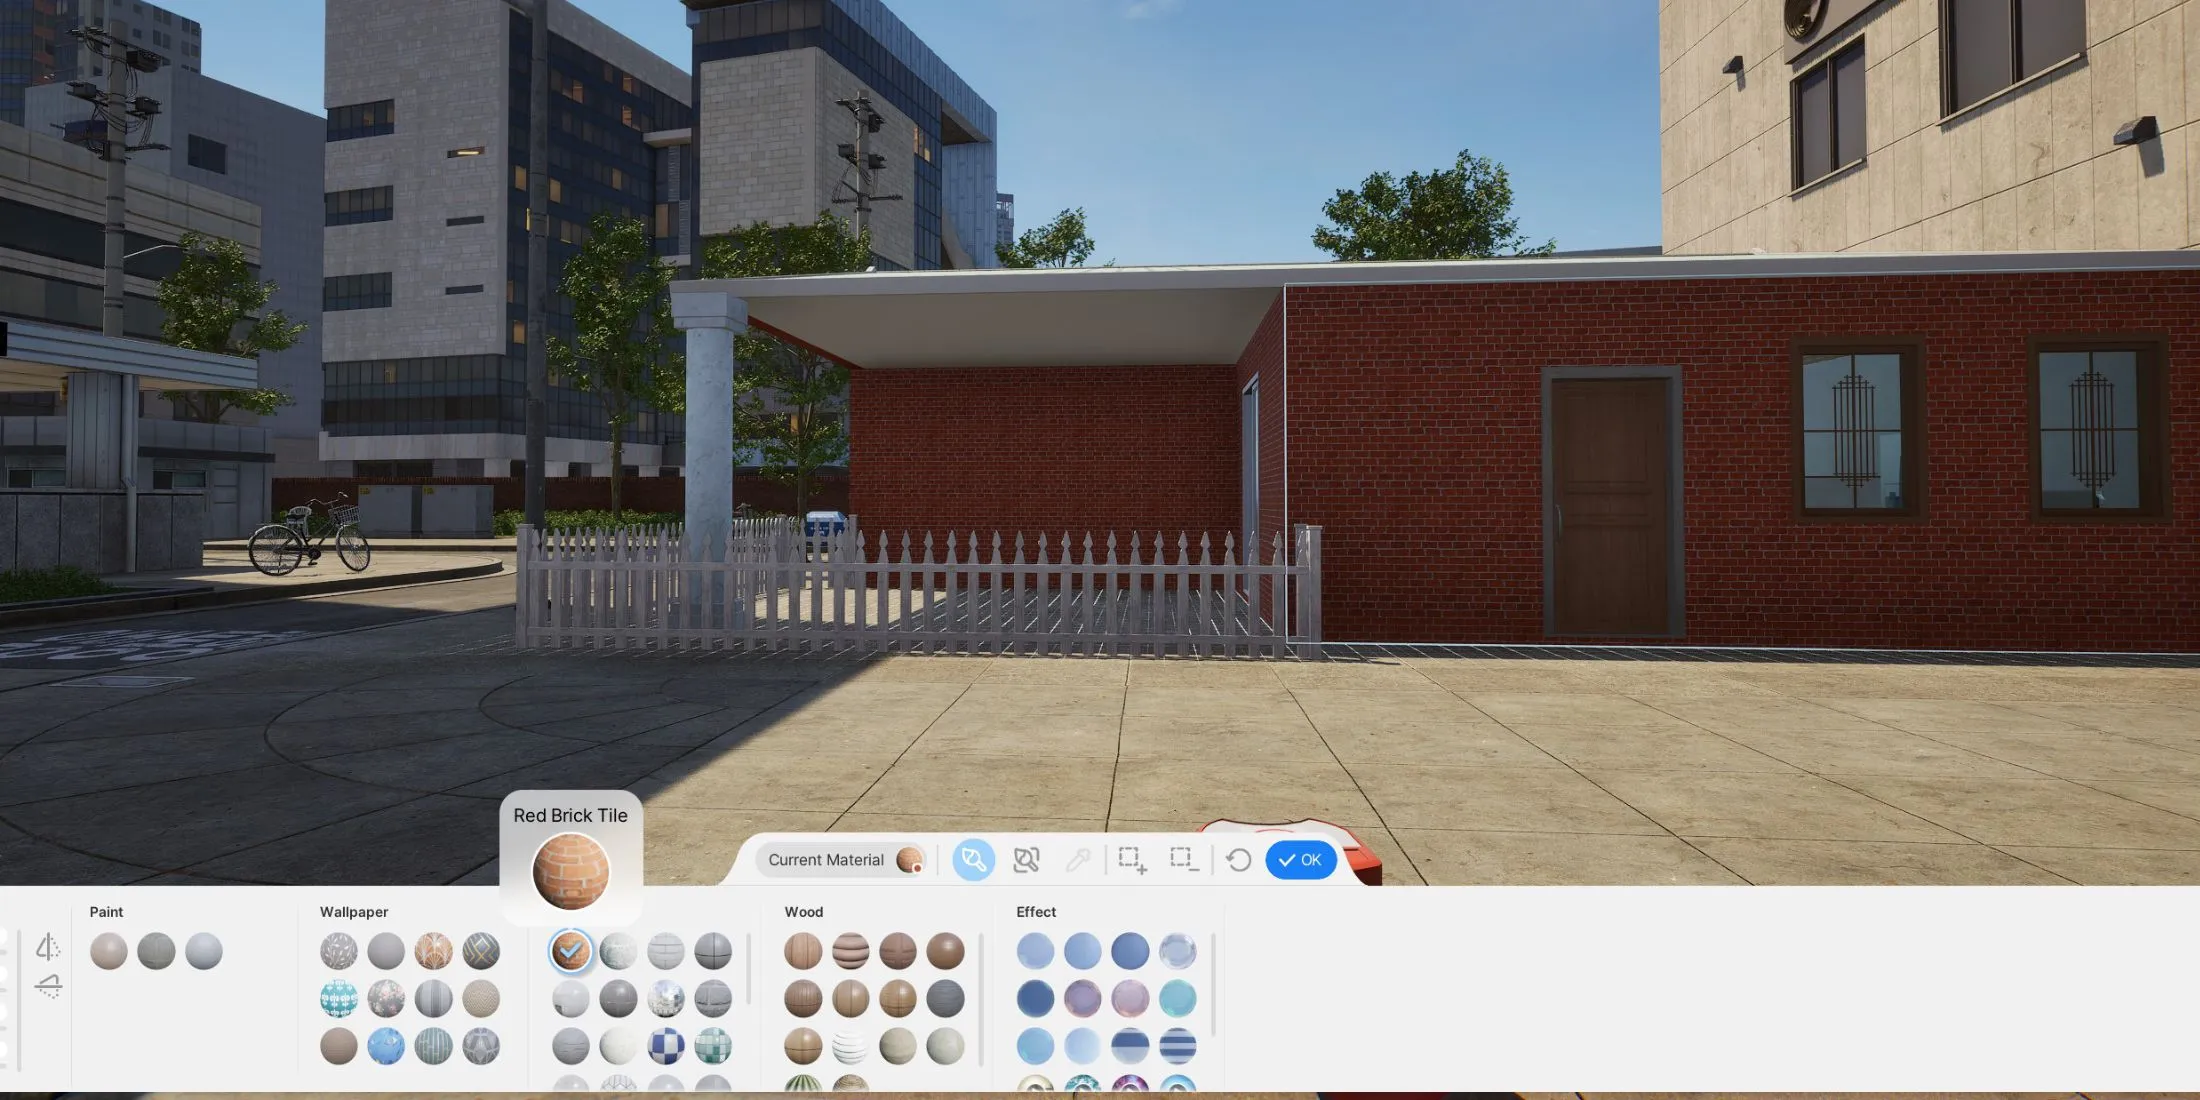
With your layout established, you can now refine the aesthetics of your home’s walls, flooring, and roof. Select a feature and click the paintbrush icon to access the Customize Paint menu.
This menu offers an array of options, spanning colors and textures for your walls and floors, along with effects like reflective surfaces or even video displays.
Customization can be done separately: click the inside of walls to modify interior wallpaper, while exterior looks can be adjusted from the outside. Roofing customization requires you to zoom out or view the roof level using PgUp/PgDn, allowing for drag-and-drop placement of one of four available roof styles.
Ensure to select a roof type that complements your house’s overall aesthetic. Be mindful that roofs can only cover rectangular areas, which may restrict placement options for diagonal walls.
Step 4: Furnishing Your New Home
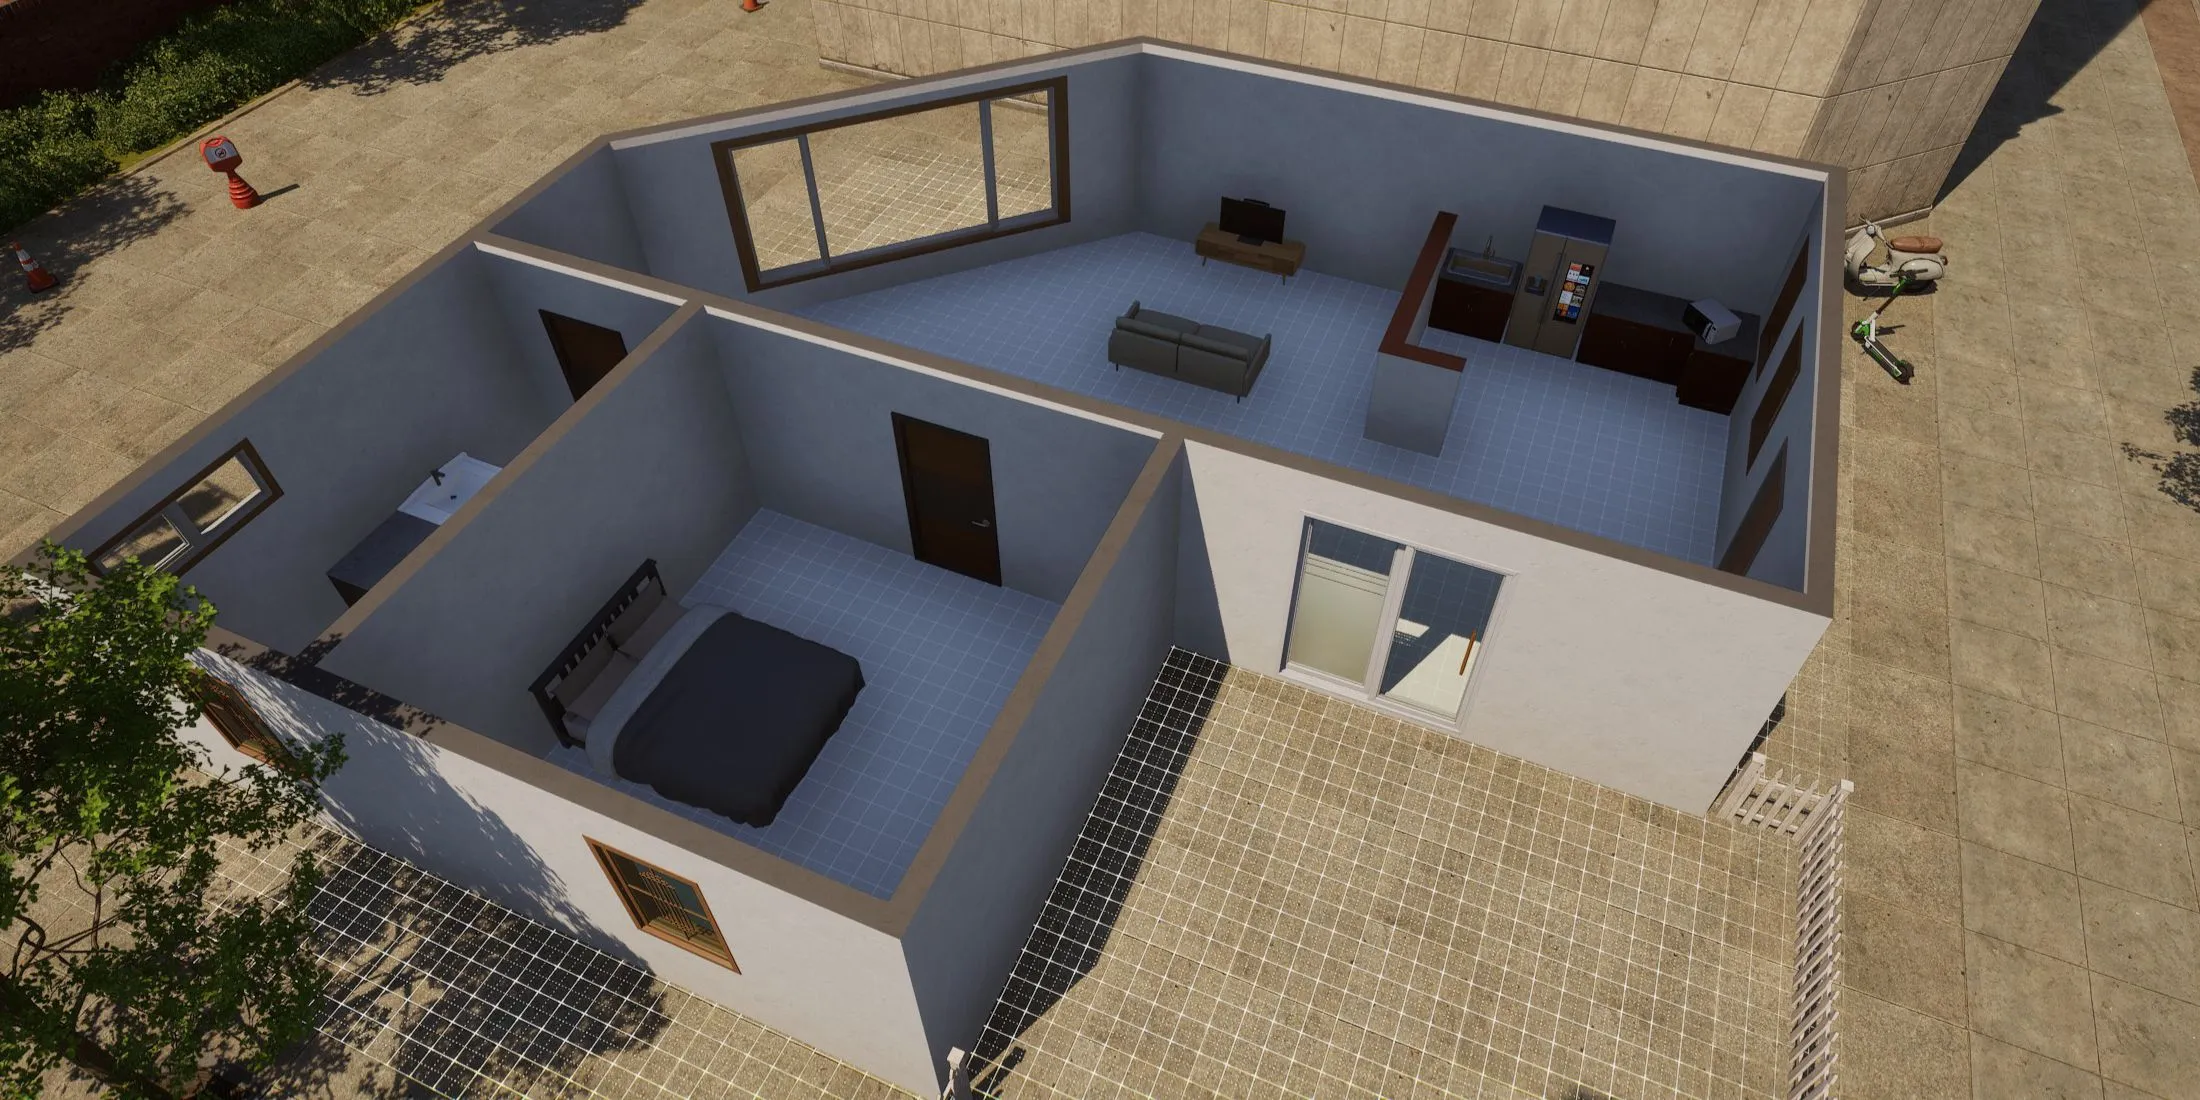
Now that your home is visually appealing, it’s time to furnish the interior. Navigate to the Furniture tab in the Build Menu to explore categories such as:
- Bedroom Furniture
- Living Room Furniture
- Kitchen Furniture
- Bathroom Furniture
- Home Office Furniture
- Hobby Furniture
- Outdoor Furniture
- Social Event Furniture
- Other Items
Every Zoi requires a sleeping area, a cooking space, and essential amenities. Additionally, you are encouraged to explore optional furnishings that cater to hobbies or office setups—these can enhance the living experience for your Zoi.
Ensure there’s sufficient space between appliances and furniture to allow for movement if multiple family members reside together. Explore the various items available in InZOI to transform your bare lot into a fully furnished home that reflects your Zoi’s unique lifestyle.
Once your house editing is complete, you may save your customized design as a preset or upload it to the InZOI Canvas. Don’t forget to save your progress! Afterward, ensure your Zoi is assigned to this home to officially complete your first InZOI house build. From here, you can continually enhance and expand your home as your Meows accumulate.
Step 5: Relocating Your Home in InZOI
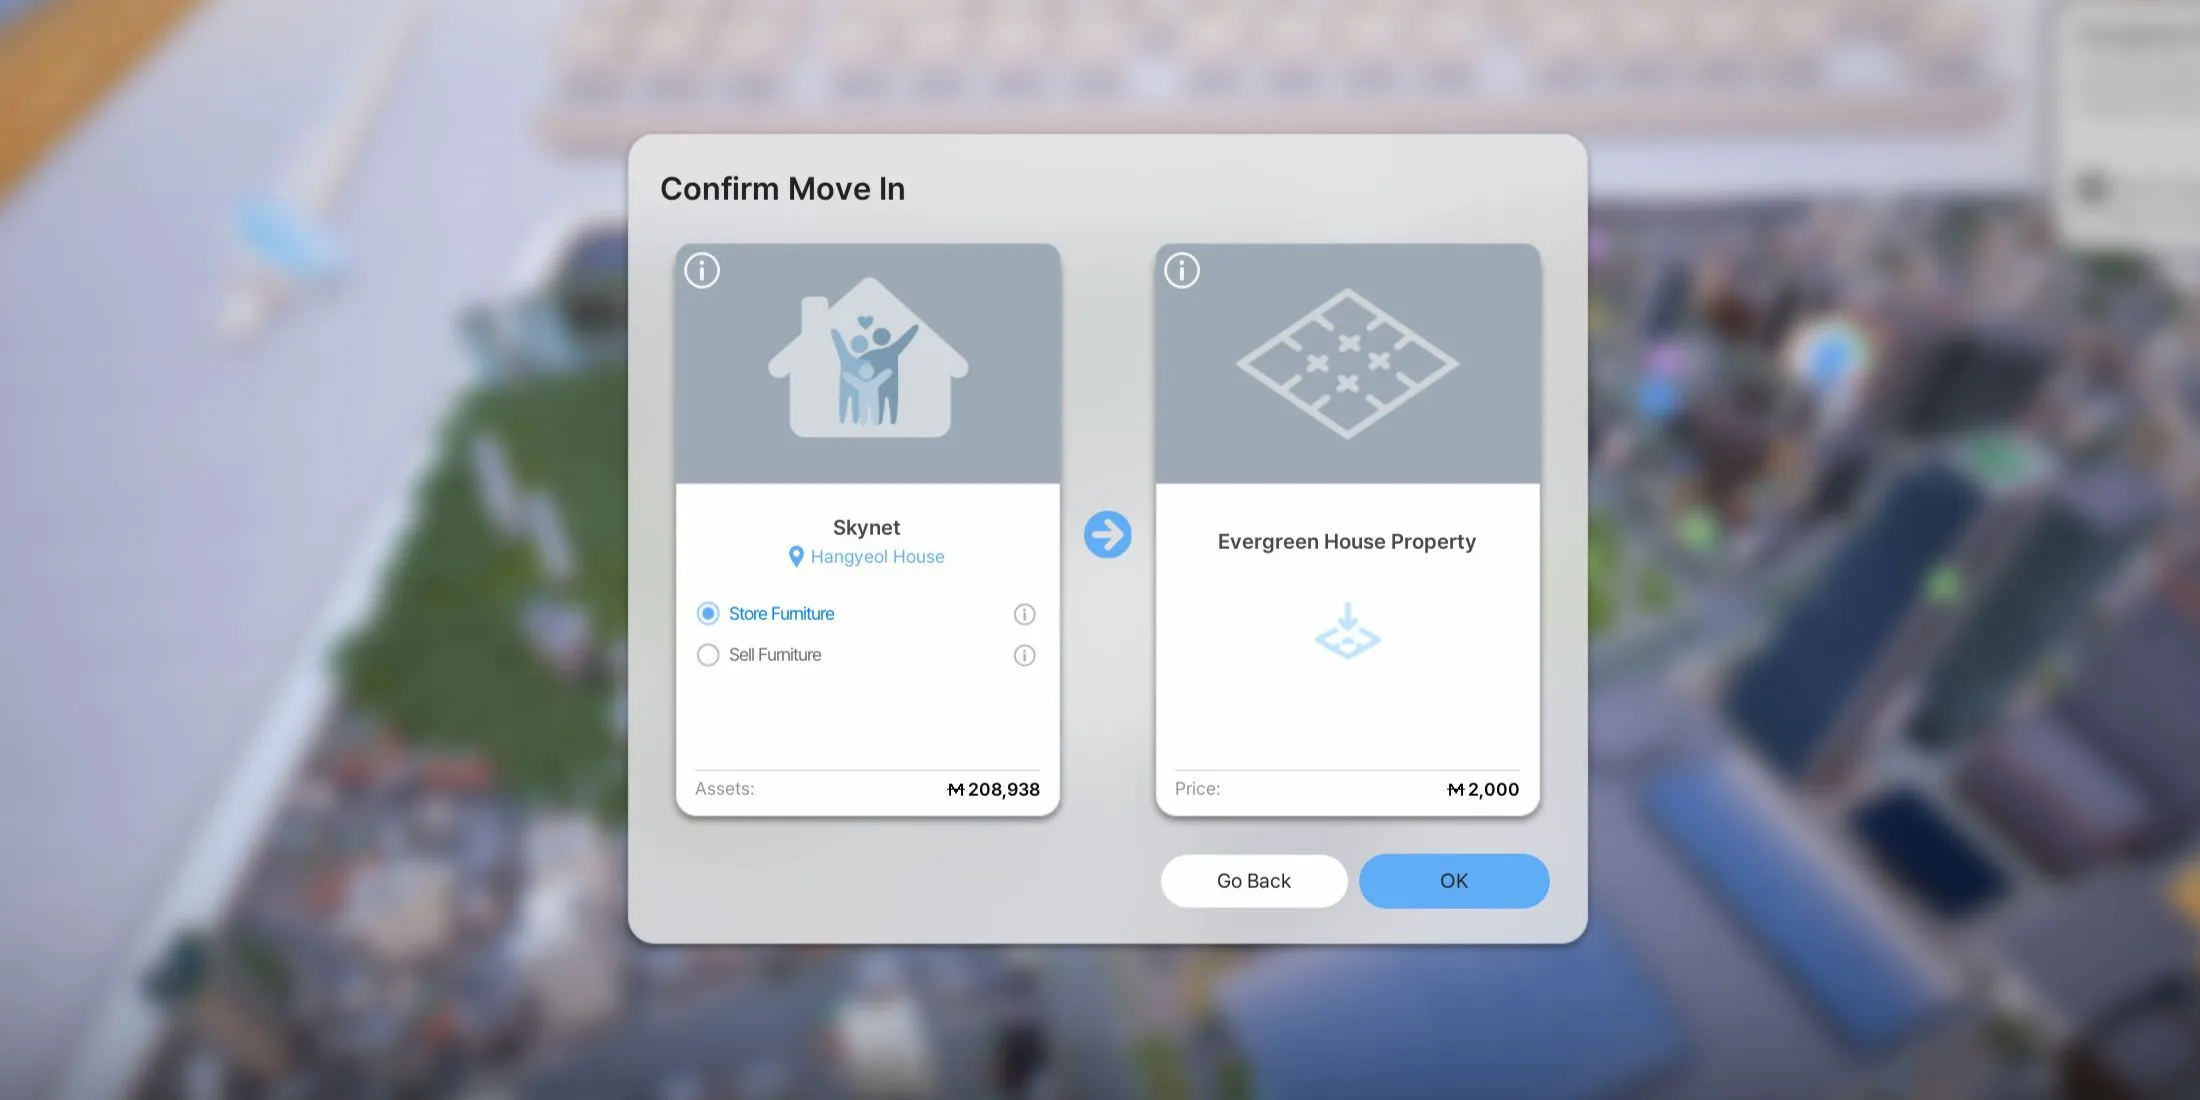
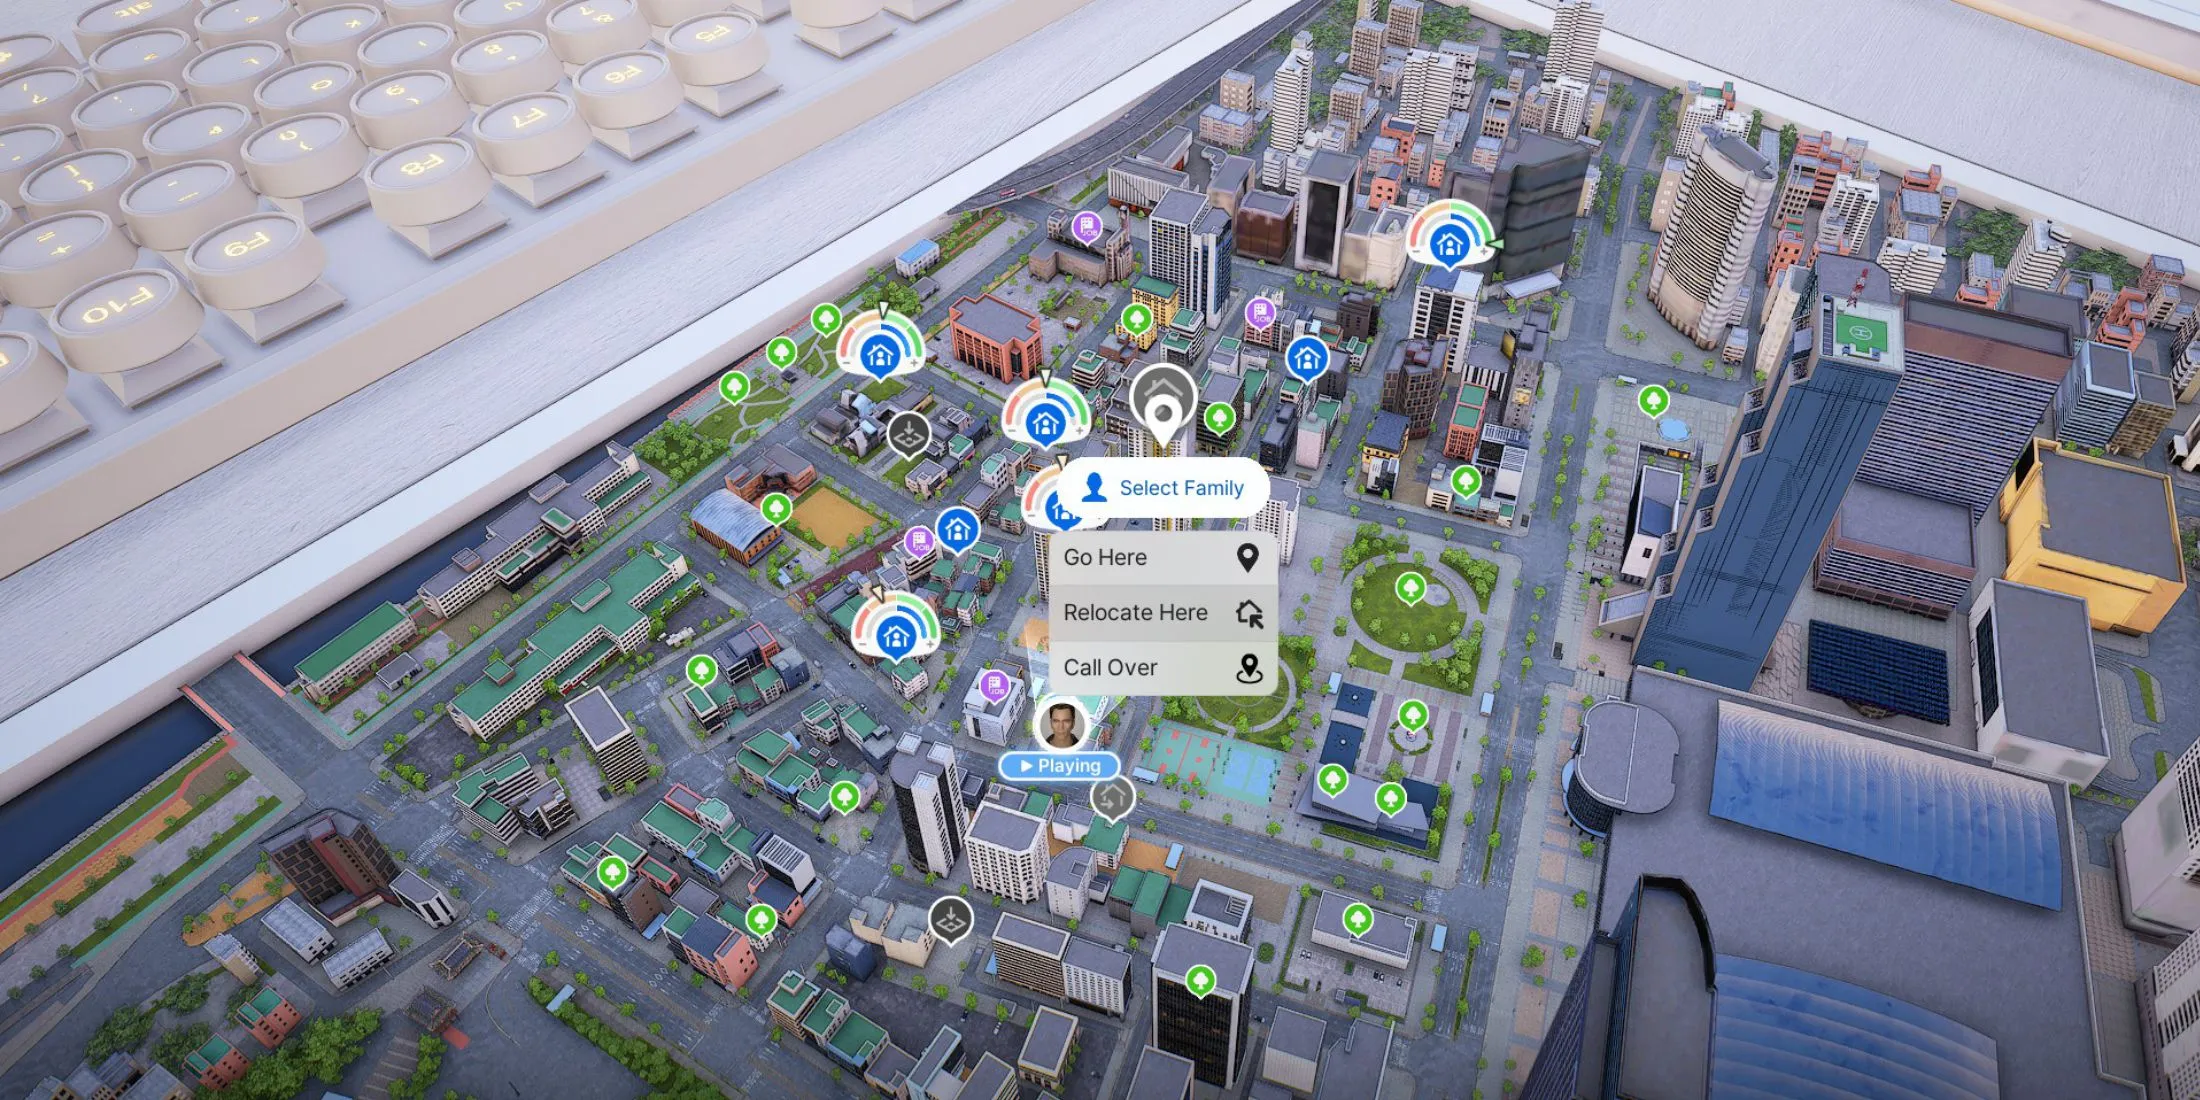
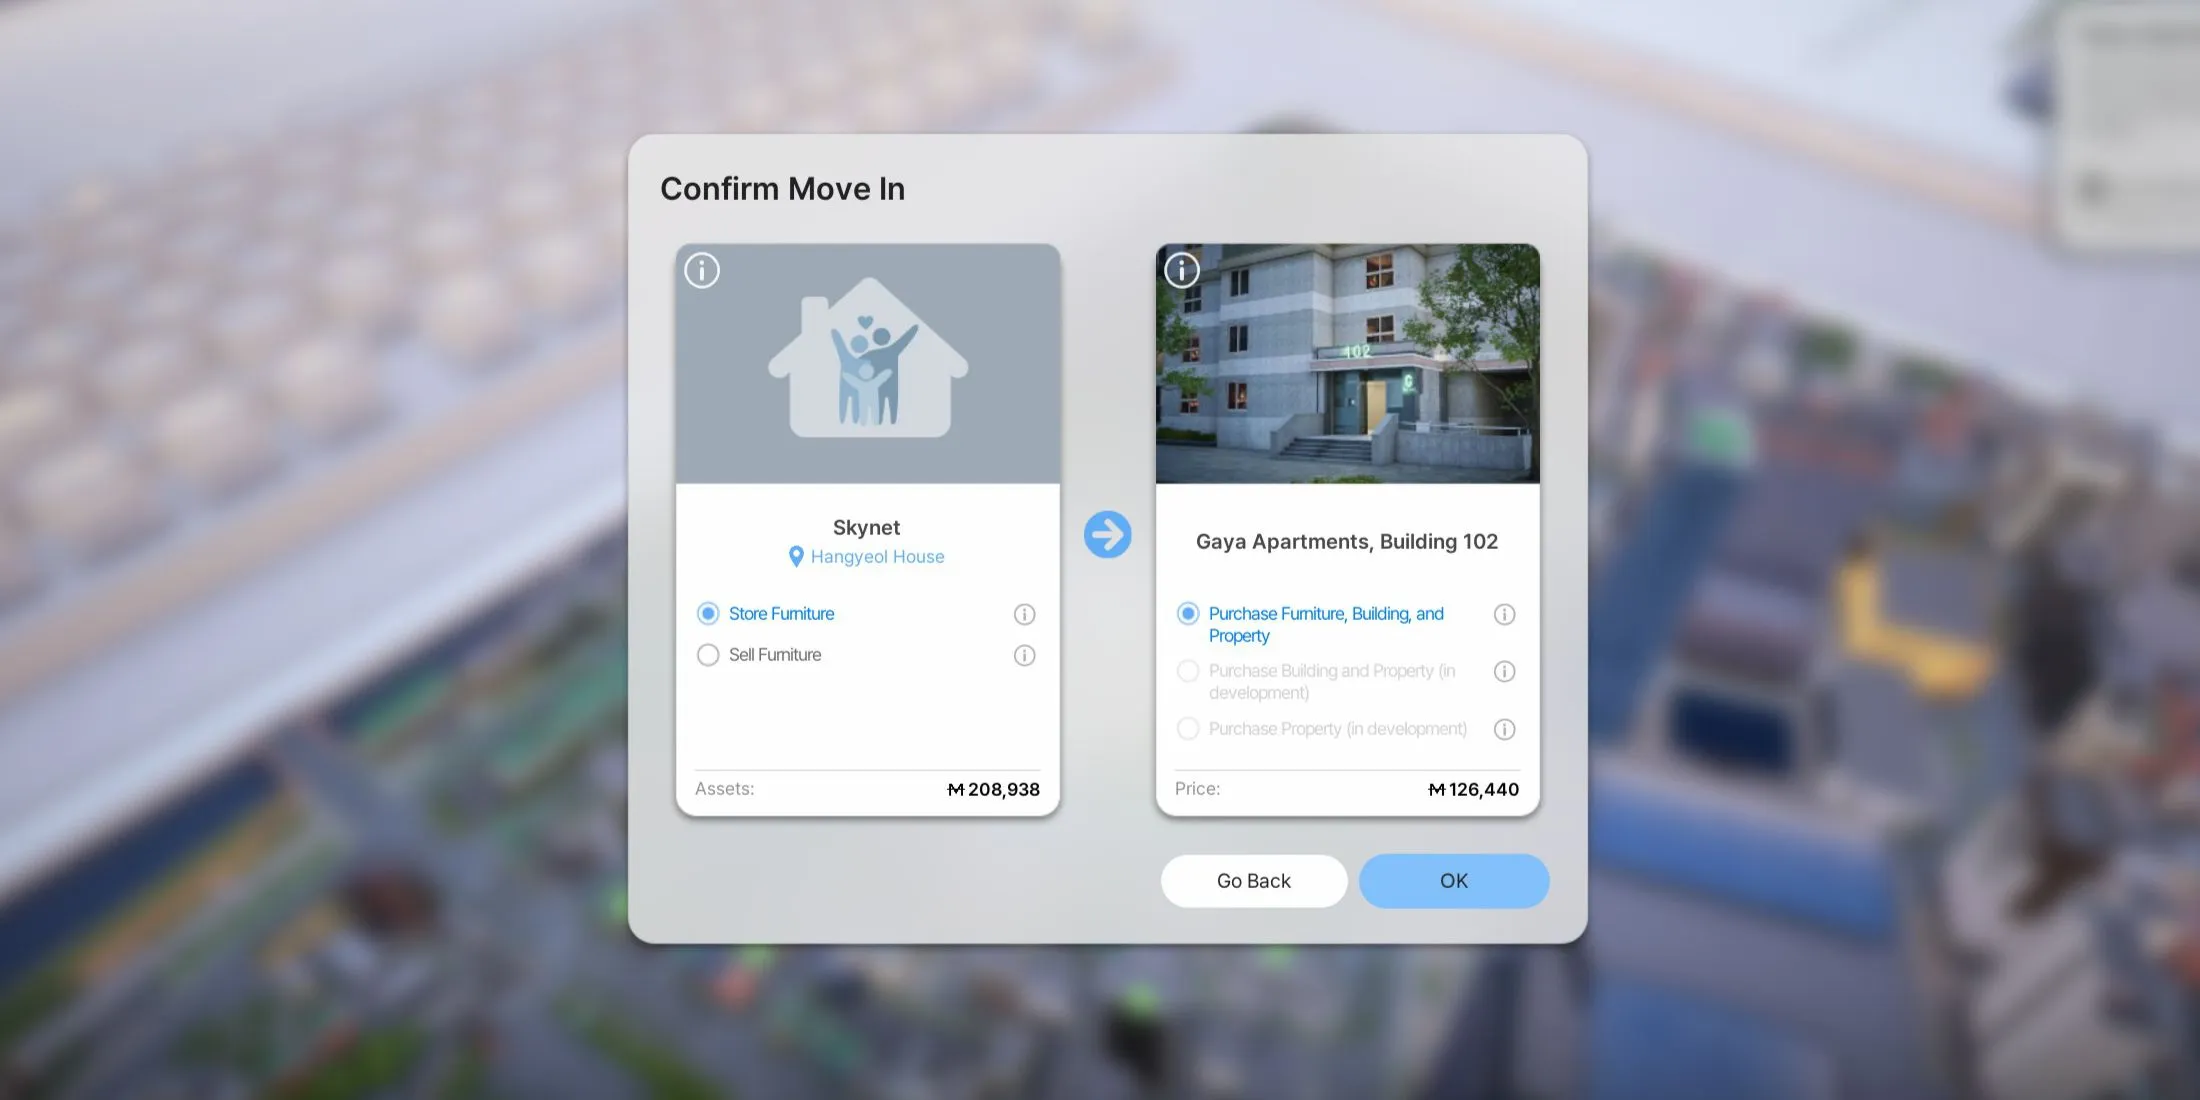
If you’re looking to change your home’s location or layout, InZOI provides a Relocate option. When you choose to move, you’ll receive a portion of your investment back upon selling your land and home, and you can decide whether to store or sell your furniture.
To initiate this process, press the M key to access the map. Browse through the available lots to find a more fitting location for your Zoi. After selecting a lot, click the “Relocate Here” button and opt to store or sell your furniture.
Selling your furniture gives you back some Meows, but if you choose this route, remember to replace items in your new home. A strategic approach would be to first store your belongings and only sell them if you’ve determined they won’t be utilized in your new space.
It’s important to note that you cannot directly transfer completed layouts to a new plot. To recreate your house in a different location, be sure to save your home as a layout or upload it to the Canvas prior to relocation.
