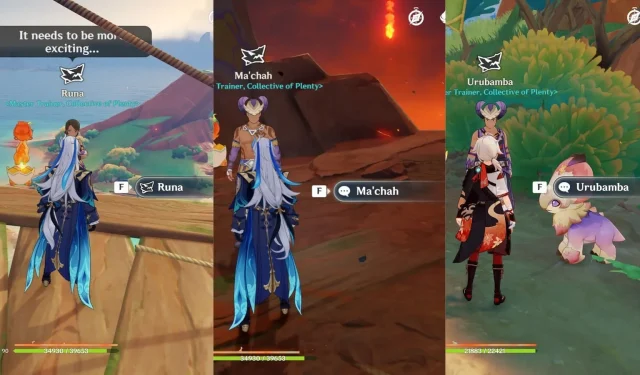
The recent Genshin Impact update, version 5.5, has introduced exciting new gameplay elements in Natlan, specifically through the addition of time-trial challenges known as the Warrior’s Challenges. These engaging tasks require players to collect a designated number of coins before time runs out. Your performance can earn you a rank ranging from C to SS, and depending on this rank, you may unlock up to three treasure chests. Moreover, successfully completing all challenges for a specific tribe will also yield achievements that enhance your overall game experience.
This guide will provide comprehensive details about the locations and requirements for the Warrior’s Challenges introduced in the 5.5 update.
Warrior’s Challenges of the Collective of Plenty Tribe
The Warrior’s Challenges for the Collective of Plenty tribe stand out for their relative simplicity compared to those of other tribes. Like other challenges in Genshin Impact, participants must gather a specific quantity of coins along a designated route within a set time. For these challenges, players can choose to play as either Tatankasaurus or characters such as Varesa or Iansan to navigate the tasks effectively.
Challenge 1: Master Runa

The first challenge is assigned by Master Runa, who imposes no prerequisites. Players can find her close to the Remnants of Tetenanco. Simply teleport to the nearby waypoint indicated in the image above, and proceed forward to locate her.
Challenge 2: Master Ma’chah

To access the second challenge, players need to complete the World Quest titled “Is ‘Intensity’ Really the Key?”also part of the 5.5 update. Once accomplished, Master Ma’chah’s challenge will become available. He can be found in the vicinity of Fallingstar Fields; you can use one of the teleport points shown in the image to reach him. After arriving, move toward the designated area to initiate the challenge.
Challenge 3: Master Urubamba
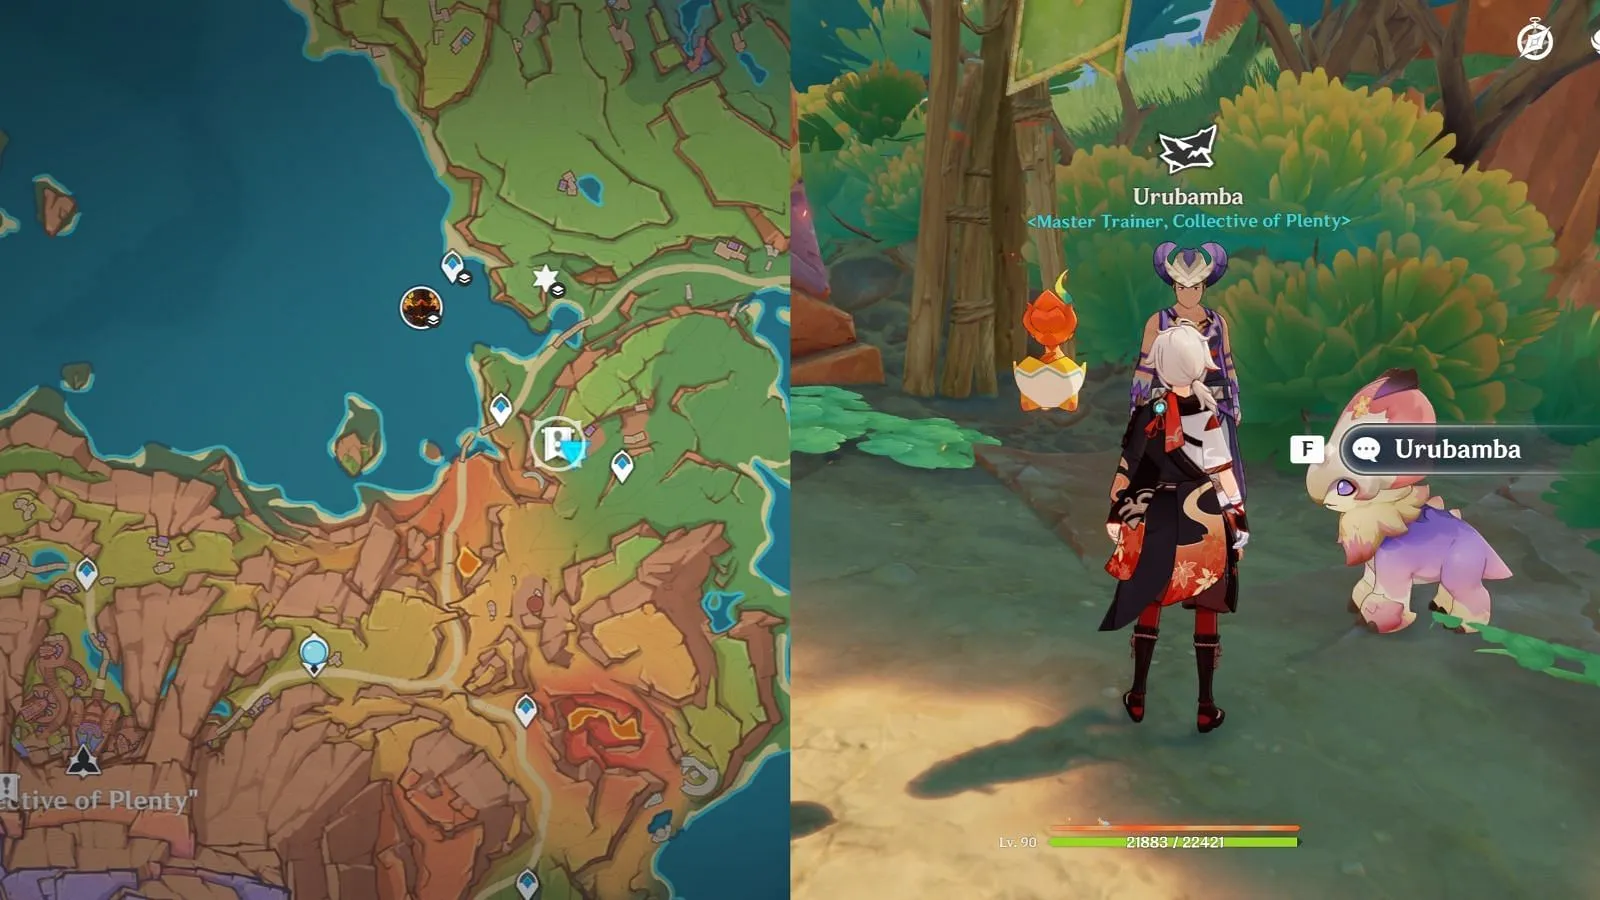
Unlike the first two challenges, Master Urubamba’s task has specific prerequisites. Players must first capture eight Tatankasaur whelps dispersed around his challenge area. A total of six locations contain these saurians. To reach Master Urubamba, teleport to the waypoint at the beginning of the Atocpan map, then proceed forward. Completing all three challenges in this update will earn players two achievements.
Locations for Tatankasaur Whelps
Location 1
From the teleport point, look behind you to find the first Tatankasaur. It will be chasing a Tepetlisaur whelp. Simply capture the Tepetlisaur, and the Tatankasaur will become still and return to its nest.
Location 2
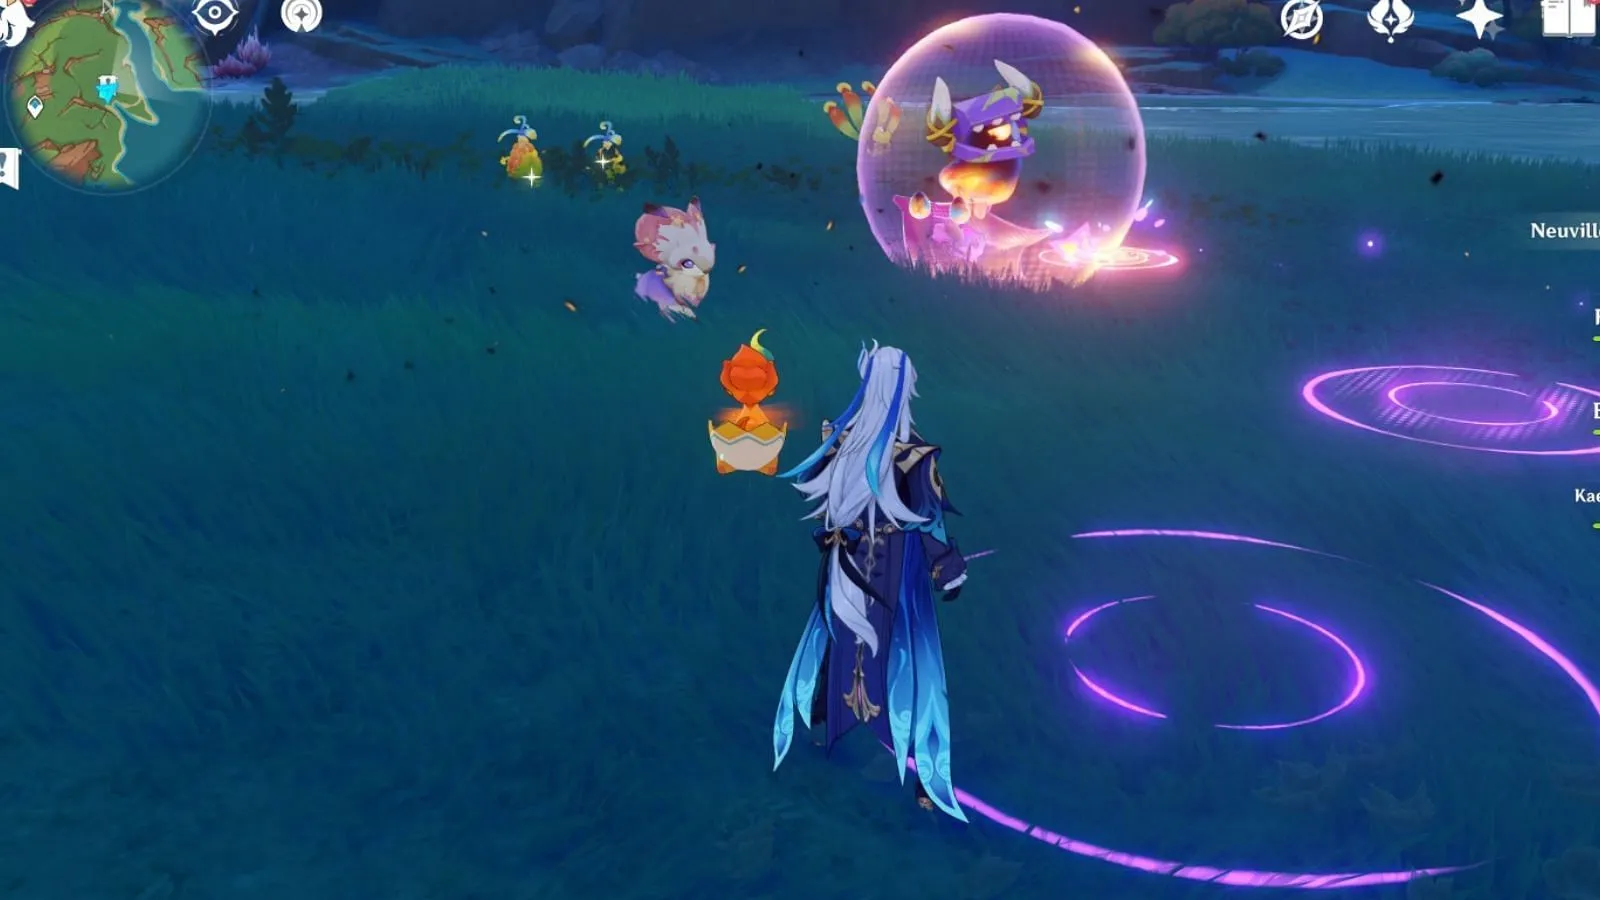
After capturing the first whelp, continue along the same route. You will encounter a Tatankasaur whelp interacting with a Matadar Monetoo. Utilize the Tatankasaur’s transformation nearby to hit the Monetoo twice, prompting it to move closer to a wall. Hit it twice more, and this saurus will return to its companions.
Location 3

Teleport back to the waypoint, then turn left. Here, a Hilichurl will be pursuing another Tatankasaur. Defeat this enemy, and the Saurian will scurry back to its nest.
Location 4
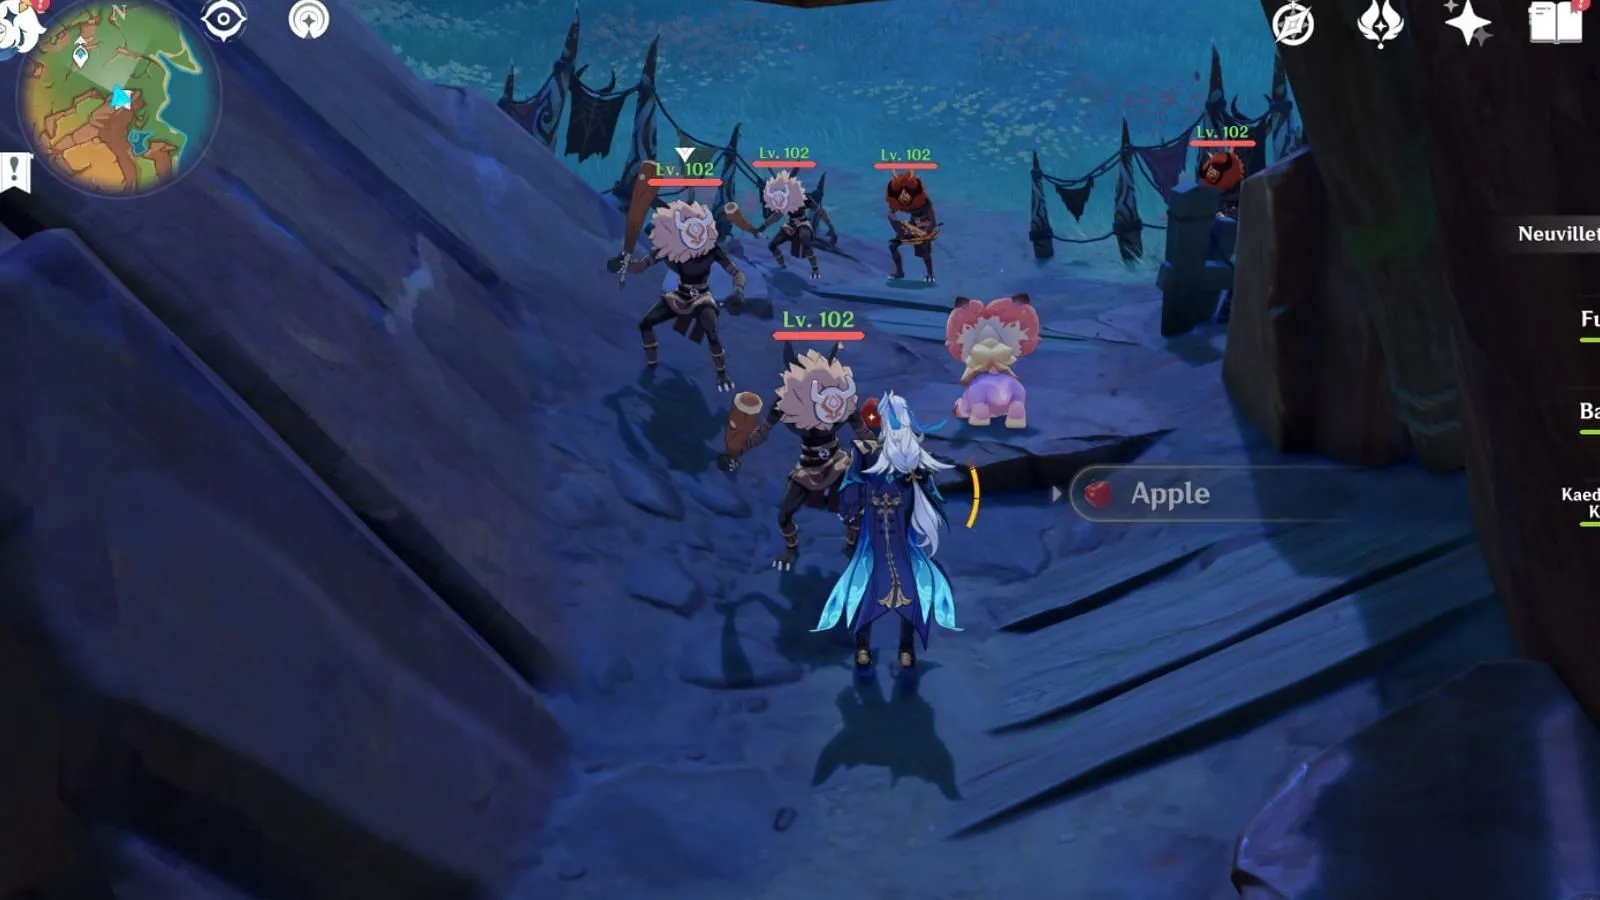
From where you liberated the previous Saurian, look forward to find a group of Hilichurls. Approach this location to discover another Tatankasaur trapped among them. Eliminate the Hilichurls to rescue this creature.
Location 5
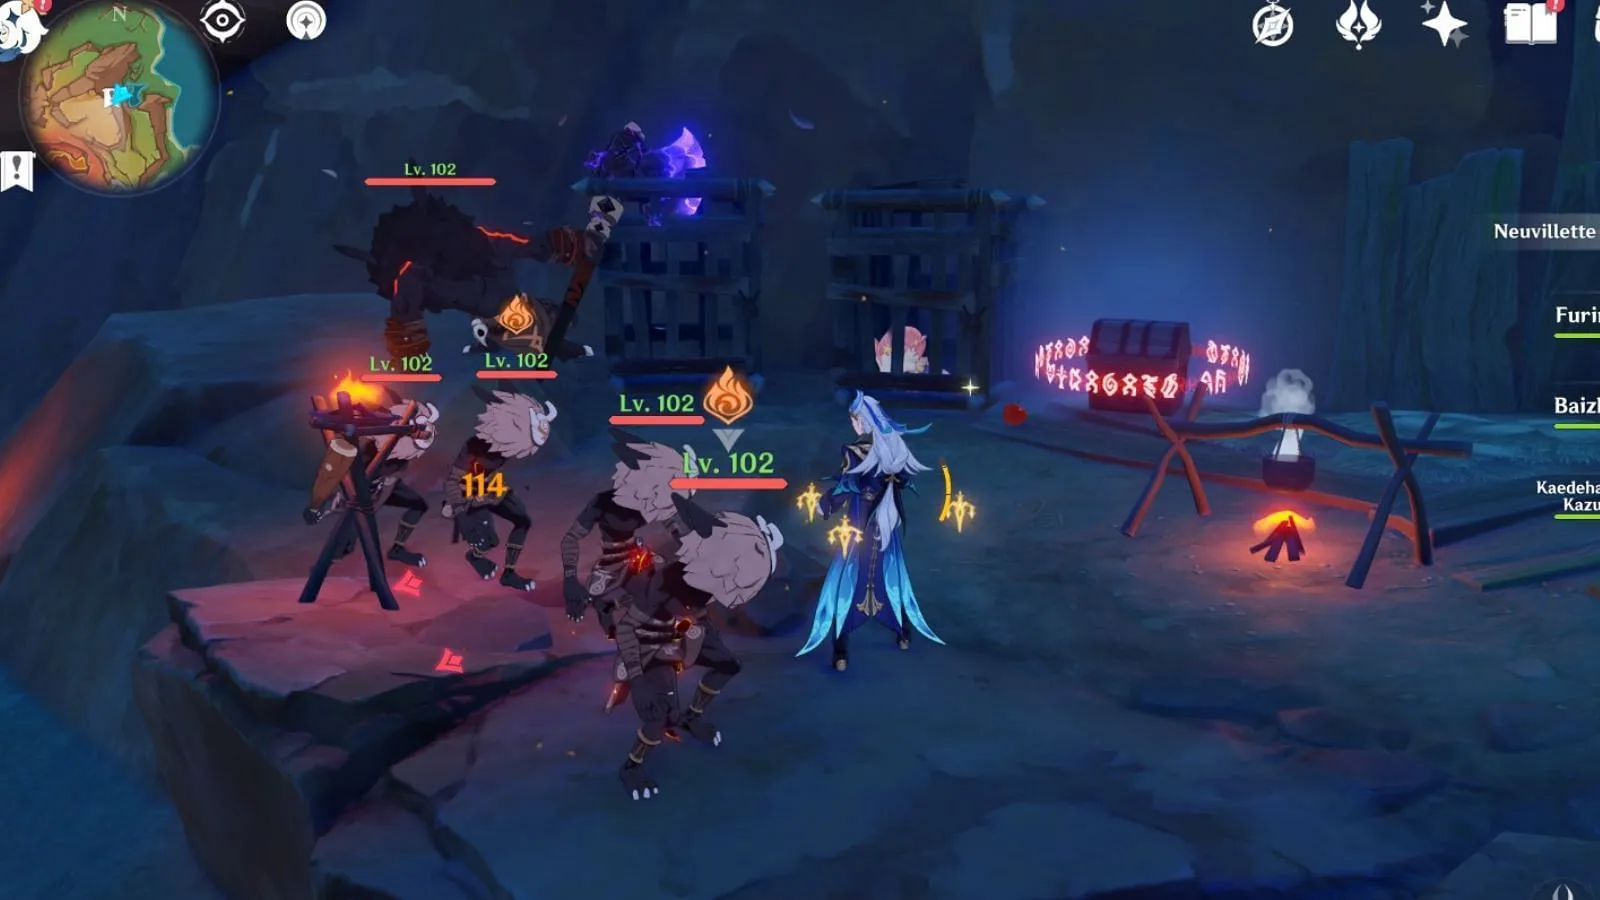
Upon freeing the preceding Tatankasaur, a small cave will appear. Enter this cave to discover a trapped Tatankasaur whelp behind an enemy’s cage. Defeating the foes will unlock the cage, allowing the whelp to return to safety.
Location 6
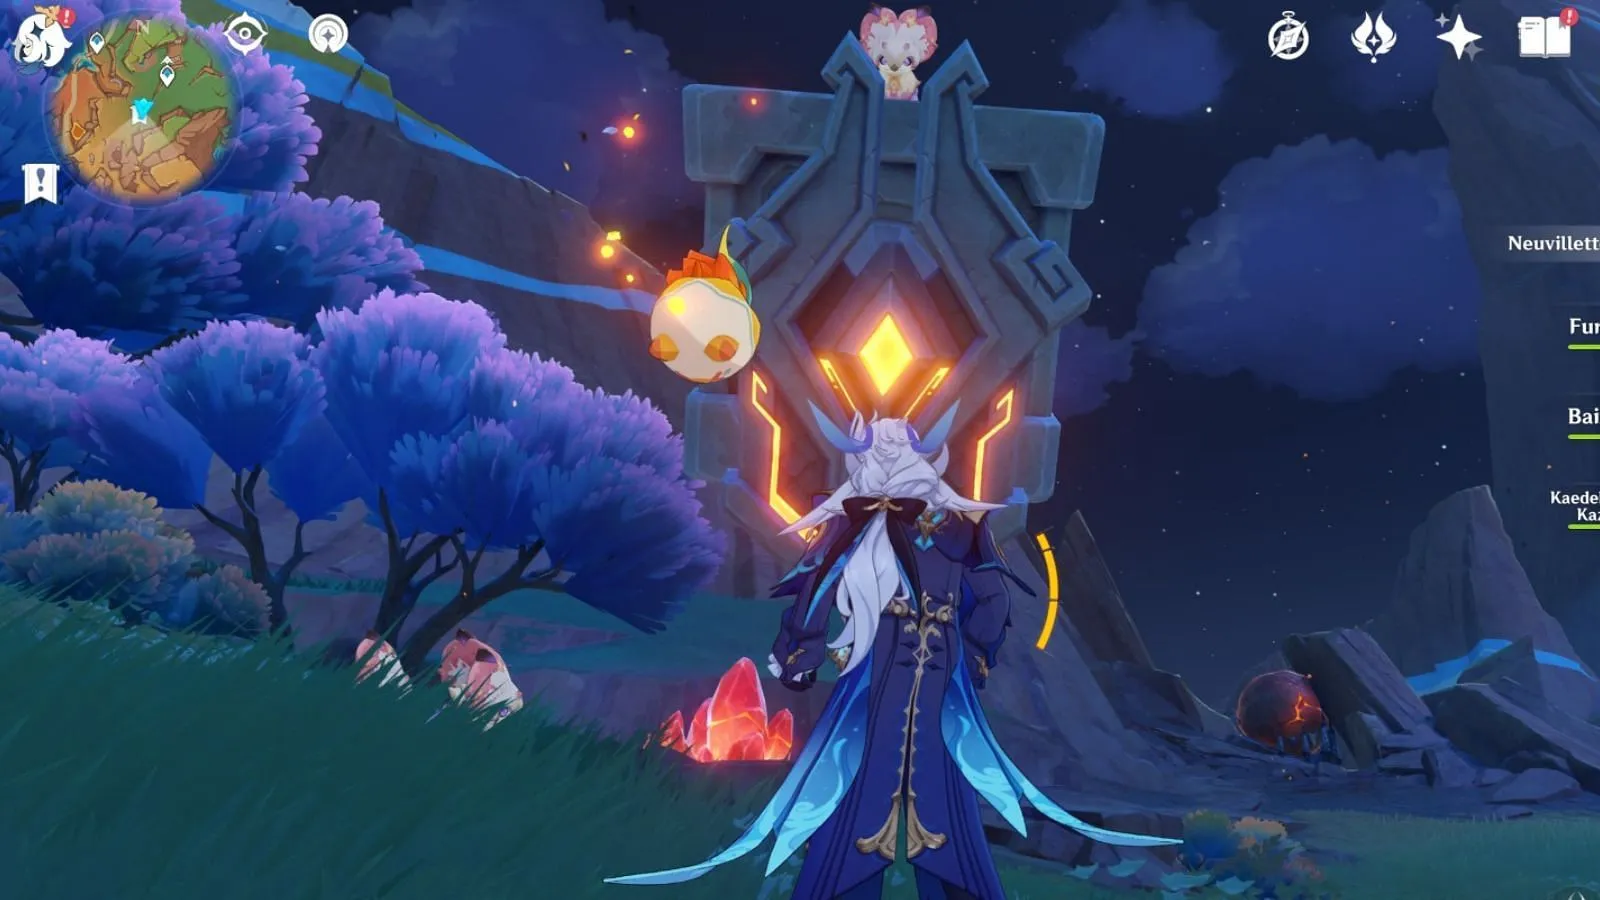
At the last location, you will find three whelps playing with a Dragon mechanism. Teleport back to the waypoint shown in the image above. Use the Tatankasaur transformation alongside to interact with the Dragon mechanism, hitting it once to deactivate it. This will enable all three whelps to return to their nest.
Once you have successfully captured all the required Saurians, speak to the NPC, who will reward you with three treasure chests. The NPC also proceeds forward, allowing you the chance to initiate the challenge.
