

The System Fail Safe Mode marks the conclusion of the Final Dawn chapter within the game Split Fiction. Set in a digitally distorted realm, players encounter a unique challenge as their characters become tethered together. This mechanic intensifies the difficulty; should you and your partner stray too far apart, the tether will snap, leading to the destruction of both characters.
In this guide, we will provide a step-by-step walkthrough for navigating the complexities of this level, ensuring you can adapt to the dynamic environment and reach the conclusion successfully.
Guide to the System Fail Safe Mode in Chapter 4 of Split Fiction
1) Initiating System Fail Safe Mode
")
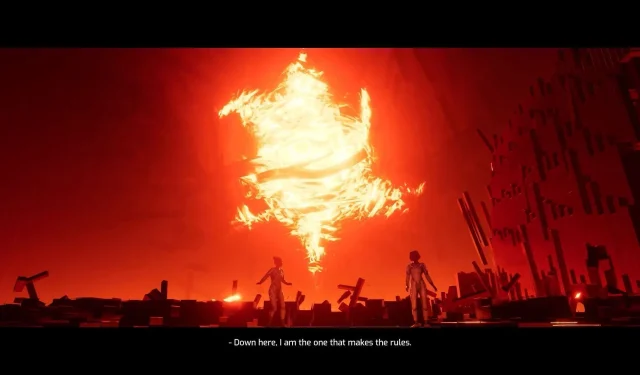
Upon completing Mio’s storyline, Rader will activate the fail-safe mode. This transformation plunges players into a strikingly red, glitchy digital environment. It’s essential to remain close to your partner, as the tether glows ominously when they move too far away. Any breach of this connection results in both characters facing destruction.
2) Navigating Through Platforms
")
Begin your journey by following a series of platforms. When you encounter a pressure plate, one player should activate it while the other jumps ahead to continue climbing. After traversing slopes and scaling a wall, teamwork is crucial again on the next pressure plate—both players must stand on it simultaneously to clear the way forward. Timing is of the essence; delay could lead to the tether snapping.
3) Evading the Orange Beam
")
As you progress, you’ll encounter an orange beam that fires recurrently. Both players must coordinate to stand on a pressure plate, lifting a platform that provides cover from the beam. Carefully time your movements to advance once the beam ceases to fire, and interact with the glitch at the end to unlock the next section.
4) The Wall-Running Challenge
")
You will eventually slide down to a segment requiring wall-running between two parallel surfaces. Both players need to leap while maintaining proximity, as falling behind risks separating the tether. Synchronize your jumps and maintain consistent timing to navigate this challenge.
5) Moving Platforms and Block Puzzles
")
Prepare to face rotating walkways and moving platforms that require careful teamwork. To activate some platforms, players must stand on specific switches together. Coordinate your movements to utilize slanted blocks effectively and propel yourselves to the next area. During a subsequent freefall segment, avoid debris while keeping the tether intact. Be vigilant; if the tether turns bright red, adjust your positions immediately.
6) Side-Scrolling Segment
")
Upon landing, the game shifts to a 2D perspective, where platforms detonate after brief intervals. Quick movements are essential here, alongside awareness of spiked blocks that shoot forward when approached. Synchronization with your partner is critical to navigating this section without separation.
7) Ducking Under Projectiles
")
Towards the end, you will slide down two diverging paths as a bladed projectile descends through the center. Remain aligned with your partner to maintain the tether. Step onto square buttons to elevate yourselves above the projectile, then jump down to the next set of buttons. Patience and precise timing are crucial; do not rush through this section.
Successfully navigating the projectile area leads you to the conclusion of the level, where a cutscene plays, wrapping up the Final Dawn chapter. It’s imperative to stay close to your partner throughout this challenging journey. Timing your jumps, maintaining steady wall runs, and working together will ensure your survival.
Ultimately, the System Fail Safe Mode emphasizes the importance of cooperation and proximity to your partner. With the tether mechanism in place, individual survival is impossible; synchronization in movement and communication are your keys to successfully traversing each phase. By staying connected and adjusting your pace accordingly, you will triumph in completing this level and the chapter.